Golden chicken breasts tucked into smoky beans, sweet corn, and tomatoes make this Santa Fe chicken skillet the kind of one-pan dinner that never lasts long at the table. The chicken sears first, so you get a seasoned crust before it finishes gently in the sauce, and the skillet stays lively with Tex-Mex flavor all the way through. Melted cheddar on top pulls everything together without turning the dish heavy.
The trick here is keeping the chicken from overcooking while the sauce builds underneath it. A cast iron skillet helps the chicken brown fast, and using undrained tomatoes with green chiles gives the broth enough body and heat without needing extra seasoning tricks. Black beans and corn make the dish hearty, but they also soak up the smoky broth as it simmers, which is what gives every bite its balance.
Below, I’ve included the small details that matter most, from the best way to avoid dry chicken to the swaps that still keep this skillet weeknight-friendly.
The chicken stayed juicy, the sauce thickened up nicely, and the cheddar melted right over the beans and corn without getting greasy. I served it with lime wedges and my husband went back for seconds before I even sat down.
Save this Santa Fe Chicken Skillet for a one-pan Tex-Mex dinner with golden chicken, smoky beans, and melted cheddar.
The Trick to Keeping the Chicken Juicy While the Skillet Simmer Finishes
Most skillet chicken goes wrong when the meat cooks all the way through before the sauce has a chance to develop. Here, the chicken only needs to brown first, then it finishes covered in the bean-and-corn mixture, which keeps the lean breasts from drying out. That second stage is gentle, and it matters more than the sear if you want chicken that stays tender instead of stringy.
The other thing to watch is heat. If the skillet is screaming hot when you add the broth and tomatoes, the liquid can reduce too fast before the chicken is cooked through. A steady simmer gives you time for the flavors to come together and keeps the cheese from sitting on top of a watery pan later.
- Chicken breasts — Try to keep them close to the same thickness so they cook evenly. If one side is much thicker, pound it lightly or slice the breast in half horizontally.
- Taco seasoning — This gives you salt, cumin, chili powder, and garlic in one move. If yours is low-sodium, add a pinch of salt to the chicken before searing.
- Cast iron skillet — It holds heat well enough to build a real crust on the chicken. A heavy stainless skillet works too, but avoid a thin pan that cools down the second you add the chicken.
What the Beans, Corn, and Rotel Are Doing in the Pan
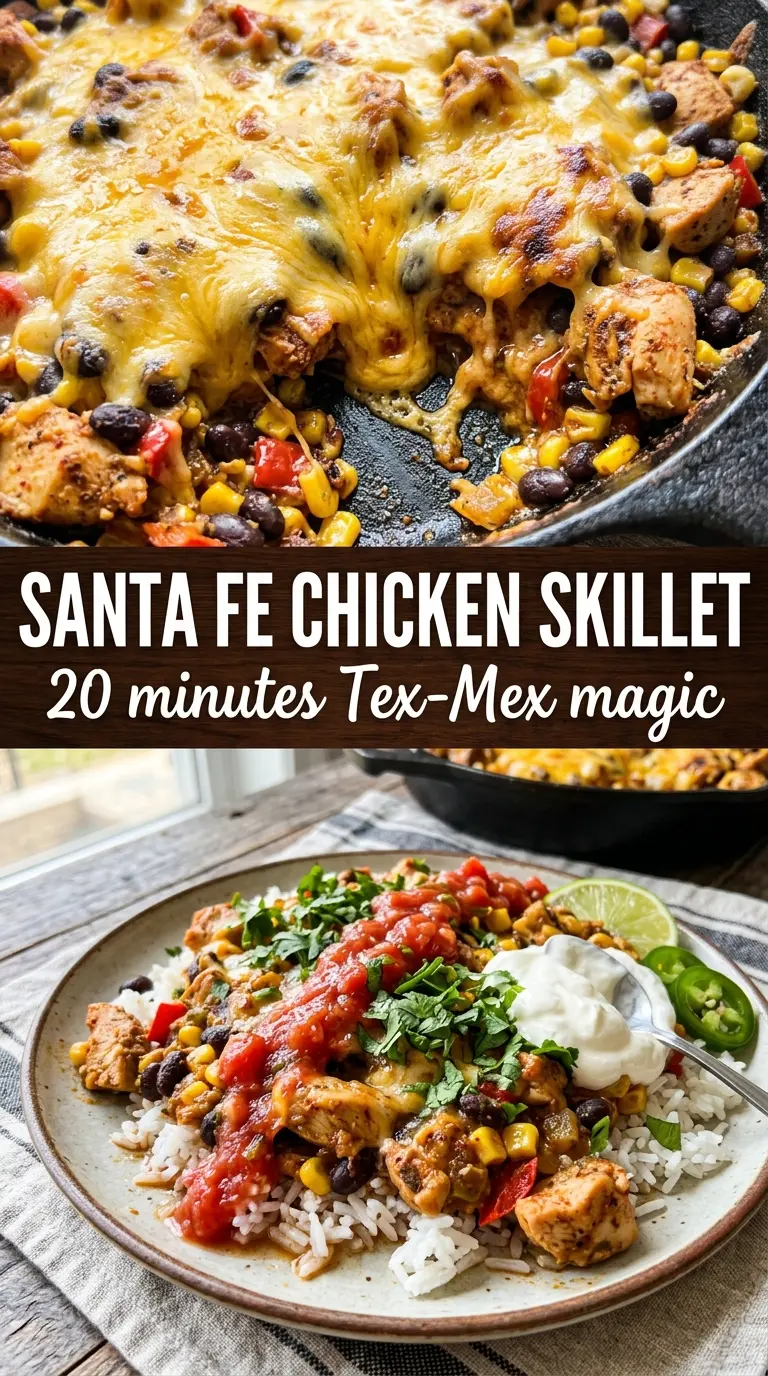
- Black beans — They add body and make the skillet feel like a full meal, not just chicken in sauce. Canned beans are perfect here; rinse them so the sauce stays clean instead of muddy.
- Frozen corn — Frozen corn is fine and often better than canned because it keeps a little bite. There’s no need to thaw it first; it will heat through in the simmer.
- Diced tomatoes with green chiles — This is where the smoky, tangy backbone comes from. Don’t drain the can, or you lose the broth that helps everything cook together.
- Cheddar cheese — Use a block and shred it yourself if you want the smoothest melt. Pre-shredded cheese works in a pinch, but it has anti-caking agents that can make the topping less silky.
Building the Skillet in the Right Order
Season and Sear First
Rub the taco seasoning evenly over both sides of the chicken before it hits the pan. The seasoning has time to cling and toast in the oil, which gives you flavor that sits on the surface instead of washing off into the broth. Sear the chicken until the outside is deep golden and it releases from the pan without forcing it. If it sticks, it’s not ready yet.
Cook the Vegetables and Beans in the Same Pan
After the chicken comes out, add the beans, corn, tomatoes, and broth straight into the skillet. Scrape up the browned bits on the bottom as the liquid starts to simmer; that’s the part that makes the sauce taste like it came from a longer-cooked dish. The mixture should bubble gently, not boil hard. A hard boil can reduce the liquid too fast and leave the chicken undercooked in a dry pan.
Finish Under the Lid
Set the chicken back into the simmering mixture and cover the skillet so the steam does the rest of the work. The chicken is done when the thickest part reaches 165°F and the center feels firm but still juicy when you cut in. Add the cheddar only after the chicken is cooked through, then cover the pan for a couple of minutes so it melts without separating or turning greasy.
Make It Spicier Without Changing the Structure
Add a pinch of cayenne with the taco seasoning or use a hotter diced tomato-and-chile option. The skillet will still hold together the same way, but the heat will come forward more sharply, especially once the cheddar and sour cream hit the plate.
Dairy-Free Version
Skip the cheddar and finish with avocado, cilantro, and extra lime instead. You lose the melty top layer, but the skillet stays bright and satisfying because the beans and tomatoes already carry enough body.
Use Chicken Thighs for More Forgiveness
Boneless skinless thighs work well if you want a little extra richness and less risk of dryness. They may need a few more minutes under the lid, but the payoff is a juicier bite and a sauce that tastes even fuller.
Storage and Reheating
- Refrigerator: Store leftovers in an airtight container for up to 4 days. The sauce thickens a bit as it sits, and the chicken stays best if it’s kept with the beans and tomatoes rather than stored separately.
- Freezer: It freezes well for up to 2 months, though the cheddar is best added after reheating if you want the cleanest texture. Thaw overnight in the fridge before warming.
- Reheating: Reheat gently on the stovetop over medium-low heat with a splash of broth or water. High heat dries out the chicken fast and can make the cheese oily instead of melty.
Answers to the Questions Worth Asking
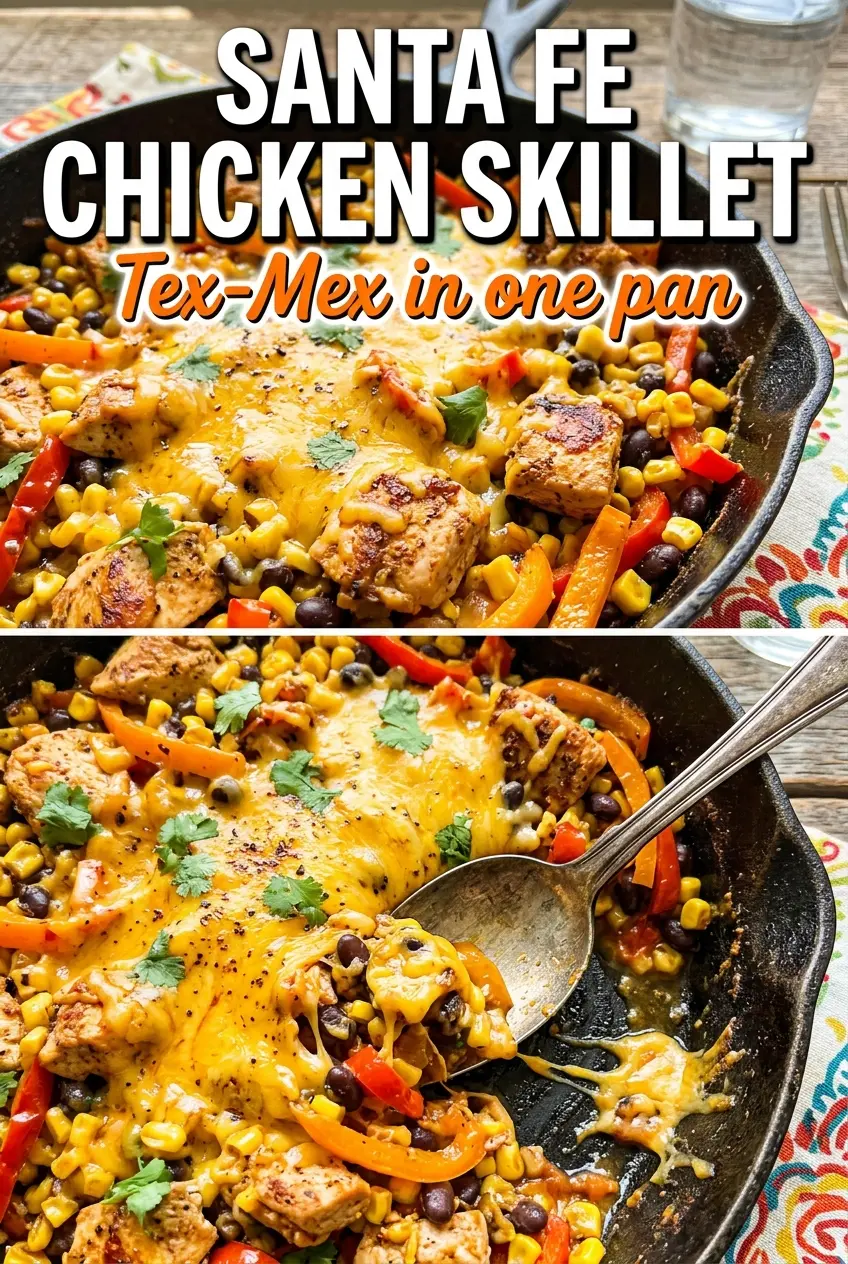
Santa Fe Chicken Skillet
Ingredients
Equipment
Method
- Rub the boneless skinless chicken breasts with taco seasoning on both sides. Make sure both sides are evenly coated so the flavor sets up as it browns.
- Heat the olive oil in a large cast iron skillet over medium-high heat and sear the chicken for 4-5 minutes per side until golden. Remove the chicken to a plate when it’s browned and cooked through the outside.
- Add the black beans, frozen corn, diced tomatoes with green chiles (Rotel), and chicken broth to the skillet and stir. Bring to a simmer and scrape up any browned bits for a smoky, savory base.
- Nestle the chicken breasts back into the bean and corn mixture, then cover and cook over medium heat for 8-10 minutes until the chicken reaches 165°F. Look for steady bubbling around the edges while the chicken finishes cooking.
- Sprinkle the shredded cheddar cheese over the top of the skillet, then cover for 2 minutes until melted. You should see the cheese soften and spread into a glossy layer.
- Garnish with Fresh cilantro, sour cream, avocado, and lime wedges. Finish with lime just before serving for bright flavor.