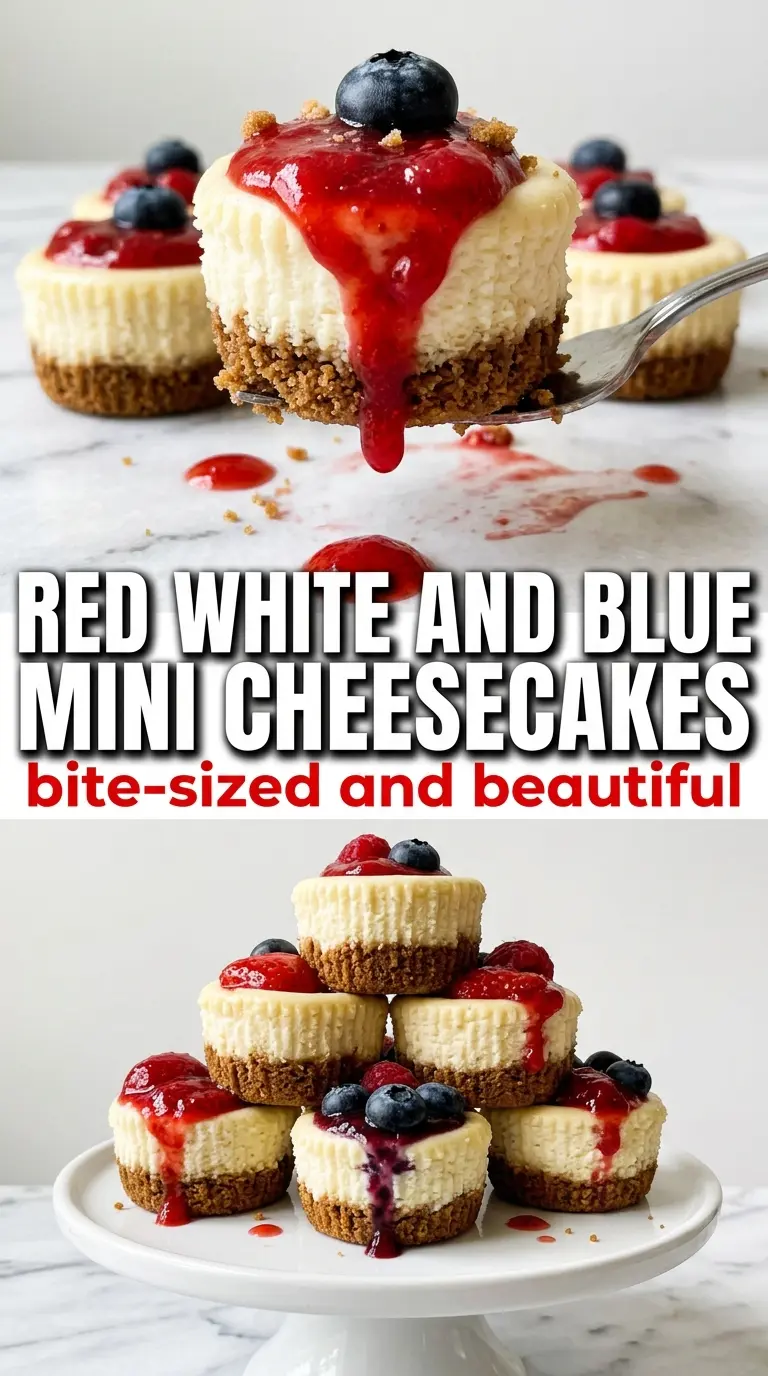
These red, white and blue mini cheesecakes bake up with a smooth, creamy center, a sturdy cookie base, and enough fresh fruit on top to make each one feel like its own little dessert. The texture is the part I keep coming back for: firm enough to lift from the liner cleanly, but soft enough that the filling still tastes rich and luxurious after a chill in the fridge.
The trick is in the batter. Cream cheese has to be softened all the way through, and the eggs go in one at a time so the filling stays silky instead of turning lumpy or overmixed. A spoonful of sour cream adds a little tang and keeps the texture from tasting heavy, while the cookie in the bottom gives you that crisp, buttery bite without needing a separate crust mixture.
Below you’ll find the exact bake time that keeps the centers from overcooking, plus the topping order that keeps the fruit looking fresh instead of sliding around on the whipped cream.
The centers stayed perfectly creamy and the cookie base didn’t get soggy at all. I chilled them overnight and topped them right before serving, and they looked like little bakery cheesecakes.
These mini cheesecakes are made for the fridge-friendly chill and fresh berry topping that keeps each bite bright and creamy.
The Detail That Keeps Mini Cheesecakes From Sinking in the Middle
Mini cheesecakes fail for the same reason full-size cheesecakes do: too much air in the batter and too much heat in the oven. When you beat cream cheese and sugar, you want smooth, not fluffy. Once the eggs go in, stop as soon as the batter turns even. Extra mixing pulls in air, and that air expands in the oven and collapses as the cheesecakes cool.
The other thing that matters here is doneness. These should come out when the centers are just barely set and still have a slight wobble. If they look fully firm in the oven, they’re already past the sweet spot and will bake up dry after chilling. The residual heat finishes the job while they cool in the pan.
What Each Ingredient Is Doing in the Pan
- Golden Oreo or Oreo cookie — This acts as the base without any extra crushing or butter mixing. Golden Oreos give a softer vanilla-cookie note that fits the berries, while regular Oreos bring a darker chocolate contrast. Either works, but the whole cookie in the liner is what keeps the recipe simple and gives you a clean, even bottom.
- Cream cheese — Full-fat cream cheese is the backbone of the filling. Reduced-fat versions can bake up looser and less rich, and they’re more likely to taste tangy in a thin way instead of creamy. Let it soften completely so it blends without little lumps that won’t disappear later.
- Sour cream — This keeps the filling from tasting flat and helps the texture stay smooth after chilling. Greek yogurt can work in a pinch, but it brings a sharper tang and a slightly lighter body. Sour cream is the better choice if you want the classic cheesecake feel.
- Strawberries and blueberries — Fresh fruit matters here because the topping is part of the structure and the color contrast. Frozen berries turn watery as they thaw, which makes the whipped cream slide. Slice the strawberries just before serving so they stay bright and don’t weep onto the tops.
From Muffin Tin to Chilled Cheesecake
Building the Base
Line the muffin tin first so you can move quickly once the batter is ready. Set one cookie flat in the bottom of each liner and press it down gently if it seems off-center. Don’t crush it into crumbs; the whole cookie gives you the easiest, neatest base and saves time. A standard 12-cup muffin tin works best because the cups hold the batter evenly and bake at the same rate.
Mixing the Filling Without Adding Too Much Air
Beat the cream cheese and sugar until the mixture is smooth and glossy, scraping the bowl well so no pockets of cream cheese hide at the bottom. Add the eggs one at a time, mixing just until each disappears. Stir in the vanilla and sour cream last. If the batter looks airy or mousse-like, it was beaten too long, and the cheesecakes are more likely to puff and crack.
Baking to the Barely-Set Point
Divide the filling evenly among the cups and fill them about three-quarters full. Bake just until the edges look set and the centers still have a soft jiggle when you nudge the pan. That wobble is what you want. If the tops start to brown, the oven is too hot or the cheesecakes are in too long, and the texture will go from creamy to chalky once chilled.
Cooling and Topping
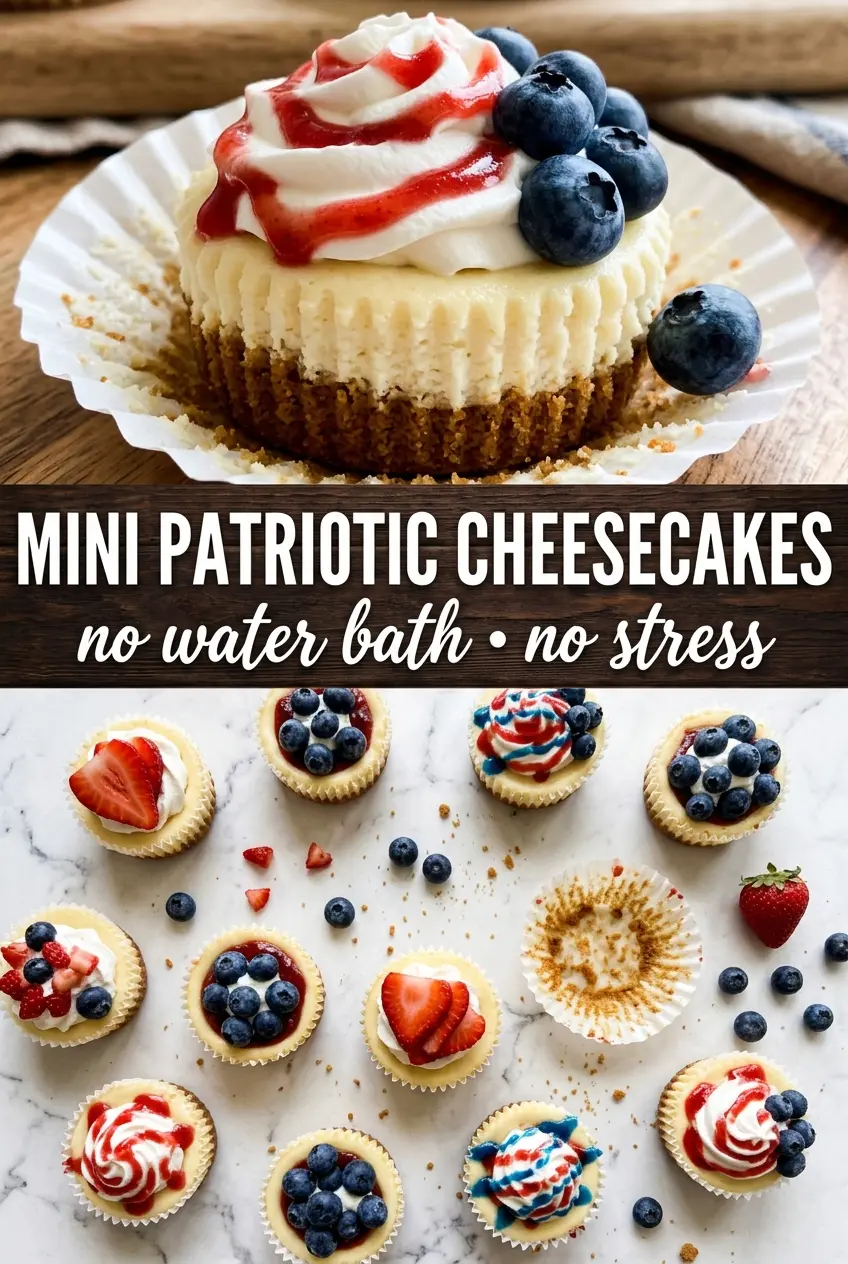
Let the cheesecakes cool in the pan for 30 minutes before moving them to the fridge. That slow cooling helps the centers finish setting without sinking. Chill them for at least 2 hours, then top right before serving with whipped cream, strawberries, blueberries, and sprinkles. Add the fruit after chilling, not before, or the juices will stain the tops and soften the whipped cream.
How to Adapt These Mini Cheesecakes for a Crowd or a Different Pantry
Use Golden Oreos for a softer, vanillla-forward base
Golden Oreos keep the whole dessert lighter in color and let the strawberries and blueberries stand out more. Regular Oreos add a deeper chocolate note, which works if you want more contrast under the filling. Both are sturdy enough to hold their shape, so this swap changes the flavor more than the structure.
Make them gluten-free with a gluten-free sandwich cookie
A gluten-free sandwich cookie works well here because the cookie is used whole, not crushed into a finicky crust. Check that the cookie fits the liner and stays intact during baking. The filling doesn’t need any other changes.
Swap the sour cream for plain Greek yogurt
Plain Greek yogurt can stand in if that’s what you have, but the filling will taste a little tangier and a touch lighter. Use the same amount and stir it in at the end so the batter stays smooth. The texture is still good, but sour cream gives a rounder cheesecake flavor.
Make them a day ahead and add toppings later
These actually benefit from an overnight chill, so they’re a good make-ahead dessert. Bake and chill them completely, then keep the fruit, whipped cream, and sprinkles separate until serving time. That keeps the tops neat and the texture firm.
Storage and Reheating
- Refrigerator: Store the cheesecakes, uncovered until fully cold, then covered for up to 4 days. The topping is best added just before serving.
- Freezer: The cheesecakes freeze well without the fruit and whipped cream. Wrap each one tightly and freeze for up to 1 month, then thaw overnight in the refrigerator.
- Reheating: Don’t reheat these. Cheesecake is meant to be served chilled, and warming it breaks the texture and softens the cookie base too much.
Questions I Get Asked About This Recipe
Red, White and Blue Mini Cheesecakes
Ingredients
Equipment
Method
- Preheat the oven to 325°F and line a 12-cup muffin tin with cupcake liners. Set the tin in an easy-to-remove spot so you can fill it quickly.
- Place one Oreo cookie flat in the bottom of each liner. Press it gently so it sits level.
- Beat the cream cheese and sugar until smooth. Scrape the bowl as needed for a lump-free base.
- Add the eggs one at a time, mixing well after each. Keep mixing until the batter looks glossy and fully combined.
- Beat in the vanilla extract and sour cream. Mix just until smooth with no streaks.
- Divide the batter evenly among the 12 cups, filling each about 3/4 full. Leave a little headroom so the tops don’t rise too high.
- Bake for 18–20 minutes at 325°F until the centers are just barely set. The edges should look set while the middle still has a slight jiggle.
- Cool the cheesecakes in the pan for 30 minutes. They should firm up further and lose some heat without cracking.
- Refrigerate for at least 2 hours to chill completely. Chill until the filling feels firm to the touch.
- Before serving, top each cheesecake with a swirl of whipped cream. Add the swirl in a visible spiral so it holds the ridged shape.
- Place a strawberry slice on top of each mini cheesecake. Position it so it sits near the center like a crown.
- Add a few blueberries on top after the strawberry. Distribute them so you get a red-and-blue pattern in every cup.
- Finish each cheesecake with a pinch of red and blue sprinkles. Add them right before serving for the best color.