Ingredients
Equipment
Method
Bake the crust and filling
- Preheat the oven to 325°F and line a 12-cup muffin tin with cupcake liners. Set the tin in an easy-to-remove spot so you can fill it quickly.
- Place one Oreo cookie flat in the bottom of each liner. Press it gently so it sits level.
- Beat the cream cheese and sugar until smooth. Scrape the bowl as needed for a lump-free base.
- Add the eggs one at a time, mixing well after each. Keep mixing until the batter looks glossy and fully combined.
- Beat in the vanilla extract and sour cream. Mix just until smooth with no streaks.
- Divide the batter evenly among the 12 cups, filling each about 3/4 full. Leave a little headroom so the tops don’t rise too high.
- Bake for 18–20 minutes at 325°F until the centers are just barely set. The edges should look set while the middle still has a slight jiggle.
Chill and top
- Cool the cheesecakes in the pan for 30 minutes. They should firm up further and lose some heat without cracking.
- Refrigerate for at least 2 hours to chill completely. Chill until the filling feels firm to the touch.
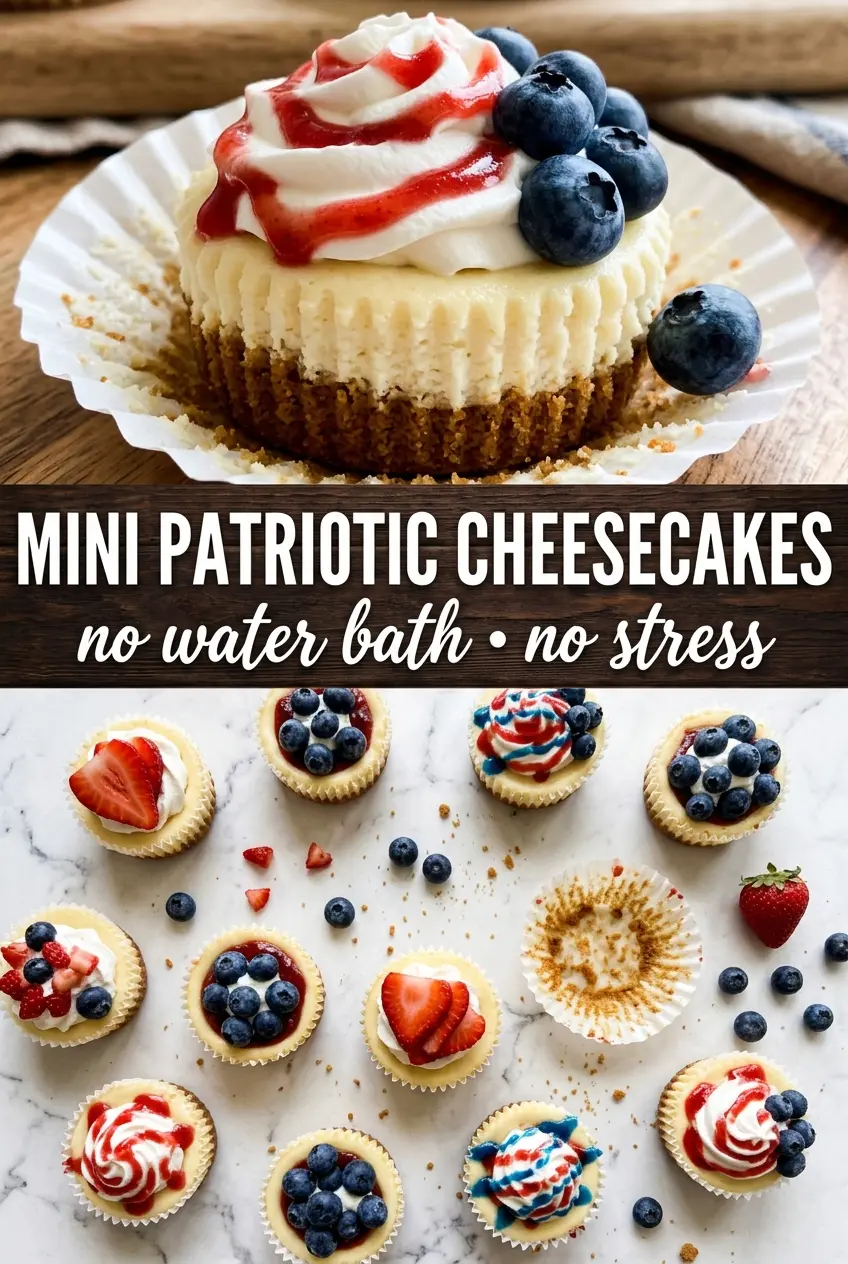
- Before serving, top each cheesecake with a swirl of whipped cream. Add the swirl in a visible spiral so it holds the ridged shape.
- Place a strawberry slice on top of each mini cheesecake. Position it so it sits near the center like a crown.
- Add a few blueberries on top after the strawberry. Distribute them so you get a red-and-blue pattern in every cup.
- Finish each cheesecake with a pinch of red and blue sprinkles. Add them right before serving for the best color.
Notes
For clean slices and the best texture, chill the mini cheesecakes until fully firm (at least 2 hours) before adding toppings. Store covered in the refrigerator for up to 3 days; freeze the baked, untopped cheesecakes up to 2 months (thaw overnight in the fridge) and then add whipped cream, fruit, and sprinkles. For a lighter option, use low-fat cream cheese to reduce calories while keeping the same bake-and-chill method.