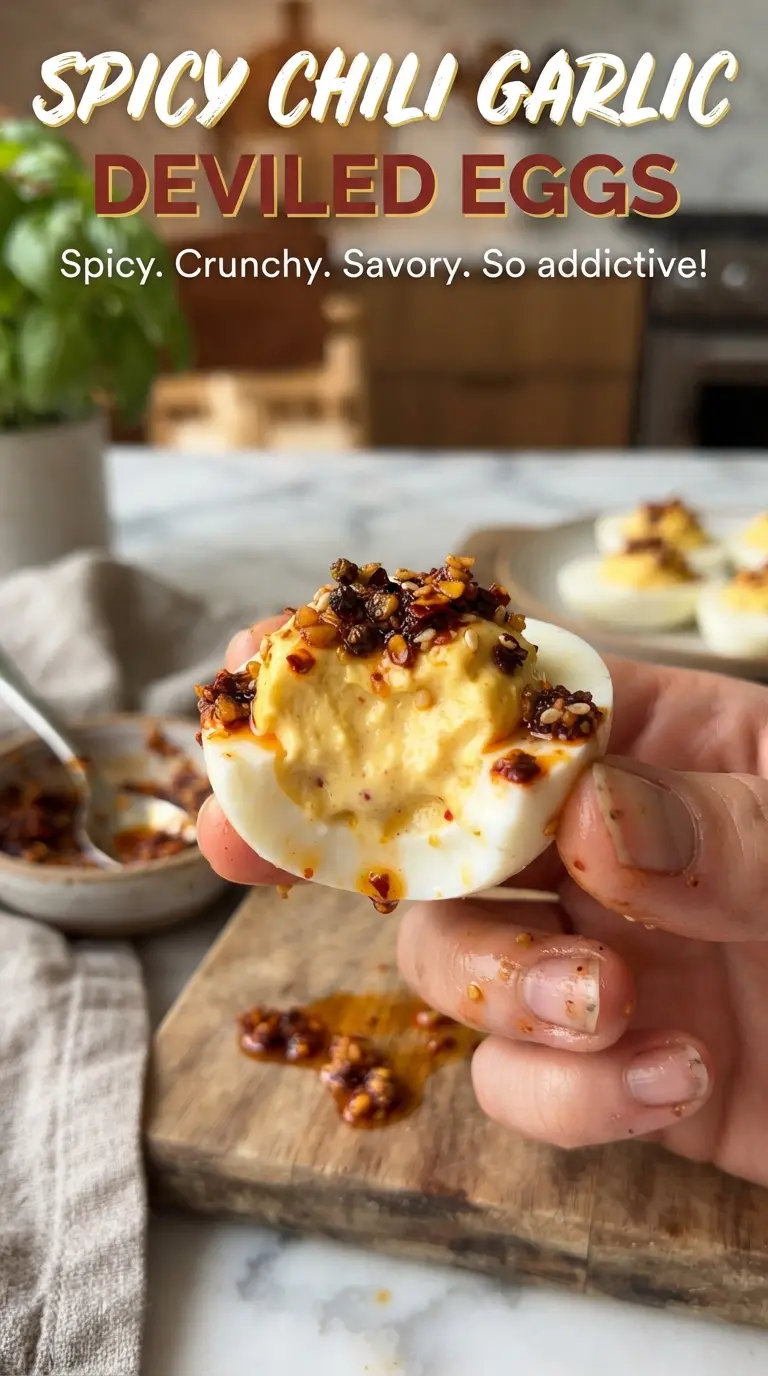
Spicy chili garlic deviled eggs disappear fast because they hit all the right notes at once: creamy yolk filling, a little tang, salty depth, and that crunchy, glossy chili crisp on top. The filling stays smooth and rich, but it doesn’t taste flat the way some deviled eggs do. Every bite has a little heat and a little texture, which is why the tray tends to come back empty.
The trick is in the balance. Kewpie mayo brings a rounder, silkier finish than standard mayonnaise, while soy sauce and rice vinegar keep the filling from tasting heavy. Sesame oil gives the eggs a nutty finish, but only a small amount matters. Too much and it takes over; just enough makes the chili crisp and garlic notes taste even bigger.
Below, you’ll find the method I trust for clean peeling, a filling that pipes smoothly, and a few smart swaps if you need them. The toppings are simple, but they’re doing real work here, so don’t skip the sesame seeds or scallions if you want the full effect.
The filling was silky and the chili crisp stayed crunchy on top even after sitting out for a bit. I liked that the soy and vinegar kept the yolks from tasting heavy.
Save these spicy chili garlic deviled eggs for your next appetizer spread when you want creamy yolks, chili crisp crunch, and a little sesame heat in every bite.
The Part That Keeps the Yolks Smooth Instead of Chalky
Deviled eggs go wrong when the yolks get overworked or the filling is mixed too stiff. For this version, the goal is a plush filling that pipes cleanly without turning pasty. Kewpie mayonnaise helps because it has a softer, rounder texture than standard mayo, and the rice vinegar loosens the mixture just enough to keep it light.
The other thing that matters is temperature. Warm yolks mash into a smoother paste, but the whites need to be fully cool and dry before filling them. If the eggs are even a little wet, the filling slides around instead of sitting neatly in each half. That small detail makes the finished tray look polished instead of messy.
- Kewpie mayonnaise — This is what gives the filling its silkier body and a slightly richer, eggier taste. Regular mayonnaise works if that’s what you have, but Kewpie gives a smoother result and a little more depth.
- Chili garlic sauce — This brings the heat and garlic backbone into the filling itself, not just on top. If yours is especially salty, start with a little less and taste before adding more.
- Chili crisp — The crisp bits on top are not decoration; they give the eggs texture and a toasted, savory finish. Use a spoon that scoops up both oil and solids so every egg gets some crunch.
- Sesame oil — A half teaspoon is enough to make the filling taste nutty and layered. More than that starts to dominate, so keep it measured.
What Each Ingredient Is Actually Doing in This Recipe
- Primary ingredient (the star) — Quality matters most. Choose the best you can find.
- Cooking medium (oil, butter, or broth) — This carries flavors and prevents dryness.
- Seasonings (salt, pepper, spices, herbs) — Layer flavors so nothing overpowers. Build depth gradually.
- Aromatics (garlic, onion, herbs) — Cook with fat to bloom flavors. Become the foundation.
- Supporting ingredients — Complement the main ingredient without overpowering it.
- Sauce or liquid (if applicable) — Brings flavors together. Balance richness with acid.
- Acid (lemon, vinegar, wine, or other) — Brightens and prevents flat-tasting results.
- Final finish (garnish, glaze, or sauce) — Prevents one-dimensional taste and adds visual appeal.
Building the Filling So It Pipes Cleanly
Cooking the Eggs Just Enough
Put the eggs in cold water, bring them up to a boil, then pull the pot off the heat and cover it for 12 minutes. That method gives you set whites and yolks that are cooked through but not dry and sulfurous. Move them straight into an ice bath for 10 minutes; that stop-start treatment makes peeling easier and keeps the yolks from turning gray around the edges.
Mashing the Yolks Into a Silky Base
Halve the eggs lengthwise and pop the yolks into a bowl. Mash them first on their own until they look sandy, then add the mayonnaise, chili garlic sauce, soy sauce, rice vinegar, and sesame oil. Keep mixing until the filling is completely smooth; if you leave small lumps now, they’ll show up later when you pipe or spoon the mixture into the whites.
Finishing With Crunch and Heat
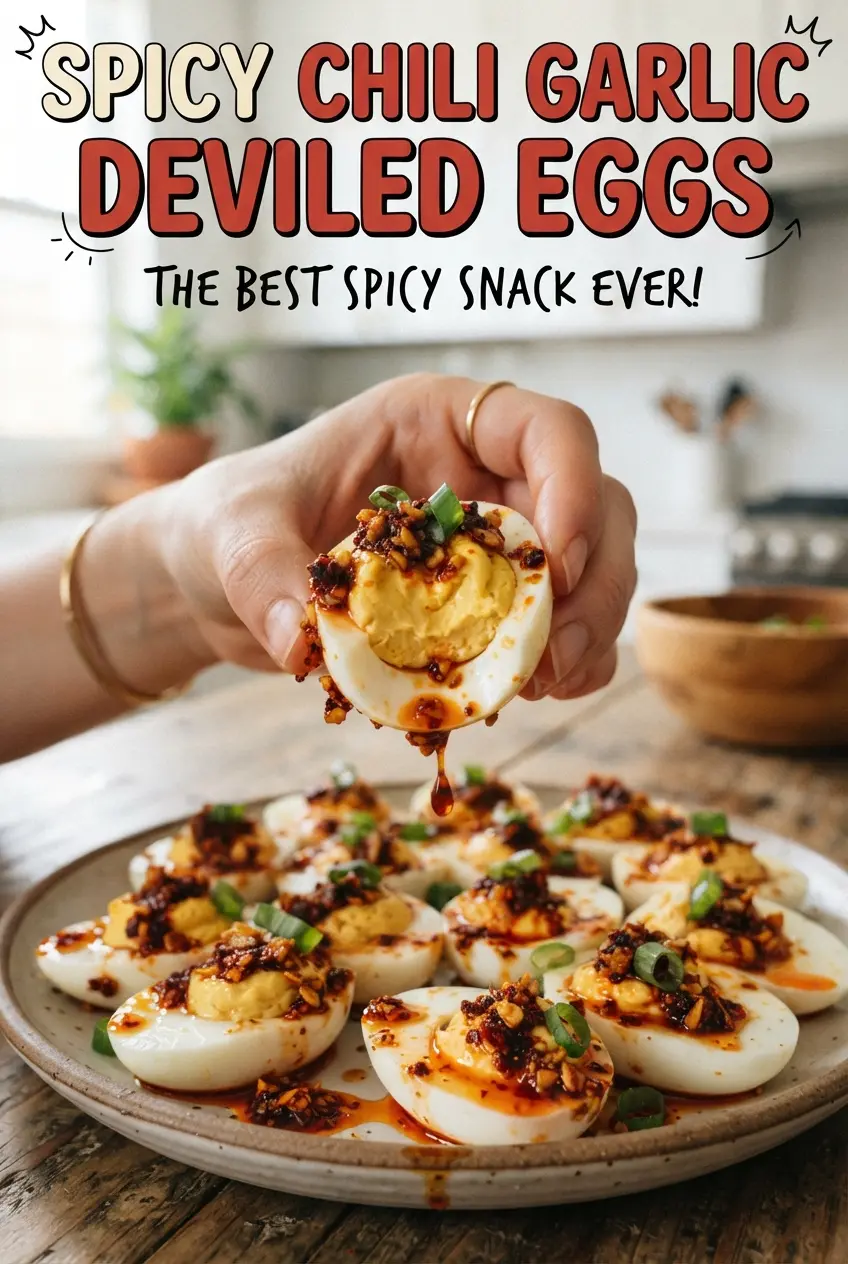
Pipe or spoon the filling into the whites, then top each one with a little chili crisp. Don’t stir the chili crisp into the filling unless you want to lose the contrast, because its crunch is part of what makes these eggs stand out. Finish with toasted sesame seeds and sliced green onions right before serving so they stay bright and crisp.
How to Adapt These Eggs for Different Crowds and Diets
Swap the Mayo for a Dairy-Free-Friendly Base
These eggs are already dairy-free as written, but if you need to avoid certain egg-mayo brands, use a neutral, egg-based mayonnaise that you know works for your diet. The filling still stays creamy because the richness comes from the yolks themselves, not just the mayo.
Use Gochujang for a Sweeter, Deeper Heat
If you want less sharp garlic heat and more mellow spice, replace the chili garlic sauce with a little gochujang. The filling will be thicker and a touch sweeter, so add it gradually and thin with a few drops more vinegar if needed.
Make Them Milder for a Bigger Mixed Crowd
Cut the chili garlic sauce back by half and use only a spoonful of chili crisp on top instead of a generous layer. You’ll still get the sesame and soy notes, but the eggs read as savory first and spicy second.
Storage and Reheating
- Refrigerator: Store covered for up to 2 days. The yolk filling stays tasty, but the sesame seeds and scallions lose some of their snap.
- Freezer: Don’t freeze deviled eggs. The whites turn rubbery and the filling separates after thawing.
- Reheating: These are meant to be served cold. If they sit in the fridge too long, let them rest at room temperature for 10 to 15 minutes before serving so the filling softens slightly and the flavors open up.
Questions I Get Asked About This Recipe
Spicy Chili Garlic Deviled Eggs
Ingredients
Equipment
Method
- Place large eggs in a pot, cover with cold water, and bring to a boil; cover, remove from heat, and let stand 12 minutes.
- Chill the eggs in an ice bath for 10 minutes, then peel and halve lengthwise.
- Mash the yolks with Kewpie mayonnaise, chili garlic sauce, soy sauce, rice vinegar, and sesame oil until smooth.
- Pipe the yolk filling into the egg whites.
- Spoon a little chili crisp over each egg.
- Sprinkle with toasted sesame seeds and sliced green onions, then serve.