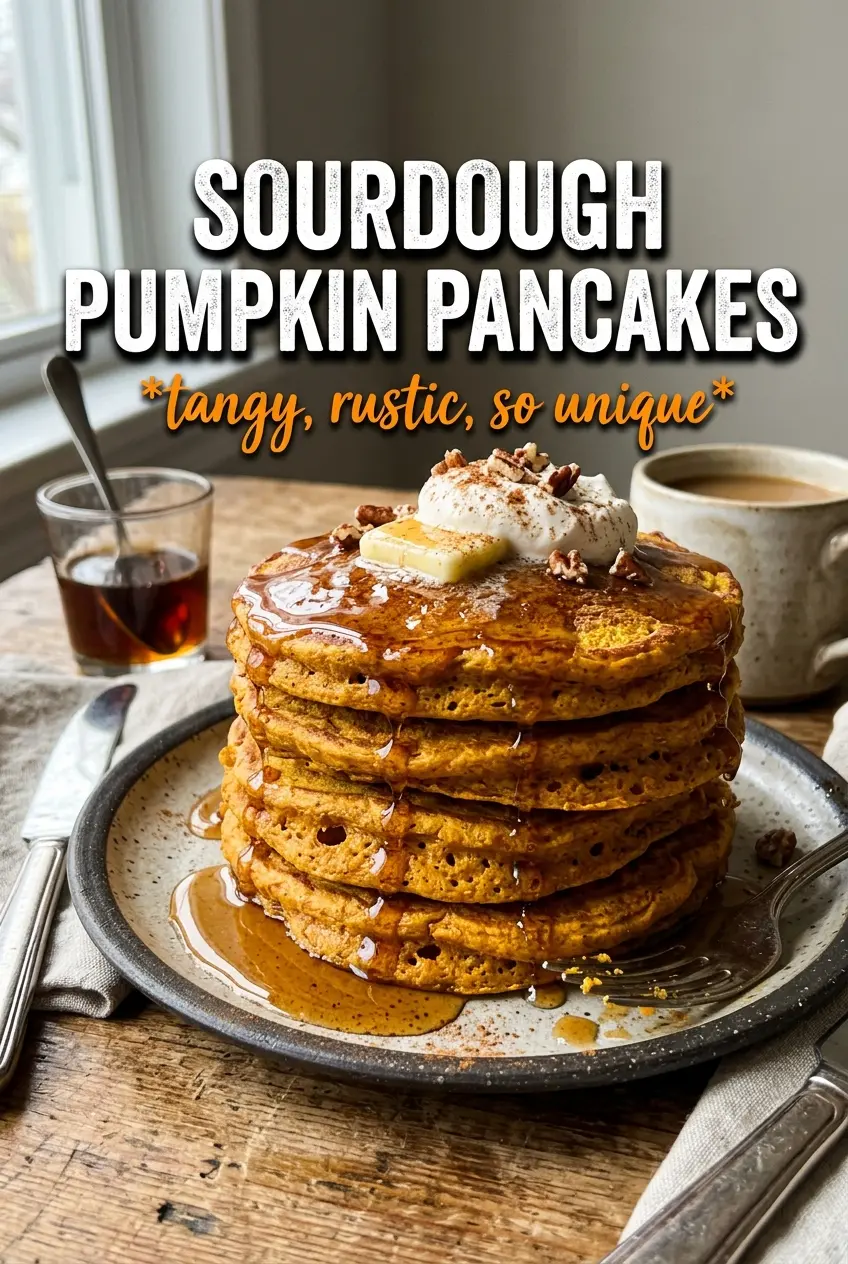
Fluffy sourdough pumpkin pancakes hit that sweet spot between cozy and bright: tender in the middle, lightly crisp at the edges, with a gentle tang that keeps the pumpkin and maple from tasting flat. The sourdough doesn’t make them taste sour in a bold way. It just gives the batter a little more depth, and that makes each bite feel more rounded and satisfying.
The trick is waiting to add the baking soda until the batter is ready to hit the griddle. That last-minute stir wakes up the starter, gives the pancakes lift, and keeps them from turning heavy. Pumpkin puree adds moisture, so the batter should look thick but still pourable. If it seems stiff, a splash of milk loosens it without thinning the flavor.
Below you’ll find the small details that matter most: how to keep the pancakes light instead of gummy, what to do if your starter is discard, and how to get those edges just a little bit bronzed without burning the outside before the center sets.
The batter puffed up beautifully after I stirred in the baking soda, and the pancakes came out tender with just enough tang to balance the pumpkin. I served them with salted butter and maple syrup, and the edges got those little crispy spots we all fought over.
Save these sourdough pumpkin pancakes for a breakfast that stays fluffy, tangy, and maple-ready.
The Trick to Keeping Sourdough Pancakes Light Instead of Dense
Pancakes made with sourdough starter can go heavy fast if the batter sits too long after the leavening goes in. The starter brings acidity and body, but the baking soda is what gives you the lift. Once those two meet, the batter starts working right away, so the pan needs to be ready before you stir it in.
Another thing that trips people up is overmixing. You want the flour streaks gone, but you don’t want to beat air out of the batter or make the gluten tough. A few small lumps are fine, and with pumpkin in the mix, the batter should still look a little loose and glossy rather than pasty.
- Sourdough starter — Active starter gives a slightly more pronounced tang and a touch more lift, but discard works well here too. If your starter is thick, thin it with the milk so the batter doesn’t turn stodgy.
- Pumpkin puree — Use plain pumpkin puree, not pumpkin pie filling. The puree adds moisture and a soft custardy texture, but too much can make the pancakes gummy, so measure it level.
- Baking soda — This is the ingredient that changes the whole batter from dense to airy. Stir it in at the very end and cook right away, because the bubbles start forming immediately.
- Maple syrup — A little syrup in the batter rounds out the sourdough tang. The real payoff, though, is on the plate, where it amplifies the pumpkin without making the pancakes taste candy-sweet.
What Each Ingredient Is Actually Doing in the Batter
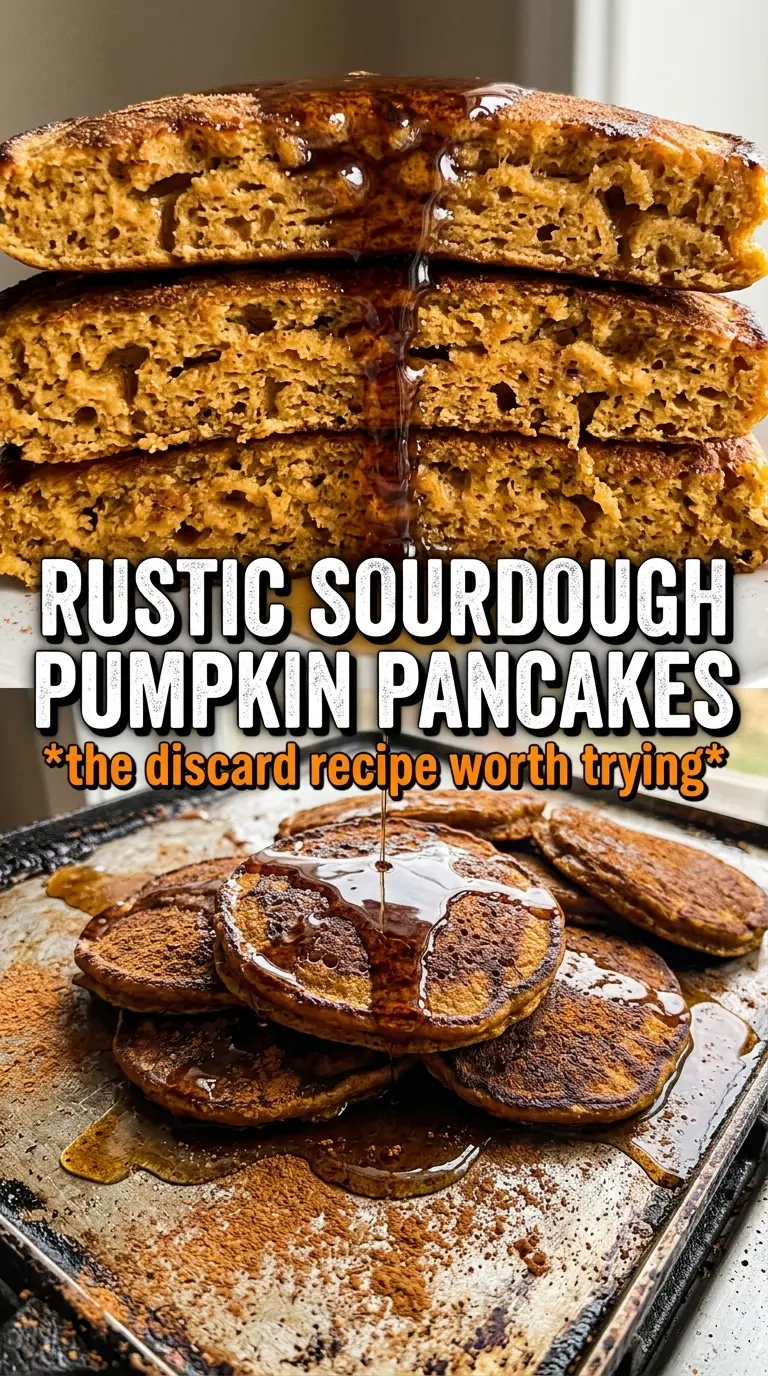
- All-purpose flour — This gives the pancakes enough structure to hold the pumpkin and starter without turning cakey. Bread flour makes them chewier; if that’s not what you want, stick with all-purpose.
- Milk — Milk loosens the starter and keeps the batter pourable. Any milk works here, including dairy-free milk, though unsweetened versions keep the flavor cleaner.
- Eggs — Eggs bind the batter and help the pancakes set before the centers dry out. If you leave them out, the pancakes lose height and tend to break apart when flipped.
- Melted butter — Butter adds richness and helps the edges brown. If you use oil instead, you’ll still get tender pancakes, but the flavor will be a little flatter.
- Pumpkin pie spice and cinnamon — These build the warm spice backbone. Pumpkin pie spice alone can taste one-note, so the extra cinnamon keeps the flavor brighter and more layered.
- Vanilla — Vanilla softens the sour edge from the starter and helps the pancakes smell as good as they taste. It doesn’t need to be expensive, but it should taste clean, not bitter.
Getting the Batter to Bubble at Exactly the Right Time
Mix the base until it just comes together
Whisk the starter, flour, pumpkin puree, milk, eggs, melted butter, maple syrup, spices, and vanilla until the batter looks mostly smooth. Stop as soon as the flour disappears. If you keep whisking, the pancakes get rubbery instead of tender. The batter should be thick enough to hold shape on a spoon but loose enough to pour in a steady ribbon.
Stir in the baking soda at the last second
Add the baking soda and salt only when the skillet is already heating. Give the batter a few quick folds, then cook right away. You should see small bubbles form and the batter may look slightly lighter almost immediately. If you wait ten minutes or more, the lift fades before it reaches the pan.
Cook until the edges set and the bubbles stay open
Use medium heat and a lightly greased skillet or griddle. Pour about 1/4 cup batter per pancake and let them cook until the tops show bubbles and the edges look set, 2 to 3 minutes. Flip when the underside is deep golden, not pale. If the heat is too high, the outside browns before the center has a chance to rise.
Finish with a gentle second side
The second side usually needs only about 2 minutes. You’re looking for a springy center and a clean release from the pan, not a dark crust. Move finished pancakes to a warm plate and keep going. If they steam up and turn soggy, your pan is too crowded or the heat is too low.
Three Ways to Work This Batter Around What You Have
Dairy-Free Pancakes
Swap the milk for unsweetened almond, oat, or soy milk and use neutral oil instead of butter. The pancakes stay tender, though the flavor loses a little richness, so the maple syrup on top matters even more.
Using Sourdough Discard
Discard works beautifully here and gives the same tender texture with a little less rise than a freshly fed starter. That’s fine because the baking soda does the heavy lifting at the end. Just don’t use discard that’s overly sour or poorly stored, or the pancakes will taste sharp instead of balanced.
Gluten-Free Version
A 1:1 gluten-free flour blend can work here, but choose one with xanthan gum already added. The pancakes may be a touch more fragile, so let the first side set fully before flipping and keep the pancakes a little smaller.
Storage and Reheating
- Refrigerator: Store in an airtight container for up to 3 days. The pancakes soften a bit as they sit, but they still reheat nicely.
- Freezer: They freeze well. Layer with parchment, seal tightly, and freeze for up to 2 months.
- Reheating: Warm in a toaster oven, skillet, or 325°F oven until heated through. The mistake is microwaving them too long, which makes the centers rubbery and the edges damp.