Scalloped potatoes earn their place on the table when the layers hold together just enough to slice cleanly, but melt apart the second the fork goes in. The best versions don’t turn watery or gluey; they come out with tender potato slices wrapped in a creamy sauce that has thickened enough to coat every layer, plus a browned top that gives you a little crunch in each bite.
The trick is building the sauce before it ever touches the potatoes. A short flour-butter base keeps the dairy from thinning out in the oven, and simmering it briefly before layering gives you a head start on the final texture. Russet potatoes are the right call here because they soften beautifully and help thicken the sauce just a bit as they bake, while the onion and thyme keep the dish from tasting flat or one-note.
Below, you’ll find the small details that matter most: how thick to slice the potatoes, when the sauce should look ready, and why the rest time after baking is the difference between neat layers and a pan that runs all over the plate.
The sauce thickened up perfectly and the potatoes were tender all the way through without falling apart. That little rest at the end made the slices hold together when I served them.
Love the creamy layers and golden top on these scalloped potatoes? Save it to Pinterest for the holiday table, Sunday dinner, or any night you want a side dish that slices beautifully.
The Reason Scalloped Potatoes Turn Runny Instead of Creamy
The usual failure point with scalloped potatoes is too much liquid and not enough structure. Raw potato slices release starch as they bake, and if the sauce starts out thin, that starch and moisture turn the pan soupy before the potatoes ever get tender. This version avoids that by cooking the flour into the butter first, then simmering the milk and cream until the sauce already has some body before it meets the dish.
Another mistake is slicing the potatoes unevenly. Thick slices stay firm while thinner ones collapse, and you end up with a tray that eats patchy instead of smooth. An 1/8-inch slice gives the best balance: tender enough to soften in the full bake time, but sturdy enough to layer cleanly and hold the sauce between them. The 15-minute rest at the end matters just as much. That’s when the sauce settles and the layers finish setting, so don’t cut into it the second it leaves the oven.
What the Potatoes, Dairy, and Parmesan Are Each Doing Here
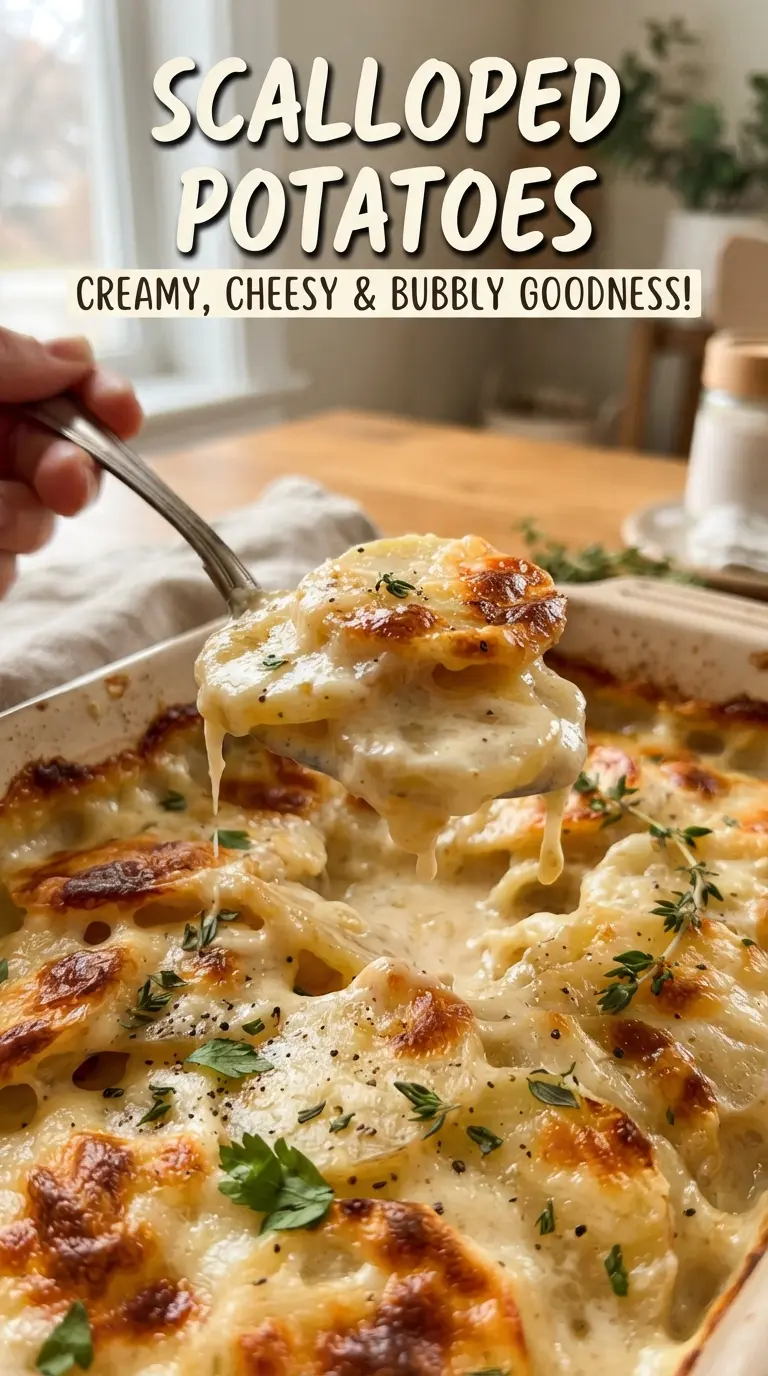
- Russet potatoes — These soften into a tender, sliceable layer and their starch helps the sauce feel thicker and more integrated. Yukon Golds will work if that’s what you have, but the final texture will be a little silkier and less fluffy.
- Whole milk and heavy cream — The combination gives you richness without making the sauce taste greasy. You can swap in half-and-half, but the dish will be a little lighter and less luxurious, and it won’t brown quite as deeply.
- Butter and flour — This is what keeps the sauce from breaking into a thin puddle. Let the flour cook for a full minute so the finished dish doesn’t taste pasty, but don’t let it darken much or the sauce can pick up a toasted flavor.
- Onion — Thin slices soften between the layers and add sweetness that keeps the dish from tasting heavy. If you want a milder result, soak the sliced onion in cold water for 10 minutes and drain well before layering.
- Parmesan — It’s the finishing edge that gives the top a salty, nutty crust. Use finely grated Parmesan so it melts and browns evenly instead of sitting in clumps.
Building the Layers So They Bake Evenly All the Way Through
Start with the sauce, not the potatoes
Melt the butter, cook the garlic just until fragrant, then whisk in the flour and let it bubble for a minute. The goal is a smooth paste that smells nutty, not raw. When you add the milk and cream, whisk constantly and keep the heat moderate so the sauce thickens without scorching on the bottom. It should coat a spoon and leave a clear line when you drag your finger through it.
Stack the potatoes tightly
Arrange the potato slices and onion in three layers, pouring sauce over each one so every slice gets coated. Press the layers down lightly with the back of a spoon to help the sauce settle between them. If the slices are tossed in loosely, dry edges can poke up through the top and bake unevenly. Keep the layering even from corner to corner so the dish cooks at the same pace.
Bake covered, then finish uncovered
The foil traps steam and gets the potatoes tender without drying the top out early. After an hour, uncover the dish, add the Parmesan, and let the heat work directly on the surface until the top turns deep golden and the sauce bubbles at the edges. If the top browns too quickly before the potatoes are fork-tender, lay the foil back on loosely for the last stretch.
Rest before serving
This is the part people skip, and it’s the difference between creamy slices and a casserole that runs across the plate. Fifteen minutes gives the sauce time to tighten and the starch time to settle. The dish will still be hot, but it’ll cut cleaner and taste more cohesive.
How to Adapt These Scalloped Potatoes for Different Tables
Make It Gluten-Free
Swap the all-purpose flour for a measure-for-measure gluten-free blend that contains xanthan gum. The sauce will still thicken, but give it an extra minute of simmering time because some gluten-free blends need a little longer to lose their raw edge.
Use Yukon Gold Potatoes for a Softer, Silkier Bite
Yukon Golds hold their shape a touch better than russets and give you a denser, creamier texture. They won’t absorb quite as much sauce, so the finished dish tastes a little richer and more polished, with less of the fluffy potato texture russets bring.
Add Ham or Bacon for a Main-Dish Side
Fold a thin layer of chopped cooked ham or crisp bacon between the potato layers. The saltier meat gives the dish more contrast and turns it into something heartier, but cut back the added salt in the sauce a little so the final pan doesn’t taste too salty.
Storage and Reheating
- Refrigerator: Store leftovers covered for up to 4 days. The sauce will thicken as it chills, and the top will soften.
- Freezer: It freezes, but the texture softens a bit after thawing. Wrap tightly and freeze for up to 2 months for best results, then thaw overnight in the fridge before reheating.
- Reheating: Cover and warm in a 325°F oven until hot in the center. The common mistake is blasting it uncovered in a hot oven, which dries out the top before the middle heats through.
Questions I Get Asked About This Recipe
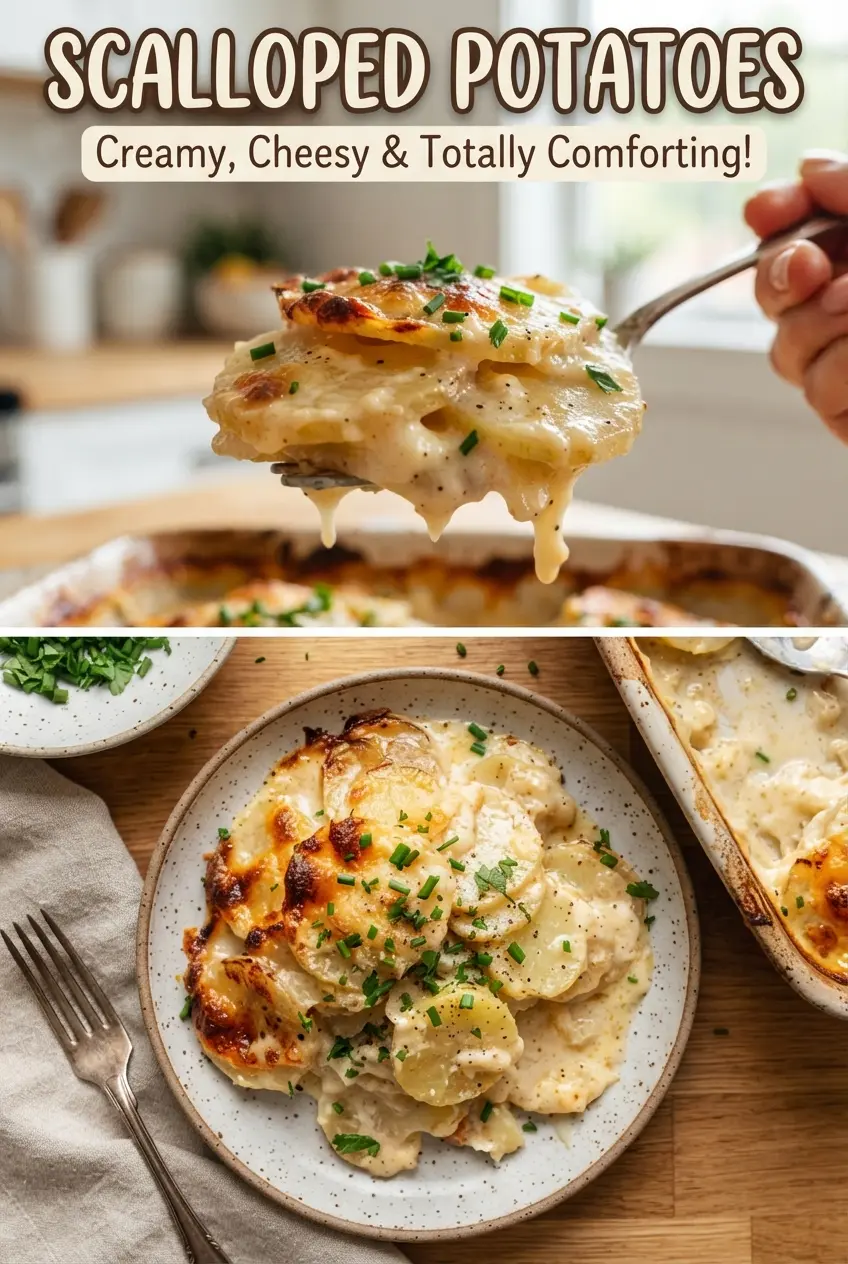
Scalloped Potatoes
Ingredients
Equipment
Method
- Preheat oven to 375°F, then butter a 9x13-inch baking dish.
- Melt butter in a saucepan, cook garlic for 30 seconds, and whisk in flour for 1 minute.
- Gradually whisk in the milk and cream, then simmer until slightly thickened.
- Season the sauce with salt, black pepper, and fresh thyme leaves.
- Layer potatoes and onion in the dish in three layers, pouring sauce over each layer.
- Cover with foil and bake for 1 hour at 375°F.
- Uncover, sprinkle with Parmesan, and bake 25-30 minutes at 375°F until golden and fork-tender.
- Rest scalloped potatoes for 15 minutes before serving to help the layers set.