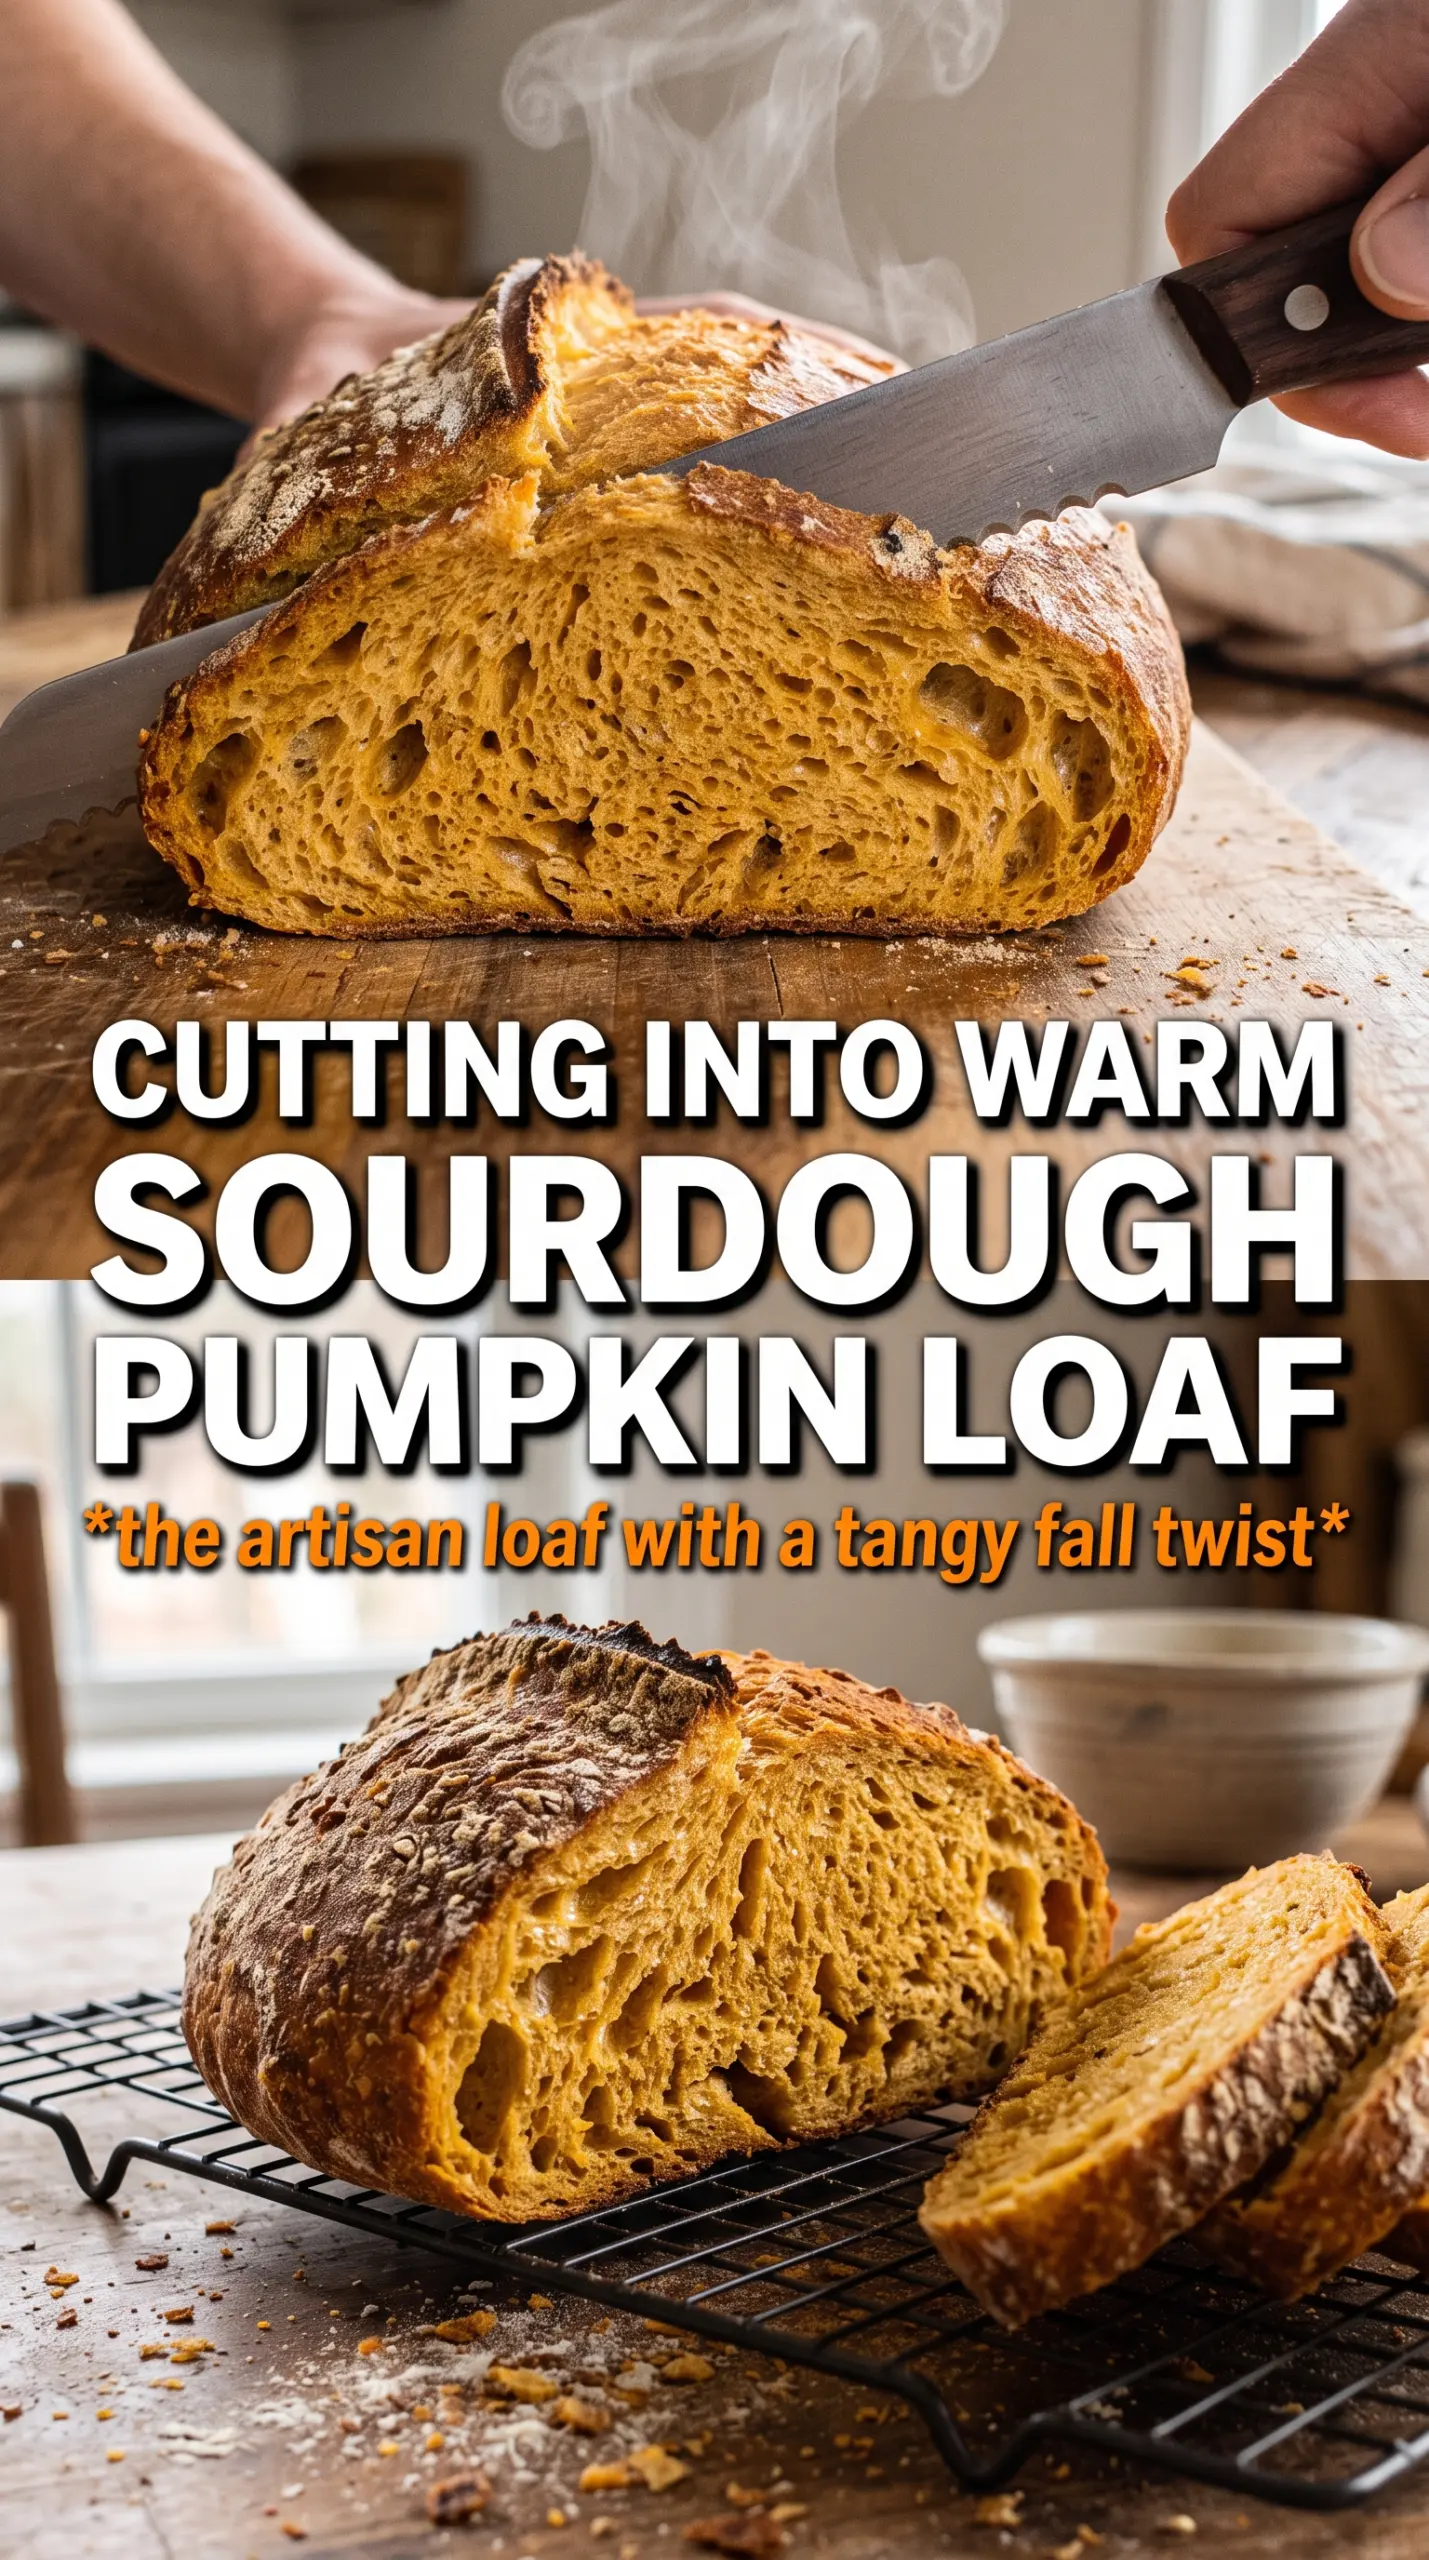
Burnished crust, a soft amber crumb, and that gentle pumpkin aroma make this loaf the one people remember after the first slice. The pumpkin doesn’t just add color here; it gives the bread a tender, almost custardy interior that still holds the open structure sourdough is known for. You get a loaf that feels rustic and special without turning sweet or cakey.
The trick is balancing the pumpkin puree with enough bread flour and time. Pumpkin brings extra moisture and a little natural starch, so the dough starts out stickier than a standard sourdough. A long autolyse helps the flour hydrate before the salt goes in, and the cold proof gives the loaf enough strength to score cleanly and bake up with a good rise instead of spreading into a flat oval.
Below, I’ve included the detail that matters most with this dough: how to judge bulk fermentation when pumpkin changes the way the dough looks and feels. That’s the part that usually decides whether the loaf bakes up tall and airy or dense in the middle.
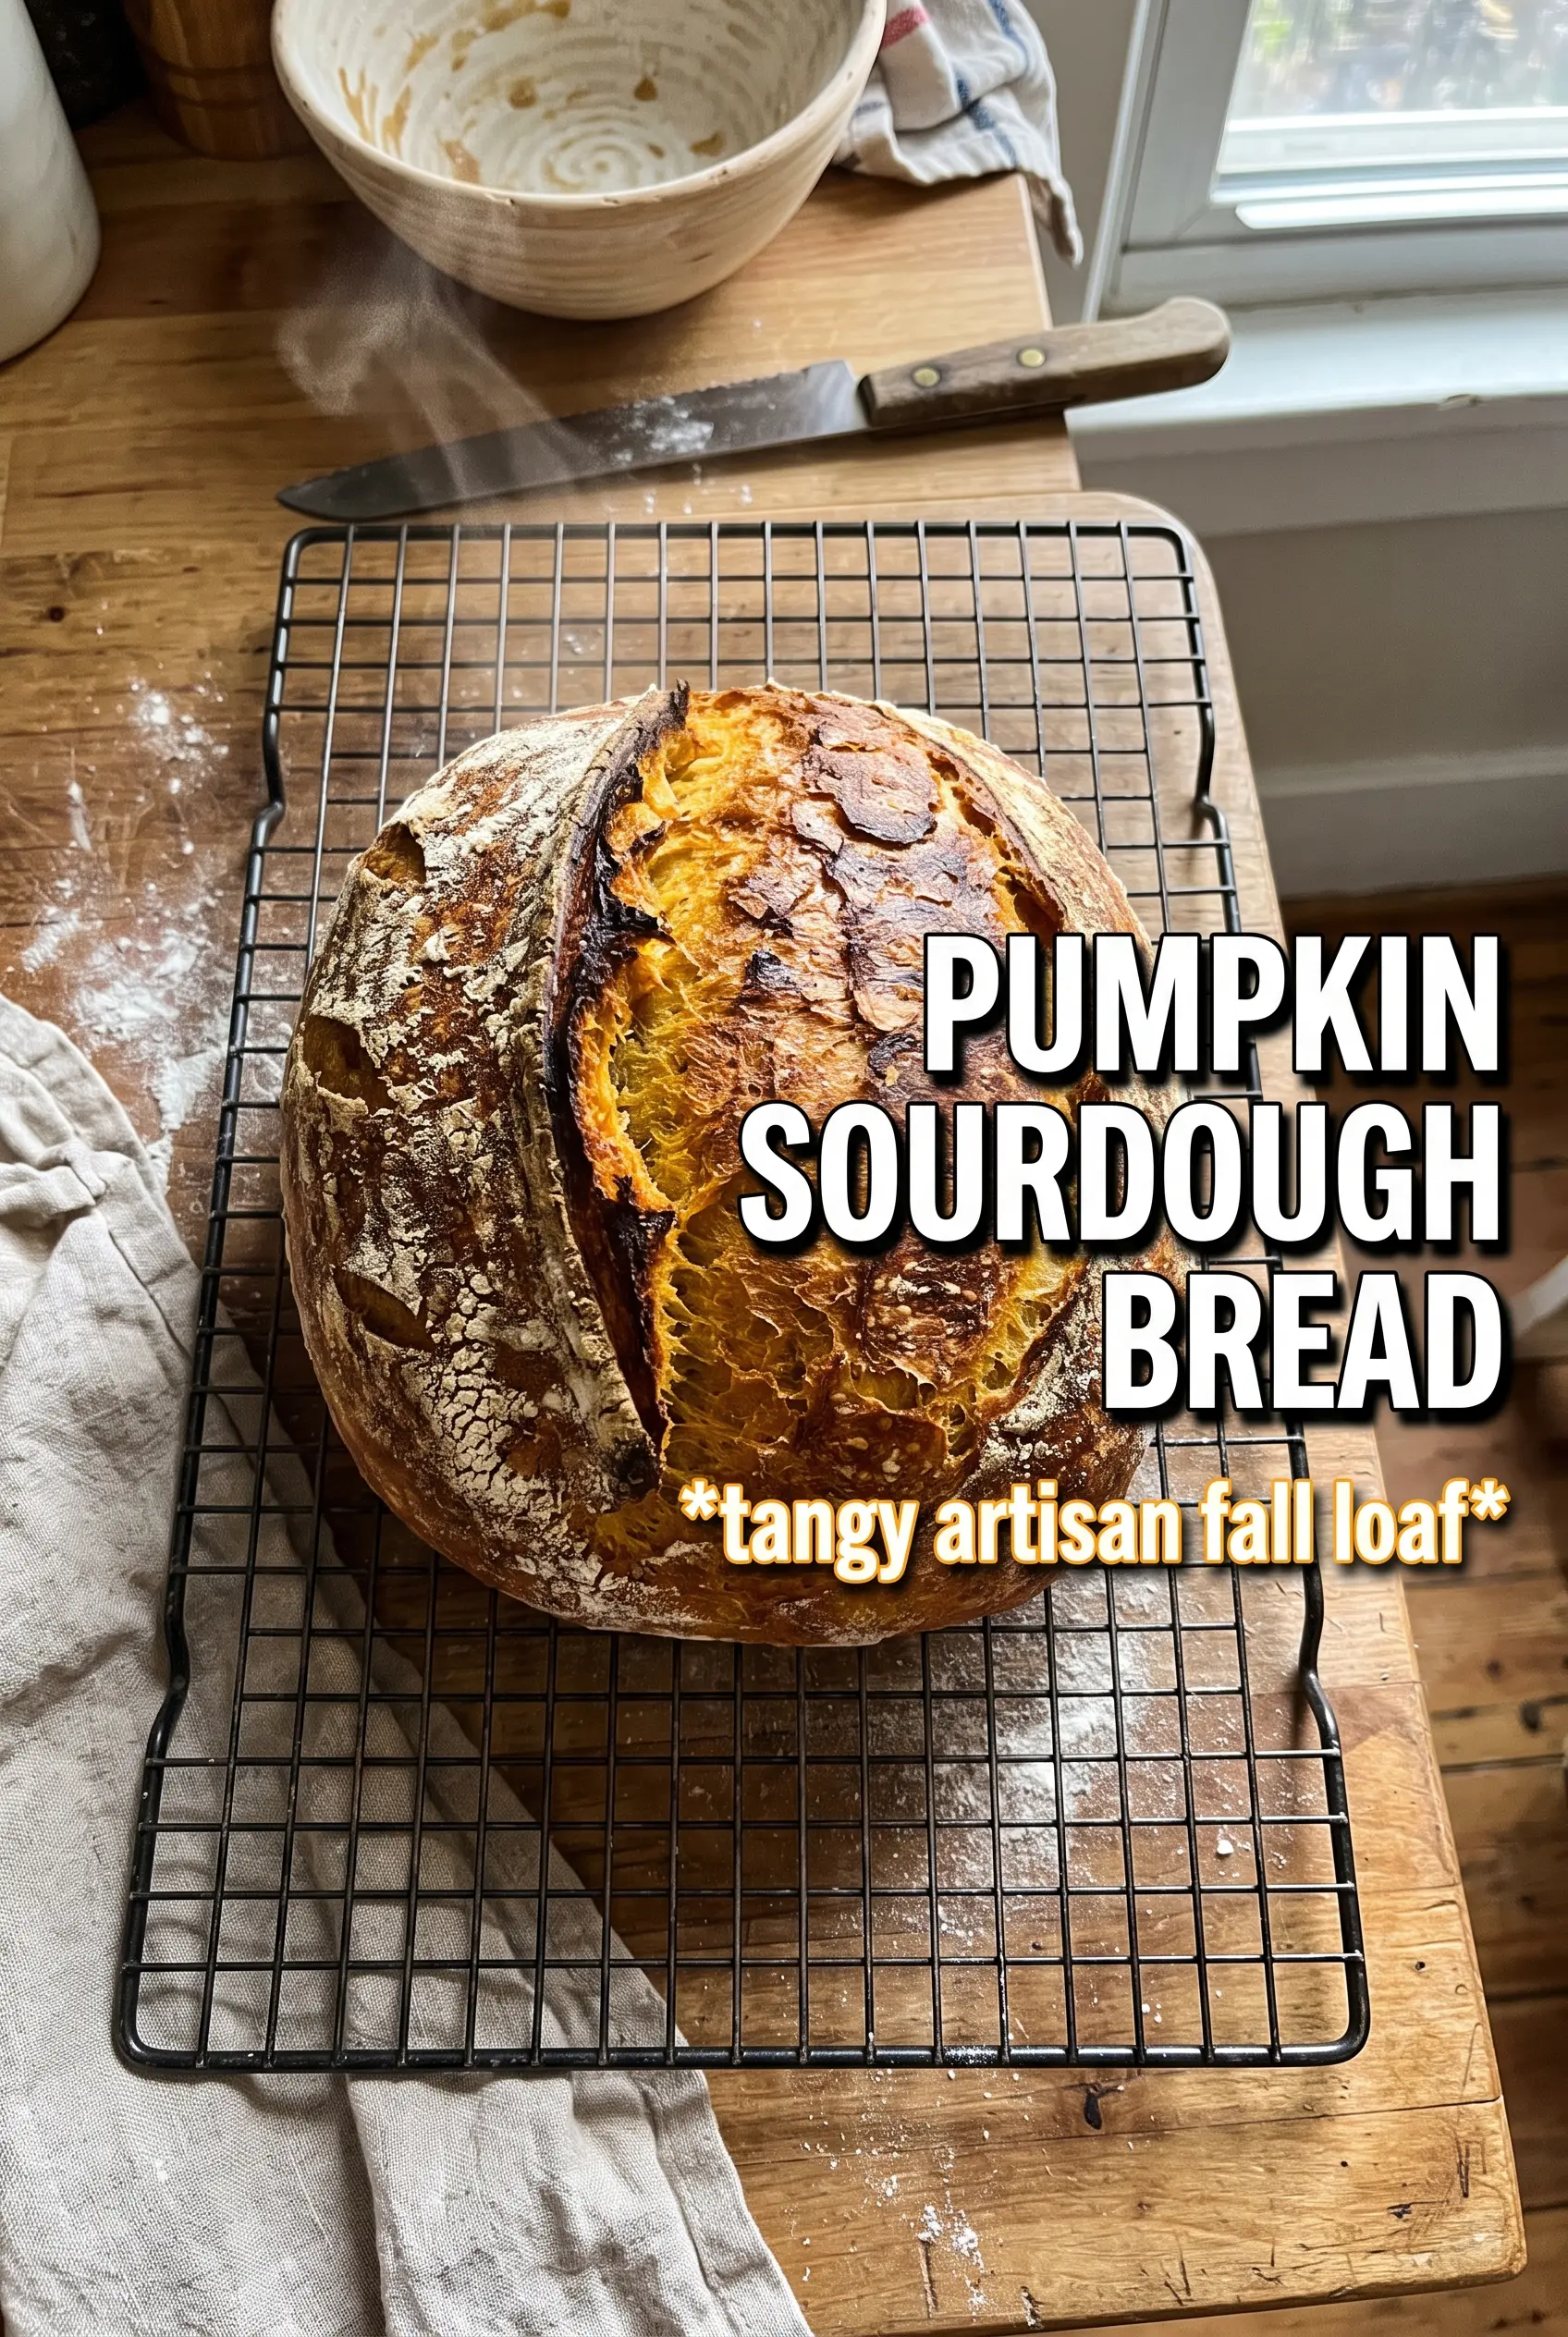
The dough felt sticky at first, but after the stretch and folds it turned smooth and held its shape. The crust came out deeply golden and the crumb was soft with just enough chew.
Save this pumpkin sourdough bread for the loaf with a golden crust, soft crumb, and that overnight proof you can plan around.
The Part Most Pumpkin Sourdough Loaves Get Wrong
Pumpkin puree changes the dough in two ways at once: it adds moisture and it softens the gluten. That’s where a lot of loaves go sideways. If you treat it like a standard sourdough dough and stop as soon as it looks mixed, the bread can bake up squat or gummy because the flour never fully absorbs the extra liquid.
The other mistake is pushing bulk by the clock alone. Pumpkin dough often looks smoother before it’s actually strong, and it can hide fermentation a little better than plain dough. Watch for bubbles along the sides, a dough that feels lighter when you lift the bowl, and a clear rise that’s close to doubled. If it’s still tight and dull on top, give it more time even if the timer says you’re done.
- Whole wheat flour — Just a little here adds depth and helps the loaf taste more grounded. You can swap in more bread flour if needed, but you’ll lose some of that nutty backbone.
- Active sourdough starter — This needs to be lively and recently fed. A sluggish starter will drag out fermentation and leave the crumb tight.
- Pumpkin puree — Use plain pumpkin puree, not pie filling. The puree provides flavor, color, and moisture, but too much added sugar or spice will throw off both fermentation and texture.
- Rice flour for shaping — This is worth using for the banneton because it stays dry and releases cleanly. Regular flour can absorb too much moisture and glue the dough to the basket.
What Each Ingredient Is Actually Doing in This Dough
- Bread flour — This gives the loaf the strength it needs to hold onto gas during the long ferment. If you use all-purpose flour, the bread will still work, but the crumb usually comes out softer and less lofty.
- Whole wheat flour — A small amount adds flavor and helps the dough ferment a little more actively. More than this and the loaf can start feeling heavy, especially with the pumpkin in the mix.
- Active sourdough starter — The starter is the engine here, so use it at peak activity. If it’s past its peak, the dough may still rise, but it won’t have the same airy structure.
- Pumpkin puree — This is the ingredient that gives the bread its warm color and soft, plush crumb. It’s also why the dough feels wetter than a basic sourdough, so resist the urge to add extra flour unless it’s truly soupy.
- Maple syrup — Just a tablespoon rounds out the pumpkin and feeds the yeast a little without making the loaf sweet. Honey works in a pinch, but maple keeps the flavor cleaner and more autumnal.
- Salt — Salt tightens the dough and keeps the flavor from tasting flat. Add it after the autolyse so the flour can hydrate first.
- Pumpkin pie spice and cinnamon — These should stay in the background, not take over the loaf. If you want a more restrained bread, cut the spices in half and keep the pumpkin flavor front and center.
How to Build Strength Before the Dough Gets Sticky
Mixing and Autolyse
Stir the flour, starter, water, pumpkin puree, maple syrup, cinnamon, and pumpkin pie spice together until no dry flour remains, then let the dough rest for 30 minutes. It will look rough and shaggy at first, and that’s fine; the rest lets the flour absorb the pumpkin and water before salt tightens things up. If you rush this part, the dough stays harder to handle and needs more aggressive mixing later, which can tear the gluten before it has a chance to develop.
Stretching the Dough Into Structure
Add the salt and mix until it’s fully incorporated, then do four sets of stretch and folds every 30 minutes. Each round should make the dough feel smoother, stronger, and slightly more elastic. If the dough keeps tearing, stop pulling so hard and let it rest longer between sets; the gluten is telling you it needs time, not force.
Reading the Bulk Ferment
Let the dough ferment at room temperature for 4 to 6 hours, but judge it by look and feel instead of the clock alone. You want a noticeable rise, a domed surface, and bubbles forming around the edges and just under the top skin. Under-fermented dough bakes dense; over-fermented dough spreads and loses the tight round shape you want for a good oven spring.
Shaping and Cold Proofing
Turn the dough onto a lightly floured surface, shape it into a boule or batard, and place it seam-side up in a well-floured banneton. Rice flour helps here because it prevents sticking without turning pasty overnight. The cold proof in the fridge for 8 to 12 hours firms the dough, improves scoring, and gives the loaf a cleaner shape when it hits the hot Dutch oven.
Baking for a Dark, Crackly Crust
Preheat the oven with the Dutch oven inside for a full 45 minutes at 500°F. That heat soak matters, because a cold pot won’t give you the burst of steam and oven spring this loaf needs. Bake covered for 20 minutes, then uncover and finish until the crust turns deeply golden and the loaf sounds hollow when tapped on the bottom.
How to Adapt This Loaf Without Losing the Good Parts
Dairy-Free and Naturally Egg-Free
This loaf is already dairy-free and egg-free, which makes it an easy one to keep that way. The only thing to watch is hidden dairy in any starter add-ins or flavored puree; plain starter, flour, pumpkin, and spices keep it clean and simple.
Make It More Whole Grain
You can replace up to half of the bread flour with whole wheat flour for a deeper, nuttier loaf. Past that point, the bread gets noticeably tighter and may need a little extra water because whole wheat drinks up more moisture than white flour.
Swap the Maple Syrup
Honey works if that’s what you have, but it gives the loaf a slightly different sweetness and can make the crust color faster. Use the same amount and watch the bake near the end so the sugar doesn’t push the crust too dark before the inside is done.
Storage and Reheating
- Refrigerator: Store the cooled loaf wrapped well for up to 4 days. The crumb will firm up a little in the fridge, which is normal for sourdough.
- Freezer: This bread freezes well. Slice it first, wrap tightly, and freeze for up to 2 months so you can toast pieces straight from frozen.
- Reheating: For the best texture, toast slices or warm the whole loaf in a 300°F oven for 10 to 15 minutes. Don’t microwave it unless you like a chewy, slightly gummy crumb.
Questions I Get Asked About This Recipe
Pumpkin Sourdough Bread
Ingredients
Equipment
Method
- Mix bread flour, whole wheat flour, active sourdough starter, water (room temperature), pumpkin puree, maple syrup, pumpkin pie spice, and cinnamon in a bowl until no dry flour remains. Rest the dough 30 minutes to hydrate and begin gluten development.
- Add salt and mix thoroughly until fully incorporated. Cover and let rest while you prepare to fold.
- Perform stretch and folds on the dough, then rest 30 minutes. Repeat this for 4 sets total, each time tightening the dough.
- Cover the dough and let it ferment at room temperature until doubled and visibly bubbly, about 4-6 hours. Look for increased volume and a lively, aerated texture.
- Shape the dough into a boule or batard and place it seam-side up in a banneton dusted with rice flour for shaping. The seam should face upward so it opens nicely in the oven.
- Refrigerate the shaped dough for 8-12 hours for a cold proof. Keep it covered until it looks slightly puffed but still firm.
- Preheat the oven to 500F with a Dutch oven inside for 45 minutes so it’s fully hot. The pan should be ready before the loaf goes in.
- Turn the dough out onto parchment and score the top with a single confident cut. The cut should open as the loaf expands.
- Bake covered for 20 minutes at 500F in the preheated Dutch oven. Watch for the crust to begin setting and rising.
- Uncover and bake for 20-25 minutes at 500F until deeply golden. Aim for a bold caramel-brown crust and a hollow, set feel.
- Cool the loaf completely on a wire rack before slicing. This prevents gummy crumb and helps the crust finish crisping.