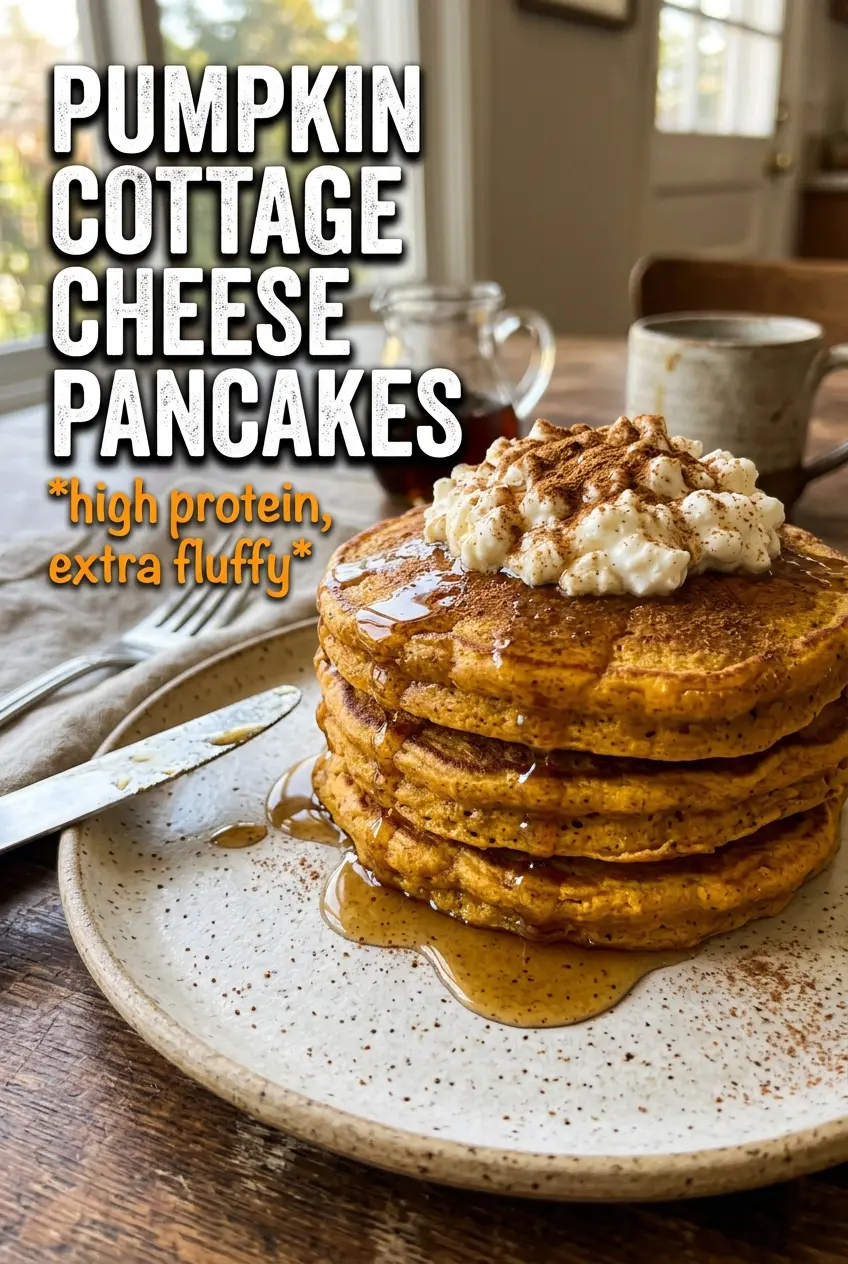
These pumpkin cottage cheese pancakes cook up light, tender, and a little custardy in the middle, with enough structure to flip cleanly and enough pumpkin flavor to taste like breakfast, not dessert. The cottage cheese melts into the batter and gives the pancakes a soft, airy crumb that stays moist instead of drying out after a minute on the plate.
The key is blending the batter until smooth and then letting it rest for a few minutes so the oats hydrate and the pancakes puff properly in the pan. Pumpkin puree adds body, but it also thickens the batter, so a short rest and a medium-heat skillet matter more here than in a standard pancake recipe. If the batter looks thicker than you expect, that’s normal; it should spread slowly, not run all over the skillet.
Below, I’ll walk through the little details that keep these from turning heavy, plus the swaps that still give you a good pancake when you’re out of oat flour or want to adjust the sweetness.
The batter thickened after the rest and the pancakes came out fluffy instead of dense. I loved the little tang from the cottage cheese with the pumpkin and cinnamon.
These pumpkin cottage cheese pancakes stay fluffy, protein-rich, and maple-ready — save this one for a breakfast that tastes special without extra work.
The Trick to Pancakes That Stay Light Instead of Eggy
With cottage cheese pancakes, the biggest mistake is treating the batter like standard pancake batter. This one relies on eggs and dairy for structure, so if you blast the heat or overmix after blending, you get rubbery centers before the outside has any color. Medium heat gives the batter time to set gently while the baking powder does its job.
Resting the batter for three minutes is not a throwaway step. The oats absorb some moisture, the pumpkin loosens up, and the pancakes hold together better when they hit the pan. If you skip that rest, the first scoop often spreads too fast and the center takes longer to firm up.
- Blended cottage cheese — Smooth cottage cheese disappears into the batter and gives you a more even, tender crumb. If you leave the curds whole, the pancakes still work, but the texture gets a little more rustic.
- Pumpkin puree — Use pure pumpkin puree, not pumpkin pie filling. Pie filling is sweetened and spiced already, which throws off both the flavor and the batter thickness.
- Rolled oats or oat flour — Oat flour gives the smoothest batter and the most uniform pancakes. Rolled oats are fine if you blend them first; otherwise the pancakes turn more textured and can feel heavier.
What Each Ingredient Is Doing in the Batter
- Eggs — These are carrying most of the structure, which is why the pancakes set up without needing a lot of flour. Don’t cut them unless you’re changing the recipe on purpose; the texture depends on them.
- Baking powder — This gives the pancakes lift once the batter hits the heat. If your pancakes turn flat, the baking powder may be old or the batter may have sat too long before cooking.
- Maple syrup or honey — The small amount here rounds out the pumpkin and cinnamon without making the pancakes taste like dessert. Maple syrup blends a little more seamlessly, while honey adds a slightly deeper sweetness.
- Vanilla, cinnamon, and pumpkin pie spice — These seasonings make the pumpkin taste fuller and warmer. Cinnamon alone works in a pinch, but the pie spice gives the batter a more layered, bakery-style aroma.
Getting the Batter on the Griddle at the Right Moment
Blending Until the Batter Looks Even
Put everything in the blender and process until the batter looks smooth and uniform, with no obvious oat flecks or cottage cheese curds. If your blender is weak, blend the cottage cheese and eggs first, then add the dry ingredients and pumpkin. A lumpy batter usually means uneven cooking, and that’s when the centers stay loose while the outside sets too fast.
Letting the Oats Absorb the Moisture
Give the batter three minutes to rest before cooking. The oats thicken it just enough to help the pancakes hold their shape, and the pumpkin settles into the mixture instead of staying watery on top. If the batter seems too thin after resting, wait another minute before adding more oats, because it often tightens on its own.
Cooking for Color Before You Flip
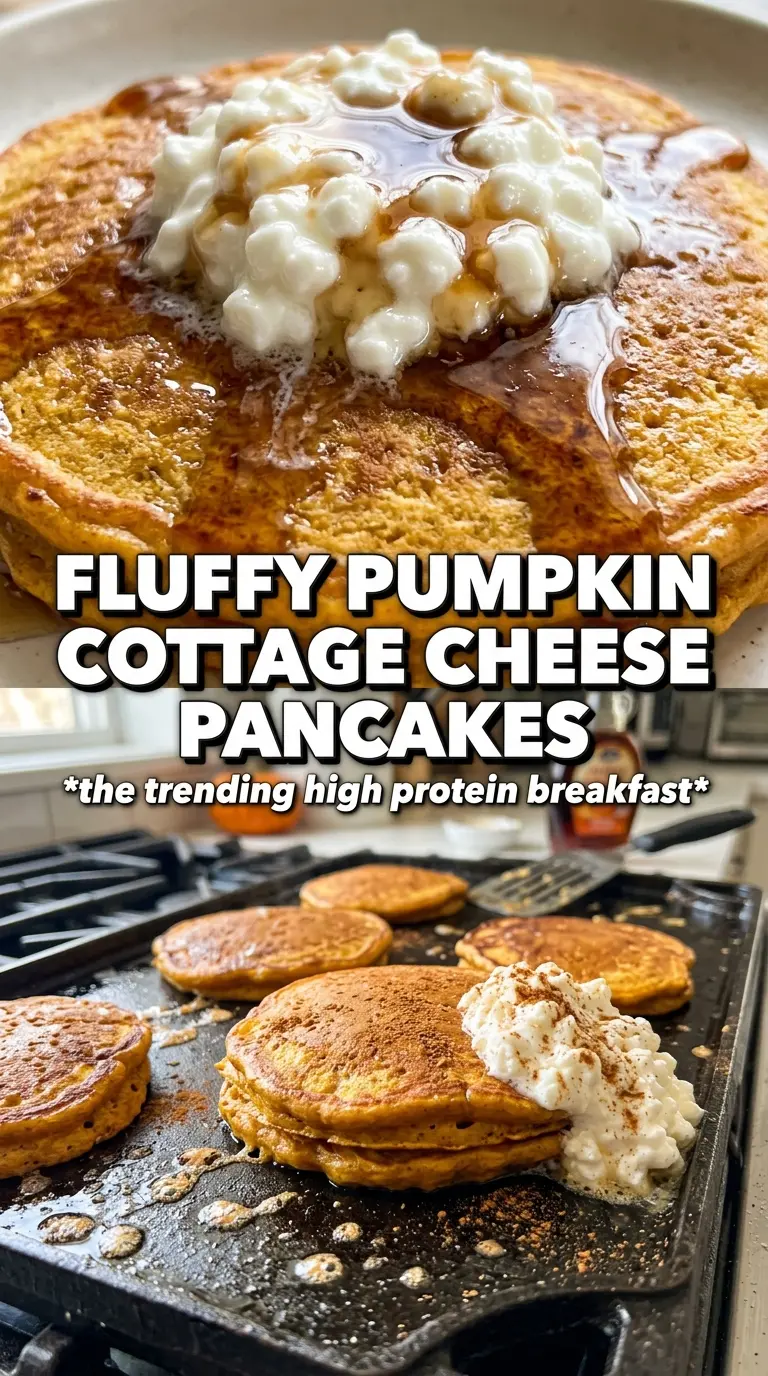
Use a lightly greased skillet over medium heat and spoon in 2 to 3 tablespoon portions. Cook until bubbles show across the top and the edges look set, which usually takes 2 to 3 minutes. If the pancakes brown too quickly, the skillet is too hot; turn it down and let the next batch cook slower so the middle can finish without burning the outside.
Turning Them Without Deflating the Center
Flip gently with a thin spatula and cook for 1 to 2 minutes more. The second side usually needs less time because the structure is already there, and pressing down with the spatula only squeezes out the airy texture you worked for. Pull them when both sides are lightly golden and the centers spring back when touched.
How to Adapt These Pancakes Without Losing the Texture
Make Them Gluten-Free with Oat Flour
Use oat flour instead of rolled oats for the smoothest gluten-free version. The pancakes cook up a little more uniform and delicate, while rolled oats add a heartier bite if you blend them well first.
Swap the Maple for Honey
Honey works well if that’s what you have, and it brings a slightly deeper sweetness. The only thing to watch is browning, since honey can make the pancakes color a touch faster on the pan.
Make Them Dairy-Free
You can use a plain dairy-free yogurt in place of the cottage cheese, but the pancakes will be a little less rich and a little less high in protein. Choose a thick yogurt so the batter doesn’t turn runny, and expect a softer, less custardy crumb.
Storage and Reheating
- Refrigerator: Store leftovers in an airtight container for up to 4 days. They soften a little as they sit, but the flavor holds well.
- Freezer: These freeze well. Lay them in a single layer until firm, then pack them with parchment between layers and freeze for up to 2 months.
- Reheating: Warm them in a toaster oven, skillet, or microwave until just heated through. The common mistake is blasting them too long, which dries out the edges and makes the centers tough.