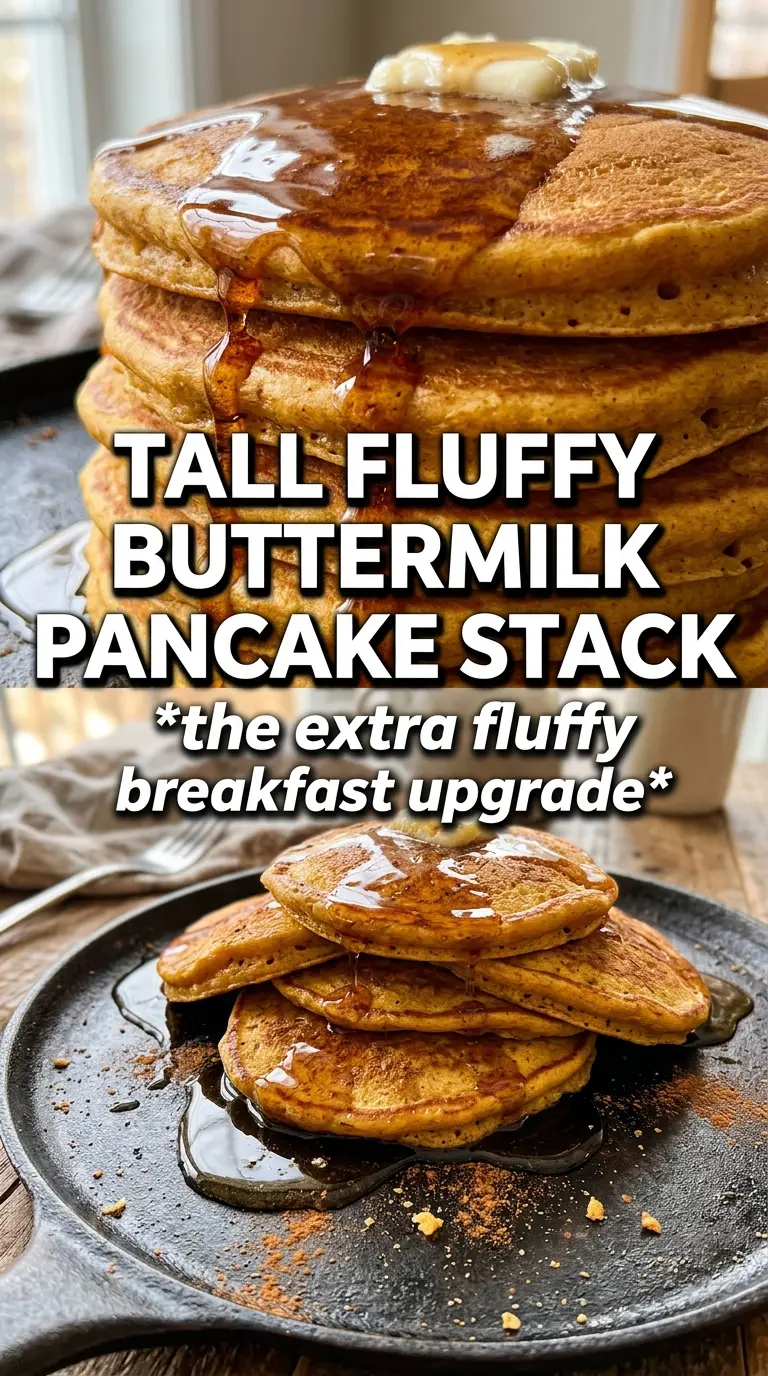
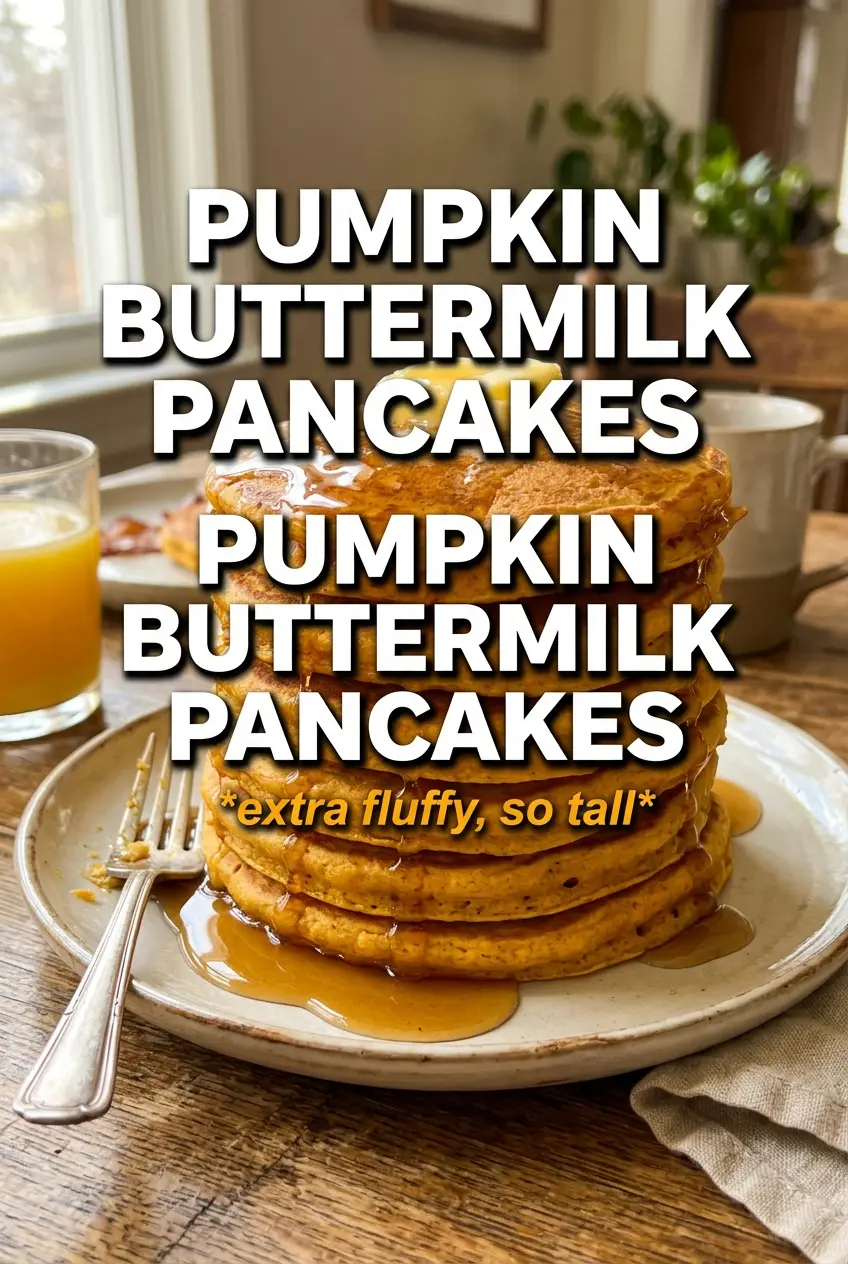
These pumpkin buttermilk pancakes cook up tall, tender, and just rich enough to feel special without turning heavy. The edges set with a light golden crust, the centers stay soft and airy, and the pumpkin brings a warm color that looks as good as it tastes. With butter and maple syrup melting into the top, they disappear fast.
The trick is keeping the batter loose enough to spread gently on the griddle while still holding enough structure to rise. Buttermilk and baking soda do the lift here, and pumpkin puree adds moisture, so the batter needs only a brief mix and a short rest. Overmixing is the fastest way to lose that fluffy texture and end up with pancakes that cook up dense and rubbery.
Below, I’ll walk through the small things that matter: how to keep the batter from getting tough, why the rest time helps, and the best way to know when it’s time to flip. There’s also a few swaps that still give you a proper stack when you’re working with what’s already in the kitchen.
The batter rested just long enough to thicken up, and the pancakes came out fluffy instead of flat. I loved how the pumpkin flavor stayed mellow and the edges got that little bit of crispness on the griddle.
Save these pumpkin buttermilk pancakes for the mornings when you want a tall, fluffy stack with crisp edges and real maple syrup.
The Secret to Pancakes That Rise Instead of Spread
Most flat pumpkin pancakes come from batter that’s either overmixed or too heavy to lift itself on the griddle. Pumpkin puree adds moisture and body, which is great for flavor but easy to overdo if you keep stirring after the dry ingredients go in. Stop when the flour streaks disappear and let the batter sit for a few minutes; that pause gives the baking powder and baking soda time to start working before the batter hits the heat.
The other thing that matters is heat. If the skillet is too hot, the outside sets before the center has a chance to expand. Medium heat gives you time for bubbles to form across the top, which is the real sign that the pancake is ready to flip.
What Each Ingredient Is Actually Doing in These Pancakes
- Pumpkin puree — This gives the pancakes their color, gentle sweetness, and moist crumb. Use plain pumpkin puree, not pumpkin pie filling, or the batter will be too sweet and spiced before you even add the rest of the ingredients.
- Buttermilk — This is the key ingredient for lift. Its acidity reacts with the baking soda and helps the pancakes rise with that soft, airy interior you want; if you don’t have it, whole milk with a little lemon juice or vinegar works, but the texture won’t be quite as tender.
- Baking powder and baking soda — They work together here. Baking powder gives reliable rise, while baking soda reacts with the buttermilk for extra fluffiness and a little browning on the griddle.
- Brown sugar and cinnamon — The brown sugar adds a deeper sweetness and a hint of molasses that fits the pumpkin better than white sugar alone, while cinnamon and pumpkin pie spice build the warm background flavor without making the pancakes taste like dessert.
- Melted butter — This adds richness and keeps the crumb soft. Don’t pour it in while it’s piping hot or it can start to cook the eggs; let it cool for a minute first.
How to Keep the Batter Light on the Griddle
Mix the dry ingredients first
Whisk the flour, sugars, leaveners, spices, and salt together before anything wet goes in. That keeps the baking soda and baking powder distributed evenly, which matters because a pocket of leavener can leave one pancake gummy and another oddly bitter. You want the dry mixture to look uniform before you move on.
Bring the wet ingredients together just until smooth
Whisk the pumpkin, buttermilk, eggs, melted butter, and vanilla until the mixture looks fully blended and thick but pourable. If the butter clumps, it was still too hot or the buttermilk was too cold; let the melted butter cool slightly before combining. The batter should look loose enough to spoon, not stiff like dough.
Fold, rest, and stop touching it
Add the wet mixture to the dry ingredients and fold only until the flour disappears. A few small lumps are fine and expected. Then let the batter rest for 5 to 8 minutes so the flour hydrates and the leaveners wake up; if you skip that rest, the pancakes spread more and cook up less tender.
Cook until the top tells you it’s ready
Use a lightly greased griddle over medium heat and pour about 1/4 cup of batter for each pancake. Cook until bubbles appear across the surface and the edges look set and matte instead of shiny. If the first side is browning too fast before the bubbles arrive, your heat is too high and the centers will stay underdone.
Flip once and leave them alone
Turn each pancake in one smooth motion and cook for about 2 minutes more, until the second side is golden and the middle springs back lightly when pressed. Don’t press down on the pancakes with the spatula; that squeezes out the air you worked to build. Serve them right away with butter and maple syrup while the edges are still crisp.
How to Adapt These for Different Kitchens and Different Mornings
Dairy-Free Pancakes That Still Rise Well
Swap the buttermilk for an unsweetened dairy-free milk mixed with 1 tablespoon lemon juice or vinegar per cup, and use melted coconut oil or a neutral oil instead of butter. The flavor stays warm and pumpkin-forward, though the pancakes will be a little less rich and slightly less tangy than the original.
Gluten-Free Swap With a Softer Crumb
Use a good cup-for-cup gluten-free flour blend that already includes xanthan gum. The batter may need a minute or two longer to thicken, and the finished pancakes will be a touch more delicate, but they should still cook up fluffy if you don’t overmix.
Extra-Spiced Pancakes for a Bigger Pumpkin Flavor
Add another 1/2 teaspoon of cinnamon or a small pinch of ginger if you want the spice to stand out more. Keep the pumpkin pie spice balanced, though; too much spice can bury the pumpkin instead of supporting it.
Storage and Reheating
- Refrigerator: Store cooked pancakes in an airtight container for up to 3 days. They soften a little as they sit, but the flavor stays good.
- Freezer: These freeze well. Cool completely, layer with parchment, and freeze in a sealed bag for up to 2 months.
- Reheating: Reheat in a toaster oven or a dry skillet over low heat until warmed through. The common mistake is microwaving them too long, which makes the texture soggy instead of fluffy.
Questions I Get Asked About This Recipe
Pumpkin Buttermilk Pancakes
Ingredients
Equipment
Method
- In a bowl, whisk all-purpose flour, granulated sugar, brown sugar, baking powder, baking soda, pumpkin pie spice, cinnamon, and salt until evenly combined.
- In a second bowl, whisk pumpkin puree, buttermilk, eggs, melted butter, and vanilla extract until smooth.
- Whisking the wet mixture is key: the buttermilk will react with baking soda to help the pancakes rise and turn airy while they cook.
- Pour the wet ingredients into the dry ingredients and fold until just combined, keeping a few small lumps; do not overmix.
- Rest the batter for 5–8 minutes so it thickens slightly and cooks up lighter.
- Heat a greased griddle over medium heat until hot.
- Spoon about 1/4 cup batter per pancake and cook until bubbles form across the whole surface and the edges look set.
- Flip once and cook for 2 minutes more, until the second side is golden.
- Serve warm with butter and maple syrup.