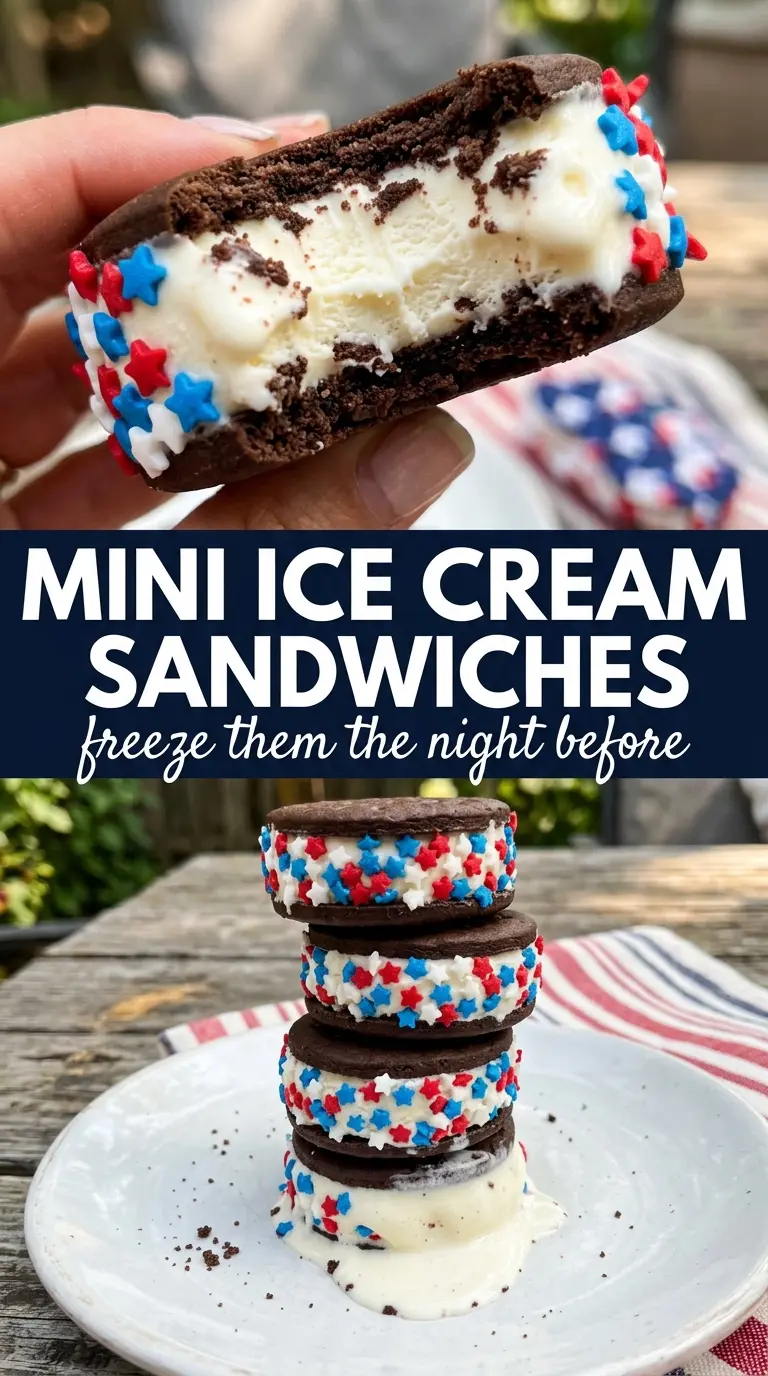
Patriotic mini ice cream sandwiches hit that sweet spot between nostalgic and party-ready: soft red velvet cookies, cold vanilla ice cream, and a bright sprinkle edge that makes every little sandwich look like it belongs on a July dessert table. They’re easy to hold, easy to portion, and just festive enough to feel special without turning into a full bakery project.
The cookie base starts with cake mix, which keeps the texture tender and gives you a consistent result without a long ingredient list. The key is baking them just until set so they stay soft after freezing; overbaked cookies turn hard once the ice cream firms up. A short freeze before assembly helps the cookies hold their shape, and rolling the exposed ice cream edge in sprinkles adds that clean red-and-blue border everyone notices first.
Below, I’ll walk through the little details that matter most, including how to keep the sandwiches from squishing out at the sides and how to wrap them so they freeze neatly instead of sticking together.
The cookies stayed soft after freezing and the sprinkle edges looked picture-perfect. I used a cookie scoop and every sandwich came out the same size, which made assembly so much easier.
Like these patriotic mini ice cream sandwiches? Save them to Pinterest for an easy red, white, and blue dessert that freezes beautifully and serves fast.
The Part That Keeps the Cookies Soft After Freezing
Ice cream sandwiches fail when the cookie layer is too dry before the freezer even gets involved. Once those cookies chill around the ice cream, any extra bake time turns into a hard bite instead of a soft, manageable one. With a cake-mix dough, the sweet spot is when the tops look set and the centers no longer shine, but the cookies still feel tender when you lift them.
Spacing matters here too. These spread a little as they bake, so giving them room keeps the edges round and easier to match up later. If you want neat sandwiches, aim for cookies that are close in size; uneven cookies slide around when the ice cream goes in.
What the Cake Mix and Sprinkles Are Actually Doing Here
- Red velvet or chocolate cake mix — This gives you the cookie base fast, but it also brings the soft, chewy texture that works well after freezing. Red velvet looks the most festive, while chocolate gives a deeper cocoa note if that’s what you want. Any standard box cake mix in that flavor range works; just don’t use a mix meant for extra-moist cake with pudding added, because the dough can bake up too soft.
- Eggs and vegetable oil — These turn the dry mix into a workable dough and keep the cookies tender. Oil is the reason the cookies stay bendable after freezing instead of turning cakey. If you swap in melted butter, the dough firms up a bit more in the fridge and the baked cookies can feel slightly less soft from the freezer.
- Vanilla ice cream — Vanilla gives the strongest contrast to the cookie and sprinkles. Slightly softened ice cream matters more than brand here; if it’s too hard, you’ll crack the cookies while pressing, and if it’s too soft, the sandwiches will slump before they’re wrapped. Let it sit just until scoopable, not melty.
- Red and blue sprinkles — These aren’t just decoration. The sprinkles help seal the exposed ice cream edge and give each sandwich a crunchy little border that holds its shape visually. Use jimmies or small nonpareils; large chunky shapes don’t stick as evenly.
Building and Freezing the Sandwiches Without the Mess
Mixing the Dough
Stir the cake mix, eggs, and oil until the dough comes together into a thick, sticky mass. It should look more like a soft cookie dough than batter. If it seems dry and crumbly, keep mixing for another few seconds before adding anything else; cake mix often needs that extra time to fully hydrate. The dough will be tacky, and that’s normal.
Baking Just Until Set
Scoop tablespoon-sized portions onto parchment and flatten them into small circles so they bake evenly. Pull them when the tops are set and the centers no longer look wet, because carryover heat finishes the job on the baking sheet. If they brown at the edges in the oven, they’re already too far along for a soft frozen sandwich.
Cooling and Chilling for Assembly
Let the cookies cool completely on a rack before freezing them for 30 minutes. That short freeze makes them easier to handle and helps the ice cream stay put during assembly. Warm cookies melt the ice cream instantly, and that’s when the filling starts sliding out the sides.
Filling, Rolling, and Wrapping
Work with only a few cookies at a time so the ice cream doesn’t soften too much on the counter. Place the scoop on the flat side of one cookie, press gently with a second cookie, then roll the edge in sprinkles while the ice cream is still exposed. Wrap each sandwich tightly in plastic wrap and freeze until firm. If you skip the wrap, the outside dries out and the sandwiches pick up freezer smell fast.
How to Adapt These for Different Crowds and Freezers
Chocolate Cookie Version
Use a chocolate cake mix instead of red velvet if you want a deeper cocoa base under the vanilla ice cream. The result tastes a little more like a classic ice cream sandwich and looks less patriotic, but the texture stays the same. This is the easiest swap when you’re making them for a general summer party instead of a themed one.
Dairy-Free Ice Cream Sandwiches
Swap in a dairy-free vanilla frozen dessert and keep the cookies as written if eggs fit your needs. The sandwiches still freeze well, though some non-dairy ice creams soften faster while assembling, so work in smaller batches. Choose a brand that scoops cleanly rather than one that turns icy, because the filling texture matters more than the cookie flavor here.
Make-Ahead Party Prep
Bake the cookies a day ahead and freeze them flat, then assemble the sandwiches the next day when you have room to work quickly. You can also make the full batch and keep them wrapped in the freezer until serving time. The key is sealing each one individually so they don’t stick together or dry out on the edges.
Smaller, Bite-Size Sandwiches
Use a teaspoon or small cookie scoop and reduce the bake time slightly for a true mini version. These are easier for kids to hold and nicer for dessert platters because they thaw faster without getting messy. Just keep the cookie pairs matched by size so the ice cream stays centered.
Storage and Reheating
- Refrigerator: Not recommended. They’ll soften fast and lose their shape.
- Freezer: Keep wrapped individually for up to 2 weeks for the best texture. After that, the cookies can start to dry out around the edges.
- Reheating: No reheating needed. Let them sit at room temperature for 3 to 5 minutes before serving so the cookies relax slightly and the ice cream is easier to bite through.
Questions I Get Asked About This Recipe
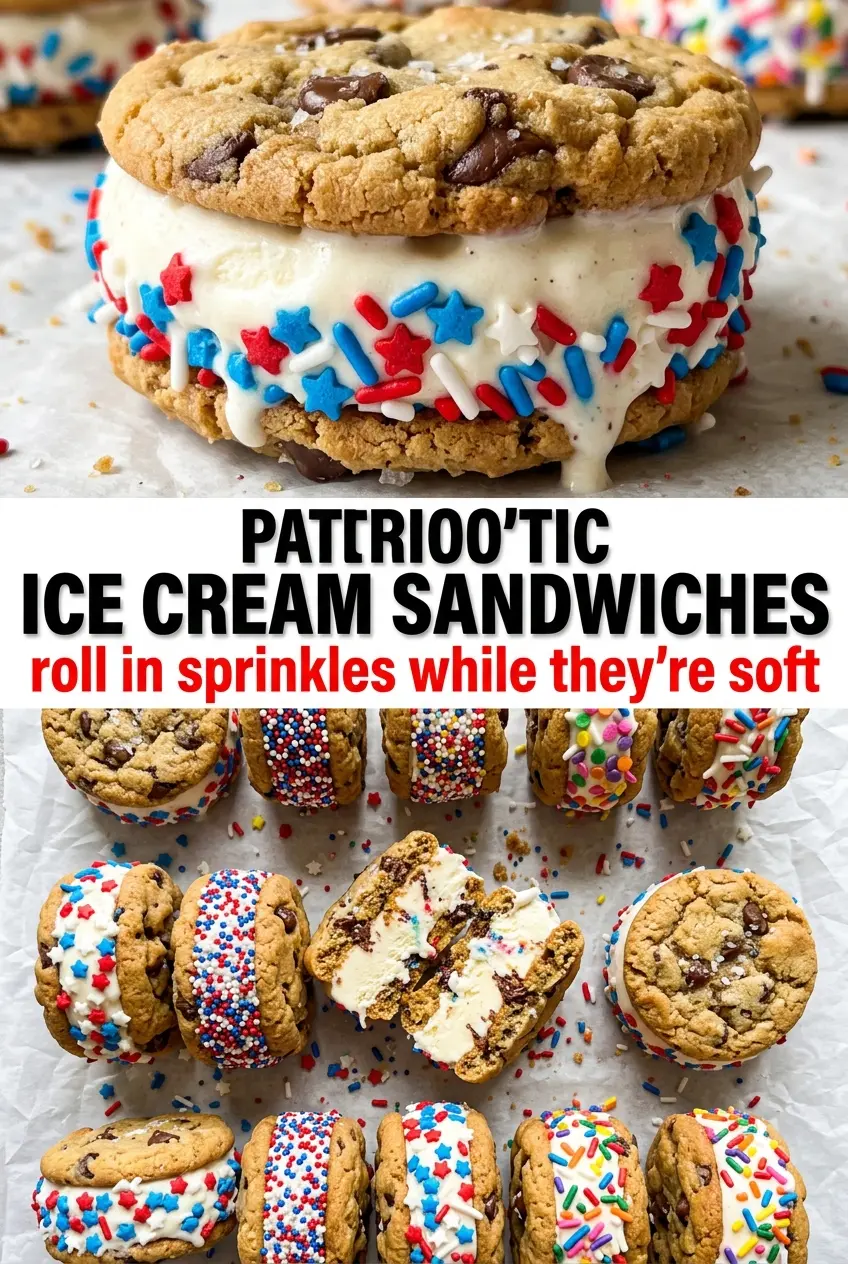
Patriotic Mini Ice Cream Sandwiches
Ingredients
Equipment
Method
- Preheat the oven to 350°F and line baking sheets with parchment paper, keeping the liners flat so the cookies bake evenly.
- Mix the cake mix, eggs, and vegetable oil until a thick dough forms, scraping down the sides as needed.
- Scoop tablespoon-sized balls onto the prepared baking sheets, flatten to about 1/4-inch thick circles, and bake for 8–10 minutes until set—do not overbake.
- Let the cookies cool completely on a wire rack, then freeze for 30 minutes to firm up before assembling.
- Working quickly, place a scoop of slightly softened vanilla ice cream on the flat side of one cookie and press another cookie on top to sandwich.
- Roll the exposed ice cream edge in red and blue sprinkles to form a colorful border.
- Wrap each sandwich in plastic wrap and freeze for at least 2 hours until solid before serving.