Thick, juicy chicken breasts with a shatteringly crisp Parmesan crust are one of those dinners that disappears fast and gets requested again before the plates are even cleared. The coating bakes up deeply golden and fragrant, with the kind of salty, toasted edge that cracks when you cut into it and stays crunchy long after it leaves the oven. It feels like restaurant chicken, but it lands on the table with the kind of weeknight ease you can actually repeat.
What makes this version work is the balance of texture and heat. Panko brings the light, crisp crunch, while freshly grated Parmesan melts into the crumbs and browns fast enough to give the crust real character. Pounding the chicken to an even thickness matters too, because it keeps the thickest part from drying out while the crust finishes. The rack setup lets hot air move all around the chicken, so the bottom doesn’t turn soggy before the center reaches temperature.
Below, I’ll walk through the breading order that keeps the crust from slipping, the exact ingredient choices that make the coating cling, and the small finishing step that keeps the chicken juicy instead of overbaked.
The crust stayed crisp all the way through dinner, and the Parmesan flavor was strong without being greasy. I used the wire rack and the chicken came out evenly browned with no soggy bottom.
Crispy Parmesan crusted chicken like this is worth pinning for nights when you want a golden crust, juicy center, and barely any cleanup.
The crust fails when the chicken is wet, not when the oven is hot
The biggest mistake with breaded chicken is rushing the coating onto damp meat and expecting it to stay put. Moisture turns the flour into paste, the egg slides around, and the crumbs never get a chance to form a tight shell. Pounding the chicken to an even thickness solves one problem, but drying the surface first is what keeps the coating from slipping off in patches.
- Pat the chicken dry before seasoning. That one move helps the flour cling and gives you a cleaner breading layer.
- Press the Parmesan-panko mixture onto the chicken instead of just rolling it through. Firm pressure helps the crust stay attached through baking.
- The wire rack matters more than most people think. It keeps the underside exposed to hot air, which is what prevents steaming.
- Use an instant-read thermometer if you have one. Pulling the chicken at 165°F keeps the center juicy instead of stringy.
What the Parmesan, panko, and oil are each doing here
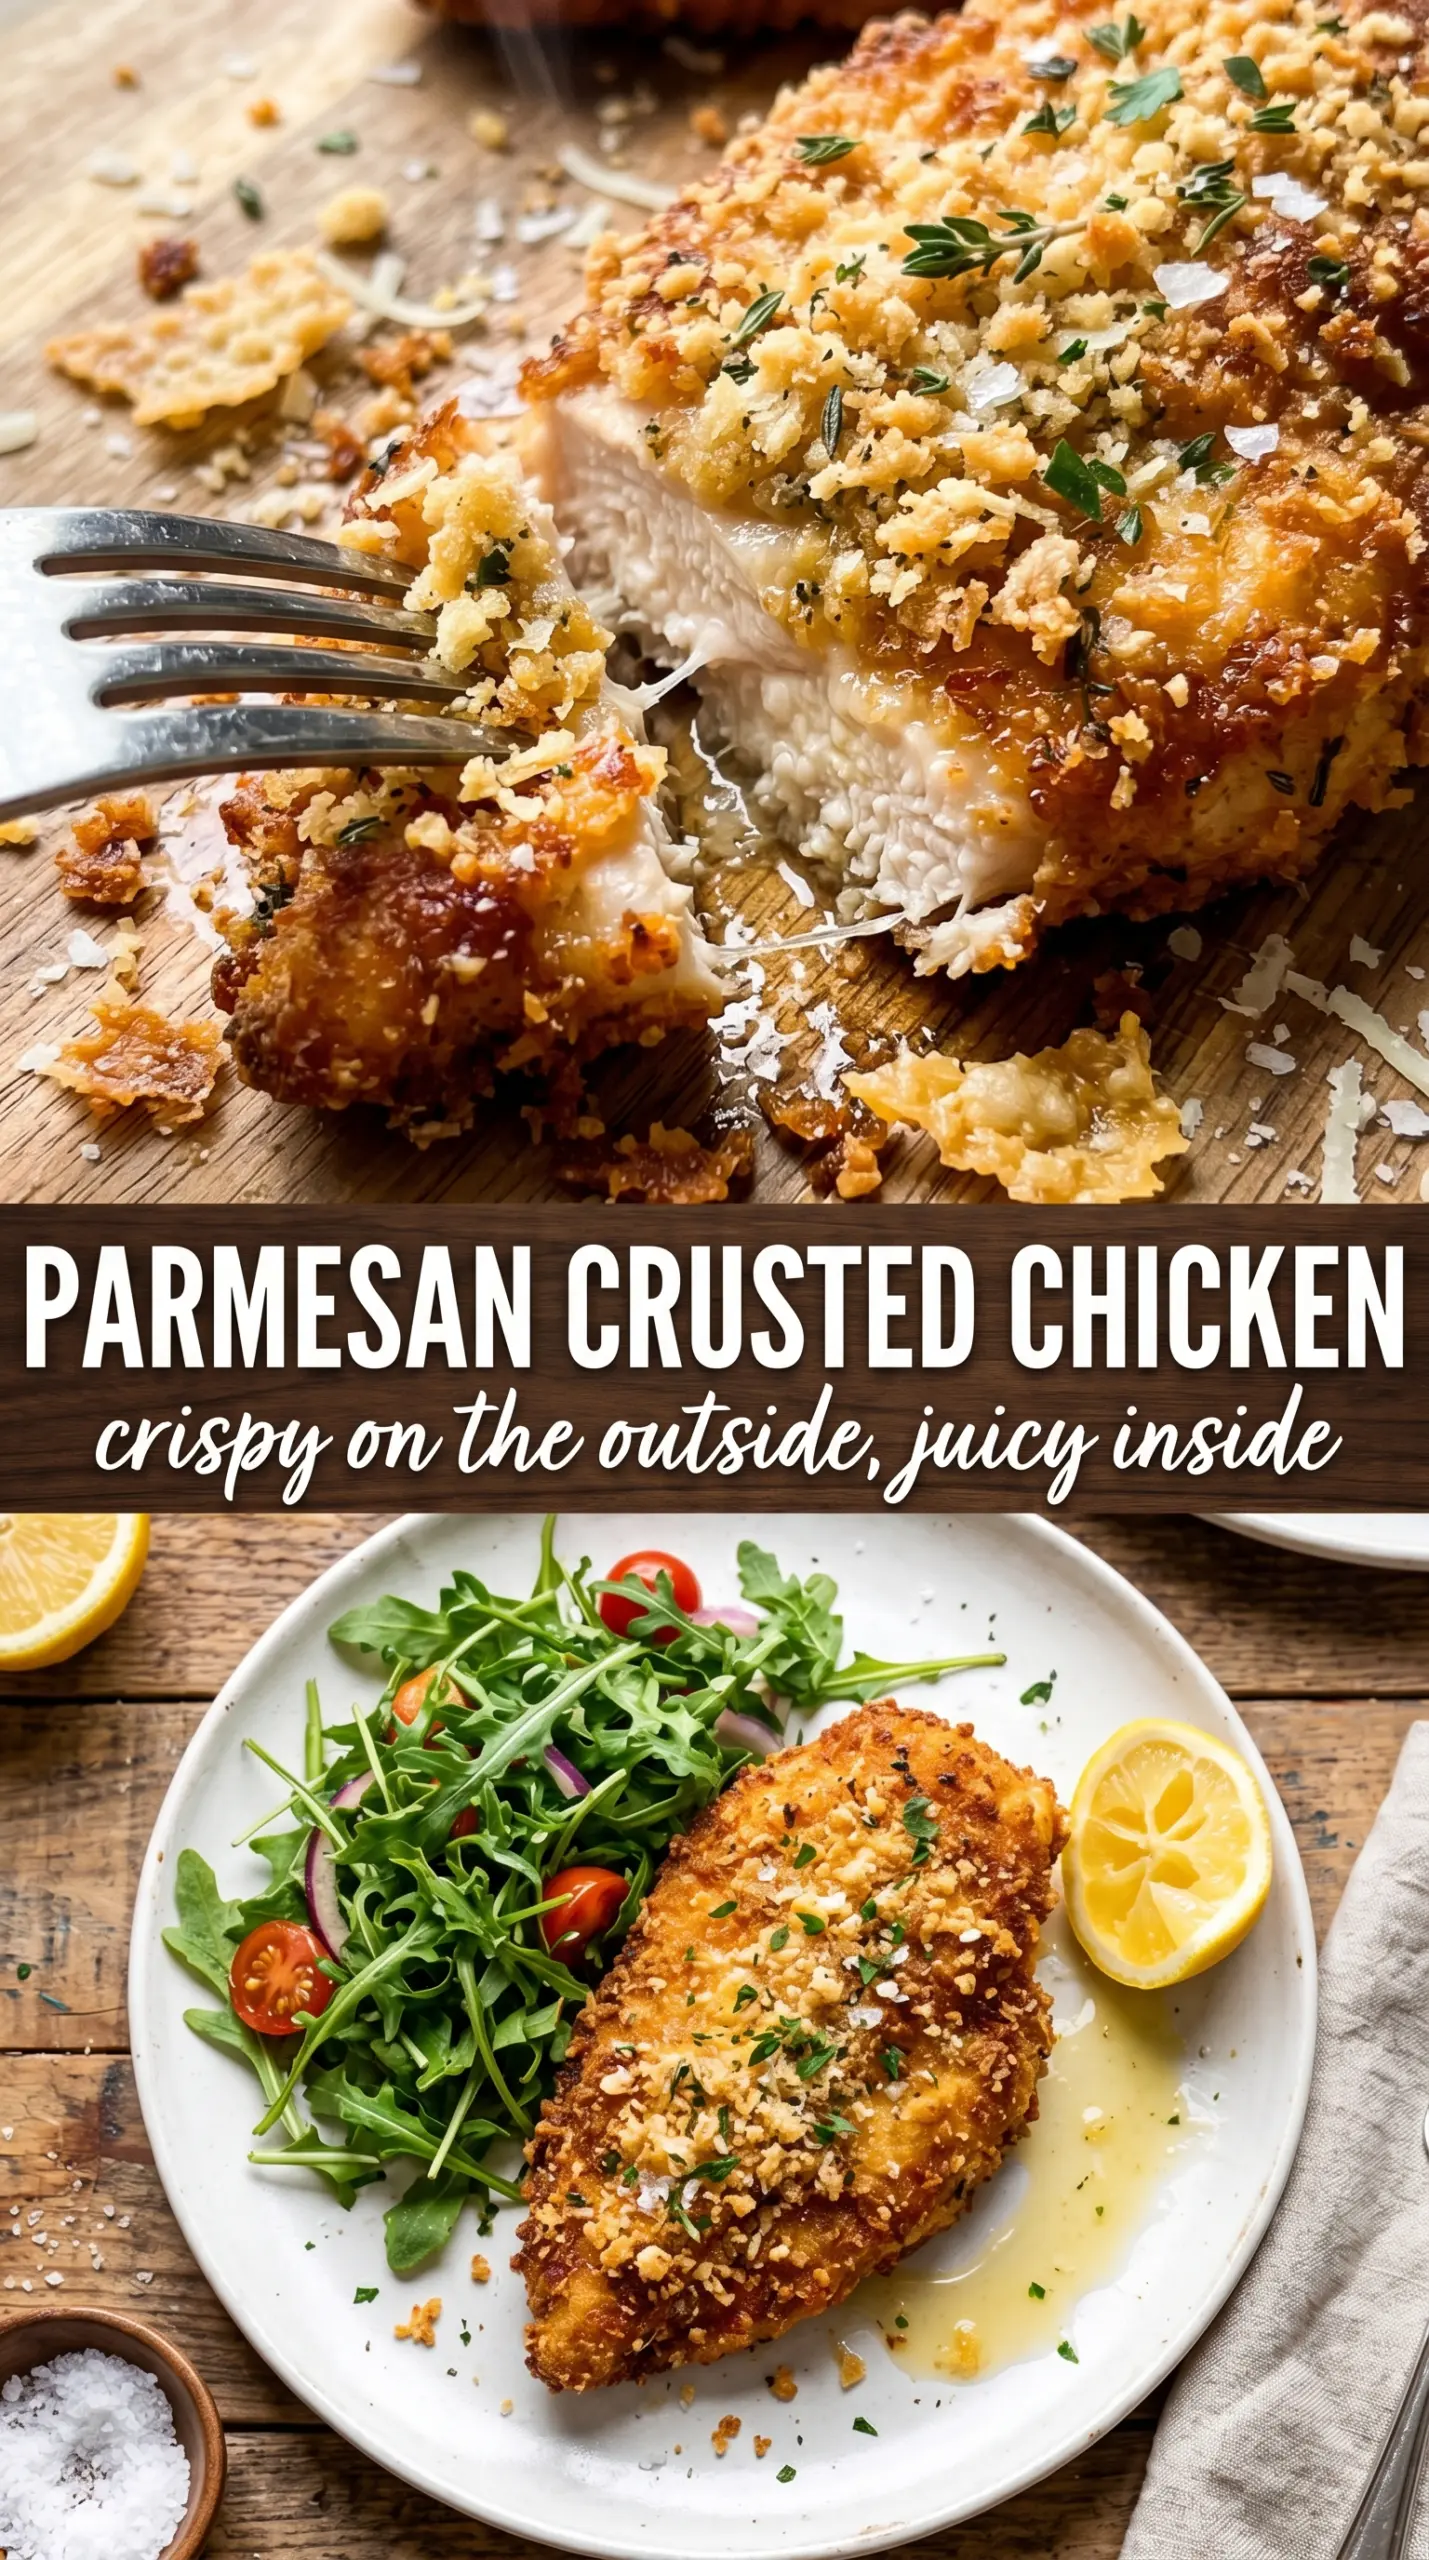
- Chicken breasts — Pounding them to even thickness is the difference between dry edges and a juicy center. If your chicken breasts are large, split them horizontally before pounding so the pieces cook in the same window.
- Freshly grated Parmesan — Fresh is worth it here because it melts and browns into the crumbs instead of staying dusty and dry. Shelf-stable grated cheese won’t give you the same tight, savory crust.
- Panko breadcrumbs — These are what make the coating light and crisp instead of dense. Regular breadcrumbs work in a pinch, but the crust will be less airy and a little more compact.
- Olive oil — A light drizzle or spray helps the crumb coating toast evenly in the oven. Without it, the crust can taste dry before it ever gets that golden color.
- Italian seasoning, garlic powder, and smoked paprika — These season the crust itself, which matters because breading without seasoning tastes flat. The paprika is subtle, but it deepens the color and gives the crust a little warmth.
Building a crust that browns before the chicken dries out
Set up the breading line first
Line up the flour, beaten eggs, and Parmesan-panko mixture before the chicken comes out of the fridge. A tidy breading station keeps your hands cleaner and lets each piece move quickly from one station to the next, which helps the coating stay even. If the egg bowl gets clumpy with flour, whisk it briefly and keep going. Clumps in the egg are fine; dry patches on the chicken are not.
Coat in layers, then press
Start with flour, shake off the excess, then dip into egg and press into the crumb mixture with real firmness. The flour gives the egg something to grab, and the egg gives the crumbs something to lock onto. If you skip the flour, the crust tends to slide during baking. Pressing the crumbs in is what gives you those thick, craggy edges instead of a thin dusting.
Bake on a rack until the crust sounds crisp
Place the coated chicken on the prepared rack and bake at 425°F until the crust is deep golden and the thickest part reads 165°F. The top should look dry and sharply browned, not pale or soft. If the crust is getting too dark before the center is done, your pieces were probably uneven in thickness. In that case, tent loosely with foil for the last few minutes rather than lowering the heat and softening the crust.
Rest before serving
Let the chicken rest for about 3 minutes after it comes out of the oven. That short pause keeps the juices from running out the second you cut in. Slice too early and the coating can shift and shed crumbs. Add parsley and lemon wedges at the end so the crust stays crisp until the plate hits the table.
How to adapt this Parmesan crusted chicken without losing the crunch
Make it gluten-free
Swap the all-purpose flour for a gluten-free flour blend and use gluten-free panko. The coating still gets crisp, but the crumbs can be a little more delicate, so press them on gently but firmly and keep the rack setup in place.
Go dairy-light
Use finely grated Pecorino Romano or a dairy-free Parmesan alternative if you need to change the cheese. Pecorino tastes saltier and sharper, so cut back a touch on the added salt. The crust will still brown well, but the flavor leans a little more aggressive.
Turn it into chicken cutlets
Slice the breasts in half horizontally before pounding if you want thinner cutlets. They cook faster, brown a little more evenly, and are easier to serve with a salad or pasta. Just start checking them a few minutes early so the crust doesn’t overbake.
Storage and Reheating
- Refrigerator: Store leftovers for up to 3 days. The crust softens a little in the fridge, but it still reheats well.
- Freezer: Freeze after baking if you need to. Wrap tightly, then reheat from frozen in a hot oven so the coating can dry back out instead of going soggy in the microwave.
- Reheating: Use a 375°F oven or air fryer until hot and crisp again. The mistake to avoid is microwaving, which steams the crust and turns all that crunch into a soft shell.
Questions I Get Asked About This Recipe
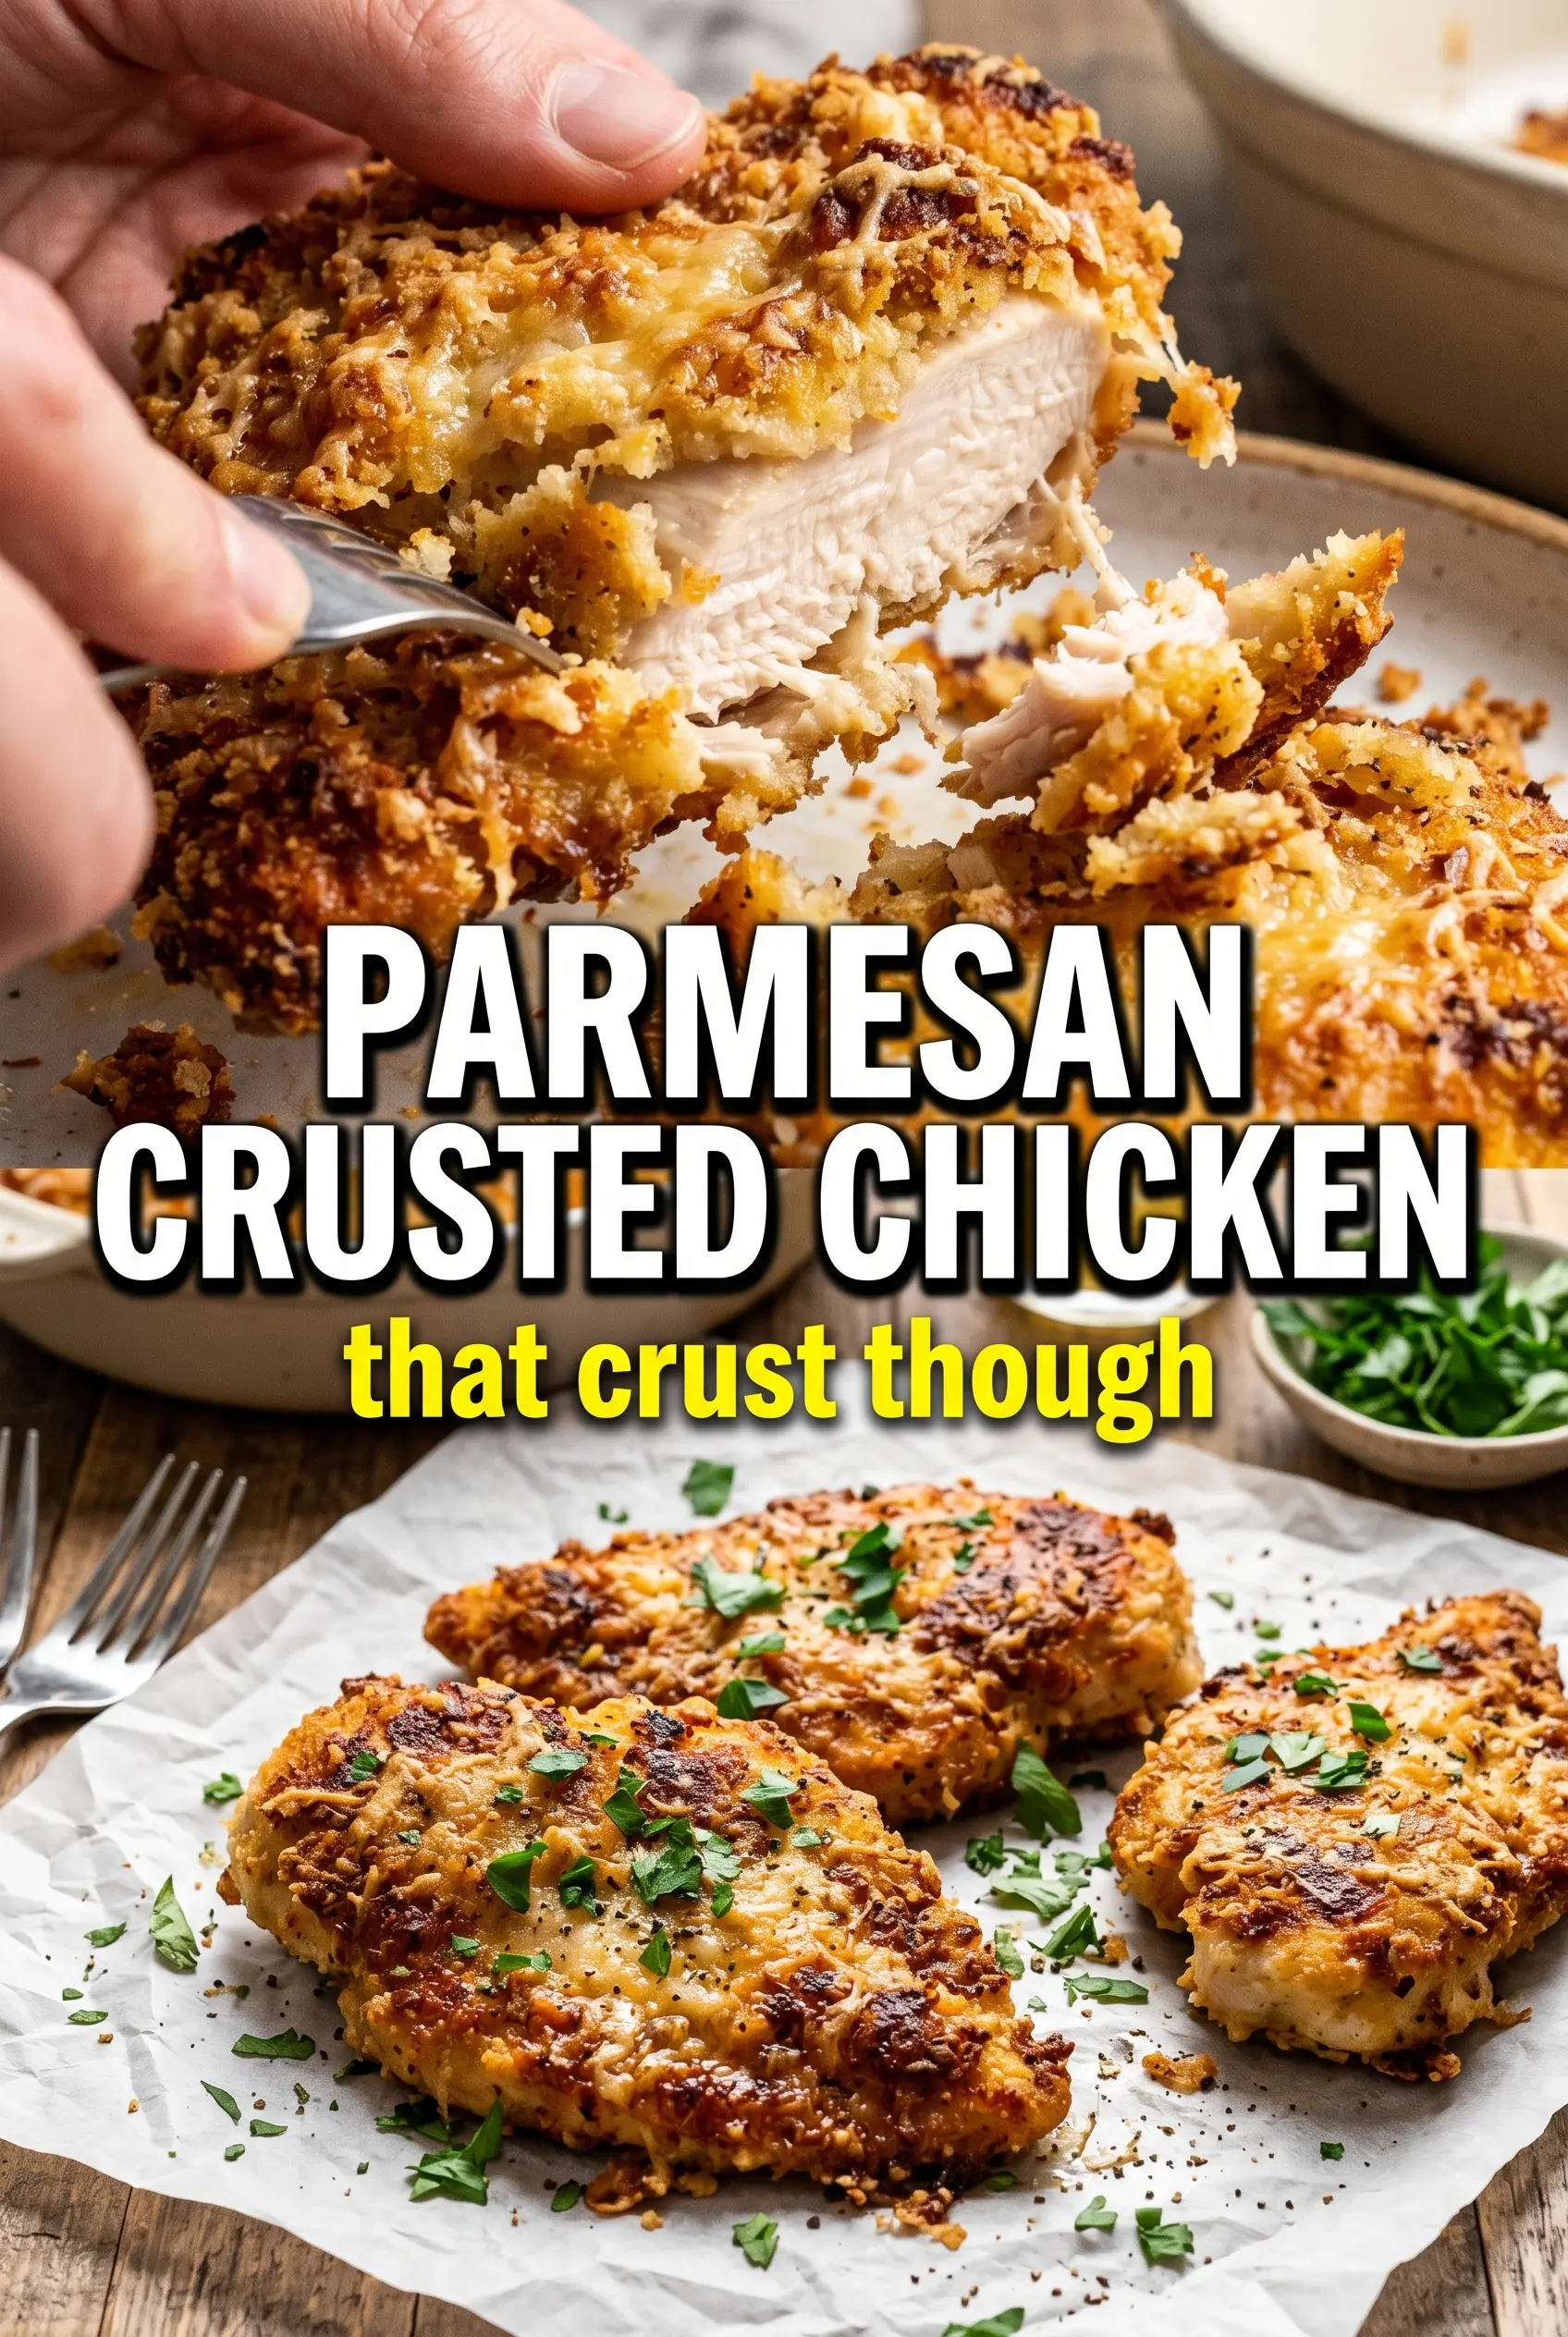
Parmesan Crusted Chicken
Ingredients
Equipment
Method
- Preheat oven to 425°F and line a baking sheet with a wire rack; spray the rack with cooking spray.
- Season chicken breasts with salt, pepper, and garlic powder to taste, then pound to even thickness if needed.
- Place all-purpose flour in a shallow station for dredging.
- Beat eggs in a second shallow station until smooth.
- Combine panko breadcrumbs, Parmesan cheese, Italian seasoning, garlic powder, and smoked paprika in a third station and mix evenly.
- Dredge chicken in flour, coating all sides with a light shake-off of excess.
- Dip the floured chicken into beaten egg, letting excess drip back into the station.
- Press chicken firmly into the Parmesan panko so the crust adheres to all sides.
- Drizzle or spray olive oil over the breaded chicken and place on the prepared rack.
- Bake for 20-22 minutes at 425°F until the crust is deep golden and the internal temperature reaches 165°F.
- Rest the chicken for 3 minutes so the crust stays crisp.
- Garnish with fresh parsley and serve with lemon wedges.