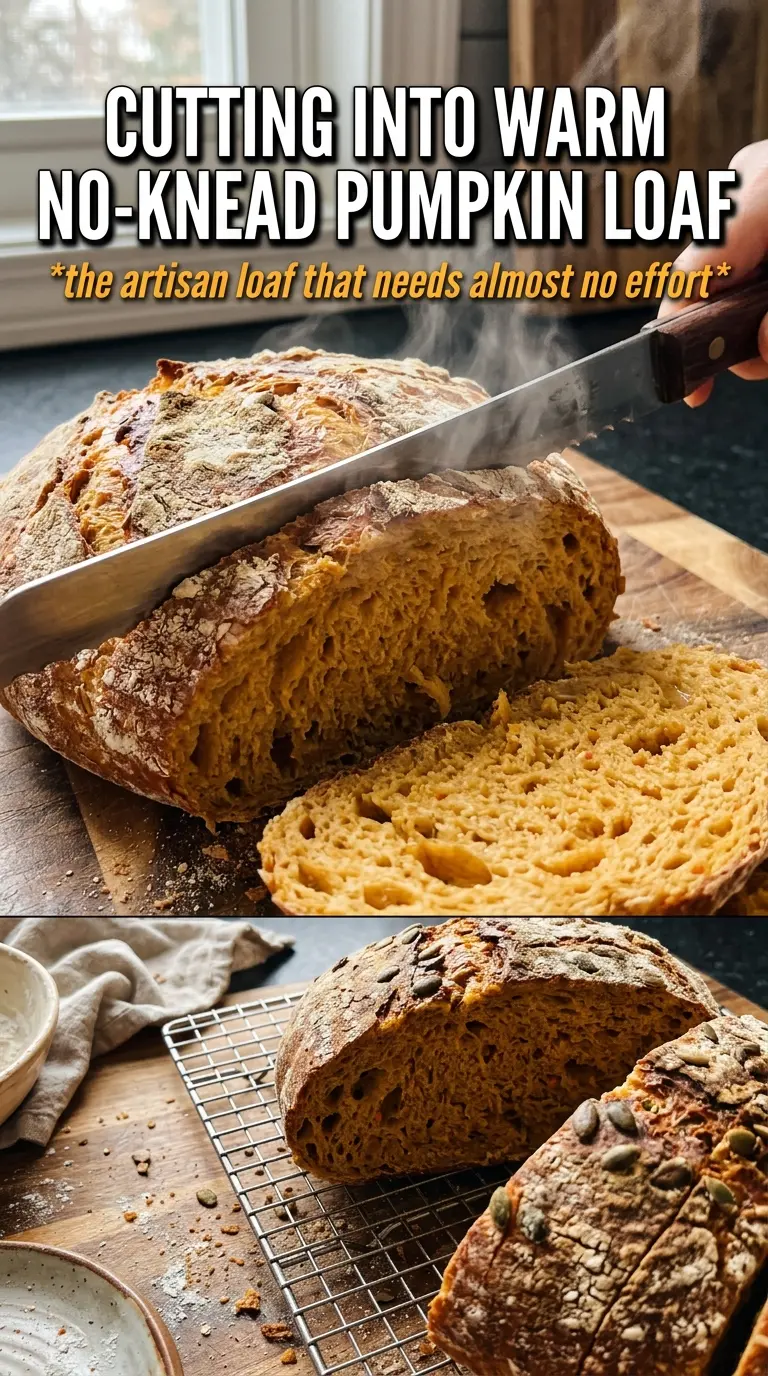
Crackly on the outside, soft and open in the middle, this no-knead pumpkin bread brings that bakery-style loaf feel without any mixing, kneading, or fuss. The long overnight rest does the heavy lifting, giving you a loaf with a chewy crust and a tender crumb that slices cleanly once it has cooled. The pumpkin doesn’t make it taste like dessert; it gives the bread a warm color, a subtle sweetness, and a little extra softness that works beautifully with the spice.
The trick here is keeping the dough wet enough to develop on its own, then baking it in a screaming-hot Dutch oven so the crust sets fast and the inside stays airy. Instant yeast gives you a reliable rise with just a tiny amount, and the maple syrup or honey rounds out the flavor without turning the loaf sweet. If you’ve ever had no-knead bread come out dense or flat, the overnight ferment and the hot pot are what change that.
You’ll find the exact timing below, plus the one shaping step that keeps this loaf from spreading into a pancake. I’ve also added swaps and storage notes so you can make it work with what you have on hand.
The crust came out crackly and the crumb was light, not gummy at all. I let it rest overnight, and the loaf had that same chewy bakery texture you usually only get from a professional oven.
Save this overnight pumpkin loaf for the kind of bread that bakes up with a crackled crust and a soft, tender center.
The Overnight Rest Is What Gives You Real Oven Spring
Most no-knead breads fail because the dough never gets enough time to build strength before it goes into the oven. With this loaf, the long rest does two jobs at once: it develops gluten without kneading and gives the yeast time to create those bubbles that turn into an open crumb. If you rush it, the bread will still bake, but it’ll be tighter and heavier than it should be.
The other thing that matters is the hot Dutch oven. That enclosed heat traps steam around the loaf in the first part of baking, which lets the crust expand before it hardens. If your bread tends to come out pale or dull, the problem is usually not enough heat at the start. Preheating the pot for the full 30 minutes makes a real difference here.
- Long ferment: The 12- to 18-hour rest is what gives the dough structure. Underproofed dough tears and spreads instead of rising.
- Instant yeast: You only need a little because time is doing most of the work. Active dry yeast can work, but it needs to be dissolved first and the rise may be a little less predictable.
- Hot Dutch oven: This is what creates the crust. A room-temperature pot won’t give you the same lift.
What Each Ingredient Is Actually Doing in This Loaf
- Bread flour: The higher protein content gives this loaf the strength it needs to hold onto the bubbles from the overnight rise. All-purpose flour will work in a pinch, but the crumb will be a little less chewy and the loaf may spread more.
- Pumpkin puree: Use plain pumpkin puree, not pumpkin pie filling. The puree adds color, moisture, and a subtle earthy sweetness without making the dough wet enough to collapse.
- Instant yeast: This is the easiest choice for a long, slow rise because it mixes straight into the dry ingredients. If you use active dry yeast, dissolve it first in the warm water and milk, then expect the rise to move a little slower.
- Warm water and warm milk: The warmth helps wake up the yeast, and the milk softens the crumb. Keep them warm, not hot, or you can slow the fermentation instead of helping it.
- Maple syrup or honey: Either one adds just enough sweetness to round out the pumpkin and spice. Honey gives a deeper floral note; maple tastes a little more autumnal and clean.
- Pumpkin pie spice and cinnamon: These should stay in the background. Too much spice will cover the bread flavor, and this loaf tastes best when the pumpkin still comes through.
How to Handle the Dough So It Stays Light, Not Dense
Mixing to a Shaggy Dough
Whisk the dry ingredients first so the yeast and spices are evenly distributed, then stir in the pumpkin mixture just until you don’t see dry flour anymore. The dough should look messy and sticky. That’s right. If you work it until it looks smooth, you’ll end up with a tighter loaf that bakes up less open. A few flour streaks are better than overmixing at this stage.
Watching the Overnight Rise
Cover the bowl and leave it at room temperature for 12 to 18 hours. By morning, the dough should be bubbly, puffy, and a little jiggly when you shake the bowl. If your kitchen runs cold, it may need the full 18 hours; if it runs warm, check it earlier. The most common mistake here is trying to bake dough that hasn’t fully fermented yet, which gives you a compact crumb and weak flavor.
Shaping Without Deflating the Structure
Turn the dough onto a heavily floured surface and use floured hands to nudge it into a rough ball. Don’t punch it down or knead it. You want to preserve the gas bubbles that have formed overnight. Let it rest for 15 minutes before baking so the surface relaxes and the loaf holds a cleaner shape when it goes into the Dutch oven.
Baking for a Deep Crust
Lower the dough carefully into the hot pot, cover it, and bake for 30 minutes. Then uncover it for the last 12 to 15 minutes so the crust can brown and dry out. If the top looks pale when the time is up, give it another few minutes uncovered; color is a better guide than the clock here. Cool the bread for at least an hour before slicing or the crumb will seem gummy even if it’s fully baked.
How to Adapt This Pumpkin Loaf for Different Kitchens
Dairy-Free Version
Swap the warm milk for more warm water or an unsweetened non-dairy milk. The loaf will still rise and brown well, but the crumb will be a touch less rich. Oat milk works best if you want to keep some of that soft, rounded texture.
Gluten-Free Is Not a Straight Swap
This recipe depends on bread flour for structure, so a 1:1 gluten-free flour blend won’t give the same result. You can try a gluten-free no-knead loaf designed for Dutch oven baking, but this exact method won’t hold the same open crumb without gluten.
Honey Instead of Maple Syrup
Honey and maple both work here. Honey gives a slightly deeper sweetness and a softer finish, while maple keeps the flavor more distinct and light. Use the same amount either way.
Storage and Reheating
- Refrigerator: Store wrapped bread at room temperature for up to 2 days, or refrigerate for 4 days if your kitchen is warm. The crust softens in the fridge.
- Freezer: Freeze sliced or whole, tightly wrapped, for up to 3 months. Slice first if you want easy single portions.
- Reheating: Warm slices in a toaster or a 300F oven for a few minutes. If you reheat it too long, the crumb dries out before the crust gets crisp again.
Answers to the Questions Worth Asking
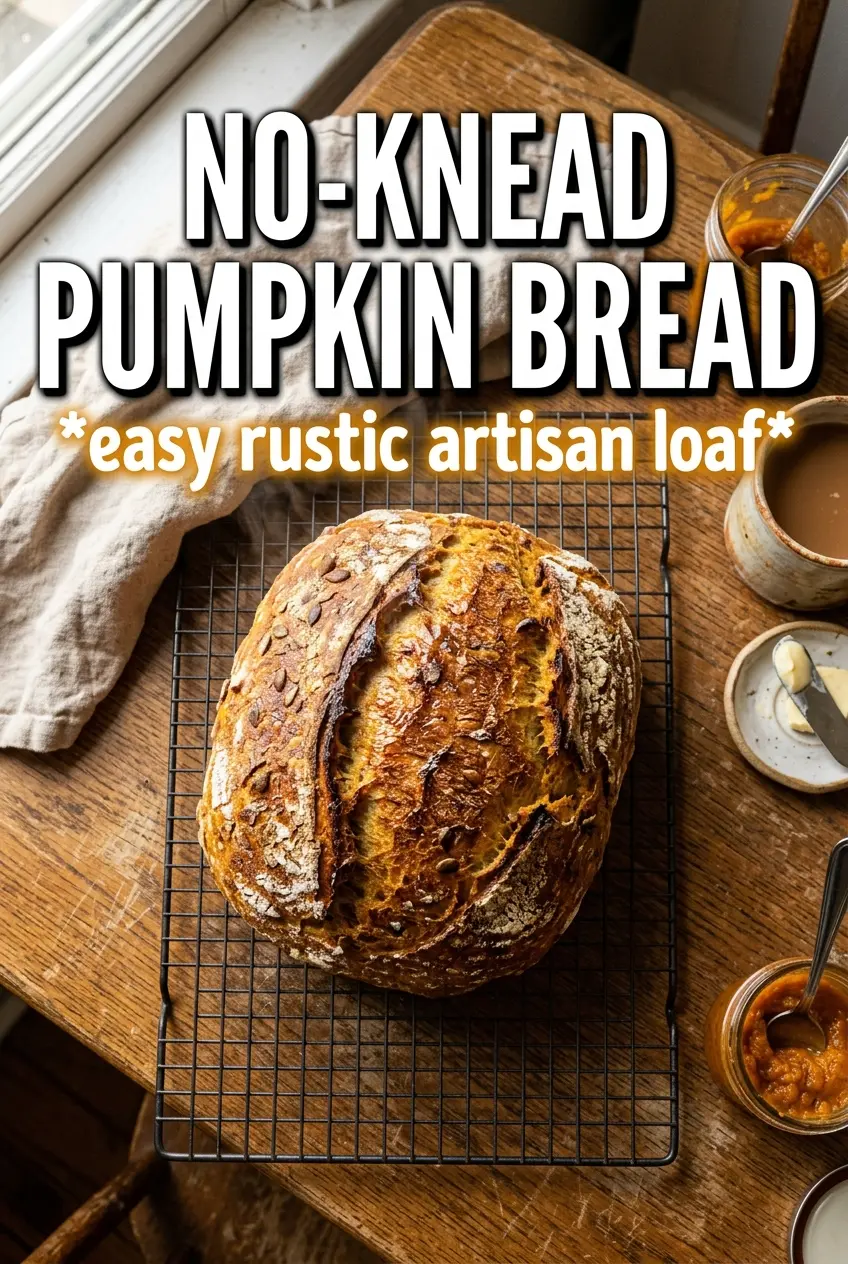
No-Knead Pumpkin Bread
Ingredients
Equipment
Method
- Whisk bread flour, instant yeast, salt, pumpkin pie spice, and cinnamon in a large bowl until evenly combined and no streaks remain.
- Whisk pumpkin puree, warm water, warm milk, and maple syrup or honey together, then stir into the flour mixture until a shaggy dough forms.
- Cover the bowl with plastic wrap and rest at room temperature for 12-18 hours, until the dough is very bubbly.
- Preheat the oven to 450F and place a Dutch oven inside for 30 minutes so it becomes fully hot.
- Turn the dough onto a well-floured surface, shape into a ball, and rest 15 minutes.
- Carefully lower the dough into the hot Dutch oven, cover with the lid, and bake at 450F for 30 minutes.
- Uncover and bake at 450F for 12-15 more minutes, until the crust is deeply golden with a visibly crackled top.
- Cool the loaf on a wire rack for 1 hour before slicing so the interior sets and the crumb doesn’t tear.