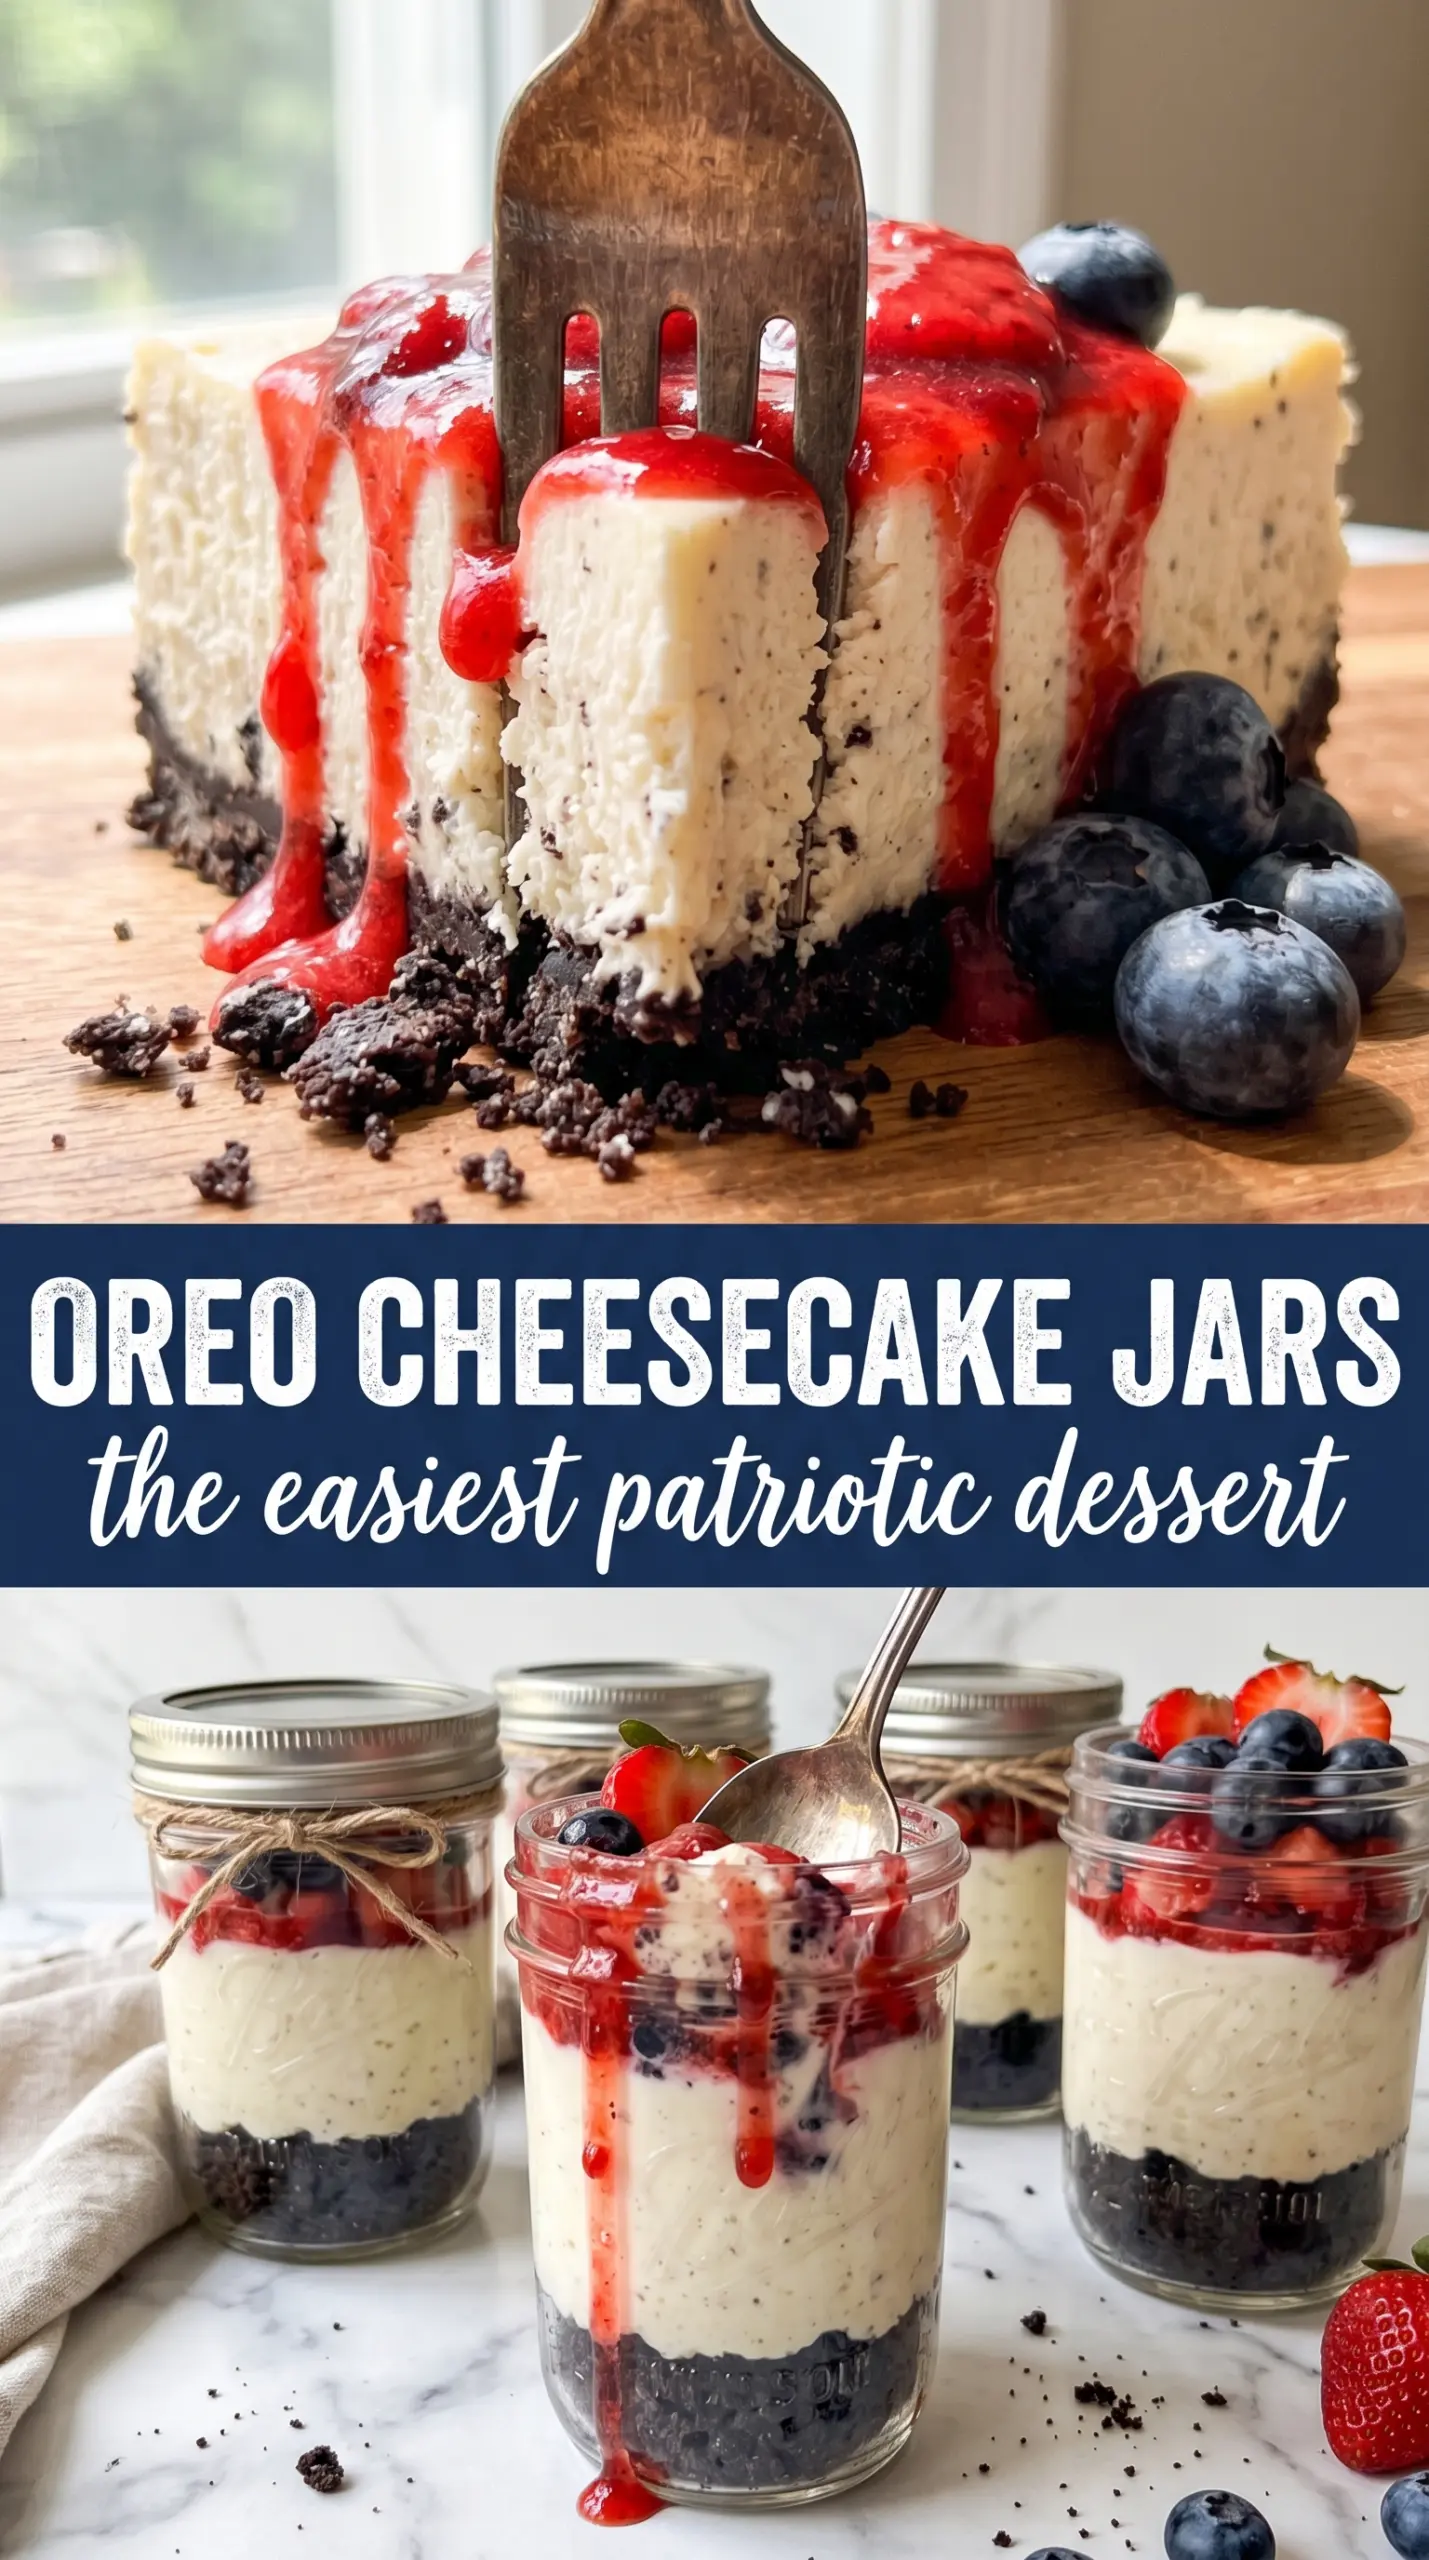
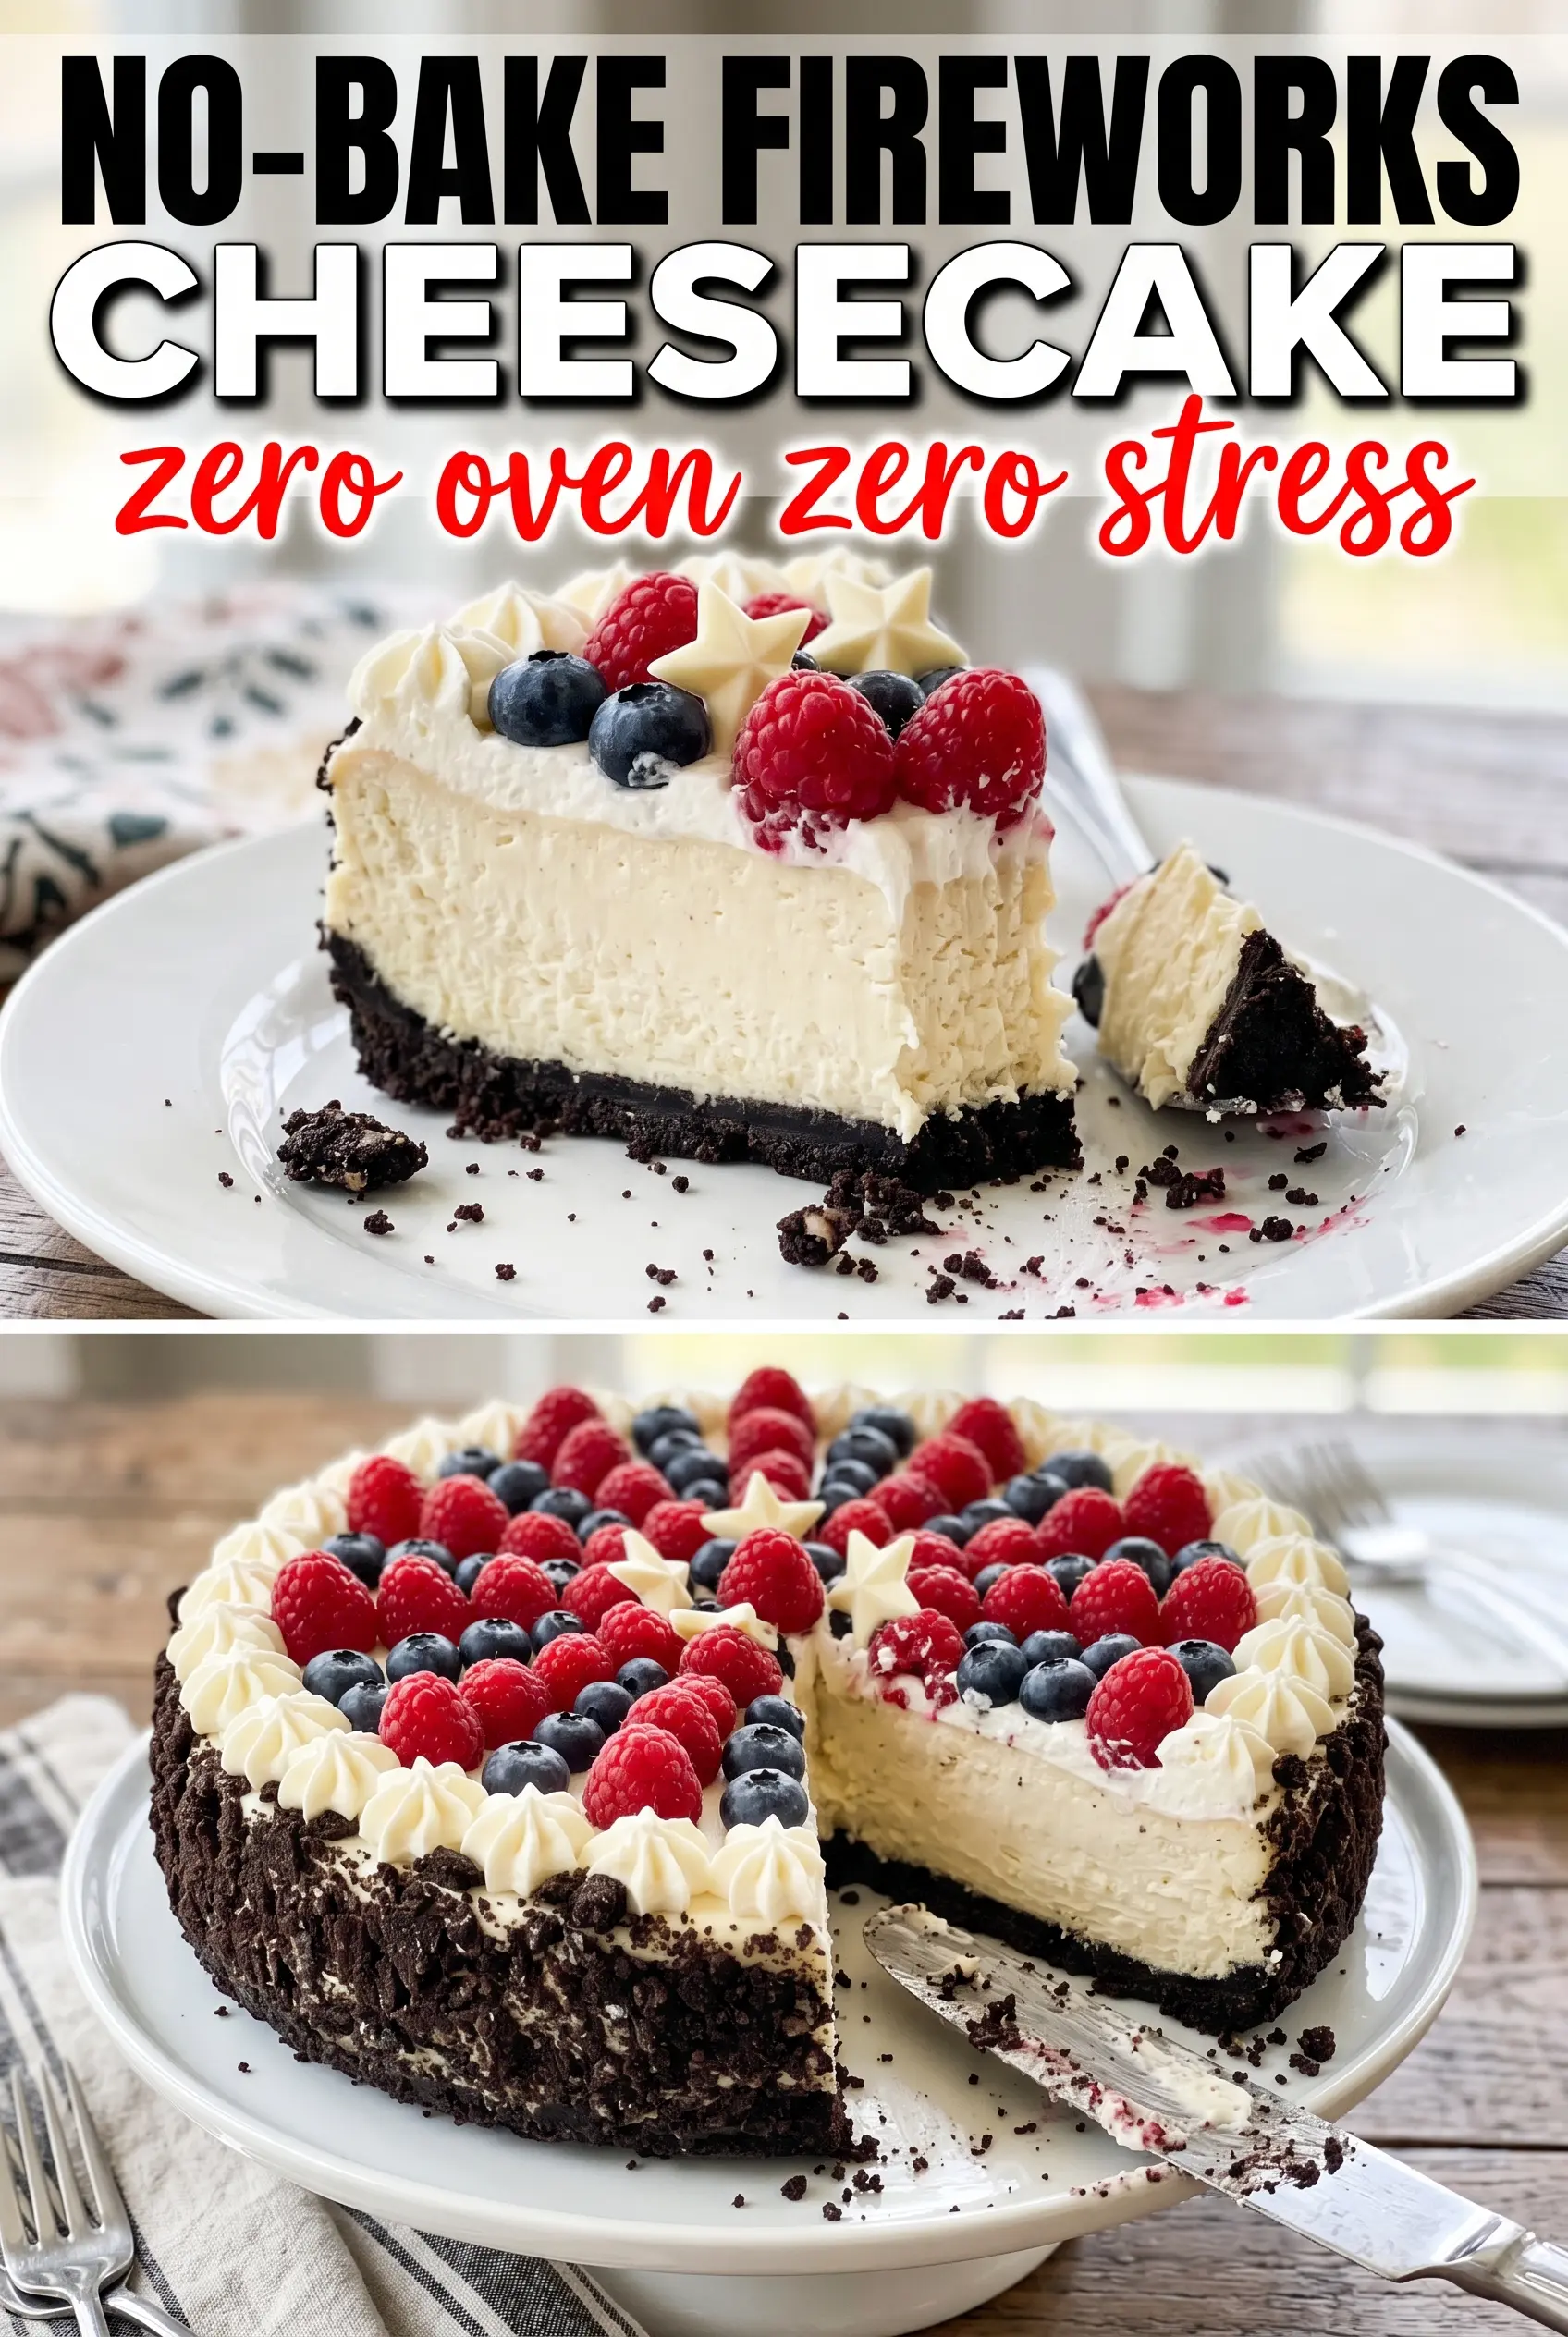
Silky, tall, and built on a dark Oreo crust, this no-bake Fireworks Oreo cheesecake has the kind of clean slice that makes people pause before digging in. The filling stays airy from whipped cream folded into sweetened cream cheese, while the crushed cookies underneath give each bite a firm chocolate snap. The red and blue sprinkles on top don’t just make it festive; they turn an already dependable dessert into something that looks like you spent a lot more time on it than you did.
The trick here is in the texture work. The cream cheese has to be fully softened before it’s beaten, or the filling ends up speckled with little lumps that never quite disappear. The whipped cream also needs to reach stiff peaks, because that’s what gives the cheesecake enough structure to hold its shape after chilling. If you rush either part, the filling turns soft and loose instead of sliceable.
Below, I’m walking through the crust, the filling, and the decorating finish that gives this cheesecake its fireworks look. I’ve also included the small adjustments that matter most if you want cleaner slices, a sturdier set, or a version that’s easier to adapt for different occasions.
The crust held together beautifully and the filling set up overnight into neat slices. I loved that the whipped cream stayed fluffy and the Oreo crunch still had some bite the next day.
Pin this No-Bake Fireworks Oreo Cheesecake for a creamy Oreo dessert with a chilled set and a bright red, white, and blue finish.
The Part That Makes the Cheesecake Hold Its Shape
The difference between a clean slice and a soft pile on the plate comes down to how much air you trap and how gently you combine it. The whipped cream gives this cheesecake structure without baking, but it only works if the cream reaches stiff peaks and stays there. Underwhipped cream gives you a filling that slumps after chilling; overmixing after the cream goes in knocks the air out and leaves you with something dense and heavy.
The Oreo crust also matters more than people think. Press it firmly enough that it feels packed like damp sand, especially along the bottom edge of the pan, or it will crumble when you cut into the first slice. Chilling the crust before adding the filling keeps the butter from softening too fast and helps the base set up into a cleaner layer.
- Stiff whipped cream — This is the structure of the cheesecake. Soft peaks aren’t enough here because the filling needs to hold overnight in the fridge and still cut neatly the next day.
- Softened cream cheese — Cold cream cheese leaves tiny lumps that don’t fully disappear. Set it out until it bends easily when pressed, and the filling will beat smooth in minutes.
- Oreos with the filling intact — The cream in the cookies helps bind the crust, so don’t scrape them out. A food processor gives the most even texture, but a sealed bag and rolling pin work fine.
- Unsalted butter — Melted butter is what turns the crumbs into a pressable crust. Salted butter works in a pinch, but the flavor gets a little muddier against the sweet filling.
What Each Ingredient Is Actually Doing in This Recipe
- Primary ingredient (the star) — Quality matters most. Choose the best you can find.
- Cooking medium (oil, butter, or broth) — This carries flavors and prevents dryness.
- Seasonings (salt, pepper, spices, herbs) — Layer flavors so nothing overpowers. Build depth gradually.
- Aromatics (garlic, onion, herbs) — Cook with fat to bloom flavors. Become the foundation.
- Supporting ingredients — Complement the main ingredient without overpowering it.
- Sauce or liquid (if applicable) — Brings flavors together. Balance richness with acid.
- Acid (lemon, vinegar, wine, or other) — Brightens and prevents flat-tasting results.
- Final finish (garnish, glaze, or sauce) — Prevents one-dimensional taste and adds visual appeal.
Building the Filling So It Stays Light, Not Runny
Pressing the Crust First
Mix the crushed Oreos with the melted butter until every crumb looks evenly moistened, with no dry pockets at the bottom of the bowl. Press the mixture firmly into the bottom of a 9-inch springform pan, using the flat bottom of a measuring cup to compact it into an even layer. A loose crust falls apart when you slice the cheesecake, so spend an extra minute packing it down well. Chill it while you make the filling so the butter can firm back up.
Beating the Cream Cheese Base
Beat the softened cream cheese, powdered sugar, and vanilla until the mixture looks glossy and completely smooth. Stop and scrape the bowl a couple of times, especially around the bottom edge where thicker cream cheese likes to hide. If the mixture still looks grainy at this stage, it means the cream cheese was too cold, and the lumps will stay visible in the finished cheesecake. Keep mixing only until smooth; once it is there, move on.
Folding in the Whipped Cream
Whip the heavy cream to stiff peaks in a separate bowl. It should stand straight up on the whisk and look thick enough to hold ridges. Fold it into the cream cheese mixture in two additions with a wide spatula, lifting from the bottom and turning the bowl as you go. If you stir aggressively, you’ll knock out the air that gives this cheesecake its light texture, and the filling will lose the loft that makes it slice so nicely.
Chilling Until the Center Sets
Spread the filling over the chilled crust and smooth the top with an offset spatula. Cover the pan and refrigerate for at least 6 hours, though overnight gives the cleanest slices and the firmest texture. The cheesecake is ready when the center feels set all the way through and doesn’t wobble like soft pudding. If it still sloshes in the middle, it needs more time.
How to Change the Finish Without Breaking the Cheesecake
Make It Gluten-Free with Gluten-Free Sandwich Cookies
Swap in gluten-free chocolate sandwich cookies in the same amount. The crust will still hold and taste close to the original, though some brands are a little drier, so press the crumbs together and watch for a texture that looks evenly damp rather than sandy.
Use the Same Base for a Different Celebration
Skip the red and blue sprinkles and use crushed Oreos, mini chocolate chips, or white chocolate curls on top instead. The cheesecake itself stays the same, but the finish shifts from patriotic to birthday-party or holiday dessert without changing the texture.
Make the Filling a Little Less Sweet
Reduce the powdered sugar slightly if you want the tang of the cream cheese to come forward more. Don’t cut it too much, though, because the sugar helps stabilize the filling as it chills and keeps the texture from feeling flat.
Storage and Reheating
- Refrigerator: Store covered for up to 4 days. The crust softens a little over time, but the filling stays stable.
- Freezer: This cheesecake freezes well. Freeze the whole cheesecake or individual slices until firm, then wrap tightly and thaw in the refrigerator overnight.
- Reheating: No reheating needed. Serve chilled, and let slices sit out for 10 to 15 minutes before cutting if they feel too firm straight from the fridge.
Questions I Get Asked About This Recipe
No-Bake Fireworks Oreo Cheesecake
Ingredients
Equipment
Method
- Mix the finely crushed Oreo cookies with the melted unsalted butter until the mixture looks like wet sand.
- Press the Oreo crust mixture firmly into the bottom of a 9-inch springform pan, then refrigerate while you make the filling.
- Beat the softened cream cheese, powdered sugar, and vanilla extract until completely smooth with no lumps.
- In a separate bowl, whip the heavy whipping cream to stiff peaks.
- Fold the whipped cream into the cream cheese mixture in two additions until smooth and thick.
- Pour the filling over the chilled crust and smooth the top with an offset spatula.
- Cover and refrigerate for at least 6 hours or overnight until fully set.
- Before serving, pipe whipped cream around the edge of the cheesecake in a starburst pattern.
- Scatter red and blue star sprinkles across the center to resemble a fireworks burst.
- Dust the top with crushed Oreos in a fireworks burst pattern.