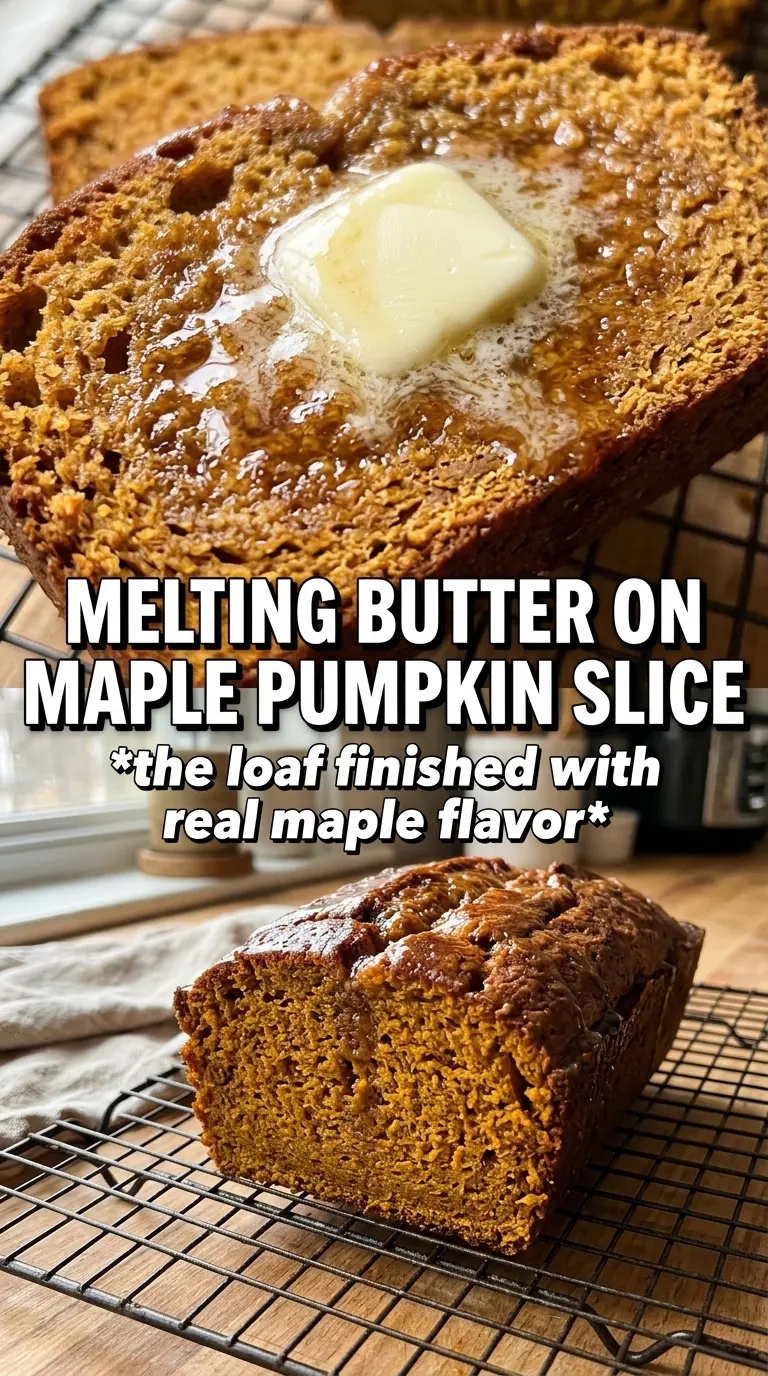
Maple pumpkin bread bakes up with a tender crumb, a deep amber color, and just enough maple flavor to make every slice taste like a treat. The pumpkin keeps it soft for days, while the maple syrup and maple extract push the flavor past plain pumpkin loaf into something richer and more interesting. A spoonful of sour cream finishes the batter with a little extra moisture, so the loaf stays plush instead of dry or crumbly.
The key here is balance. Pumpkin puree brings body, but it can taste flat on its own, so the maple syrup, brown sugar, cinnamon, and pumpkin pie spice all work together to build a loaf that tastes warm without turning muddy or overly sweet. The glaze is optional in theory, but it gives the bread that bakery-style finish and lets the maple flavor carry all the way through the last bite.
Below, I’ll show you the small details that keep the loaf from sinking in the middle and how to get that smooth maple glaze to drizzle instead of soak in.
The loaf came out super moist and the maple glaze set up beautifully instead of running off the sides. I loved the little crunch from the pepitas on top, and it sliced cleanly once it cooled.
Save this maple pumpkin bread for the mornings when you want a soft, maple-glazed loaf with real pumpkin spice flavor.
The Part That Keeps This Loaf Soft Instead of Dense
Quick breads go wrong when the batter gets overworked or the moisture balance is off. With pumpkin bread, that problem shows up fast: the loaf looks fine on top, then turns gummy or heavy in the center after cooling. Here, the sour cream and pumpkin puree bring enough moisture to keep the crumb tender, but the flour stays low enough that the loaf still slices cleanly once it cools.
The other thing that matters is how you mix it. Once the dry ingredients hit the wet, stop as soon as you no longer see streaks of flour. Overmixing builds strength in a loaf that doesn’t need it, and that’s how you end up with tunnels and a tougher bite. The batter should look thick, smooth, and just a little rustic going into the pan.
What Each Ingredient Is Actually Doing in This Bread
- Pumpkin puree — This is the backbone of the loaf. It adds moisture, color, and that soft, custardy texture pumpkin bread needs. Use pure pumpkin puree, not pumpkin pie filling, or the loaf will come out overly sweet and spiced in a way you can’t control.
- Pure maple syrup — This gives the bread its signature flavor and a little extra softness. Pancake syrup won’t taste the same and usually brings more artificial sweetness than maple depth.
- Brown sugar — It deepens the sweetness and helps the crumb stay moist. Packed brown sugar matters here because the molasses note plays well with the maple and pumpkin.
- Sour cream — This is the quiet ingredient that makes the texture stay plush. Plain Greek yogurt works in a pinch, but sour cream gives a rounder, softer finish.
- Maple extract — A small amount makes the maple flavor stand out after baking. Skip it only if you have to; otherwise the syrup flavor gets a little lost behind the pumpkin and spice.
- Pepitas — They add crunch and a nice toasted look on top. Press them lightly into the batter so they stay put instead of sliding off after baking.
How to Bake the Loaf So the Center Sets Right
Whisk the Dry Ingredients First
Combine the flour, baking soda, pumpkin pie spice, cinnamon, and salt in one bowl before anything else. This spreads the leavening and spices evenly through the batter, which keeps you from getting a bitter pocket of baking soda or a muddy spice swirl. If the flour looks clumpy, whisk a little longer now instead of trying to fix it later in the wet batter.
Build the Wet Base Until Smooth
In the second bowl, whisk the pumpkin puree, maple syrup, brown sugar, oil, eggs, vanilla, maple extract, and sour cream until the mixture looks uniform and glossy. The brown sugar should mostly dissolve, and the batter will look thick but pourable. If you still see streaks of sour cream, keep whisking; those streaks can leave uneven pockets in the finished loaf.
Fold, Don’t Beat
Add the dry ingredients to the wet and fold just until the flour disappears. A few small lumps are fine. Overmixing is the fastest way to get a tight, chewy crumb, and quick bread should be tender, not elastic. Pour the batter into the greased loaf pan right away, smooth the top, and scatter the pepitas over it before baking.
Watch the Last Fifteen Minutes Closely
Bake until the top is set, the edges pull slightly from the pan, and a tester comes out with a few moist crumbs instead of wet batter. The center should spring back lightly when touched. If the top browns too fast before the middle is done, lay a loose piece of foil over the loaf for the rest of the bake.
Cool Before the Glaze Goes On
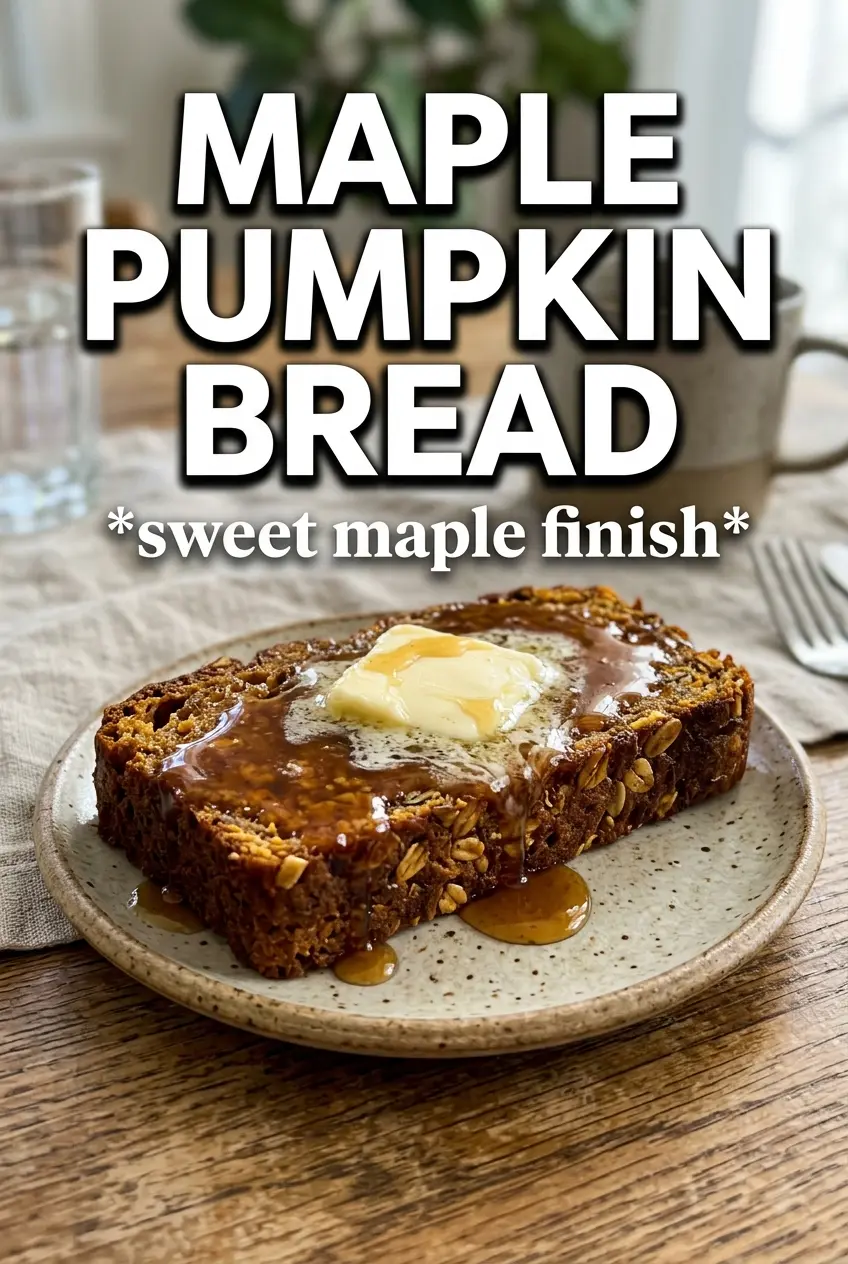
Let the loaf cool completely before you drizzle the maple glaze. If it’s even a little warm, the glaze melts and disappears into the crust instead of sitting on top. Mix the powdered sugar, maple syrup, milk, and cinnamon until smooth and thick enough to ribbon off a spoon, then drizzle it over the loaf in slow passes.
How to Adapt This Loaf Without Losing the Best Part
Dairy-Free Version
Swap the sour cream for unsweetened dairy-free yogurt with a thick texture. The loaf still bakes up soft, but the crumb can be a touch less rich, so don’t skip the glaze if you want that bakery-style finish.
Gluten-Free Loaf
Use a 1:1 gluten-free baking flour that includes xanthan gum. The texture will be a little more delicate, so let the loaf cool fully before slicing or it can break at the center.
Nutty, Crunchy Finish
Keep the pepitas, or swap in chopped toasted pecans for a sweeter crunch. Pepitas taste cleaner and a little earthier, while pecans bring more buttery richness to the top of the loaf.
How to Store and Reheat It
- Refrigerator: Store slices or the whole loaf wrapped tightly for up to 5 days. The crumb stays moist, though the glaze softens a bit over time.
- Freezer: Freeze the unglazed loaf or individual slices for up to 3 months. Wrap well, then thaw at room temperature before glazing for the cleanest finish.
- Reheating: Warm slices in the microwave for 10 to 15 seconds or in a low oven until just heated through. Too much heat dries out the edges and makes the glaze melt away.
Questions I Get Asked About This Recipe
Maple Pumpkin Bread
Ingredients
Equipment
Method
- Preheat oven to 350F and grease a 9x5 loaf pan so the batter releases cleanly.
- Whisk all-purpose flour, baking soda, pumpkin pie spice, cinnamon, and salt in a bowl until evenly blended.
- Whisk pumpkin puree, pure maple syrup, brown sugar, vegetable oil, eggs, vanilla extract, maple extract, and sour cream until smooth.
- Fold the dry ingredients into the wet mixture just until combined, then pour the batter into the loaf pan.
- Scatter raw pepitas over the top, then bake for 60-65 minutes at 350F until done and the center tests clean.
- Cool the loaf completely so the glaze stays thick and set on top without melting in.
- Drizzle a glaze made from powdered sugar, pure maple syrup, milk, and cinnamon over the cooled loaf for a glossy finish.