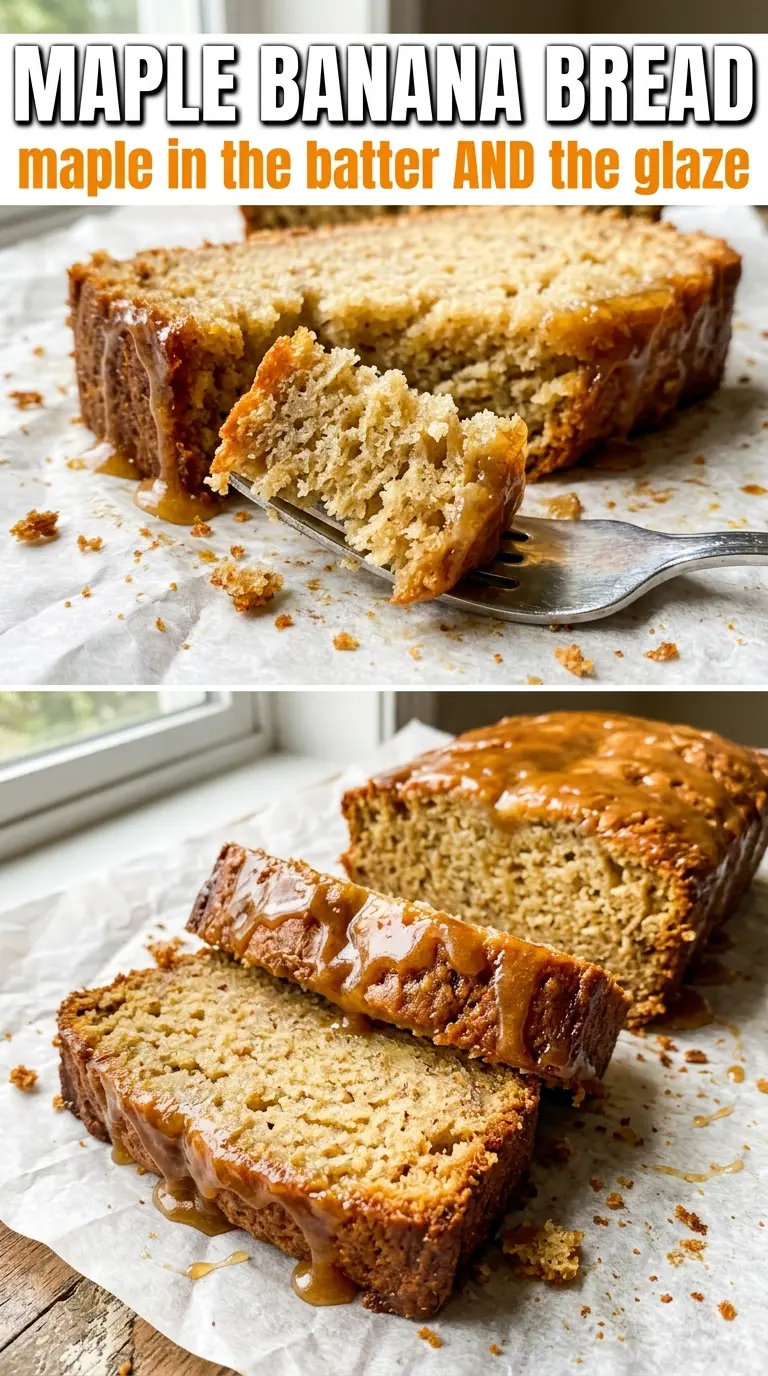
Maple banana bread bakes up with a deep golden crust, a soft crumb, and that unmistakable warm maple aroma that hangs around the kitchen long after the loaf comes out of the oven. It tastes like classic banana bread that got a little more polished: sweeter, richer, and just a touch more complex without losing the comfort people expect from a good homemade loaf.
The trick here is using pure maple syrup in place of part of the usual sugar. That brings real maple flavor into the batter, and brushing the hot loaf with a little more syrup at the end makes the top glossy and fragrant instead of just dry and brown. The bananas still do the heavy lifting for moisture, so the crumb stays tender as long as you don’t overmix once the flour goes in.
Below, I’ll walk through the small details that matter most, from how ripe the bananas should be to why the loaf benefits from a short rest before slicing. The nut option and storage notes are there too, because this one is just as good on day two as it is warm from the pan.
The maple syrup gave the loaf this gorgeous caramel note, and the top brushed with syrup stayed shiny and a little sticky in the best way. Mine baked up in 63 minutes and sliced cleanly once it cooled for a bit.
Save this maple banana bread for the days when you want a soft, maple-scented loaf with a glossy syrup-brushed top.
The Part That Keeps Maple Banana Bread From Turning Dense
The biggest mistake with banana bread is treating the batter like cake batter and beating it until smooth. Once the flour goes in, the goal changes. You want the dry streaks gone, not a whipped batter, because overmixing develops the gluten and gives you a tight, rubbery loaf instead of a soft crumb.
The second thing that matters is the maple syrup itself. It adds moisture, but it also behaves differently from granulated sugar, so the loaf can brown faster on top while still needing a little more time in the center. That’s why the toothpick test matters here, and why the brushed syrup goes on after baking instead of before.
- Bananas — Use very ripe bananas with lots of brown spots. They mash smoothly and bring the strongest banana flavor. Under-ripe bananas leave the loaf bland and drier.
- Pure maple syrup — This is the flavor anchor, so use real maple syrup, not pancake syrup. The cheap imitation stuff tastes flat and won’t give the same amber depth.
- Butter — Melted butter gives richness and a tender crumb. Oil can work in a pinch, but you’ll lose some of the round, bakery-style flavor that makes this loaf stand out.
- Pecans or walnuts — Nuts add contrast and keep each slice from feeling too soft. Toast them first if you have time; it sharpens their flavor and makes the loaf taste more finished.
What Each Ingredient Is Actually Doing in This Bread
- Flour (the structure) — All-purpose or bread flour provides the base. Protein content affects texture.
- Leavening (baking powder, baking soda, or yeast) — This creates rise. For quick breads, chemical leavening works. Yeast requires time.
- Wet ingredients (milk, eggs, oil, or applesauce) — These hydrate flour and add richness. Balance moisture so bread isn’t gummy.
- Sugar (sweetness and structure) — Sugar tenderizes and adds flavor. Too much makes dense, gummy bread.
- Salt (the flavor enhancer) — Salt brings out natural flavors and prevents flatness.
- Flavorings (vanilla, spices, or zest) — These define the bread personality. Use quality extracts.
- Mix-ins (nuts, chocolate, fruit) — These add texture and prevent one-dimensional taste. Toast nuts first for better flavor.
- Proper baking temperature (350-375°F) — Moderate heat bakes bread evenly. Higher temps create dark crust before inside bakes.
Building the Batter Without Losing the Banana Texture
Mashing the Bananas and Mixing the Wet Ingredients
Mash the bananas until they’re mostly smooth, with a few small lumps left for texture. Whisk in the melted butter, maple syrup, egg, and vanilla until the mixture looks cohesive and glossy. If the butter is hot enough to scramble the egg, let it cool for a minute before mixing. The batter should smell like banana and maple right away.
Adding the Dry Ingredients Gently
Sprinkle the flour, baking soda, cinnamon, nutmeg, and salt over the wet mixture, then fold just until the flour disappears. Stop the second you no longer see dry pockets. If you keep stirring after that, the loaf gets tough and the crumb turns compact instead of tender. Fold in the chopped nuts at the end so they stay distributed without breaking down.
Baking Until the Center Is Set
Scrape the batter into a greased 9×5-inch loaf pan and smooth the top. Bake until the top is deeply golden and a toothpick inserted in the center comes out clean or with a few moist crumbs, usually 60 to 70 minutes. If the top is darkening too quickly before the center is done, lay a loose piece of foil over it for the last stretch. Don’t pull it too early just because the top looks browned; banana bread can look ready before the middle has finished setting.
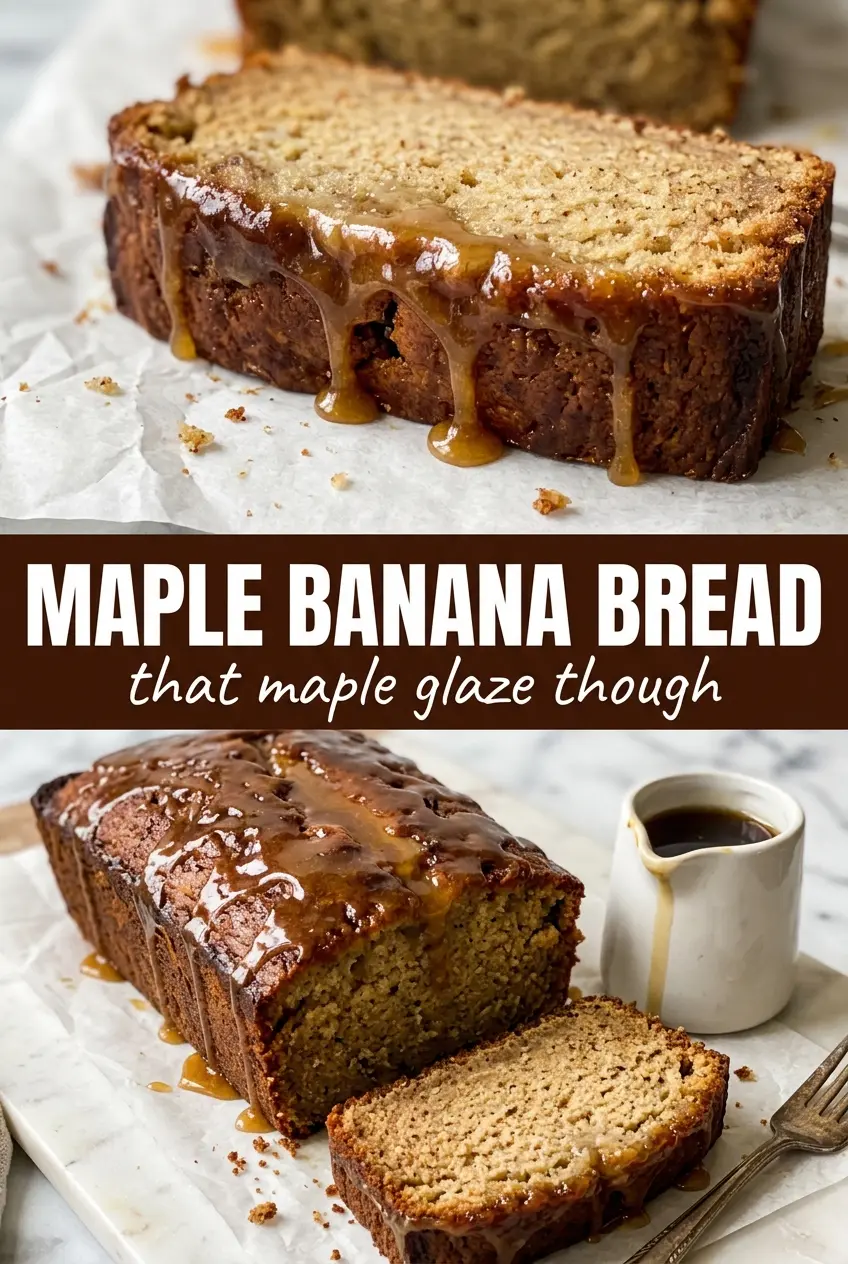
Finishing With Warm Maple Syrup
Brush the hot loaf with warm maple syrup as soon as it comes out of the oven. The heat helps the syrup soak lightly into the crust and gives the top a shiny finish that tastes like maple candy in loaf form. Let the bread cool in the pan for about 15 minutes before unmolding so it holds together cleanly. Slice it too soon and the center can collapse under the knife.
How to Tweak This Loaf Without Losing the Maple Character
Make It Nut-Free
Leave out the pecans or walnuts and the loaf still bakes up beautifully. You’ll lose the crunchy contrast, so the texture becomes softer and more uniform, but the maple-banana flavor stays front and center.
Swap in Whole Wheat Flour
Use half whole wheat flour and half all-purpose flour if you want a deeper, nuttier flavor. Go all the way to 100% whole wheat and the loaf will be denser and a little drier unless the bananas are extremely ripe.
Make It Dairy-Free
Replace the butter with melted coconut oil or a neutral oil. Coconut oil keeps the loaf rich but adds a faint coconut note, while neutral oil gives you the softest crumb with the least extra flavor.
Use Maple Walnut Instead of Maple Pecan
Walnuts bring a slightly more bitter edge than pecans, which works well with the sweetness of the maple syrup. If you like a loaf that tastes a little less candy-like and a little more toasty, walnuts are the better choice.
Storage and Reheating
- Refrigerator: Store tightly wrapped for up to 5 days. The crumb gets a little firmer in the fridge, but the maple flavor stays strong.
- Freezer: Freeze slices or the whole loaf well wrapped for up to 3 months. Thaw at room temperature still wrapped so the bread doesn’t dry out on the outside.
- Reheating: Warm slices in a toaster oven or microwave just until heated through. Overheating dries out the crumb fast, especially around the edges.
Answers to the Questions Worth Asking
Maple Banana Bread
Ingredients
Equipment
Method
- Preheat the oven to 350°F and grease a 9x5 loaf pan. Look for the pan to be fully coated so the loaf releases cleanly.
- Whisk the melted butter, maple syrup, egg, and vanilla into the mashed bananas until smooth. The mixture should look glossy and evenly combined.
- Fold in the flour, baking soda, cinnamon, nutmeg, and salt until just combined. Stop mixing when no dry streaks remain.
- Fold in the chopped pecans or walnuts. You should see nuts evenly distributed through the batter.
- Pour the batter into the prepared pan. Tap the pan lightly so the top levels out.
- Bake at 350°F for 60–70 minutes until a deep golden color forms and a toothpick comes out clean. The loaf should spring back slightly when pressed.
- Immediately brush the top with 1–2 tablespoons of warm maple syrup while still hot. The surface should look glossy and amber-toned.
- Cool the loaf in the pan for 15 minutes before unmolding. The loaf should firm up enough to hold its shape.