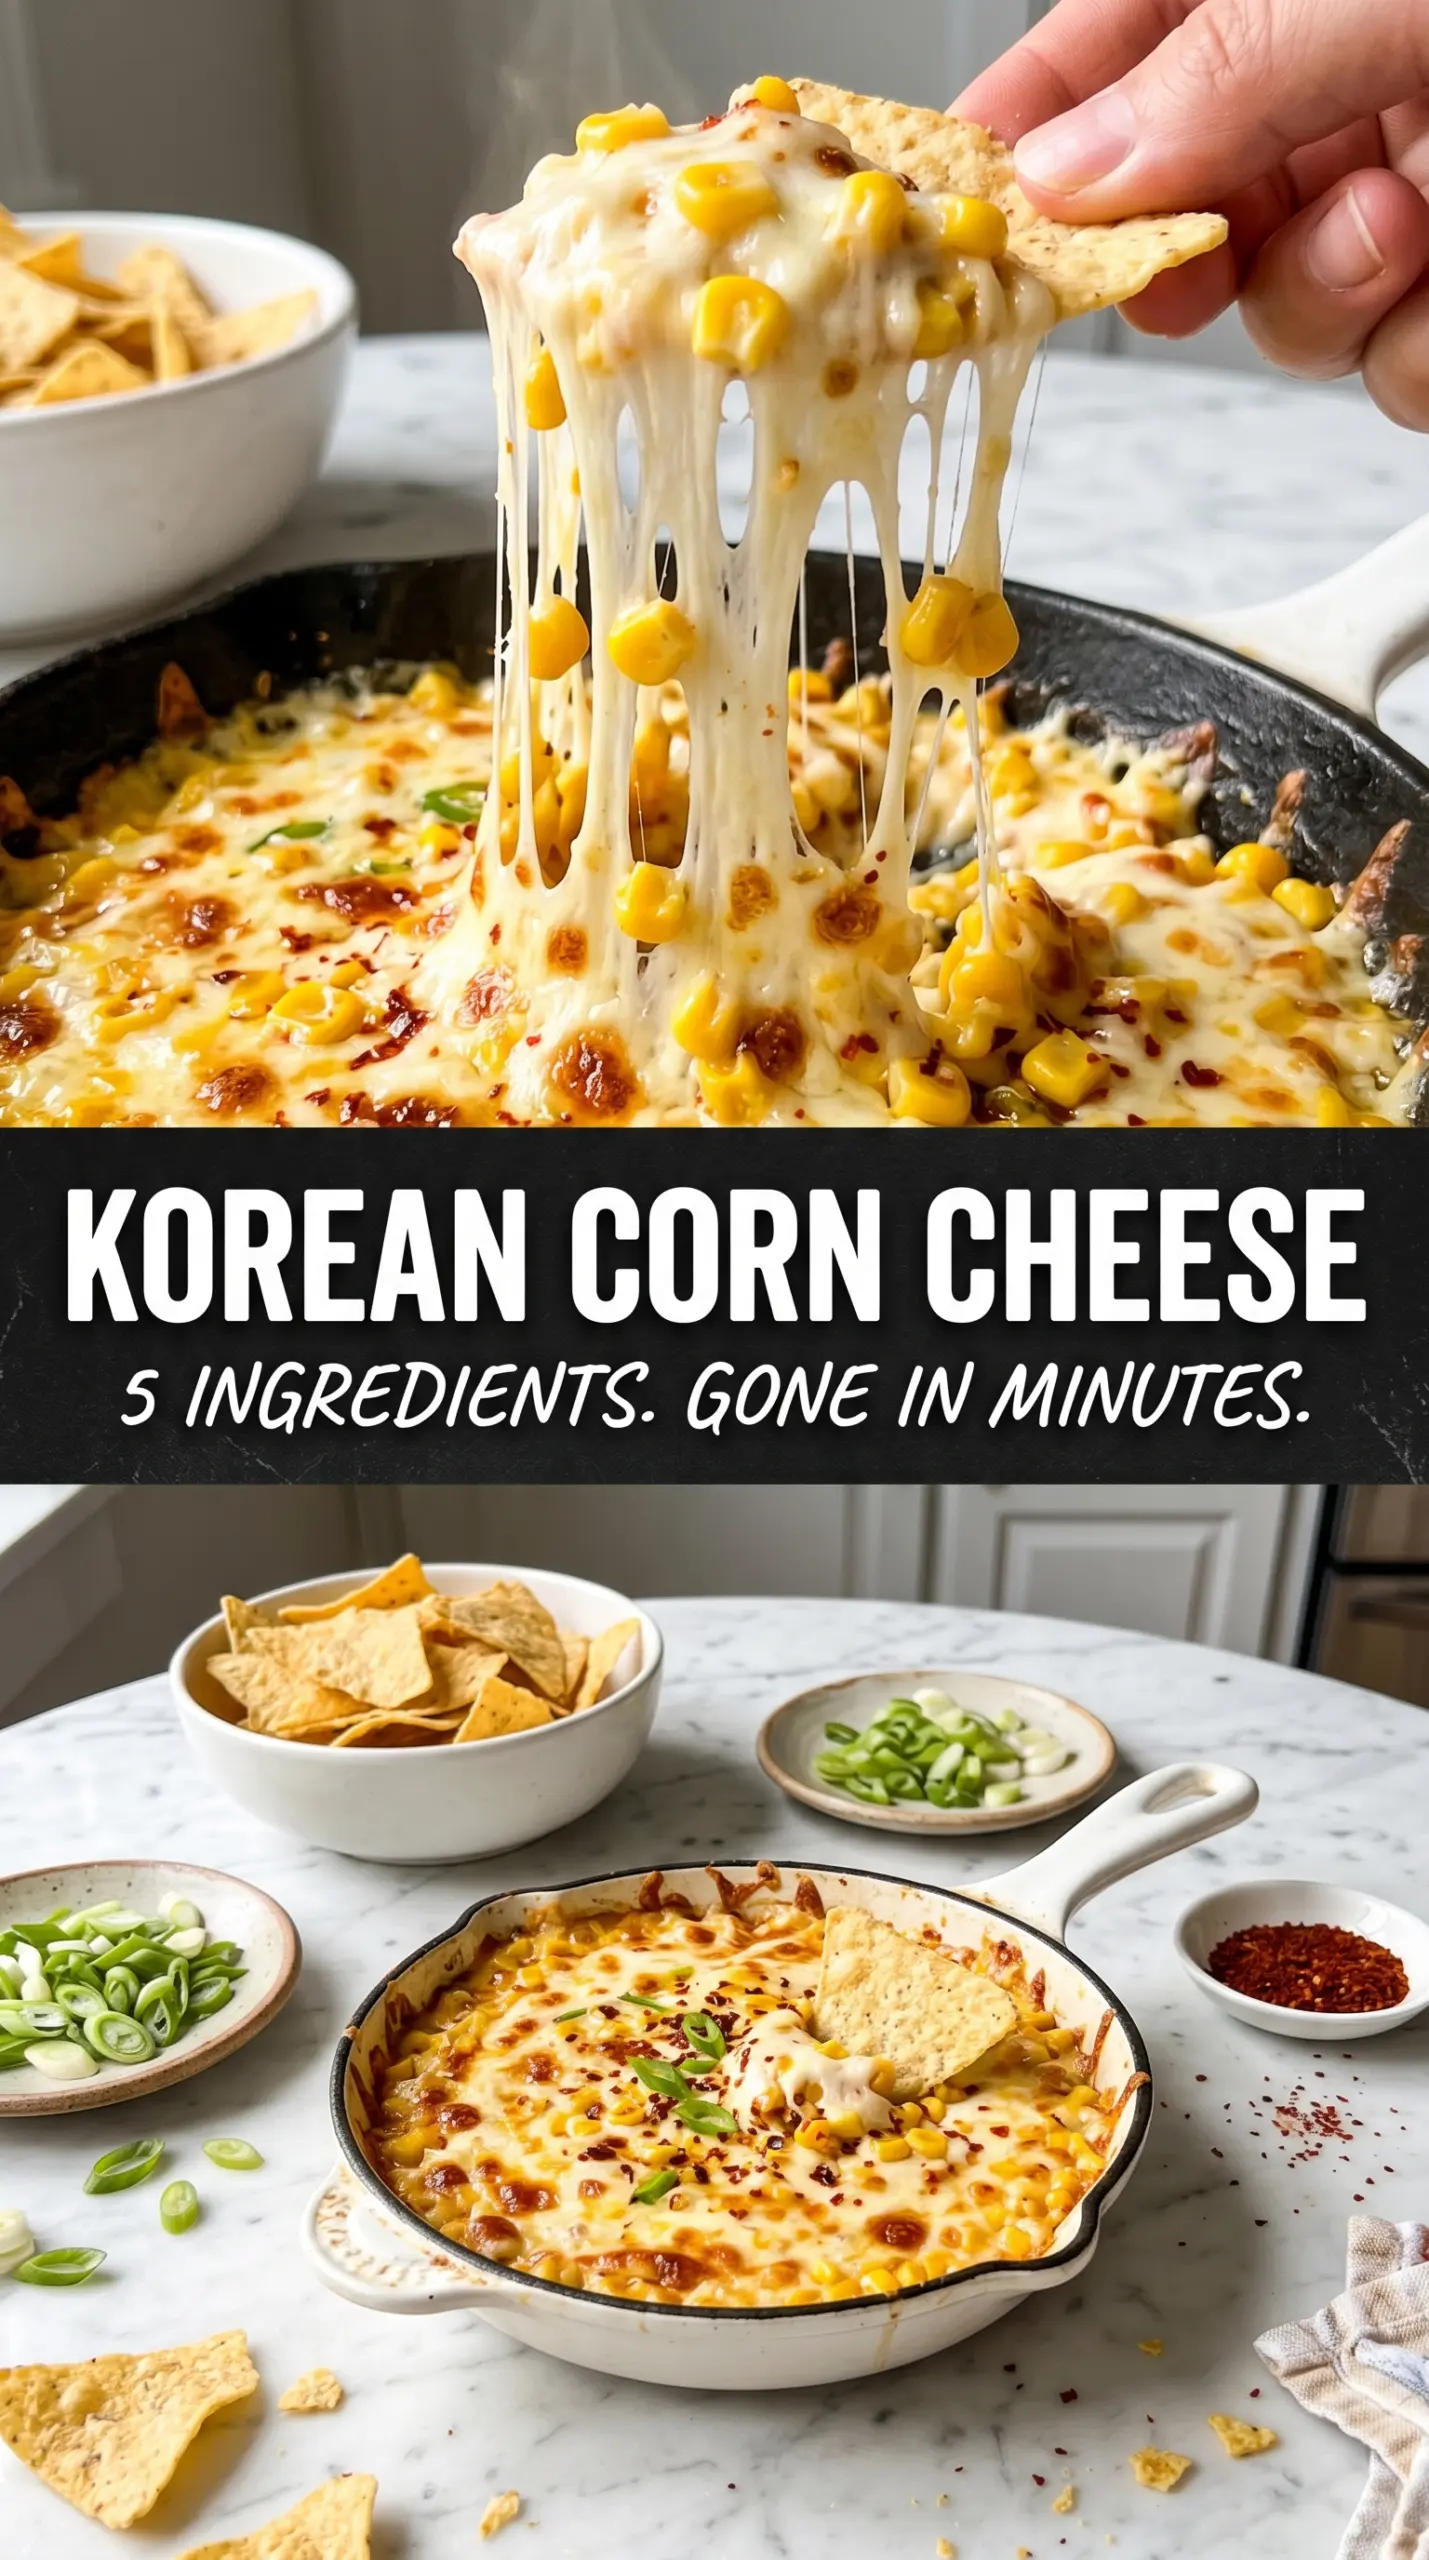
Golden, bubbling Korean corn cheese is the kind of dish that disappears fast because it hits every texture people want in one pan: sweet corn, creamy mayo, and a blanket of mozzarella that turns stretchy at the edges and browned on top. It works as a snack, a side, or the first thing everyone reaches for when it lands on the table hot from the oven.
The trick is keeping the corn mixture simple and letting the oven do the heavy lifting. A little sugar sharpens the sweetness of the corn, and mayo gives the base enough richness to stay creamy instead of drying out under the cheese. Parmesan adds a salty edge, while mozzarella melts into that familiar pull you want from Korean bar food.
Below, I’ll show you how to get the topping browned without scorching the cheese and how to use canned or frozen corn without ending up with a watery skillet. There’s also a small swap note for making it a little lighter or a little richer, depending on what you’ve got in the fridge.
The cheese browned beautifully under the broiler and the corn stayed creamy instead of soupy. I served it with toasted bread and the whole pan was gone in minutes.
Save this bubbling Korean corn cheese for the next time you want a golden, stretchy skillet dish with almost no prep.
The Shortcut That Keeps Korean Corn Cheese Creamy, Not Watery
The biggest mistake with corn cheese is starting with wet corn and expecting the oven to fix it. It won’t. Excess liquid turns the base thin, so the cheese melts into a puddle instead of sitting on top in a thick, scoopable layer. Draining canned corn well and giving frozen corn a quick thaw and blot makes a bigger difference than any extra seasoning.
Mayo is doing more than adding richness here. It coats the kernels and helps the corn stay creamy under heat, which is why this dish still tastes plush after broiling. Sugar sounds small, but it rounds out the salt and cheese and gives you that classic Korean-style sweet-savory balance instead of a flat, salty dip.
- Corn — Canned corn is perfect here because it’s sweet, tender, and fast. If you use frozen corn, thaw it first and pat it dry so the dish doesn’t turn loose in the oven.
- Mayonnaise — Kewpie gives the most authentic flavor and a slightly richer texture, but regular mayo works fine. Don’t swap in a low-fat version unless you want a thinner, less silky base.
- Mozzarella — This is the cheese that gives you the stretch. Use low-moisture shredded mozzarella if you can, since fresh mozzarella releases too much water for this recipe.
- Parmesan — The salty edge matters more than you’d think. It keeps the topping from tasting one-note and helps the surface brown faster under the broiler.
What Each Ingredient Is Actually Doing in This Recipe
- Primary ingredient (the star) — Quality matters most. Choose the best you can find.
- Cooking medium (oil, butter, or broth) — This carries flavors and prevents dryness.
- Seasonings (salt, pepper, spices, herbs) — Layer flavors so nothing overpowers. Build depth gradually.
- Aromatics (garlic, onion, herbs) — Cook with fat to bloom flavors. Become the foundation.
- Supporting ingredients — Complement the main ingredient without overpowering it.
- Sauce or liquid (if applicable) — Brings flavors together. Balance richness with acid.
- Acid (lemon, vinegar, wine, or other) — Brightens and prevents flat-tasting results.
- Final finish (garnish, glaze, or sauce) — Prevents one-dimensional taste and adds visual appeal.
Building the Skillet So the Cheese Browns Before the Corn Dries Out
Mix the Base Just Until It’s Coated
Stir the corn with mayo, sugar, and salt until every kernel looks glossy and lightly coated. You don’t want a loose dressing pooling at the bottom of the bowl. If the mixture seems watery, it’s almost always because the corn wasn’t drained well enough, not because it needs more mayonnaise.
Pack It Into a Small Dish
Use a small oven-safe baking dish or cast iron skillet so the mixture sits in a thick layer. That helps the center stay creamy while the top gets browned. Spread it evenly, but don’t press it down hard, or the finished dish can turn dense instead of soft and spoonable.
Broil for Color, Not Just Heat
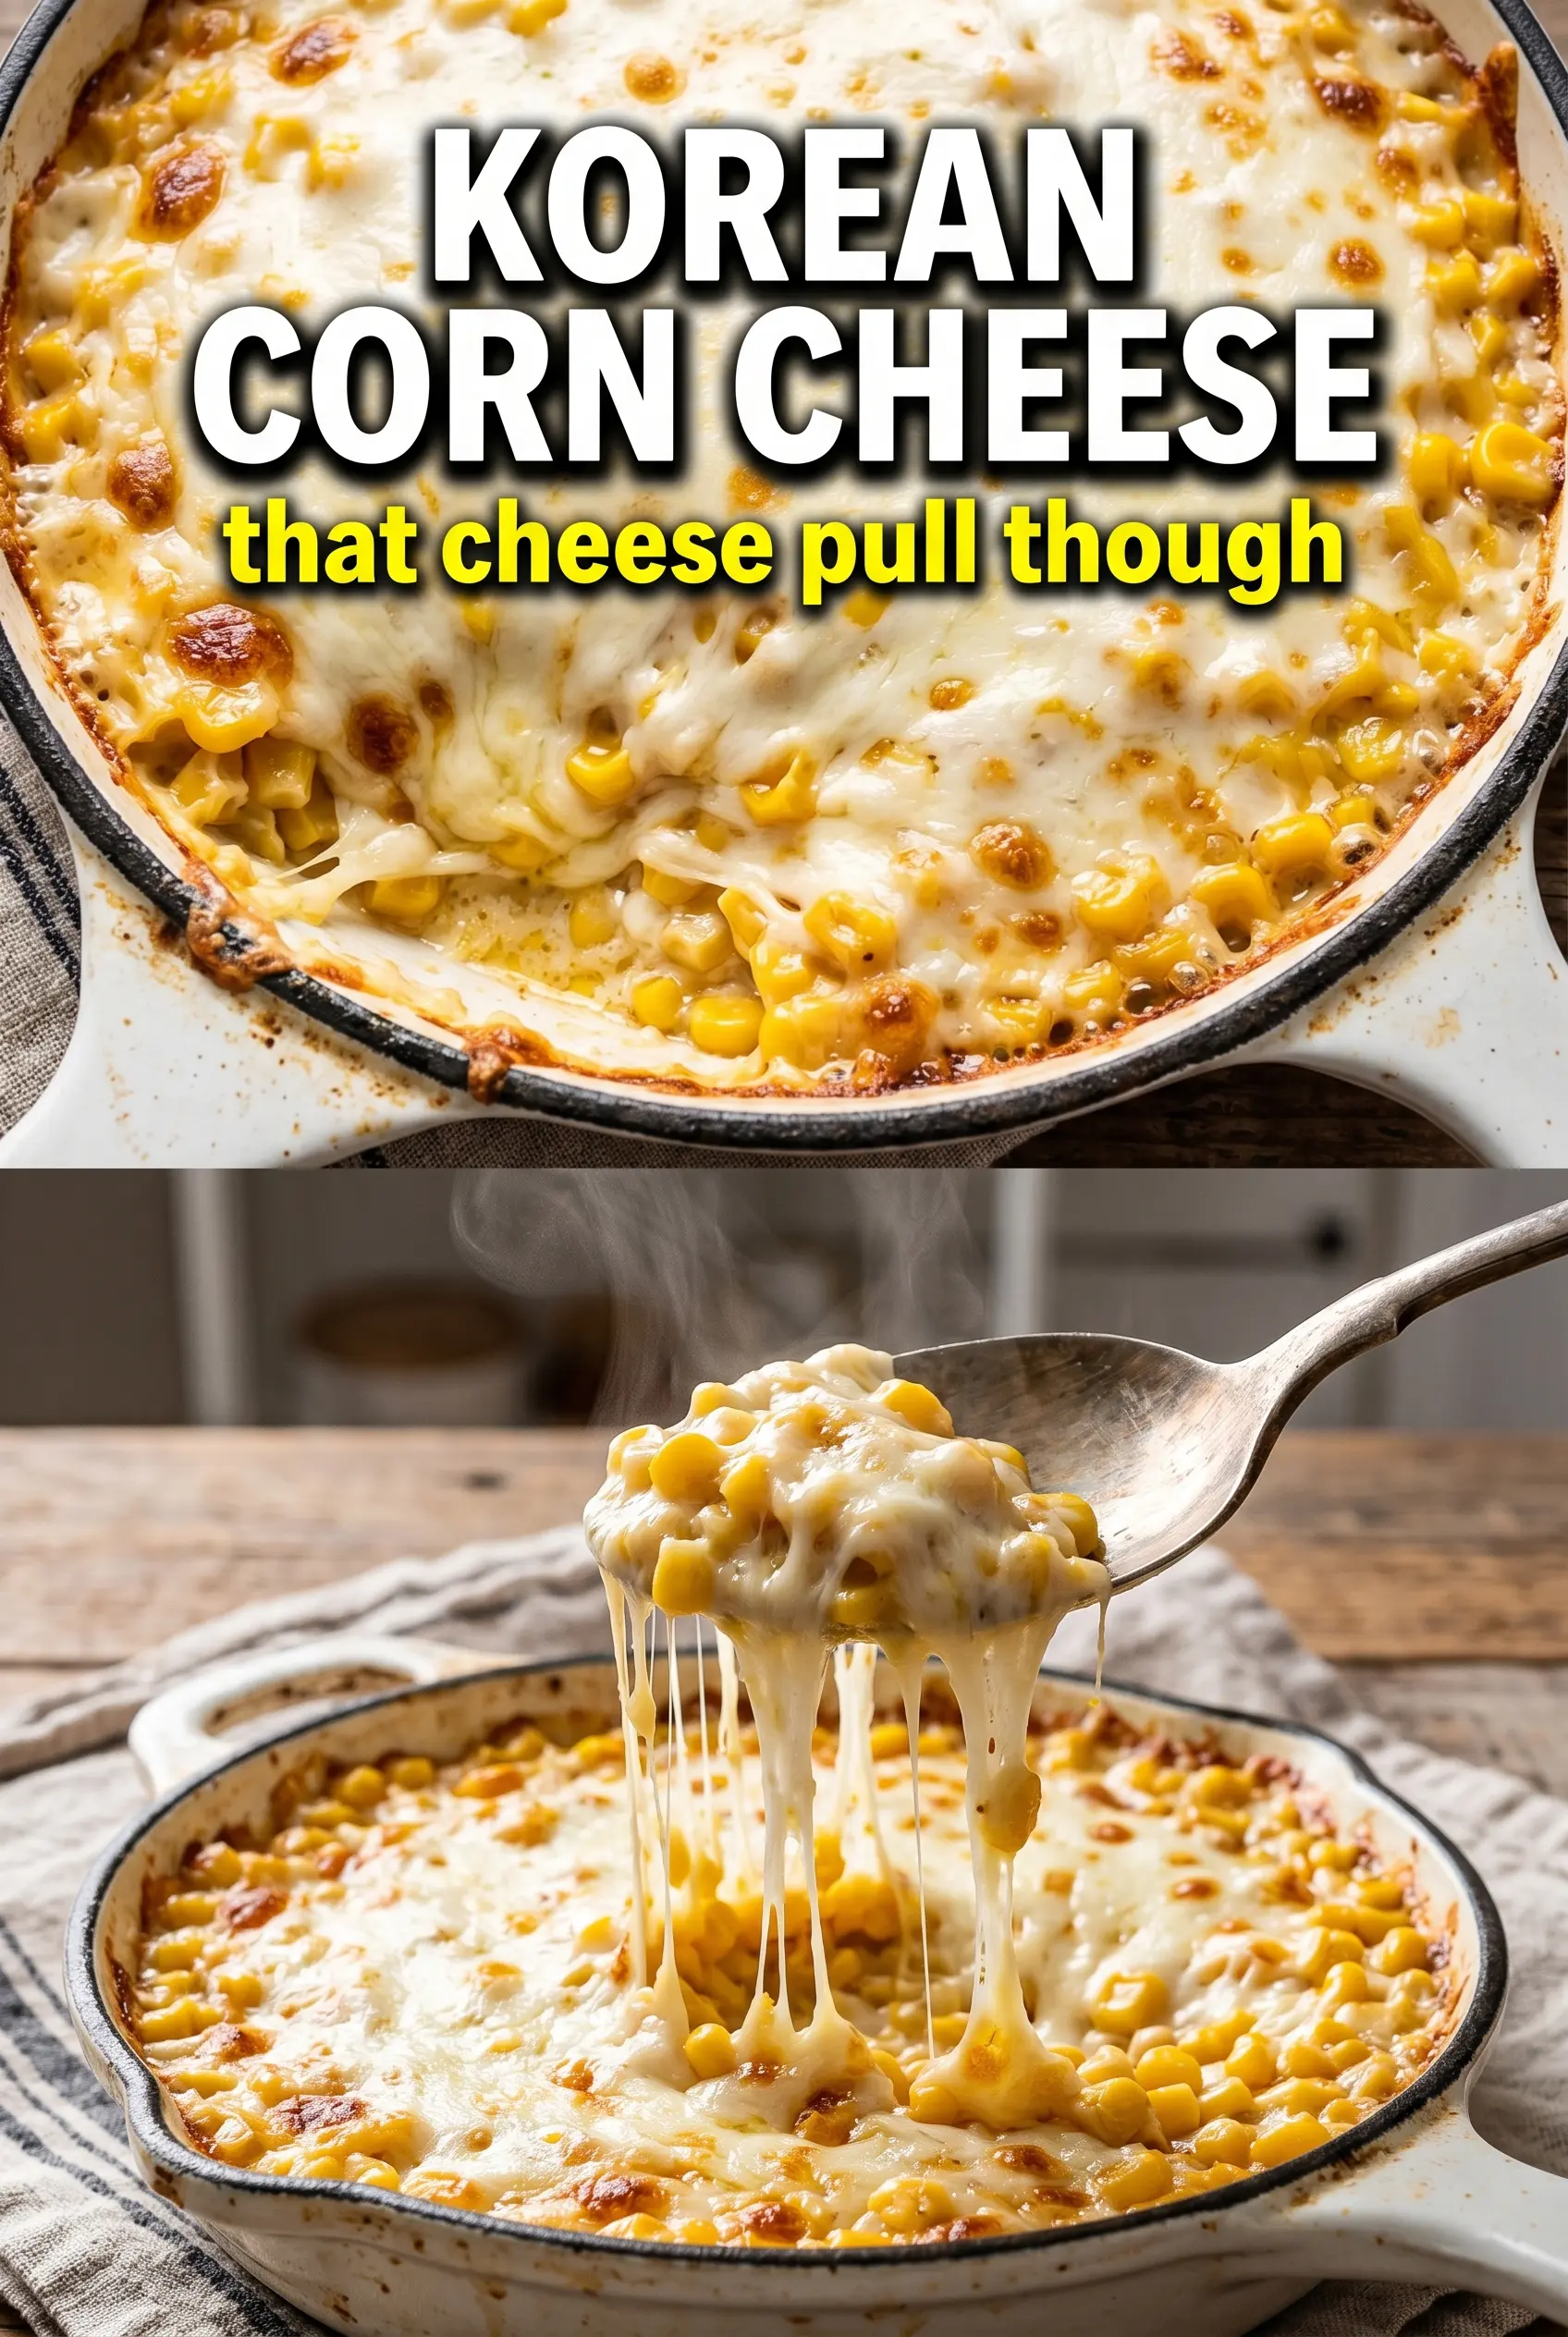
Bake first, then finish under the broiler for a few minutes. That’s what gives you the browned mozzarella bubbles and those toasted spots that make the dish taste like bar food. Watch it closely during the broil stage, because the line between golden and scorched is short.
Serve It While the Cheese Still Pulls
Garnish with parsley and bring it to the table immediately. Korean corn cheese loses its best texture as it sits, because the cheese firms up and the corn base settles. The first scoop should drag into long strands of mozzarella with a hot, creamy spoonful underneath.
How to Adapt It Without Losing the Sweet-Savory Balance
Dairy-Free Version
Use a good dairy-free mayo and a meltable dairy-free mozzarella-style shred. You’ll still get the creamy base and the browned top, but the stretch won’t be quite the same, so keep the broiler time short and watch for color instead of waiting for heavy bubbling.
Extra-Rich Bar-Style Version
Add a spoonful of cream cheese to the corn mixture before baking. It makes the center thicker and more luxurious, which is great if you’re serving this with bread. The tradeoff is that it tastes a little heavier, so the dish moves from snacky to indulgent fast.
Gluten-Free Serving
The corn cheese itself is naturally gluten-free as long as your mayonnaise is certified gluten-free. Serve it with gluten-free crackers, rice cakes, or vegetable sticks instead of bread or chips made with shared fry oil if cross-contact matters.
Jalapeño or Chili Flake Upgrade
Stir in finely chopped jalapeño or a pinch of chili flakes if you want a little heat against the sweet corn. That sharpness keeps the dish from leaning too rich, especially if you’re serving it as an appetizer with drinks.
Storage and Reheating
- Refrigerator: Store leftovers in an airtight container for up to 3 days. The cheese will firm up and the corn will lose some of its fresh pop.
- Freezer: I don’t recommend freezing this dish. The mayo-based filling can separate and the corn turns watery after thawing.
- Reheating: Warm it in a 350°F oven until hot, then broil briefly to re-melt the cheese. The microwave works in a pinch, but it softens the topping and takes away the browned top that makes this dish worth making.
Questions I Get Asked About This Recipe
Korean Corn Cheese
Ingredients
Equipment
Method
- Preheat the oven to 400°F (or set the broiler for high). Wait until the oven reaches temperature so the cheese browns quickly.
- In a bowl, mix drained corn with mayonnaise, sugar, and salt until evenly combined. Look for a glossy, well-coated corn mixture with no dry pockets.
- Transfer the corn mixture to a small oven-safe baking dish or cast iron skillet and spread into an even layer. Bake for 10 minutes at 400°F until hot throughout.
- Top evenly with shredded mozzarella and grated parmesan, then return to the oven. Broil for 3–5 minutes until the cheese is golden, bubbling, and stretching with each scoop.
- Scatter fresh parsley over the top and serve immediately. Enjoy with tortilla chips or bread while the cheese is molten.