Individual apple crumbles give you all the comfort of a classic baked apple dessert with none of the guesswork about serving. Each ramekin bakes up with bubbling cinnamon-spiced fruit underneath and a deep golden oat topping that stays crisp at the edges, especially where the butter melts through the crumble in little pockets. The single-serving format also means every portion gets its own generous topping, which is half the reason this dessert disappears fast.
The part that makes this version work is cooking the apples briefly on the stove before they go into the oven. That step pulls out some of the juice, lets the cornstarch start thickening, and keeps the filling from turning watery under the crumble. Finely diced apples help here, too, because they soften evenly in a short bake and settle into that spoonable, jammy texture everyone wants from a fruit dessert.
Below, I’m walking through the small details that matter most: which apples hold up best, how to get the topping clumpy instead of sandy, and what to look for when the filling is ready to come out of the oven. Those are the little things that separate a good apple crumble from one that lands on the table looking and tasting like you meant it.
The apples thickened up beautifully on the stove, and the crumble stayed crisp on top even after we added ice cream. I loved that each ramekin had its own buttery edge.
Love the buttery oat topping and bubbling cinnamon apples? Save these individual apple crumbles for the night you want a warm dessert with built-in servings.
The Mistake That Makes Apple Crumbles Watery
The biggest problem with apple crumble isn’t the topping. It’s the filling. Apples release a lot of juice as they cook, and if that liquid doesn’t get a head start thickening before the bake, it pools at the bottom of the ramekin and turns the dessert syrupy instead of spoonable. Cooking the apples with cornstarch, sugar, lemon juice, and butter for a few minutes on the stove solves that problem before it ever reaches the oven.
Finely diced apples matter here because they soften quickly and evenly. Large chunks need a longer bake, which can leave you with a browned topping and apples that still taste raw in the center. Shortening the fruit size gives you a better balance: tender filling, crisp topping, and no burnt edges while you wait for the apples to catch up.
- The stovetop pre-cook thickens the juices early, so the filling bubbles properly instead of leaking.
- Cornstarch works best when it’s heated with the fruit. If you add it raw and skip the skillet step, it stays chalky.
- Lemon juice doesn’t make this taste tart. It brightens the apples and keeps the flavor from going flat.
What Each Ingredient Is Actually Doing in This Dessert
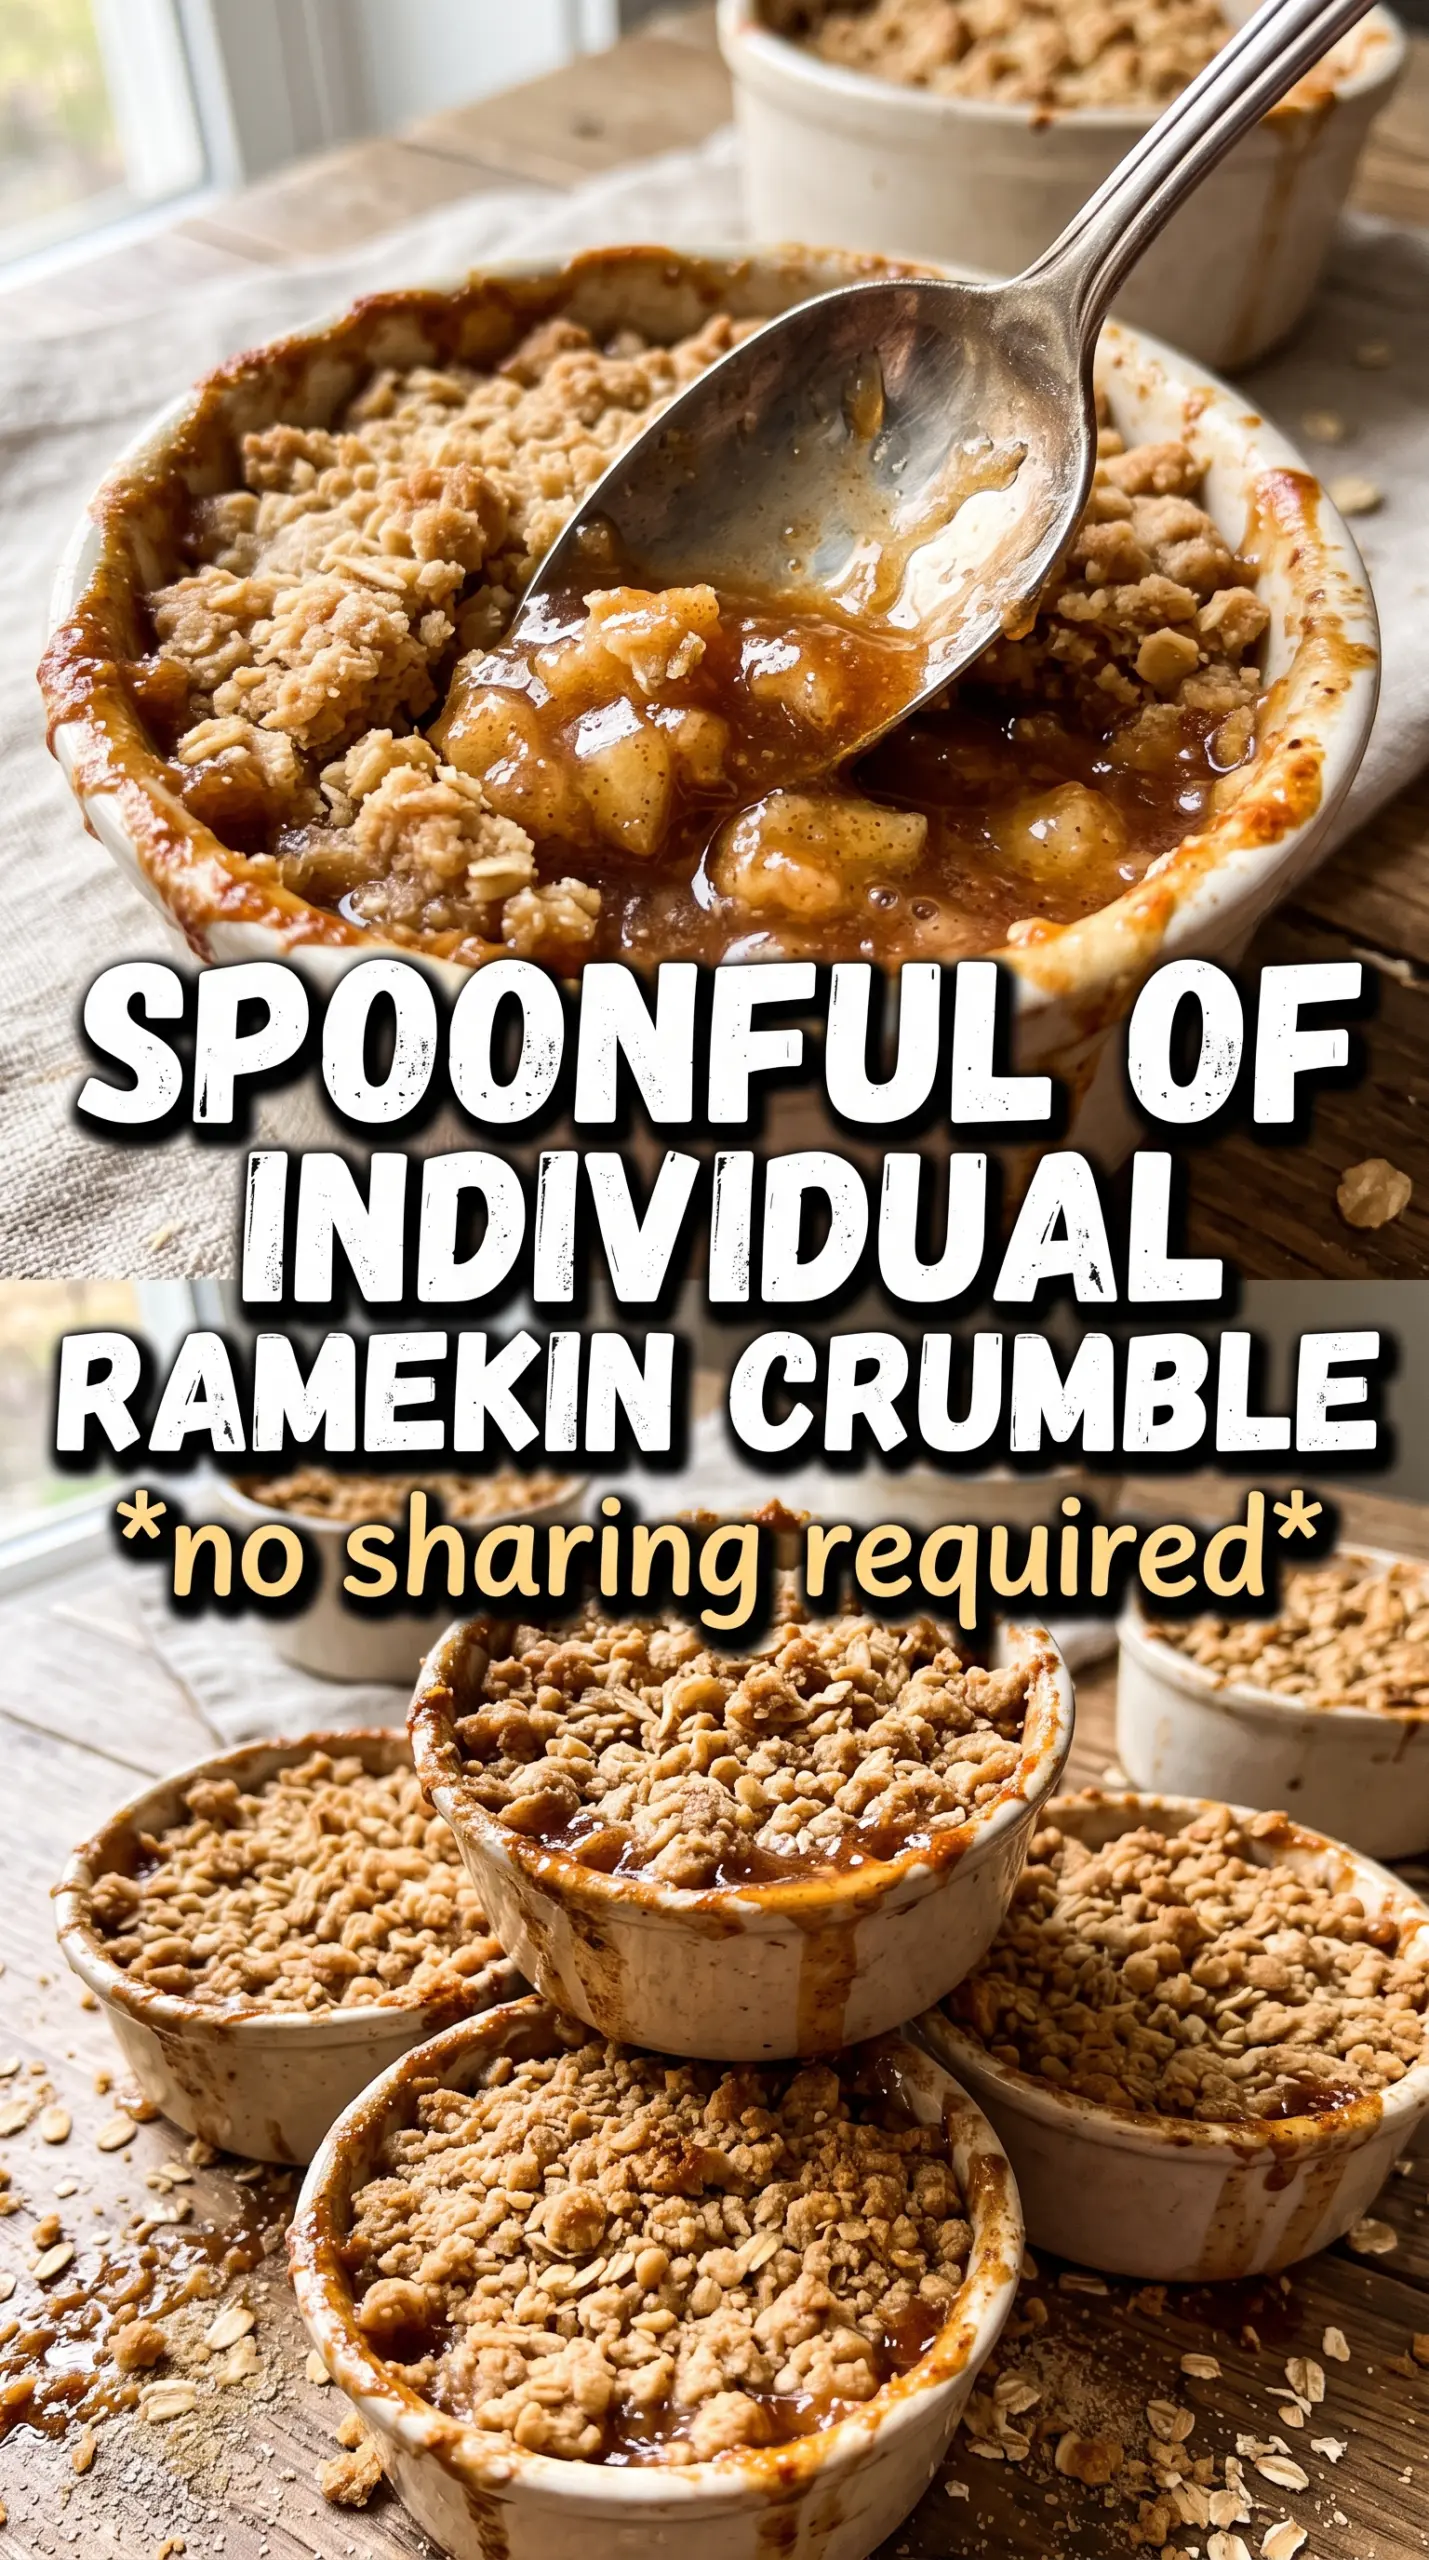
- Apples — Use a firm baking apple if you can. Granny Smith, Honeycrisp, Braeburn, or a mix of tart and sweet apples all work well because they hold some shape after baking instead of collapsing into applesauce.
- Cornstarch — This is what gives the filling its glossy, spoonable texture. Flour can work in a pinch, but it won’t thicken as cleanly or as quickly in the skillet.
- Rolled oats — They give the topping its nubby, crisp texture. Quick oats can work, but the crumble turns tighter and less substantial.
- Cold butter — Cold butter is what creates clumps. If it softens too much before baking, the topping turns sandy and flat instead of craggy and crisp.
- Brown sugar — This adds the caramel note that makes the topping taste baked, not just sweet. Light or dark brown sugar both work, though dark brown sugar gives a deeper molasses flavor.
Building the Filling and Topping in the Right Order
Cooking the Apples Until They Start to Thicken
Put the diced apples, sugar, cinnamon, nutmeg, cornstarch, lemon juice, and butter into a skillet over medium heat. Stir often as the apples soften and the juices go from cloudy to glossy and thick. You’re not cooking them until they collapse; stop when the liquid coats the fruit and you can see the mixture pulling together in the pan. If it still looks watery, the filling will loosen up again in the oven and make the crumble soggy underneath.
Mixing the Crumble So It Stays Chunky
Combine the oats, flour, brown sugar, cinnamon, and salt in a bowl, then cut in the cold butter until the mixture forms uneven clumps. You want some sandy bits and some larger chunks. That mix gives you both crisp edges and heavier clusters on top. If the butter melts into the dry ingredients completely, stop and chill the bowl for a few minutes before topping the fruit.
Baking Until the Fruit Bubbles at the Edges
Spoon the filling into greased ramekins and pile the crumble generously on top. Set the ramekins on a baking sheet so any bubbling filling is easier to handle, then bake until the topping is golden and the filling is actively bubbling around the edges. Those bubbles matter. They tell you the cornstarch has fully thickened the juices, which is what keeps the filling from turning soupy once it cools.
How to Adjust These Crumbles for Different Eaters and Schedules
Make It Gluten-Free
Swap the all-purpose flour for a 1:1 gluten-free baking blend that includes xanthan gum, and use certified gluten-free oats. The topping still clumps and browns well, though the texture will be a touch more delicate than the original.
Use Pears Instead of Apples
Firm pears can stand in for half or all of the apples if that’s what you have. Keep the same stovetop method, but watch closely because pears soften faster and can turn mushy if cooked too long before baking.
Make the Topping Ahead
Mix the crumble up to 3 days ahead and keep it refrigerated, or freeze it for longer storage. Cold topping bakes up better than room-temperature topping because the butter stays in little pockets instead of melting into the dry ingredients before it hits the oven.
Dairy-Free Version
Use a plant-based butter that behaves like real butter in baking, not a soft spread from a tub. The filling and topping both work well this way, though the crumble may brown a little faster, so start checking it near the end of the bake.
Storage and Reheating
- Refrigerator: Store covered for up to 4 days. The topping softens a little as it sits, but the flavor stays excellent.
- Freezer: Freeze baked crumbles after cooling completely, or freeze the unbaked filling and topping separately for the best texture. Thaw overnight in the refrigerator before reheating or baking.
- Reheating: Warm in a 325F oven until the filling is hot and the topping crisps back up, usually 10-15 minutes. The microwave will heat the fruit, but it turns the crumble soft, which is the main mistake people make with leftovers.
Answers to the Questions Worth Asking
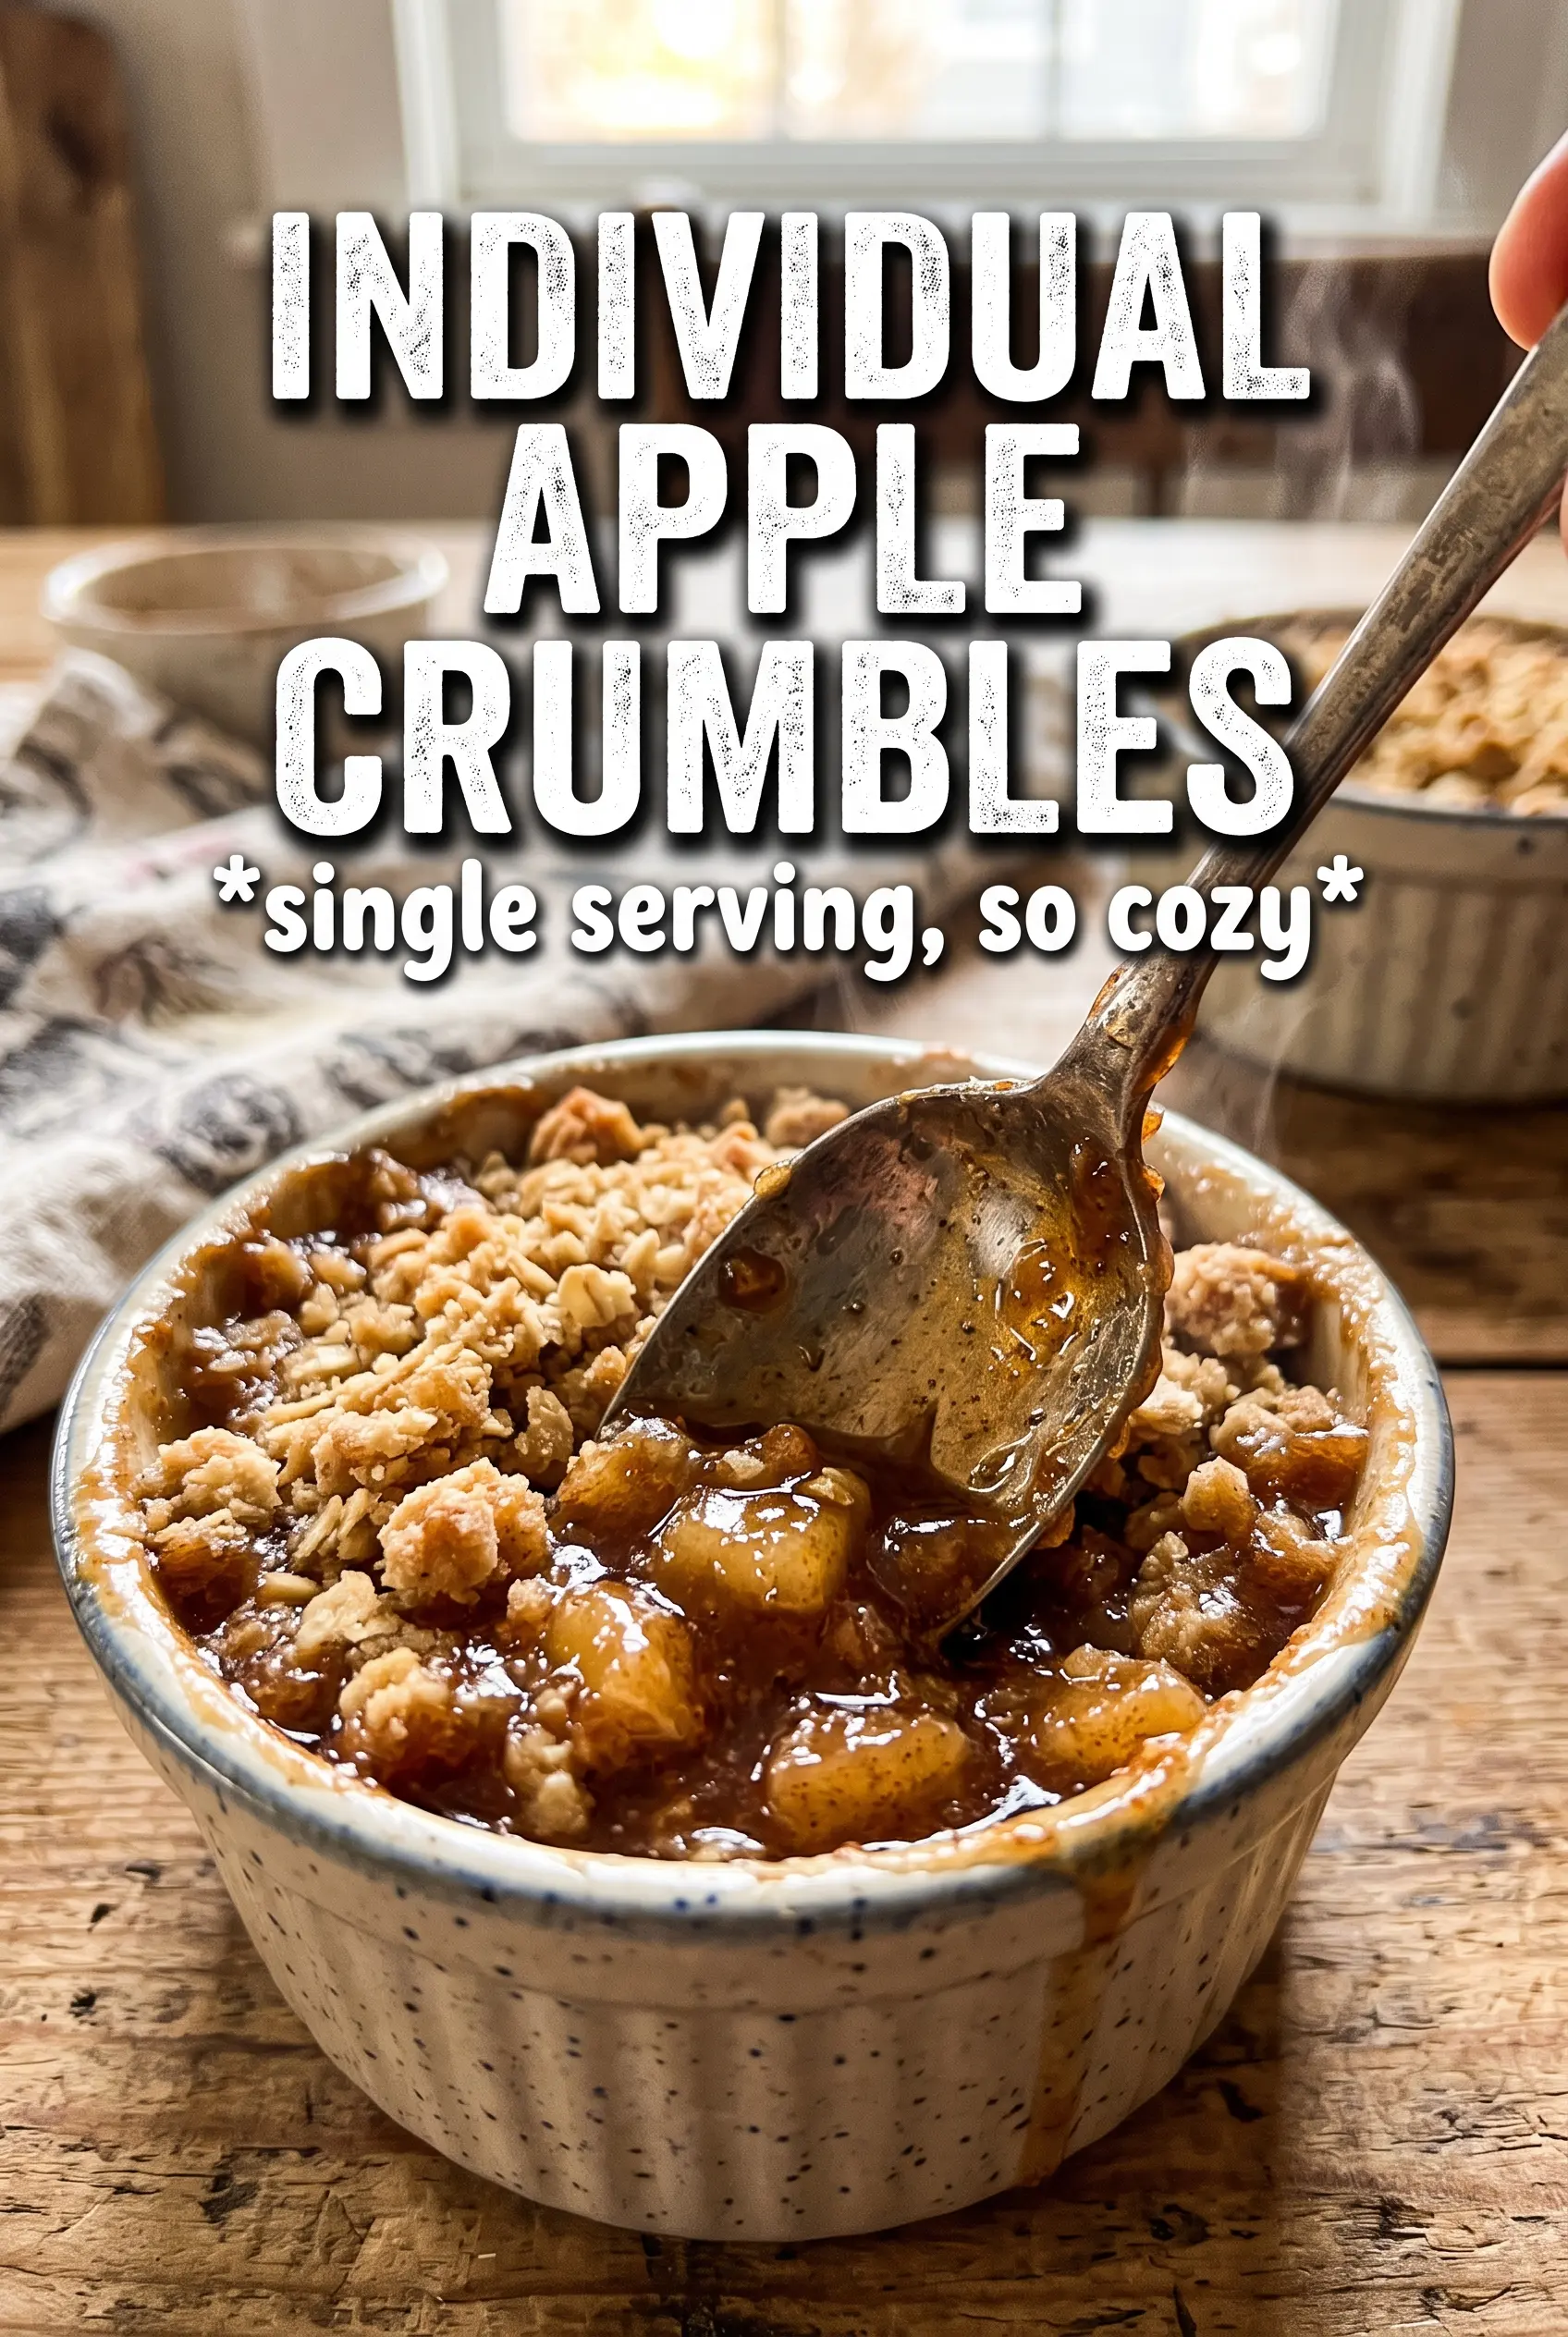
Individual Apple Crumbles
Ingredients
Equipment
Method
- Preheat the oven to 375°F and grease 6 individual ramekins (6–8 oz each). This prevents sticking and helps the crumble release neatly.
- In a skillet over medium heat, cook the diced apples with butter, granulated sugar, cinnamon, nutmeg, cornstarch, and lemon juice for 5–7 minutes until thickened. You should see the juices turn glossy and cling to the apples.
- Divide the thickened apple filling among the 6 prepared ramekins. Fill them evenly so each crumble bakes with a similar filling thickness.
- In a bowl, combine the rolled oats, all-purpose flour, brown sugar, cinnamon, and salt. Mix until the spices are evenly distributed.
- Cut the cold cubed butter into the oat mixture until chunky clumps form. The topping should look crumbly with uneven, buttery pieces.
- Generously top each ramekin with the oat crumble. Press lightly so the clumps sit on the apples.
- Place the ramekins on a baking sheet and bake for 25–30 minutes at 375°F until the topping is golden and the filling bubbles. Look for bubbling around the edges as the visual cue.
- Serve the apple crumbles warm with vanilla ice cream. Let the ice cream melt over the top for a saucy finish.