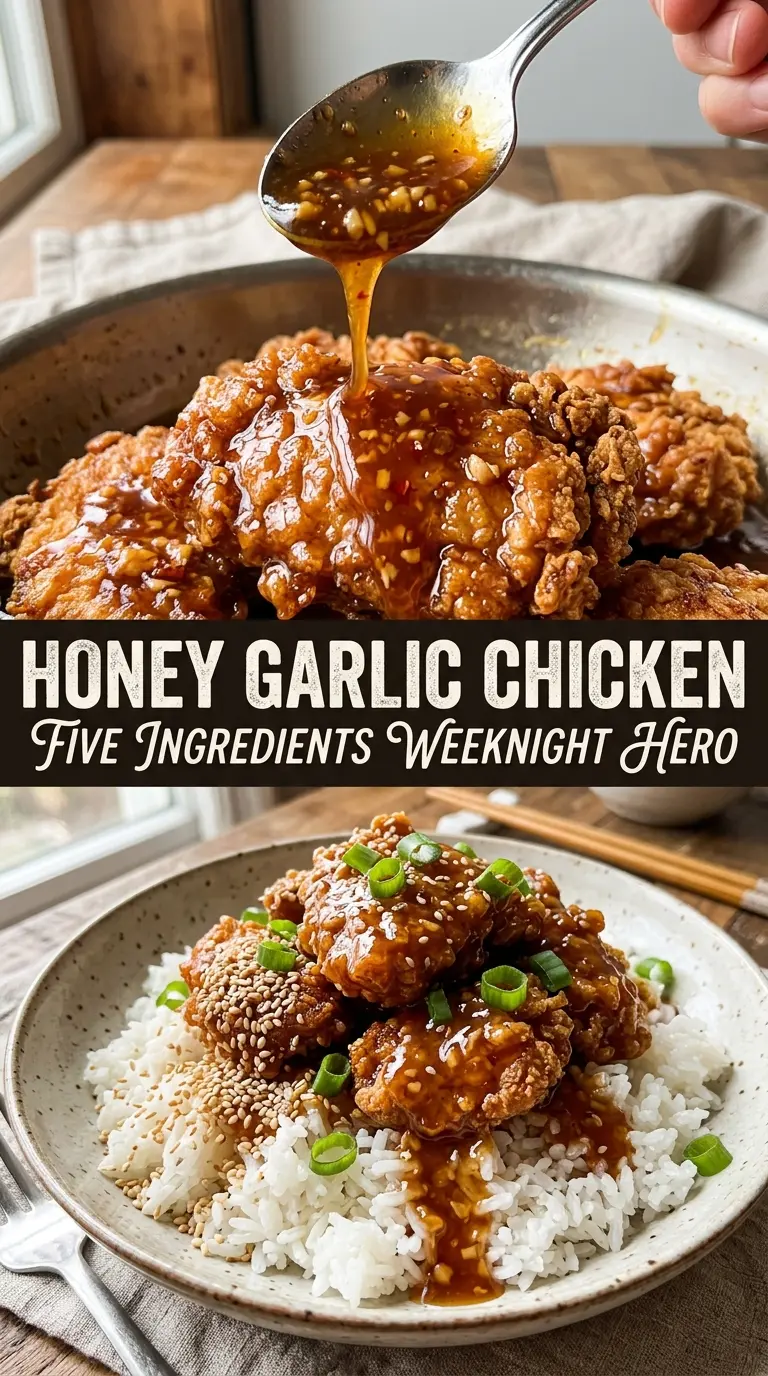
Sticky, glossy honey garlic chicken is the kind of skillet dinner that disappears fast because every bite hits the same balance: caramelized edges, tender chicken, and a sauce that clings instead of sliding off. The glaze turns deep amber in the pan and settles into all the browned bits left behind from searing, which is exactly where the best flavor lives.
This version works because the chicken gets a real sear before the sauce ever touches it. That gives the glaze something to build on instead of watering down in a crowded pan. The honey, soy sauce, butter, and vinegar create that sweet-salty-tangy base, while a small cornstarch slurry gives the sauce enough body to coat the chicken without turning gummy.
Below you’ll find the small details that make this dish come together cleanly, plus a few swaps and fixes for the moments when dinner needs to bend a little.
The sauce thickened fast and turned that perfect sticky glaze instead of staying thin. My husband kept going back for more chicken just to get extra sauce on the rice.
Honey garlic chicken with a sticky amber glaze is the one to pin for fast skillet dinners that taste like you fussed over them.
The Sear Is Doing More Than Browning the Chicken
The biggest mistake in honey garlic chicken is rushing the skillet and adding the sauce before the chicken has a chance to develop color. Pale chicken gives you pale sauce, and pale sauce tastes flat. A proper sear creates browned bits in the pan, and those bits dissolve into the glaze when the garlic and butter hit the heat.
Cook the chicken in a single layer and leave it alone long enough to form a crust. If it sticks, it’s not ready to flip yet. Once it releases cleanly, the surface should be deep golden with a few darker spots, and the center should still finish gently once it goes back into the sauce.
What Each Ingredient Is Actually Doing in the Glaze
- Chicken breasts — Boneless, skinless breasts give you a clean base for the glaze and cook quickly, but they dry out if you push them too far past 165°F. Slice thicker pieces in half horizontally if they’re uneven so they finish at the same time.
- Honey — This is the body of the sauce and the reason it turns lacquered and shiny. Darker honey will taste a little deeper, but standard honey works well and keeps the balance straight.
- Soy sauce — This brings salt and the savory backbone that keeps the glaze from tasting like candy. Low-sodium soy sauce works if that’s what you keep on hand; just don’t reduce it much more or the sauce will taste thin.
- Rice vinegar — A small amount keeps the glaze from becoming cloying and helps the sauce taste sharp enough to cut through the chicken. If you don’t have it, apple cider vinegar works, but use a light hand because it’s a little louder.
- Butter and garlic — Butter softens the edges and carries the garlic flavor through the sauce. Cook the garlic for only about a minute; once it browns hard, it turns bitter fast and the whole pan tastes scorched.
- Cornstarch slurry — This is what turns the sauce from thin and glossy into sticky and clingy. Stir it in at a simmer, not a hard boil, or the sauce can tighten too fast and go past the point of silkiness.
Building the Glaze Without Burning It
Seasoning and Searing the Chicken
Pat the chicken dry before seasoning it, because surface moisture is the enemy of browning. The oil should shimmer when it goes into the skillet, and the chicken should sizzle the moment it lands. Give each side 5 to 6 minutes over medium-high heat until the outside is deep golden and the internal temperature reaches 165°F. If the pan is crowded, the chicken steams instead of sears, and you lose the caramelized base the sauce needs.
Cooking the Garlic in the Butter
Use the same pan without wiping it out. Those browned bits left behind are the whole point. Add the butter and garlic and stir until the garlic smells fragrant, not toasted, which takes about a minute. If the garlic starts to brown before the liquid goes in, lower the heat right away so it doesn’t turn bitter.
Turning the Liquid into a Sticky Sauce
Stir in the honey, soy sauce, and rice vinegar, then let the mixture come up to a gentle simmer. Add the cornstarch slurry and keep stirring for 2 to 3 minutes until the sauce looks thicker and slightly translucent. It should coat a spoon and leave a trail when you drag a finger through it. If it still looks thin, give it another minute; if it gets too thick, a splash of water loosens it back up.
Coating the Chicken at the End
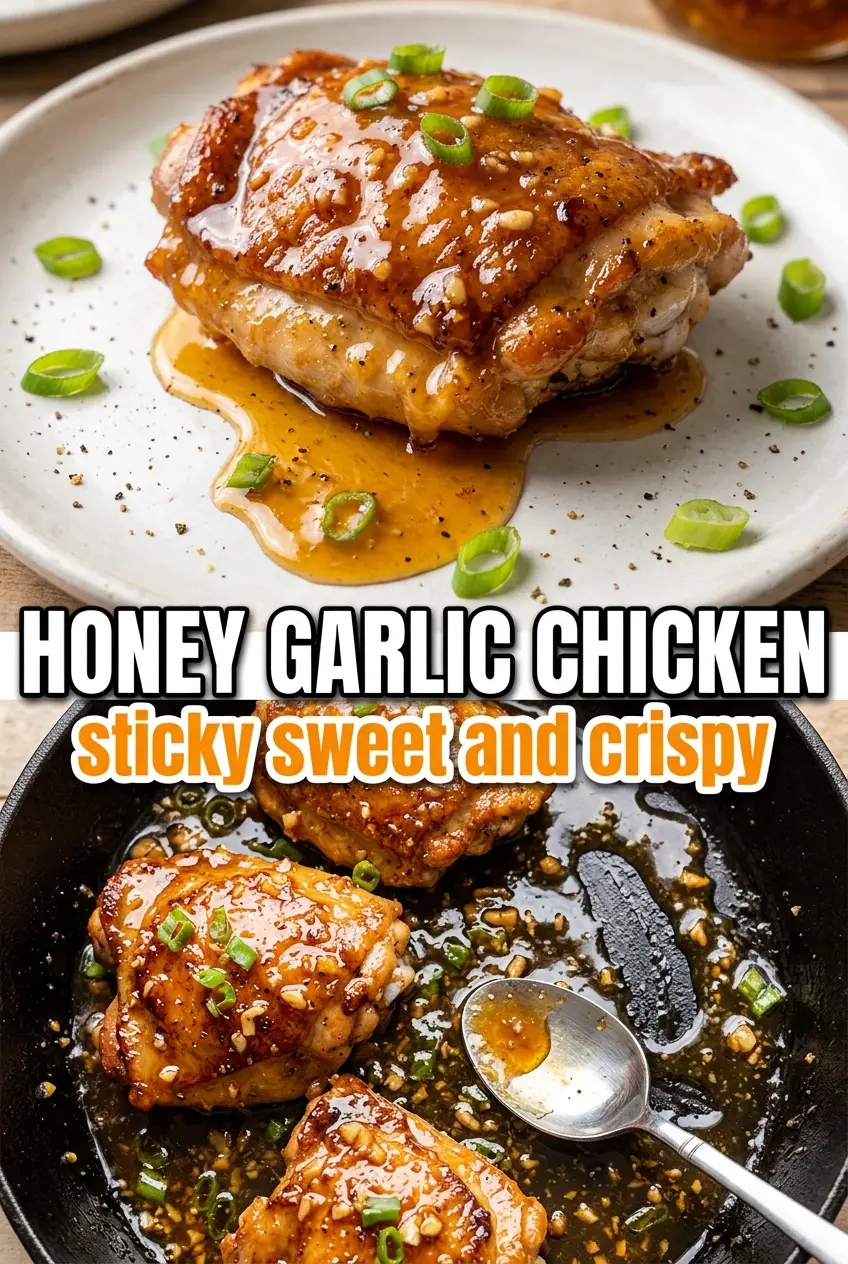
Return the chicken to the skillet and turn it through the glaze until every side looks lacquered. Let it sit in the sauce for 1 to 2 minutes so the glaze clings instead of pooling underneath. This final toss also warms the chicken back through without drying it out. Finish with sesame seeds and green onions while the sauce is still glossy so they stick cleanly.
How to Adjust Honey Garlic Chicken Without Losing the Sticky Glaze
Make It Gluten-Free
Swap in tamari or certified gluten-free soy sauce. The sauce will still thicken and taste balanced, and you won’t lose the savory depth that soy sauce brings. Just keep the amount the same so the glaze doesn’t turn overly sweet.
Use Chicken Thighs for a Richer Finish
Boneless skinless thighs give you a juicier result and are more forgiving if you cook them a minute or two longer. They also pick up a little more color in the pan, which makes the glaze taste deeper. Expect a slightly richer, less lean dish.
Make It Dairy-Free
Replace the butter with a neutral oil or vegan butter. You’ll lose a little roundness, but the glaze still sets up well and the honey, soy sauce, and garlic do most of the work. If you use oil, start with a small amount so the sauce doesn’t taste greasy.
Scale It for a Crowd
Double the sauce if you’re serving this over rice or noodles, because people always want more of it than they think. Sear the chicken in batches so the pan stays hot and the color stays strong. If you cram everything in at once, you’ll trade that sticky glaze for pale, watery sauce.
Storage and Reheating
- Refrigerator: Store leftovers in an airtight container for up to 4 days. The sauce will thicken more as it chills.
- Freezer: It freezes well for up to 2 months, though the glaze won’t look quite as glossy after thawing. Freeze the chicken and sauce together in a sealed container, then thaw overnight in the refrigerator.
- Reheating: Warm gently in a skillet over low heat with a splash of water to loosen the glaze. The common mistake is blasting it over high heat, which can tighten the sauce too much and dry out the chicken.
Answers to the Questions Worth Asking
Honey Garlic Chicken
Ingredients
Equipment
Method
- Season the chicken breasts with salt, pepper, and garlic powder. Heat olive oil in a large skillet over medium-high heat and sear until golden, 5-6 minutes per side, until the internal temperature reaches 165°F, then remove.
- In the same pan, melt butter and cook the minced garlic for 1 minute until fragrant. Add honey, soy sauce, and rice vinegar and stir to combine.
- Stir in the cornstarch slurry and simmer 2-3 minutes until the sauce thickens to a sticky glaze.
- Return the chicken to the pan and turn to coat in the honey garlic glaze. Cook 1-2 more minutes until the glaze is glossy and clings to the surface.
- Garnish with sesame seeds and sliced green onions. Serve the honey garlic chicken over steamed rice.