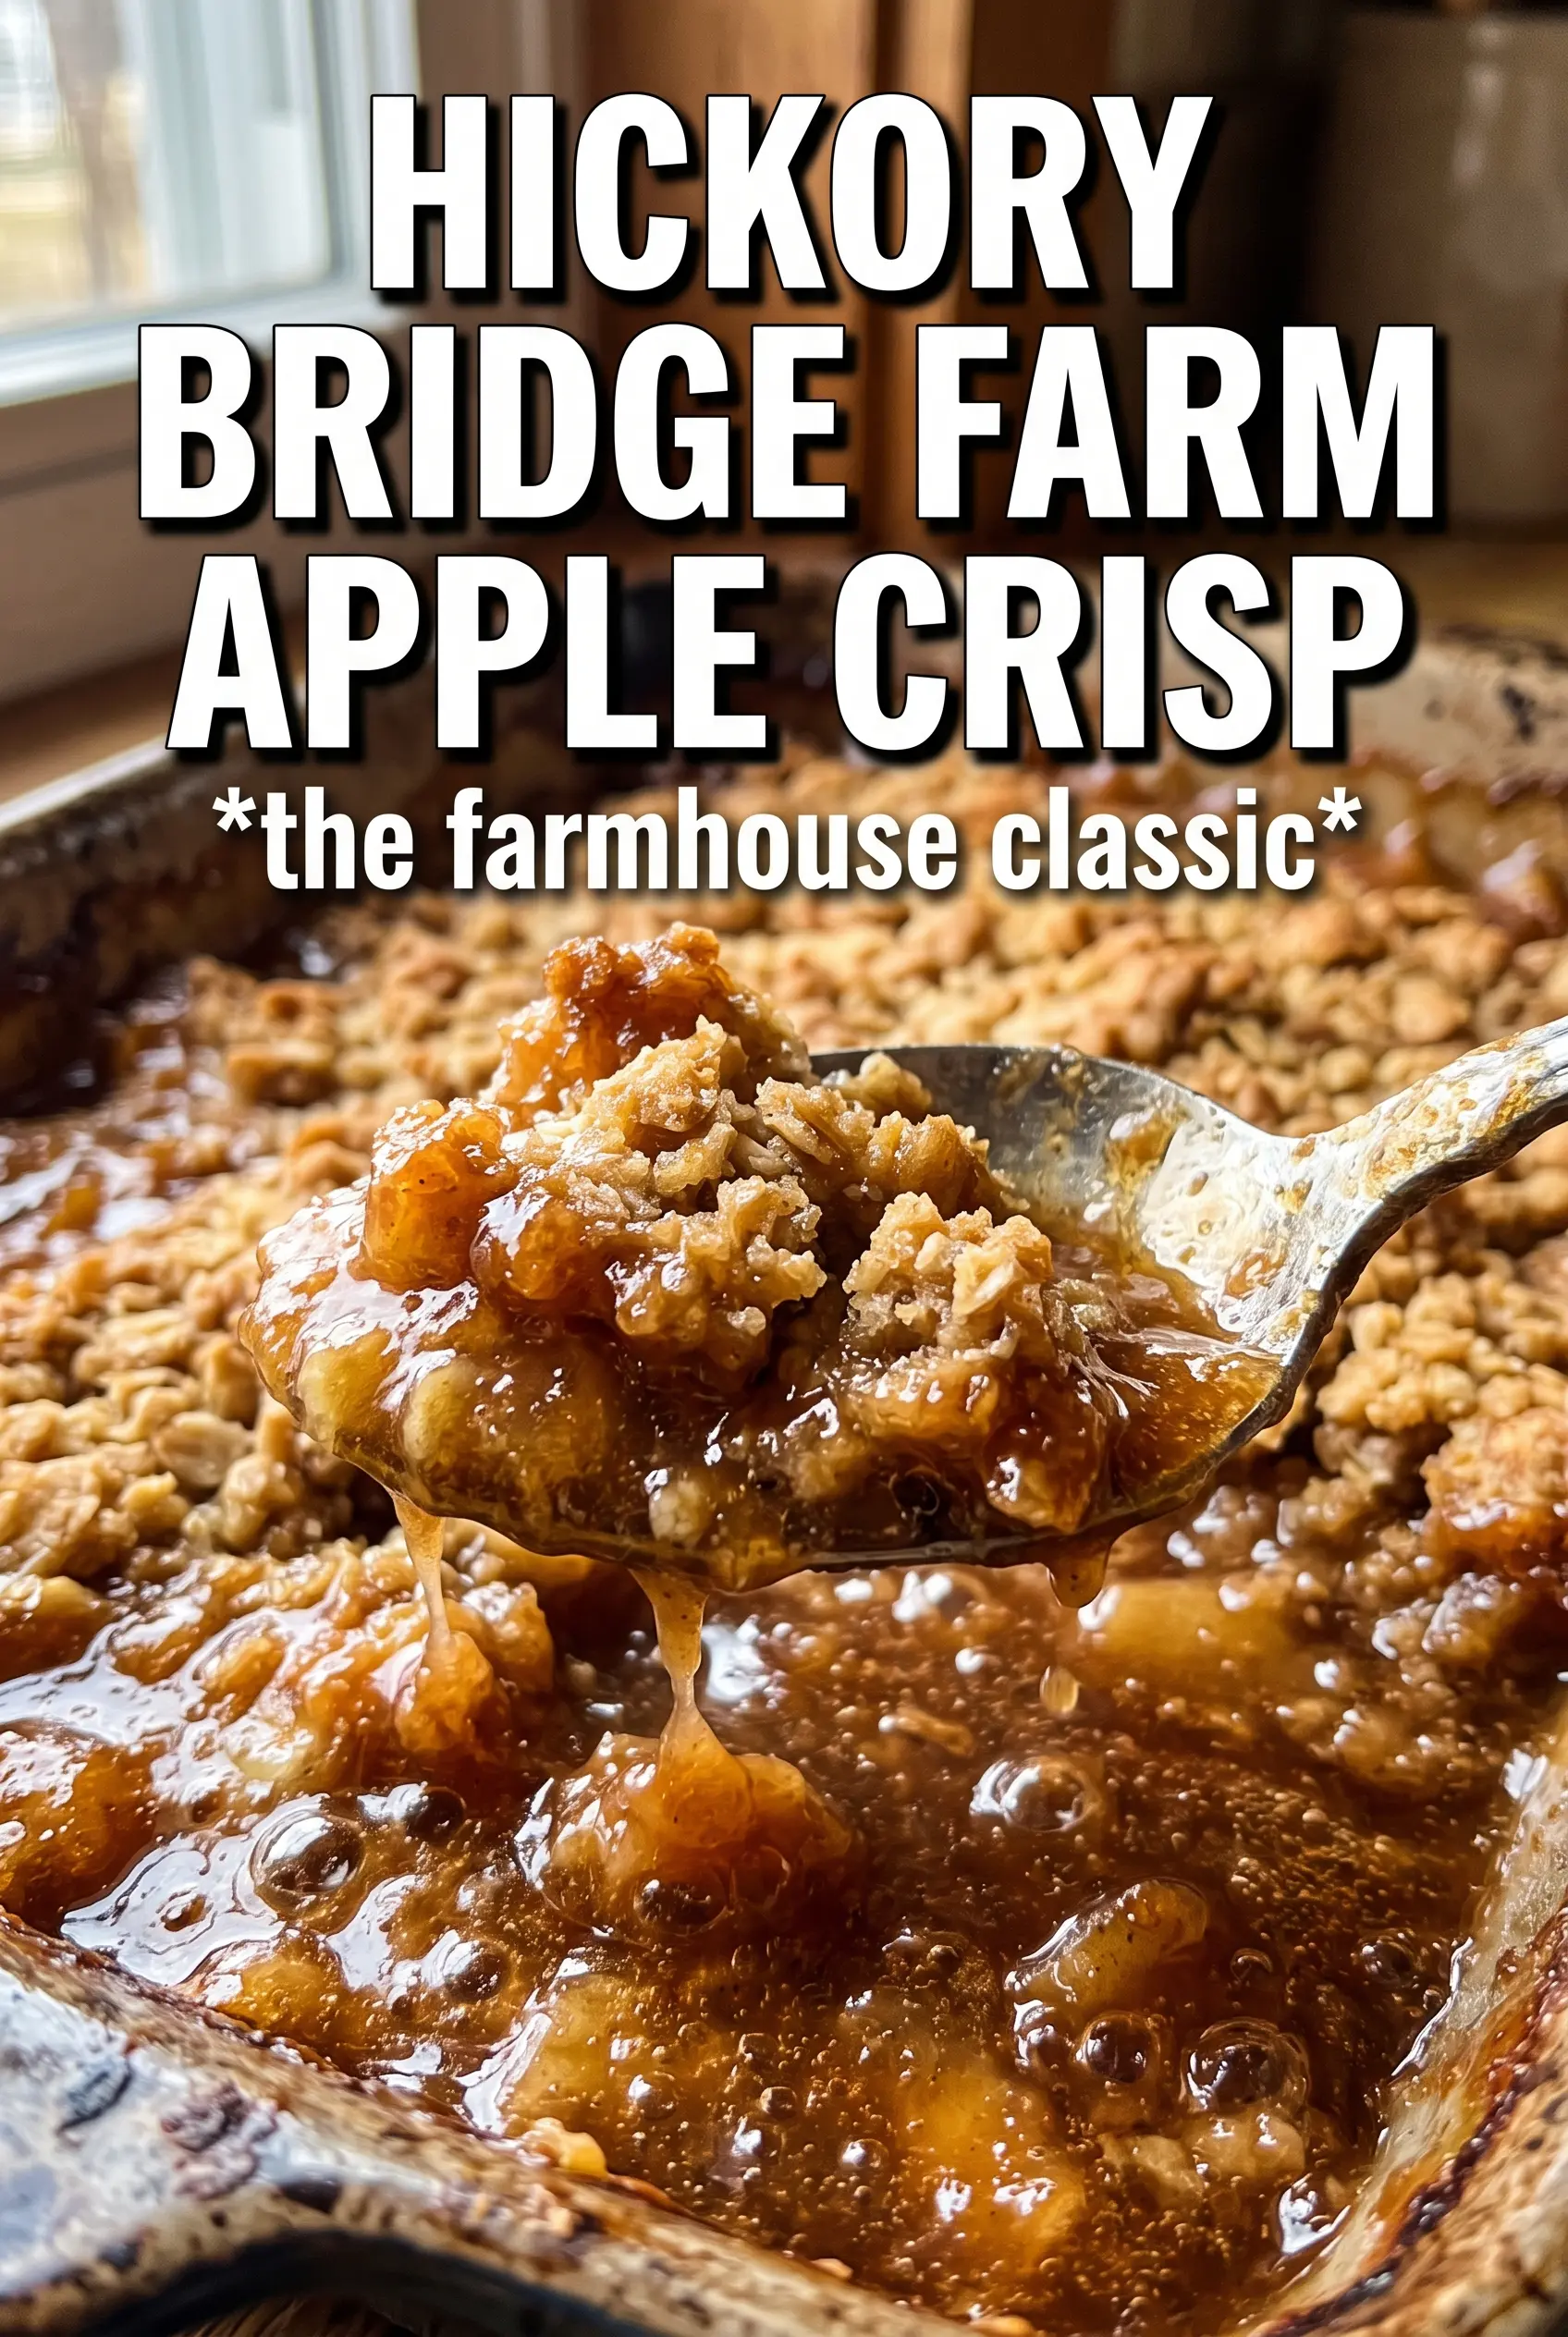
Hickory Bridge Farm Apple Crisp bakes up with a thick, buttery oat topping that turns deeply golden while the apples underneath soften into a spiced, bubbling layer. The best part is the contrast: crisp edges, tender fruit, and just enough syrupy filling to coat every spoonful without turning soggy.
This version works because the apples are tossed with cornstarch before they hit the pan, which keeps the filling from running thin. A mix of granulated and brown sugar gives the fruit a cleaner sweetness with a little molasses depth, while cold butter in the crumble keeps the topping in big, nubby clumps instead of sanding into a dry blanket.
Below, I’ve included the one step that keeps the topping crisp and the filling thick, plus a few simple swaps if you need to work with what’s in the kitchen. There’s also a storage note for the leftovers, and honestly, they’re just as good warmed back up the next day.
The topping stayed crisp even after dinner, and the filling set up just enough that it didn’t flood the plate. I used a mix of tart and sweet apples, and the cinnamon came through without taking over.
Love the thick apple filling and buttery oat crumble? Save Hickory Bridge Farm Apple Crisp to Pinterest for the nights when you want a bubbling pan of dessert with a crisp top and tender fruit.
The Trick to Keeping the Apple Filling Thick, Not Runny
The filling only behaves if the apples and their juices are handled before the dish goes into the oven. Cornstarch needs to be mixed evenly with the sliced fruit so it can thicken the juices as they release, instead of clumping at the bottom of the pan. If you skip that step or rush it, you’ll get a puddle under the crisp and the topping will soften from below.
The other thing that matters is the layer itself. Pile the apples into a thick, even bed so they bake through at the same rate, and don’t worry if they look high in the dish at first. Apples collapse as they cook, and that extra volume is what gives you that full, spoonable center once the crisp has rested.
What Each Ingredient Is Actually Doing in This Crisp
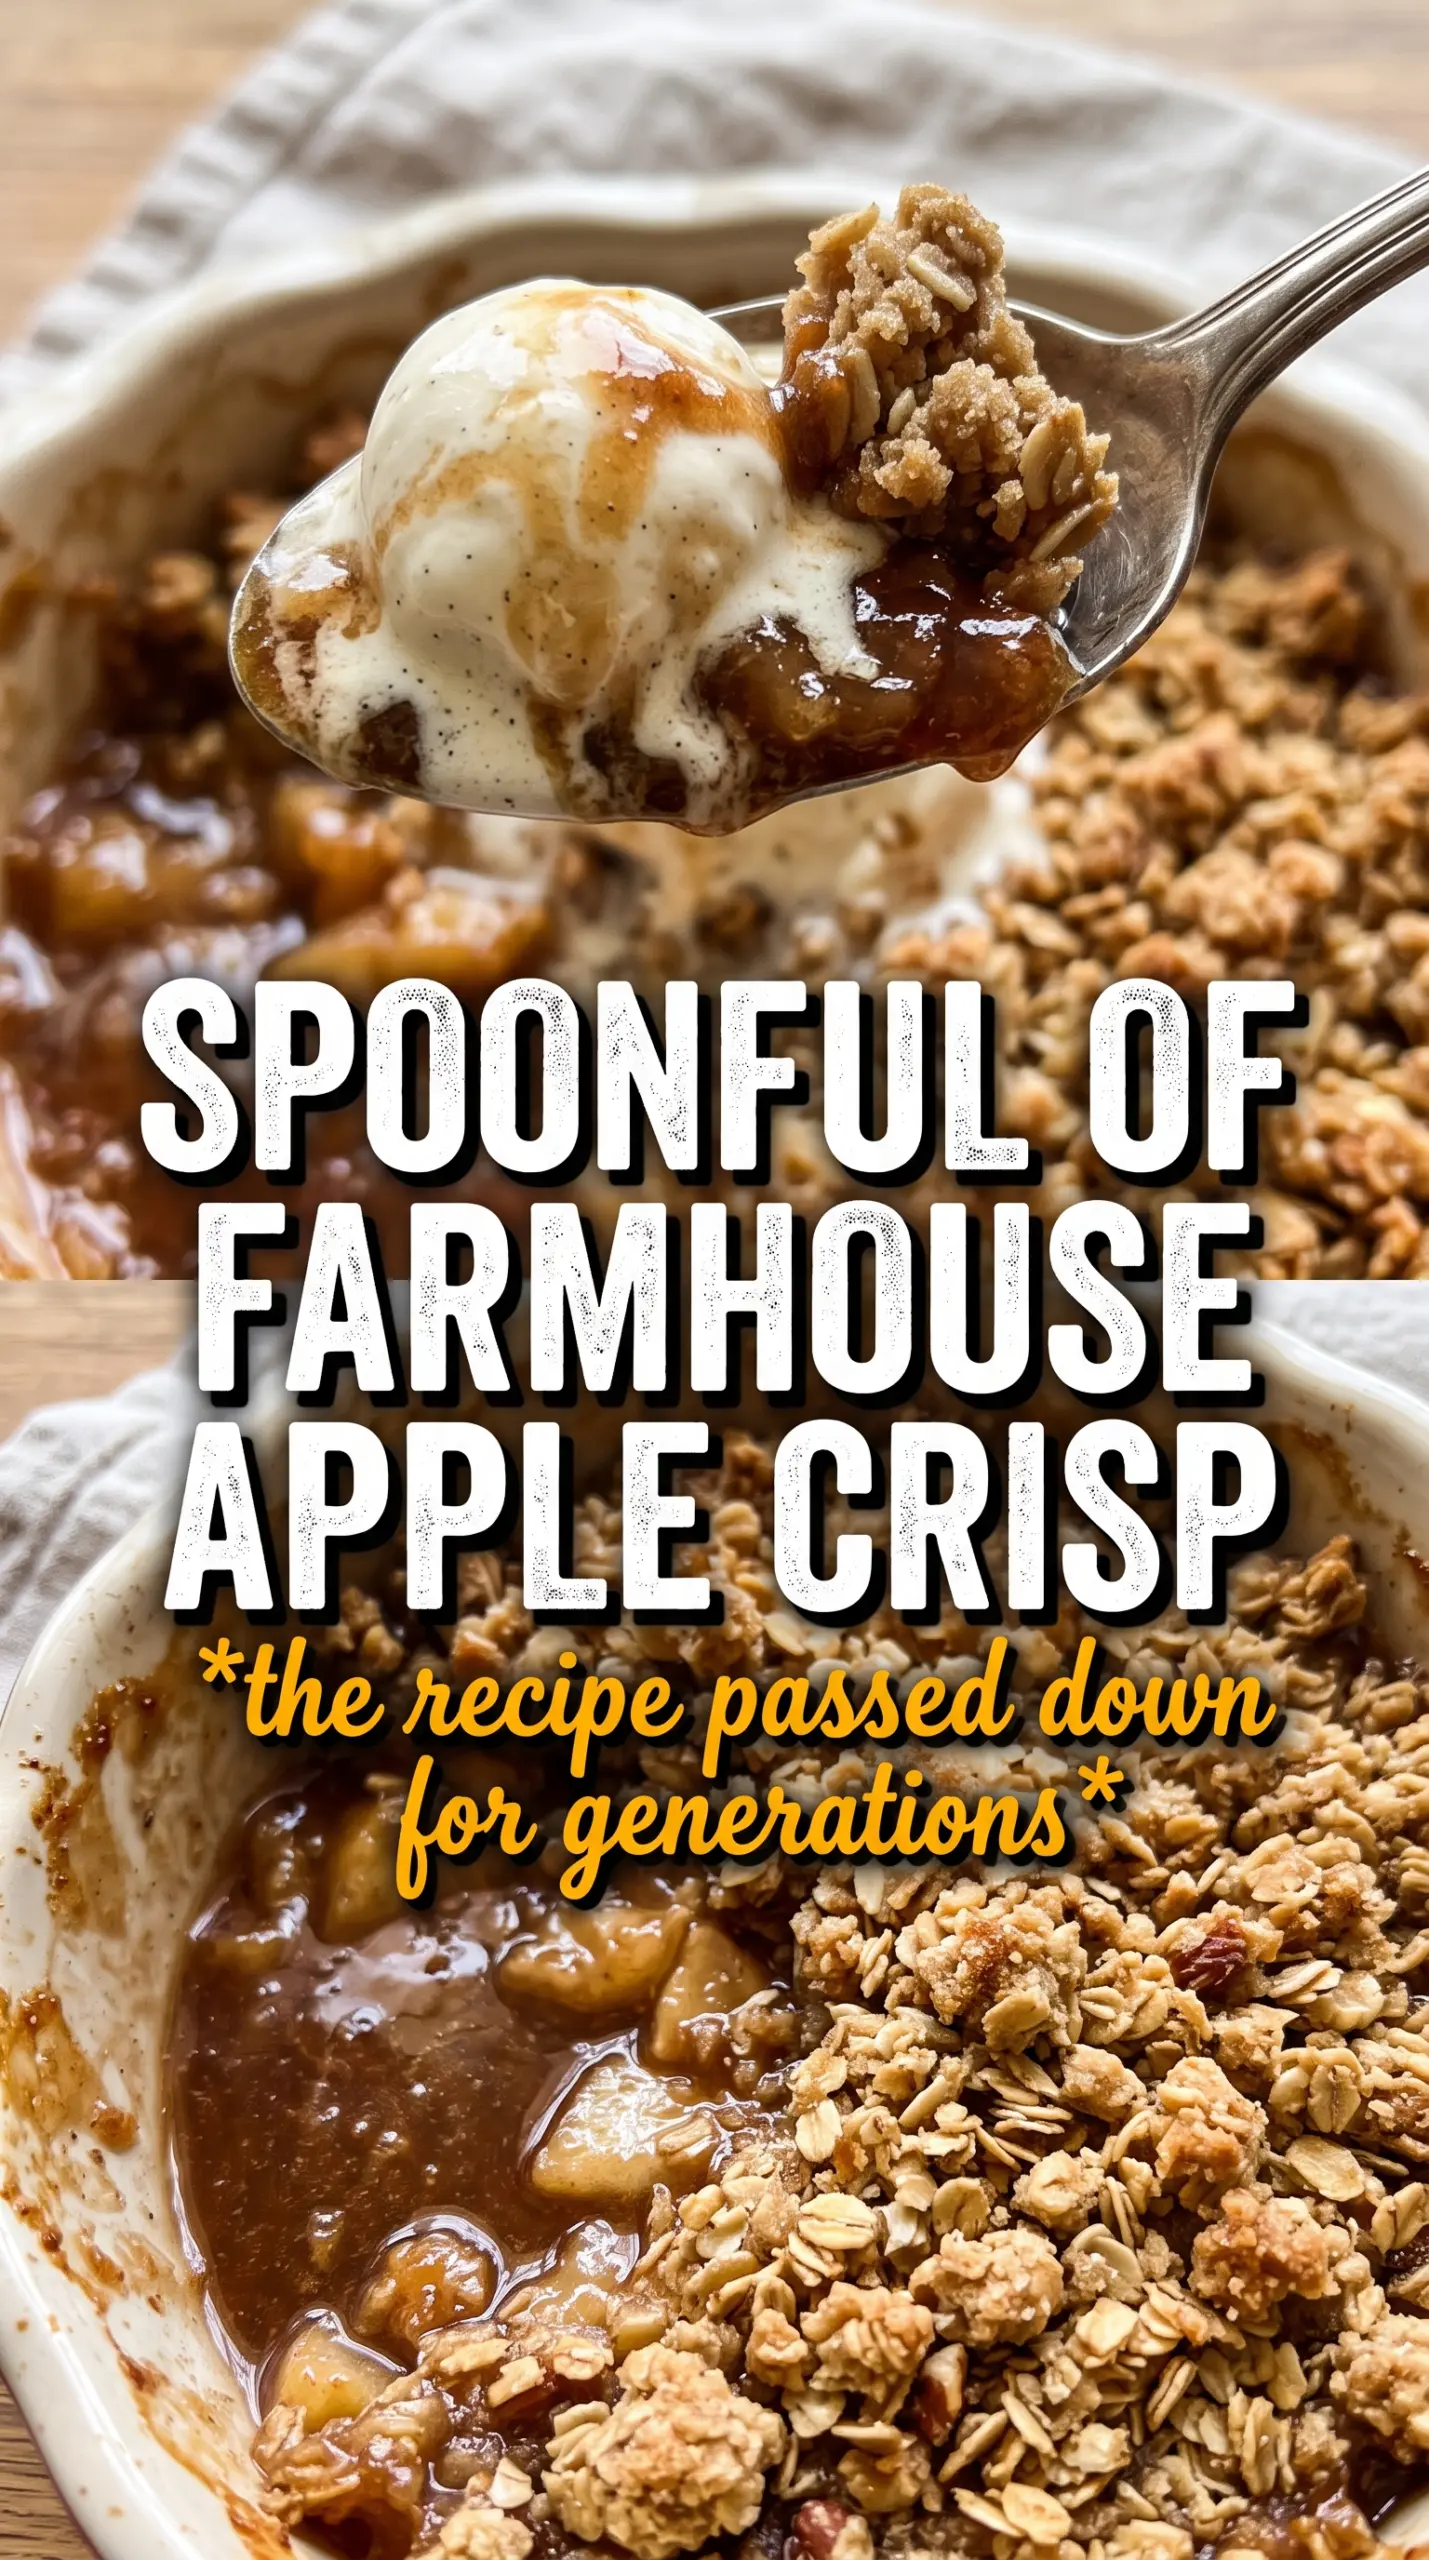
- Apples — Use a mix if you can. A tart apple brings brightness, while a sweeter one softens into the filling and keeps the flavor from tasting flat. If all you have is one variety, choose a firm baking apple so it holds its shape instead of turning to applesauce.
- Cornstarch — This is what turns the juices into a glossy, spoonable filling. Flour won’t thicken the same way here, and you’d lose that clean set around the fruit. Toss it thoroughly with the apples before baking so it gets distributed before the juices start flowing.
- Cold butter — Cold butter is what gives the topping those craggy clumps and crisp edges. If it softens too much, the crumble turns pasty and dense instead of sandy and nubby. Cube it first and work it in quickly with your hands until the mixture holds together in big pieces.
- Rolled oats — These add the rustic chew that makes this crisp feel like the real thing. Quick oats can work in a pinch, but the topping will be finer and less textured. Old-fashioned oats give you the best contrast against the soft apples.
- Brown sugar — Brown sugar in the topping brings depth and helps the crust brown evenly. In the filling, it melts into the fruit and adds a little caramel note. Packed brown sugar is worth using as written so the topping has enough richness to knit together.
Building the Crisp So the Top Stays Crunchy
Coating the Apples First
Toss the sliced apples with both sugars, the spices, cornstarch, and lemon juice until every piece looks lightly coated. The apples should glisten but not sit in a wet slurry. If there are dry pockets of cornstarch, those spots will bake into chalky clumps, so take a full minute and mix from the bottom of the bowl.
Making the Crumble in Big Clumps
Combine the oats, flour, brown sugar, cinnamon, and salt, then work in the cold butter until you get uneven, butter-streaked clumps. You want some fine crumbs and some larger pieces. That mix is what creates both crunch and those bakery-style craggy bits on top. If the mixture looks dusty and dry, it needs a little more squeezing; if it turns into paste, the butter got too warm.
Baking Until the Filling Bubbles at the Edges
Spread the topping all the way over the fruit and bake until the top is deeply golden and you can see the filling bubbling around the sides. Those bubbles matter more than the clock because they tell you the cornstarch has fully thickened the juices. Pull it too early and the center stays loose; leave it in until the edges are actively bubbling and the top has a toasted, nutty color.
Letting It Rest Before Serving
Give the crisp 15 minutes before scooping. That short rest lets the juices settle so the servings hold together instead of running across the plate. It will still be warm, the topping will stay crisp, and the filling will thicken into the right texture for serving with ice cream.
How to Change This Crisp Without Losing the Texture
Dairy-Free Crisp
Swap the butter for a firm plant-based butter block, not a soft tub spread. You’ll still get a crumble, but the flavor will be a little less rich and the topping may brown a touch faster, so watch the last 10 minutes closely.
Gluten-Free Version
Use a 1:1 gluten-free flour blend in place of the all-purpose flour and keep the oats certified gluten-free. The topping will still bake up crisp, though the texture will be a little more delicate and less chewy than the original.