Gluten-free pumpkin bread should be deeply moist, slice cleanly, and hold together without that gummy center that ruins so many gluten-free loaves. This version does all three. The crumb stays tender and soft, the top bakes up with a cinnamon sugar crust, and the pumpkin flavor comes through warm and balanced instead of muddy or overly sweet.
What makes this loaf work is the combination of a good gluten-free flour blend, enough fat, and an extra egg for structure. Pumpkin adds moisture, but it doesn’t provide the same binding power as wheat flour, so the batter needs a little more support to bake into neat slices. The sour cream or Greek yogurt helps keep the crumb plush while the cinnamon sugar on top gives you that bakery-style finish without any extra fuss.
Below you’ll find the small details that matter here: how to keep the loaf from sinking in the middle, why cooling time is non-negotiable, and what to change if you’re baking with a different gluten-free flour blend.
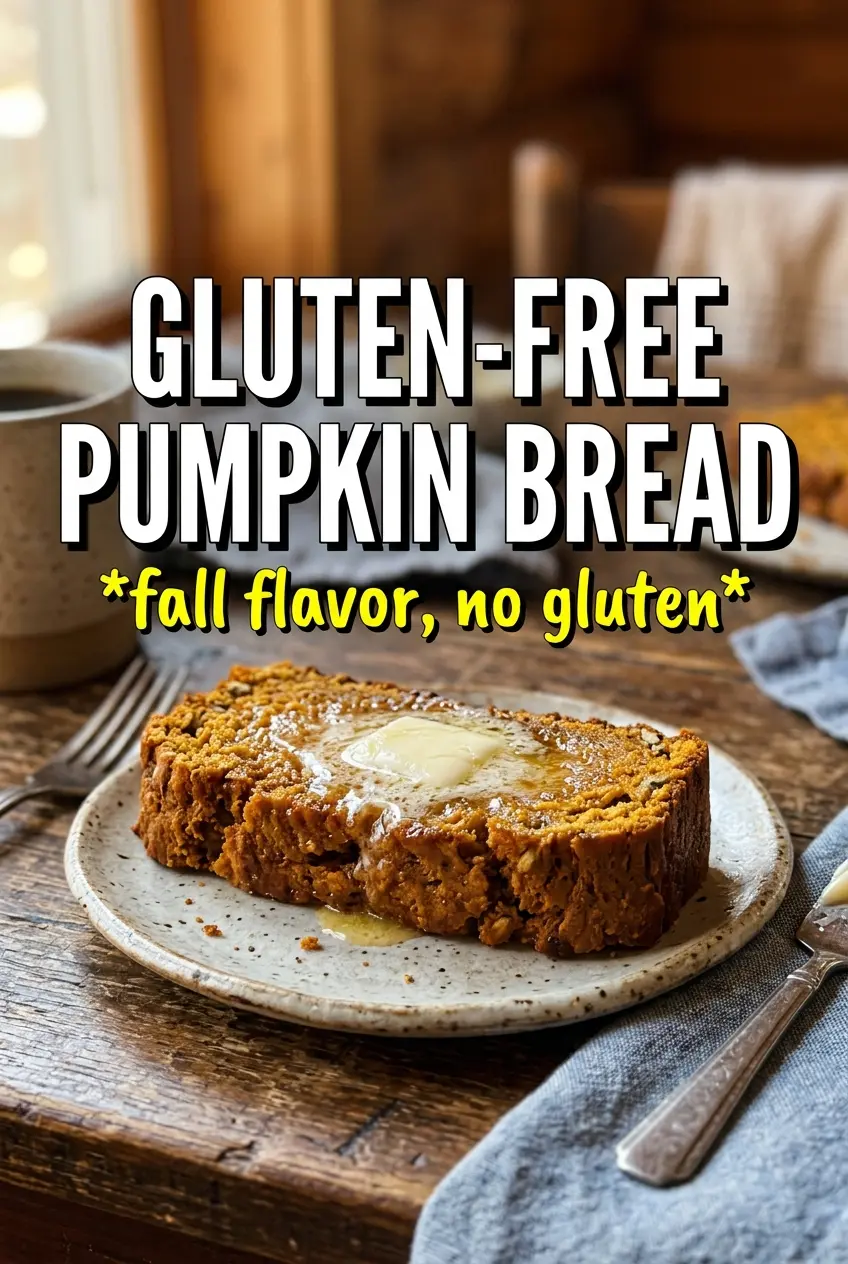
The cinnamon sugar top turned into the best crackly crust, and the loaf sliced perfectly once it cooled. No gummy middle at all, which is rare for gluten-free bread in my kitchen.
Like this gluten-free pumpkin bread? Save it to Pinterest for the loaf with a moist crumb and cinnamon sugar crust.
The Secret to Gluten-Free Pumpkin Bread That Doesn’t Turn Gummy
The most common mistake with gluten-free quick bread is stopping too soon when the center still looks a little soft. Pumpkin batter is dense and moist by nature, and gluten-free flour blends need a full bake plus a full cool-down to set properly. If you slice it while it’s warm, the crumb can look underbaked even when the oven did its job.
The other thing that matters is the pan. A 9×5 loaf pan gives the batter enough room to rise without spilling over or collapsing in the middle. If you use a smaller pan, the center can stay wet long after the edges are done. The loaf is ready when a toothpick comes out clean or with just a few dry crumbs, and the top feels springy when you press it lightly.
What Each Ingredient Is Actually Doing in This Loaf
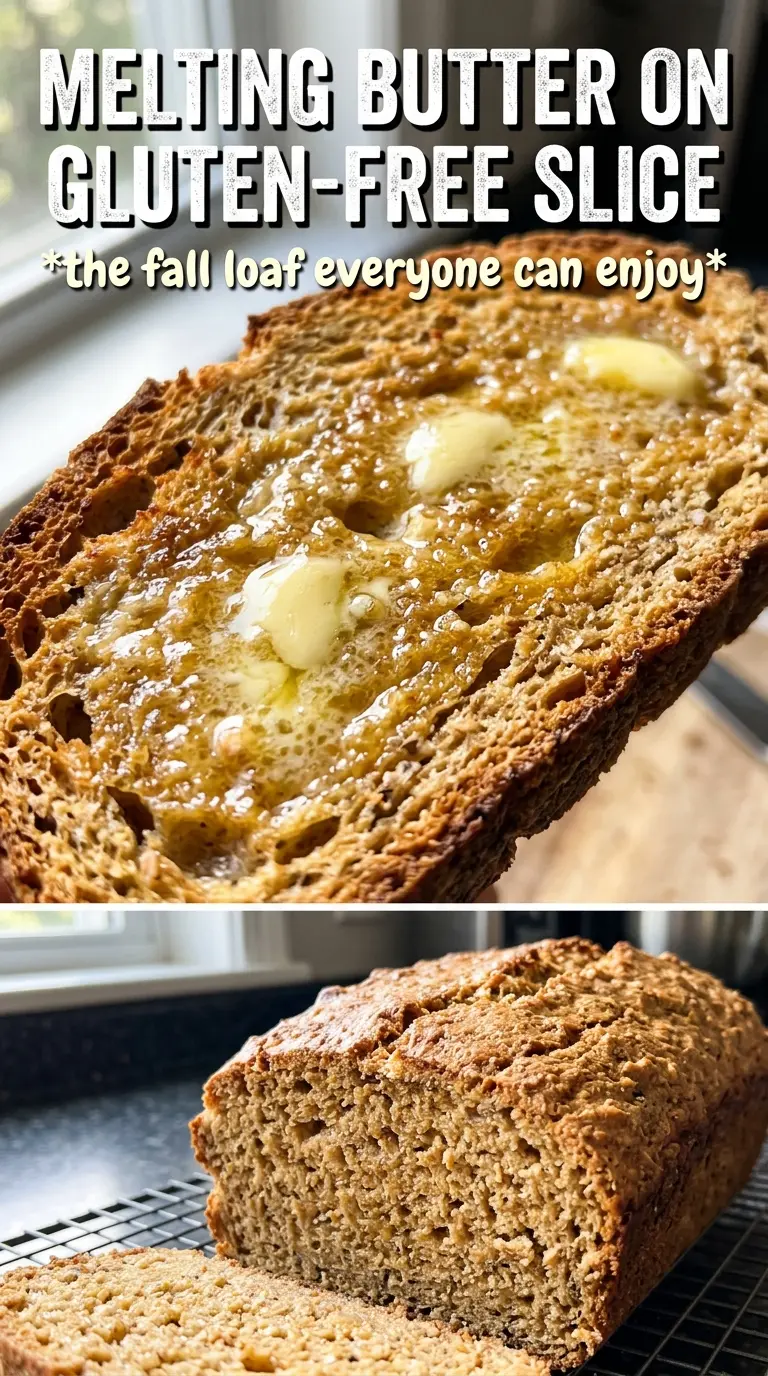
- Gluten-free all-purpose flour blend — Use a blend that already includes xanthan gum. That gum is doing the binding work wheat would normally handle, so swapping in a homemade mix without it usually gives you a crumbly loaf.
- Pumpkin puree — This adds moisture, color, and that classic pumpkin flavor. Use plain pumpkin puree, not pumpkin pie filling, or the loaf will be overly sweet and heavily spiced before you even add the dry ingredients.
- Eggs — The extra egg is one of the reasons this bread slices well. It helps the loaf hold together and gives the crumb more lift, which matters a lot in gluten-free baking.
- Sour cream or plain Greek yogurt — This keeps the texture soft and plush. Either one works, but full-fat versions give you a richer crumb and better moisture retention.
- Vegetable oil — Oil keeps the bread tender for days. Butter can work, but it firms up more as it cools, so the loaf won’t stay as soft on day two.
Building the Batter So the Crumb Stays Tender
Mix the dry ingredients first
Whisk the flour, baking soda, baking powder, spices, and salt until the color looks even throughout. That keeps the leaveners from clumping in one spot, which can leave you with bitter bites or uneven rising. If your flour blend is lumpy, break those clumps up before you add anything wet.
Whisk the wet mixture until smooth
Stir the pumpkin puree, sugars, oil, eggs, vanilla, and sour cream until the mixture looks glossy and uniform. The sugar should mostly dissolve into the pumpkin base, and the eggs should disappear completely. If the mixture still looks streaky, keep whisking; streaks at this stage usually turn into uneven pockets in the finished loaf.
Fold just until the batter comes together
Add the dry ingredients to the wet and fold until no dry flour remains. Gluten-free batter does not need aggressive mixing, but it does need complete hydration, so stop when the texture is smooth and thick. If you leave dry flour at the bottom of the bowl, it bakes into pale streaks through the center of the loaf.
Bake until the center sets
Pour the batter into the greased pan and scatter the cinnamon sugar over the top. Bake at 350°F until the loaf is domed, fragrant, and a toothpick comes out clean from the center, usually 65 to 70 minutes. If the top browns before the middle sets, tent it loosely with foil for the last part of baking.
Cool all the way before slicing
Let the bread cool completely in the pan before you lift it out or cut it. That waiting time is not optional with gluten-free quick bread, because the crumb keeps setting as it cools. If you slice too soon, the loaf can look dense and wet even though it will be perfect once it has fully cooled.
How to Adapt This Loaf Without Losing the Texture
Dairy-Free Version
Use the sour cream swap with a thick dairy-free yogurt. A thin yogurt or milk substitute will make the batter too loose, which can leave the center heavy. The loaf still bakes up moist, but the crumb will be a little less rich.
Lower-Sugar Loaf
You can reduce each sugar by a few tablespoons without wrecking the loaf, but don’t cut them too far. Sugar isn’t just for sweetness here; it helps the bread stay soft and browned on top. If you want less sweetness, skip the cinnamon sugar topping rather than stripping the batter down too much.
Gluten-Free Flour Swap
If your flour blend doesn’t include xanthan gum, add it separately according to the package directions. That’s the piece that helps the loaf hold together instead of crumbling when you slice it. Different blends absorb liquid differently, so if the batter looks unusually stiff, let it sit for 5 minutes before baking.
Storage and Reheating
- Refrigerator: Store tightly wrapped for up to 5 days. The crumb stays moist, though the loaf firms up a bit in the fridge.
- Freezer: Freeze whole or in slices for up to 3 months. Wrap well, then place in a freezer bag so the edges don’t dry out.
- Reheating: Warm slices in the toaster oven or microwave just until heated through. Don’t overheat it, or the crumb can turn rubbery instead of soft.
Answers to the Questions Worth Asking
Gluten-Free Pumpkin Bread
Ingredients
Equipment
Method
- Preheat the oven to 350F and grease a 9x5 loaf pan very well so the gluten-free loaf releases cleanly.
- Whisk the gluten-free flour blend, baking soda, baking powder, pumpkin pie spice, cinnamon, and salt until evenly combined and no clumps remain.
- Whisk the pumpkin puree, both sugars, vegetable oil, eggs, vanilla extract, and sour cream or plain Greek yogurt until smooth.
- Fold the dry ingredients into the wet ingredients until completely combined, keeping the gluten-free batter smooth with no streaks.
- Pour the batter into the greased pan and sprinkle the cinnamon sugar topping over the top for a crisp, fragrant crust.
- Bake at 350F for 65-70 minutes, until a toothpick comes out clean (gluten-free pumpkin bread may take slightly longer).
- Cool the loaf completely in the pan before slicing, since gluten-free bread slices best fully cool.