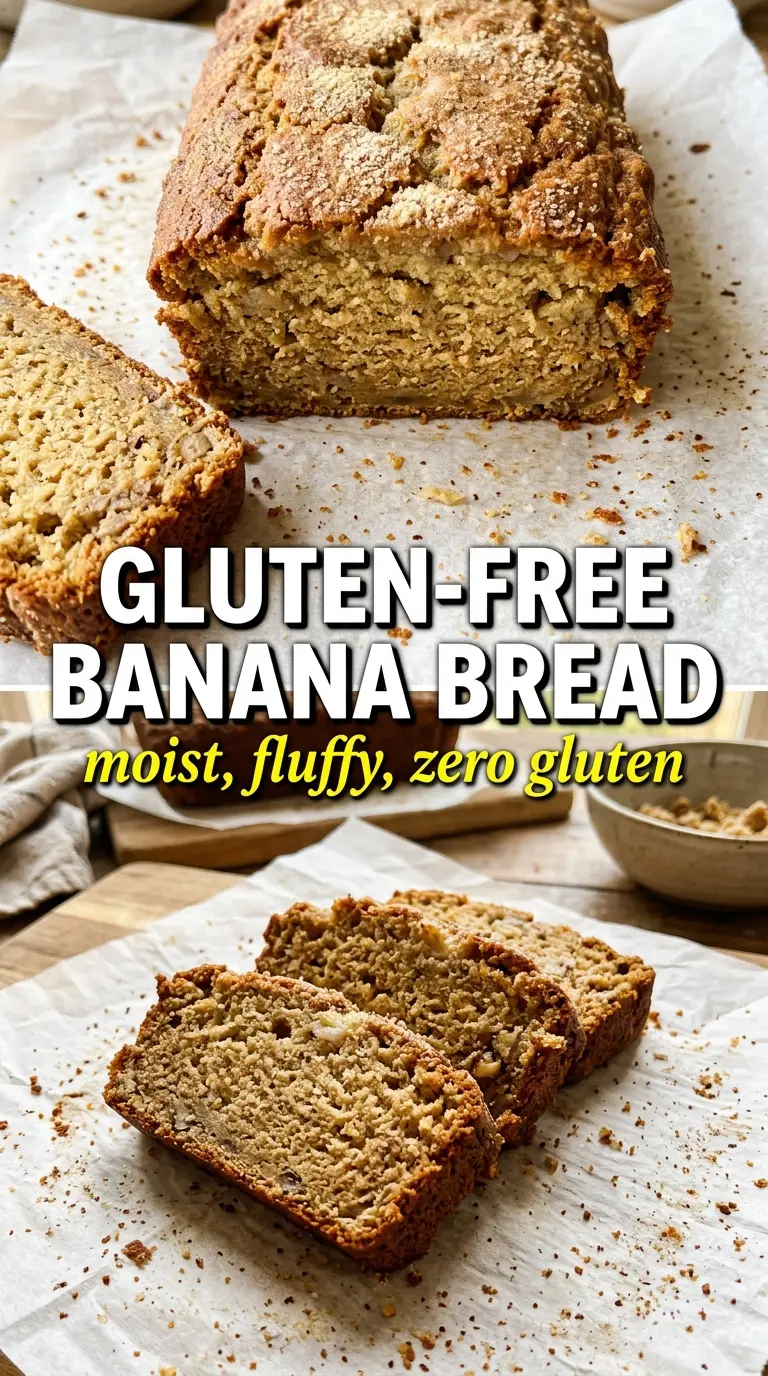
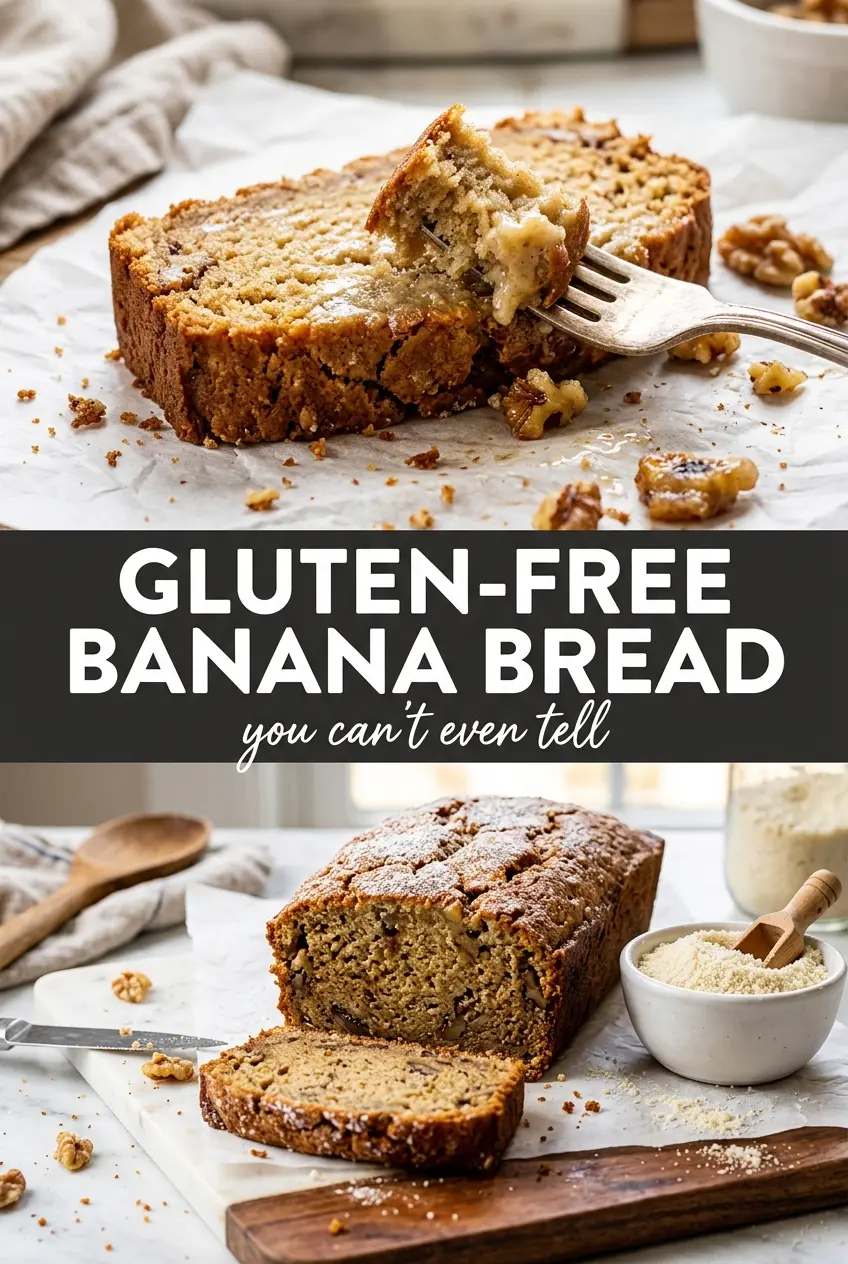
Gluten-free banana bread can still bake up with a deep golden top, a moist crumb, and those soft banana-rich slices that hold together when you cut them. The trick is treating it like its own recipe instead of trying to copy wheat-based banana bread one-for-one. Almond flour brings richness and tenderness, while a little tapioca starch helps the loaf set without turning heavy or gummy.
This version leans on very ripe bananas for sweetness and moisture, then uses eggs for structure so the crumb stays tender instead of dense. The batter is looser than a standard loaf batter, and that’s exactly what you want here. I’ve found that if you stop baking too early, the center stays soft in a good way, but it also needs the full cooling time to finish setting.
Below, I’ve included the small details that matter most for a loaf like this, including the point where the top may need a foil tent and the best way to slice it cleanly once it’s cooled.
The loaf came out with a beautiful crackly top and stayed moist after cooling, which never happens with the gluten-free banana bread I usually make.
Save this almond flour banana bread for the times when you want a golden loaf with a moist crumb and no wheat flour at all.
The Part Most Gluten-Free Banana Breads Get Wrong
The biggest mistake with gluten-free banana bread is chasing the texture of wheat bread instead of building the right structure for almond flour. Almond flour bakes tender and moist, but it doesn’t create the same network that wheat flour does, so the loaf needs eggs and a little starch to hold together. Without that balance, you get either a heavy center or a loaf that crumbles the second you slice it.
This is also why the batter looks a little loose before it goes into the oven. If it seems more pourable than scoopable, that’s normal. The loaf firms up as it bakes and then finishes setting as it cools, which is why cutting it warm almost always gives you a gummy middle even when the top looks done.
- Almond flour — Use finely ground almond flour, not almond meal. The finer grind gives you a softer crumb and a cleaner slice.
- Tapioca starch or arrowroot — This gives the loaf just enough lift and structure. Skip it and the bread can turn fragile and overly wet in the center.
- Eggs — They’re doing more than binding here. They provide the structure that gluten would normally supply, which is why this recipe needs all three.
- Bananas — Riper is better. You want bananas with plenty of brown spotting because they bring sweetness and a stronger banana flavor without needing more honey or maple syrup.
What Each Ingredient Is Actually Doing in This Recipe
- Primary ingredient (the star) — Quality matters most. Choose the best you can find.
- Cooking medium (oil, butter, or broth) — This carries flavors and prevents dryness.
- Seasonings (salt, pepper, spices, herbs) — Layer flavors so nothing overpowers. Build depth gradually.
- Aromatics (garlic, onion, herbs) — Cook with fat to bloom flavors. Become the foundation.
- Supporting ingredients — Complement the main ingredient without overpowering it.
- Sauce or liquid (if applicable) — Brings flavors together. Balance richness with acid.
- Acid (lemon, vinegar, wine, or other) — Brightens and prevents flat-tasting results.
- Final finish (garnish, glaze, or sauce) — Prevents one-dimensional taste and adds visual appeal.
What Each Ingredient Is Actually Doing in This Loaf
- Coconut oil or butter — Coconut oil gives a softer texture and keeps the loaf dairy-free. Butter adds a little more flavor and a slightly richer finish, so use whichever matches your pantry and preference.
- Honey or maple syrup — This small amount brightens the banana flavor and helps the top brown. Don’t add much more or the loaf can bake up too wet.
- Vanilla and cinnamon — These don’t overpower the bananas; they round them out. The cinnamon is subtle, but it keeps the loaf from tasting flat.
- Baking soda — It reacts with the bananas and helps the loaf rise. If your baking soda is old, the bread won’t lift well and the texture can turn dense.
- Salt — It’s small, but it matters. Salt sharpens the banana flavor and keeps the loaf from tasting one-note.
Mixing and Baking the Loaf Without Losing the Center
Getting the Wet Ingredients Smooth
Start by whisking the mashed bananas, eggs, melted oil, honey, and vanilla until the mixture looks glossy and mostly uniform. A few banana streaks are fine, but large chunks make the batter uneven and can leave pockets that bake up oddly wet. If the oil is too hot, it can start to cook the eggs, so let it cool slightly after melting.
Bringing the Batter Together
Stir in the almond flour, tapioca starch, baking soda, cinnamon, and salt just until everything disappears into the batter. Overmixing doesn’t build gluten here, but it can still make the loaf a little dense by pushing out too much air. The finished batter should be thick but spreadable, with a softer texture than a standard banana bread batter.
Baking Until the Center Finishes Setting
Pour the batter into a parchment-lined 9×5 loaf pan and bake at 350°F. Check it at 50 minutes, then keep going until the top is deeply golden and a toothpick comes out clean, which usually takes 55 to 65 minutes. If the top is browning before the center is done, lay a loose piece of foil over it so the loaf can finish without darkening too much.
Cooling Before the First Slice
Let the bread cool completely in the pan before lifting it out and slicing. This is the part that matters most for gluten-free banana bread, because the crumb keeps setting as it cools and a warm loaf can fall apart in the middle. If you want neat slices, use a sharp serrated knife and wipe it between cuts.
Small Changes That Still Give You a Good Loaf
Make it dairy-free with coconut oil
Use coconut oil instead of butter and the loaf stays completely dairy-free without losing tenderness. The flavor stays neutral enough that the bananas still lead, though butter does give a slightly richer finish.
Use maple syrup for a deeper sweetness
Maple syrup adds a softer, more rounded sweetness than honey. It won’t make the loaf taste like maple, but it does bring a slightly warmer note that works well with the cinnamon.
Add chopped nuts or chocolate chips
Fold in up to 3/4 cup of chopped walnuts or chocolate chips after the batter comes together. Nuts add crunch and keep the loaf from feeling too soft, while chocolate chips make it more dessert-like without changing the structure.
Storage and Reheating
- Refrigerator: Store tightly wrapped for up to 5 days. The crumb stays moist, though the loaf firms up a little when chilled.
- Freezer: This freezes well. Wrap slices or the whole loaf tightly, then freeze for up to 3 months. Thaw at room temperature so the texture doesn’t turn soggy.
- Reheating: Warm slices in the toaster oven or microwave just until heated through. Long reheating can dry out the edges and make the center feel rubbery, especially if the bread was already sliced thin.
Questions I Get Asked About This Recipe
Gluten-Free Banana Bread
Ingredients
Equipment
Method
- Preheat the oven to 350°F, then line a 9x5 loaf pan with parchment paper.
- Set the lined pan aside so it’s ready to receive the batter.
- Whisk mashed bananas, eggs, melted oil, honey, and vanilla until smooth.
- Stir in almond flour, tapioca starch, baking soda, cinnamon, and salt until fully combined, scraping the sides to avoid dry pockets.
- Pour the batter into the prepared pan—the batter will be wetter than traditional banana bread.
- Bake for 55–65 minutes until the top is deeply golden and a toothpick comes out clean, checking at 50 minutes and tenting loosely with foil if browning too fast.
- Cool completely in the pan before slicing so the gluten-free loaf fully sets and holds together.