Golden, chunky fruit crisp topping is one of those simple kitchen jobs that pays off every single time. When it bakes right, the top turns deeply browned and nubby, with buttery oat clusters that stay crisp long enough to give each spoonful a little crunch against the soft fruit underneath. It’s the part of the dessert people go back for first.
The trick is keeping the butter cold and stopping before the mixture turns sandy. You want a mix of small crumbs and bigger clumps, because those irregular pieces bake into the best texture. Brown sugar brings the caramel note, oats give it backbone, and a little flour helps the topping hold together instead of melting into the fruit.
Below, I’ve included the little details that keep this topping from going greasy or dull, plus a few easy swaps if you want to add nuts, coconut, or make it gluten-free.
The topping baked up into big crunchy clumps instead of disappearing into the fruit, and the cinnamon-brown sugar smell was amazing while it was in the oven. I used it on peaches and it stayed crisp around the edges even after serving.
Save this fruit crisp topping for when you want big oat-butter crumbles and a deeply golden bake over peaches, apples, or berries.
The Butter Pieces Are the Difference Between Crumbly and Clumpy
Most fruit crisp toppings fail because the butter gets worked in too far. The mixture turns uniform and sandy, which looks fine in the bowl but bakes into a dry blanket instead of a craggy topping. Cold butter keeps the flour and oats from fully absorbing the fat right away, so some pieces stay intact and melt in the oven into those browned, crisp clusters you want.
Don’t chase a smooth texture here. Stop when you have a mix of coarse crumbs and visible pea-sized bits of butter. Those larger bits are what create pockets of tenderness and crunch. If the topping starts to feel warm or greasy while you’re mixing, pause and chill it for 10 minutes before using it.
What Each Ingredient Is Doing in This Topping
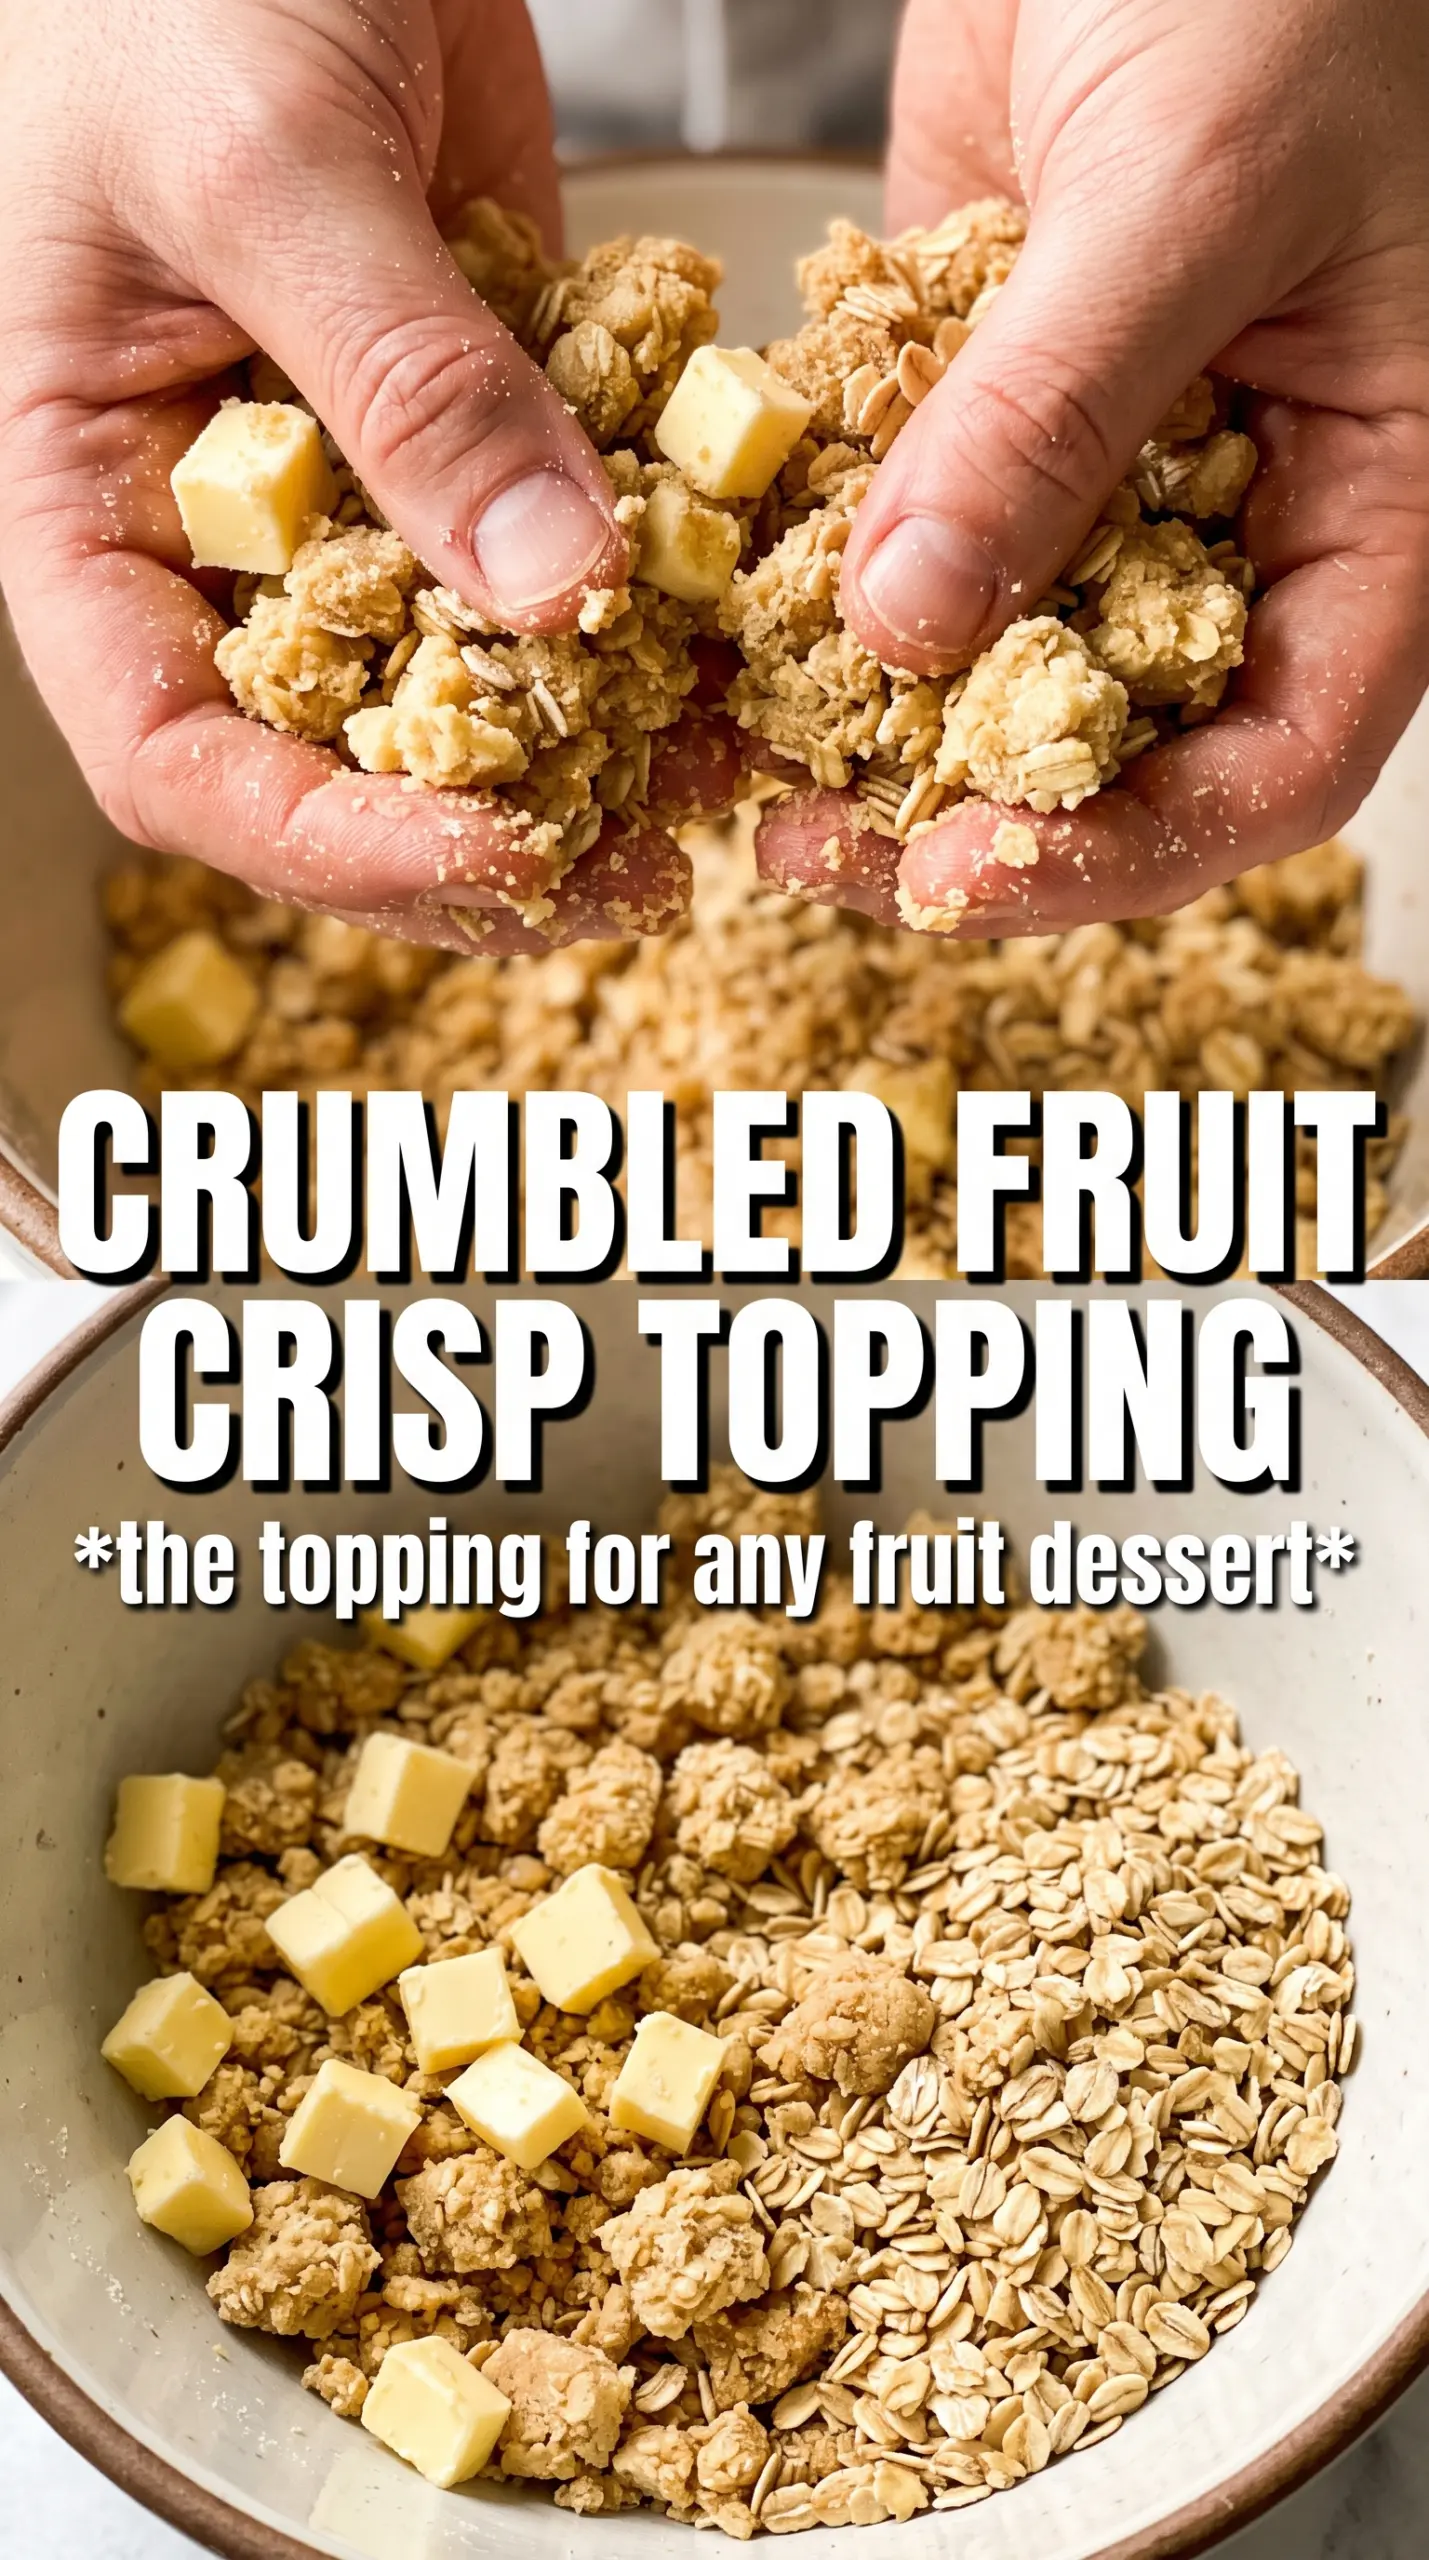
- Rolled oats — These give the topping its rough, hearty structure. Quick oats can work in a pinch, but they make a denser, less textured crumble. Old-fashioned oats hold up best and bake into those big rustic bits.
- All-purpose flour — Flour helps bind the topping so it doesn’t melt into the fruit filling. A gluten-free 1:1 blend usually works well if it contains xanthan gum, but the texture will be a little more delicate.
- Brown sugar — This adds moisture, caramel notes, and helps the topping brown deeply. Light or dark brown sugar both work; dark brown sugar gives a richer molasses flavor and a slightly stickier crumble.
- Cold unsalted butter — Butter is the fat that turns the dry ingredients into crisp clumps. Salted butter can be used, but cut back on the added salt a little. Cubing the butter first makes it easier to work in without overmixing.
- Cinnamon and nutmeg — These warm spices round out the sweetness and make the topping taste like it belongs on baked fruit. Nutmeg is subtle here, so don’t skip it if you want that classic crisp taste.
- Chopped nuts or shredded coconut — Both add extra texture, but they change the crumble. Nuts bring a toasty crunch; coconut adds chew and a little sweetness. Keep the add-ins coarse so the topping still clumps together.
Mix the Topping Just Enough for Clumps to Form
Start with the dry mix
Combine the oats, flour, sugars, cinnamon, nutmeg, and salt in a large bowl first. That even distribution matters, because if the spice or sugar pockets stay concentrated, you’ll get uneven baking and little scorched spots. If you’re using nuts or coconut, toss them in now so they blend through the whole batch instead of sinking into one section.
Work in the butter cold
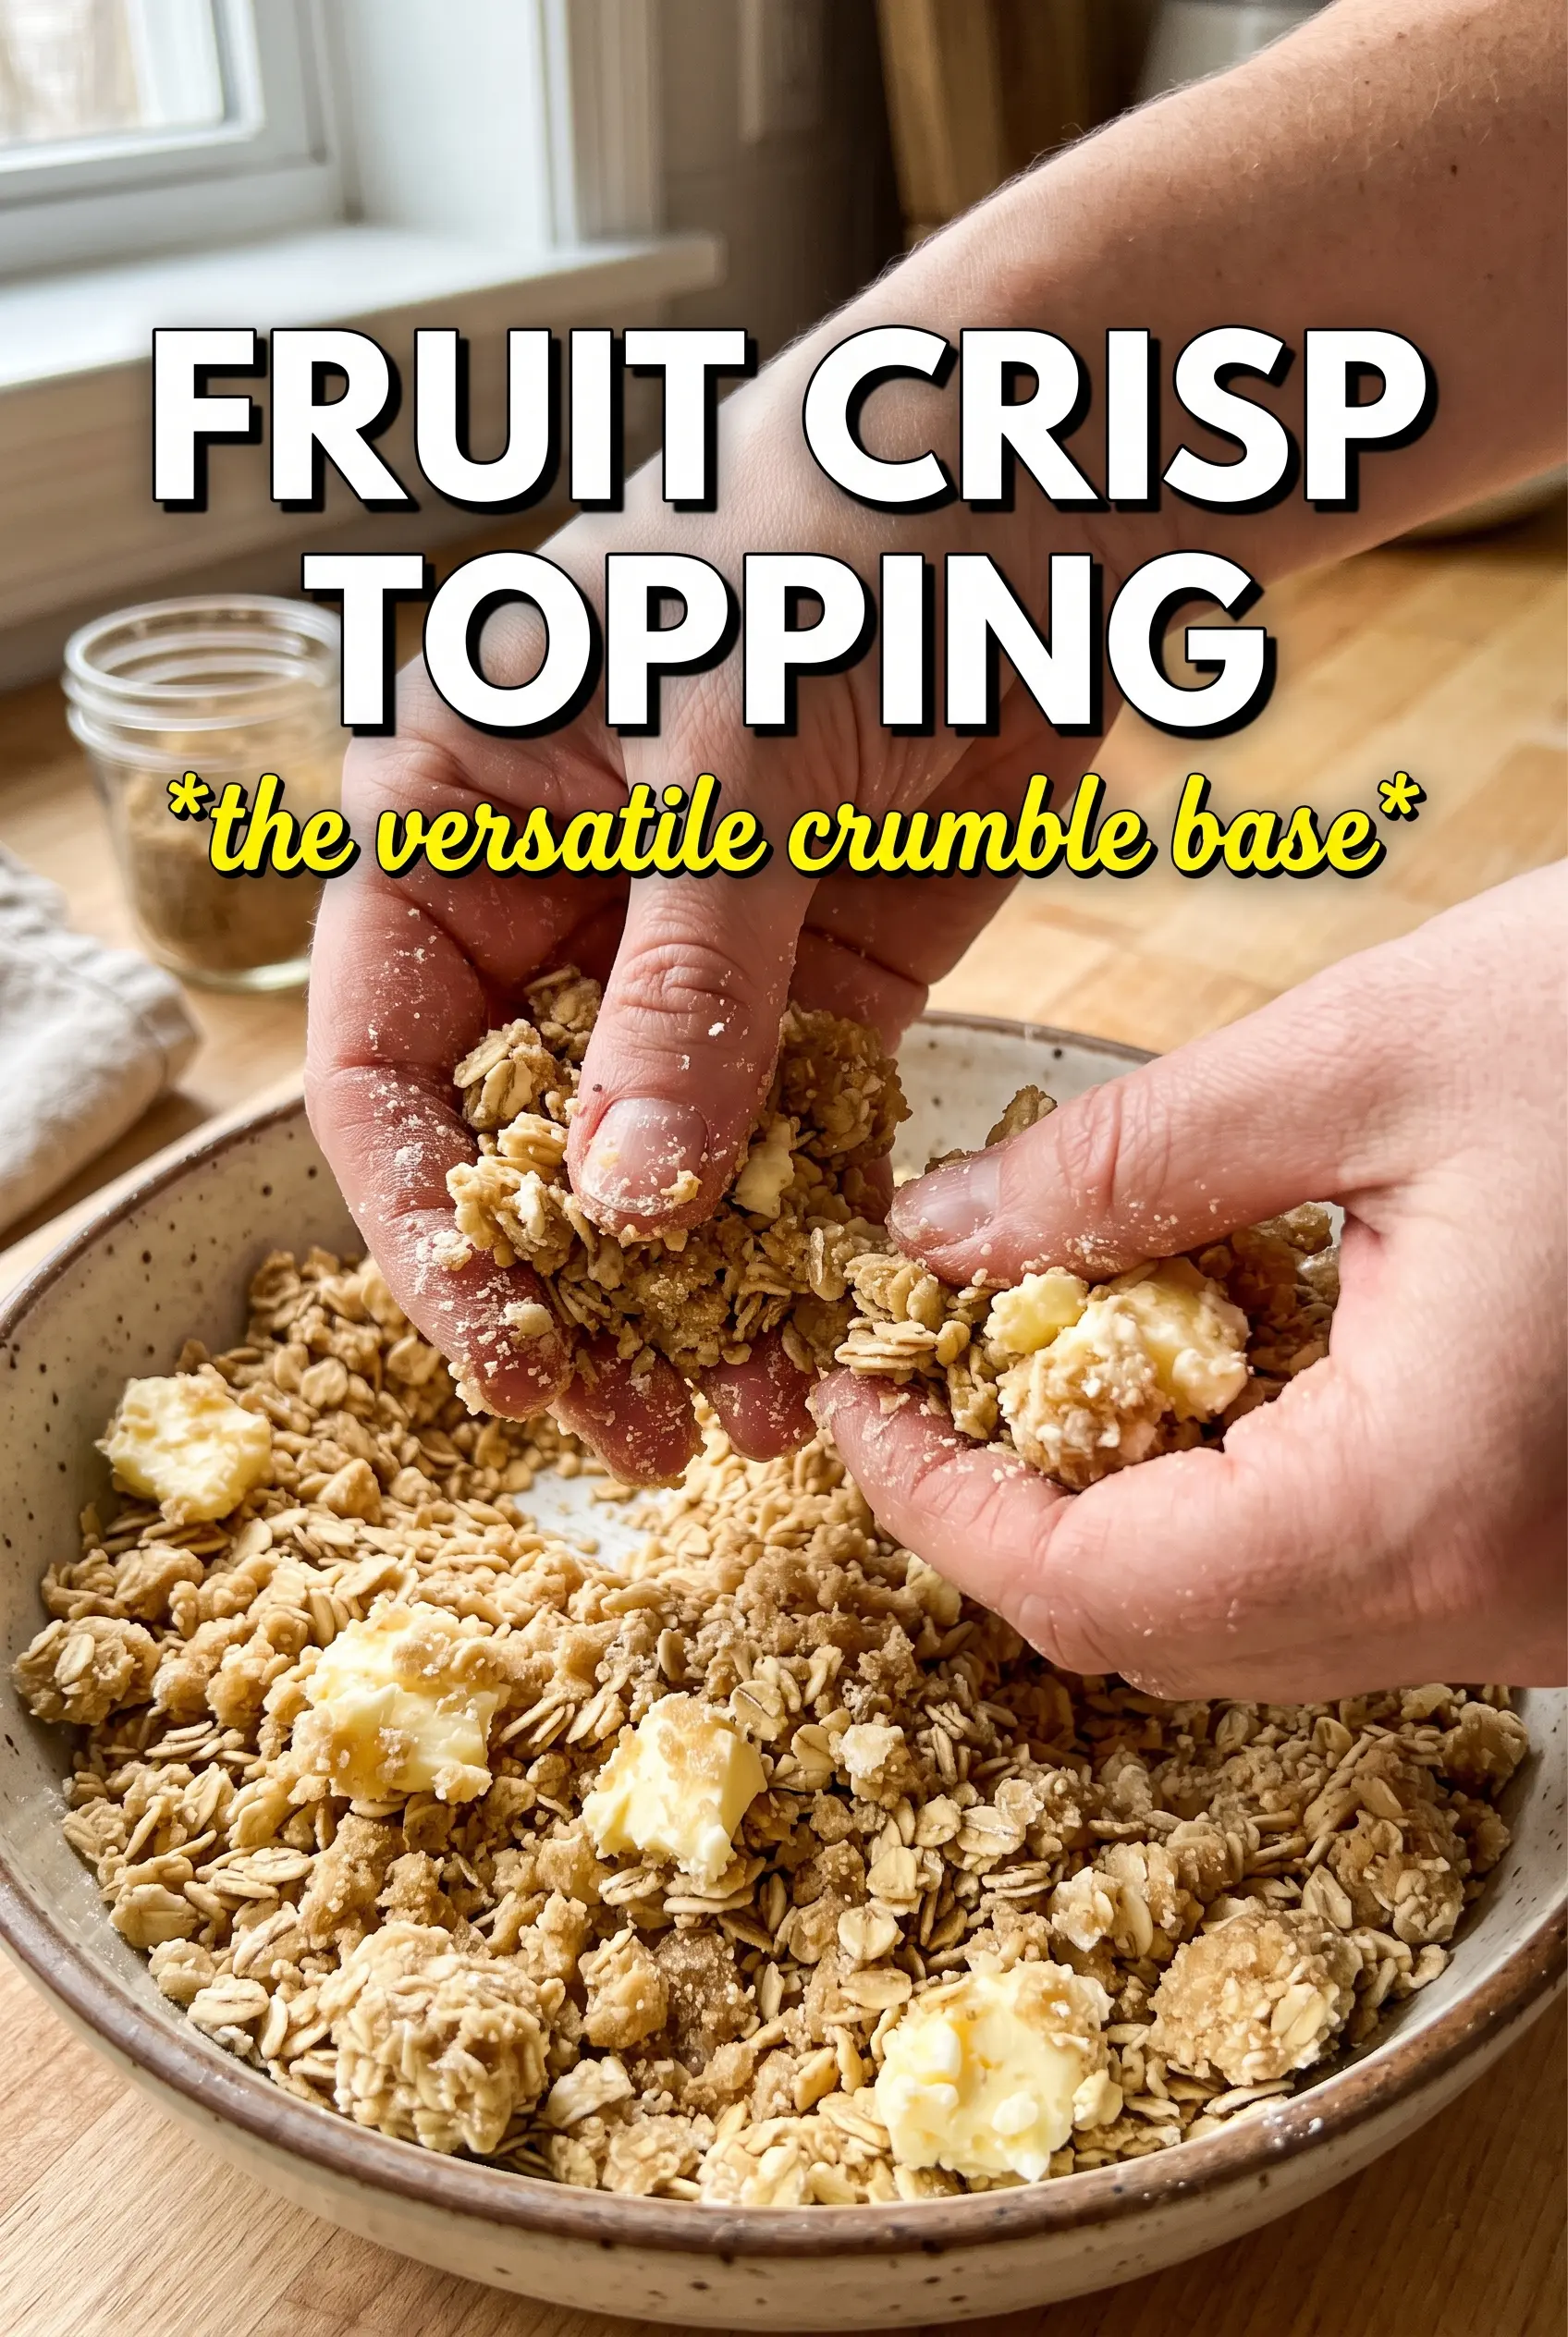
Add the cubed butter straight from the fridge and rub it in with your fingertips, two forks, or a pastry cutter. Stop once the mixture looks like damp gravel with some larger buttery pieces still visible. If you go past that point, the topping loses its craggy texture and bakes up flat.
Use it over fruit or chill it for later
Spoon the topping over your prepared fruit filling without packing it down. A loose, uneven layer bakes better than a pressed one because the heat can move through it and create crisp edges. If you’re not baking right away, cover and refrigerate it so the butter stays cold; warm topping turns greasy fast.
How to Change It Without Losing the Texture
Gluten-Free Crisp Topping
Swap the all-purpose flour for a good 1:1 gluten-free baking blend. The topping will still clump and brown, but it may be a touch more delicate when you scoop it. If your blend is very fine, add the nuts for extra structure.
Nutty, Toastier Version
Add the chopped nuts for a more substantial crunch and a deeper toasted flavor after baking. Pecans and walnuts both work well. Keep the pieces small enough to mix through evenly, or the topping will fall apart instead of holding those nice chunky clumps.
Dairy-Free Version
Use a firm plant-based butter that bakes well and stays solid when cold. The flavor will be a little less rich, but the texture can still be excellent if the substitute is cold and not overly soft. Avoid tub-style spreads, which usually melt too fast and make the topping greasy.
Make-Ahead Storage
Refrigerator: Store in an airtight container up to 5 days. The butter firms up, so the mixture may look a little compacted, but it bakes up fine. Freezer: Freeze up to 3 months in a freezer bag or sealed container. Reheating: Use it straight from the fridge or freezer over fruit; don’t thaw it fully, or the butter softens too much and the topping can turn pasty before baking.
Questions I Get Asked About This Recipe
Fruit Crisp Topping
Ingredients
Equipment
Method
- In a large bowl, combine rolled oats, all-purpose flour, brown sugar, granulated sugar, cinnamon, nutmeg, and salt.
- Add the chopped nuts and shredded coconut (if using) and toss to combine evenly.
- Add the cold cubed unsalted butter and work it into the dry mixture with your fingertips, two forks, or a pastry cutter until large chunky clumps form.
- Keep some pea-sized butter pieces in the mixture for extra crispness after baking.
- Scatter the topping immediately over your prepared fruit filling.
- Alternatively, refrigerate the topping in an airtight container up to 5 days or freeze up to 3 months.
- When ready to bake, bake over any fruit filling at 375F for 35-45 minutes until deeply golden.