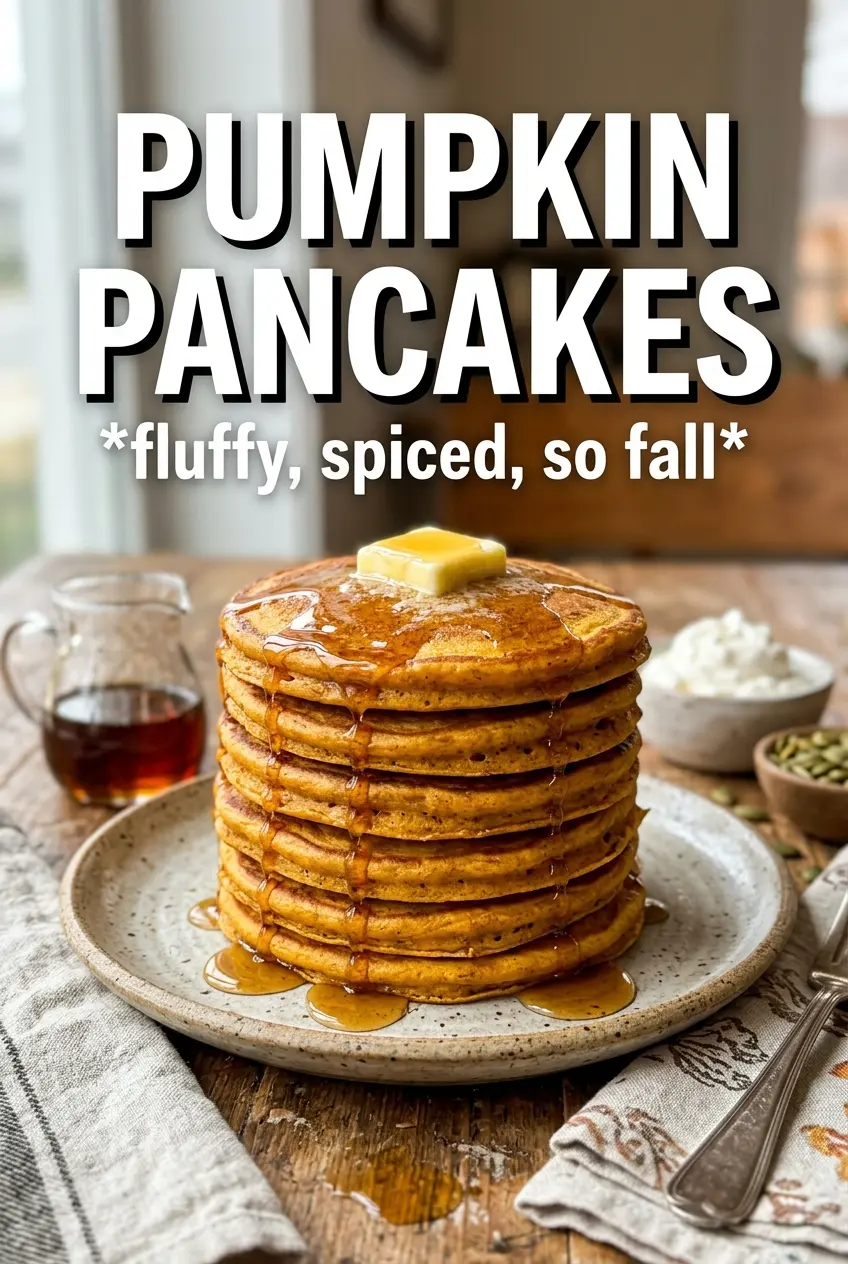
These pumpkin pancakes come off the griddle thick, tender, and lightly spiced, with crisp edges and a soft middle that stays fluffy instead of turning dense. The pumpkin adds more than color; it gives the batter a plush, almost custardy feel that makes each bite taste like it was built for maple syrup.
The difference here is balance. Pumpkin puree brings moisture, buttermilk wakes up the baking soda, and a short rest lets the flour hydrate so the pancakes cook up evenly. The batter should look a little lumpy and scoopable, not silky smooth. That’s what keeps them light. If you overmix, they turn bready fast.
Below, I’ve included the one visual cue that matters most on the griddle, plus a few swaps that work when you’re out of buttermilk or need a dairy-free version.
The batter rested just long enough to thicken, and the pancakes cooked up tall and fluffy with no gummy center. The maple syrup and cinnamon were exactly right together.
Save these fluffy pumpkin pancakes for the mornings when you want a thick, maple-ready stack with warm spice in every bite.
The Trick That Keeps Pumpkin Pancakes Fluffy Instead of Heavy
Pumpkin puree is thick and heavy enough to drag a batter down if you treat it like regular pancake mix. The fix is simple: keep the wet ingredients fully mixed on their own, then fold them into the dry ingredients just until the flour disappears. A few streaks and small lumps are exactly what you want.
The other thing that matters is the rest. Five minutes gives the flour time to absorb the liquid, which means the pancakes set more evenly on the griddle instead of spreading thin and pale. If your first pancake looks a little sluggish, the batter probably needs another minute or two to thicken. Don’t chase it with more flour unless it’s truly runny; pumpkin batters tighten as they sit.
What Each Ingredient Is Actually Doing in the Batter
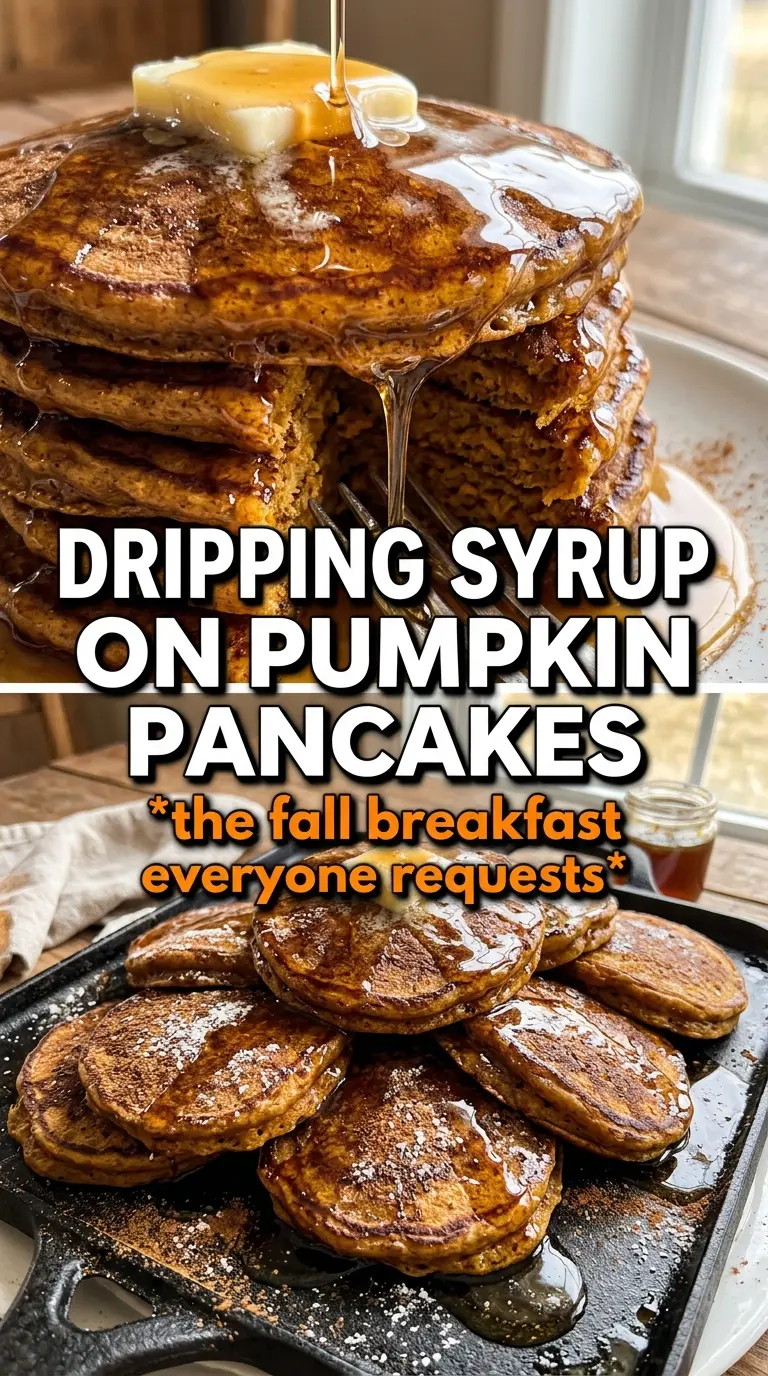
- Pumpkin puree — This is what gives the pancakes their color, body, and soft texture. Use pure pumpkin puree, not pumpkin pie filling, which is already sweetened and spiced. If your puree looks watery, blot it lightly with a paper towel so the batter doesn’t turn loose.
- Buttermilk — The acidity reacts with the baking soda and helps the pancakes rise with a tender crumb. Regular milk works in a pinch, but the pancakes will be a little less tangy and less plush. For a quick substitute, mix 1 tablespoon lemon juice or vinegar into 1 cup milk and let it sit for 5 minutes.
- Brown sugar and cinnamon — Brown sugar adds a deeper sweetness that works with the pumpkin instead of tasting flat. Cinnamon and pumpkin pie spice carry the warm spice note, but the amount stays restrained so the pancakes still taste like pancakes, not dessert.
- Melted butter — This adds richness and helps the pancakes brown at the edges. Let it cool for a minute before whisking it into the wet ingredients so it doesn’t scramble the eggs.
- Eggs — They bind the batter and help the centers set without drying out. Room-temperature eggs whisk in more smoothly, but cold eggs will still work here.
Getting the Griddle Temperature Right Before the First Flip
Mix the Dry and Wet Separately
Whisk the flour, sugars, baking powder, baking soda, spices, and salt in one bowl, then whisk the pumpkin, buttermilk, eggs, melted butter, and vanilla in another. This keeps the leavening evenly distributed, which matters more here because the batter is thick and doesn’t get much help once it hits the heat. If you dump everything together at once, pockets of dry flour tend to hide at the bottom and you’ll end up overmixing while trying to chase them out.
Fold, Don’t Beat
Pour the wet mixture into the dry ingredients and fold just until the flour disappears. The batter should look lumpy, thick, and a little rustic. Stop as soon as there’s no visible dry flour, because every extra stir builds gluten and makes the pancakes chewy instead of tender.
Watch for the Surface Bubbles
Cook the pancakes on a lightly greased griddle over medium heat. The first side is ready when bubbles form on the surface, the edges look set, and the underside is a deep golden brown, usually around 3 minutes. If they brown too fast before the centers set, the heat is too high; lower it and give the pan a minute to cool before the next batch.
Finish on the Second Side Quickly
Flip once and cook for 1 to 2 minutes more, just until the centers spring back when touched. The second side needs less time than the first, and leaving them too long dries out the pumpkin batter. Keep the finished pancakes warm on a sheet pan in a low oven while you cook the rest so the stack stays soft, not soggy.
How to Adapt These Pumpkin Pancakes Without Losing the Texture
Dairy-Free Version
Swap the buttermilk for unsweetened non-dairy milk mixed with 1 tablespoon lemon juice or vinegar, and use melted coconut oil or a neutral oil instead of butter. You’ll lose a little of the classic tang, but the pancakes still come out fluffy and lightly spiced.
Gluten-Free Version
Use a 1:1 gluten-free flour blend that includes xanthan gum. The batter may need a 5 to 10 minute rest so the flour can hydrate fully, and the pancakes may cook a touch more gently, but the texture stays tender instead of crumbly.
Less Sweet Breakfast Stack
Cut the granulated sugar to 1 tablespoon if you want a more breakfast-forward pancake that leans on butter and maple syrup for sweetness. The brown sugar can stay, since it brings depth as much as sweetness.
Storage and Reheating
- Refrigerator: Store leftover pancakes in an airtight container for up to 4 days. They soften a bit as they sit, but they hold up well.
- Freezer: These freeze well. Layer them between sheets of parchment and freeze in a zip-top bag for up to 2 months.
- Reheating: Reheat in a toaster, 300°F oven, or dry skillet until warmed through. Skip the microwave if you want to keep the edges from turning rubbery.