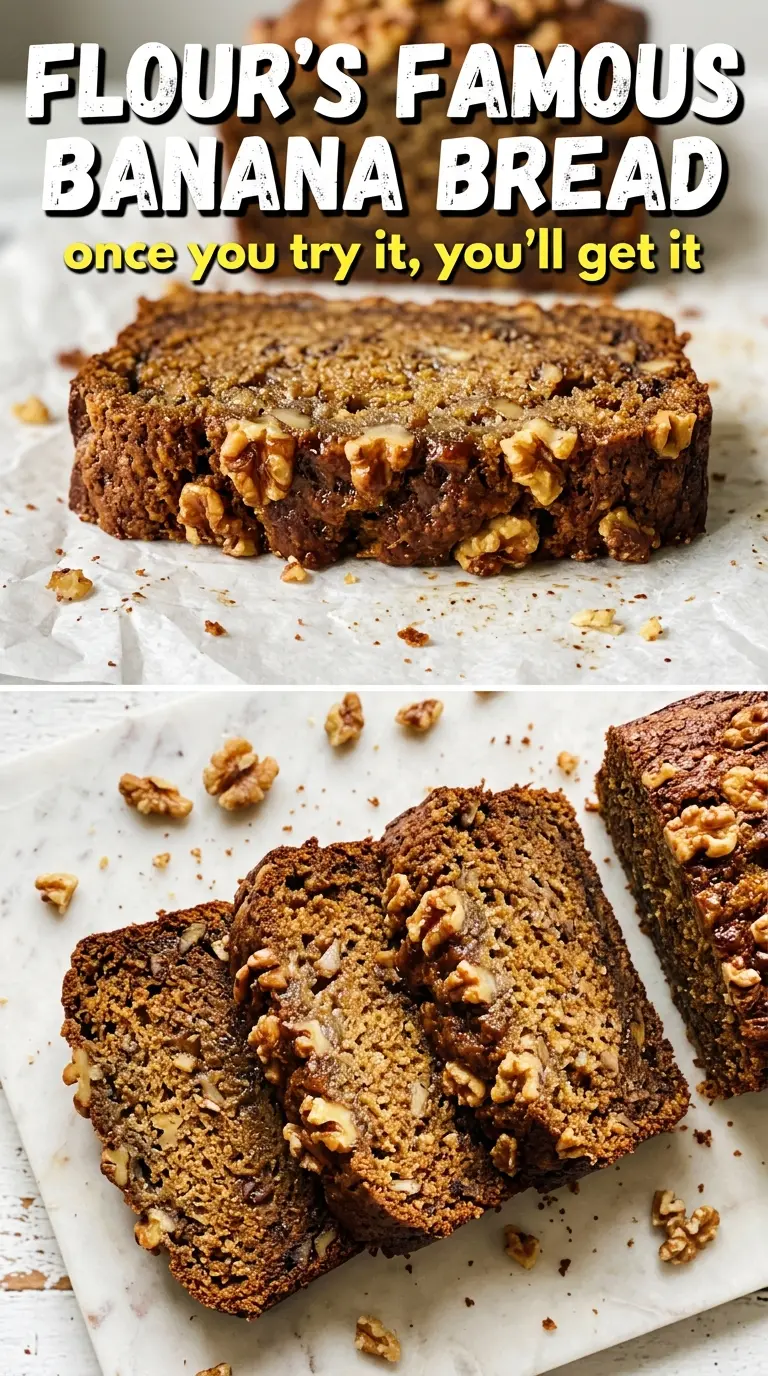
Flour’s Famous Banana Bread earns its reputation the first time you slice into it and see that open, tender crumb under a deeply browned, walnut-studded top. It bakes up with the kind of bakery-style height and moisture that makes a plain loaf feel special, but it still slices cleanly enough for breakfast, snacking, or a quick lunchbox treat.
The difference here is in the method. The butter and sugar are beaten until pale and airy, which gives the loaf lift without making it cakey, and the sour cream keeps the crumb soft for days. The bananas bring sweetness and moisture, but they’re balanced by just enough flour and a long, low bake so the outside turns caramelized instead of dried out. Toasted walnuts finish it with crunch and that unmistakable bakery aroma.
Below, I’ll walk through the parts that matter most: how to get the batter mixed without tightening the crumb, why the low oven temperature matters, and the small details that keep this loaf from sinking in the middle.
The top baked up beautifully dark and the crumb stayed moist all the way through. I used very ripe bananas and the loaf tasted just like the one I remember from Flour.
Like this bakery-style banana bread? Save it to Pinterest for that caramelized walnut top and moist, open crumb when your bananas get too ripe to ignore.
The Low Oven Is What Gives This Loaf Its Bakery Crust
Most banana bread recipes bake hot enough to set quickly, but that can leave you with a pale crust and a dense middle. This one uses a lower oven temperature, which sounds counterintuitive until you taste the result: the loaf has time to rise gently, brown deeply, and bake through without drying out the edges.
The other trap is overmixing after the flour goes in. Once the dry ingredients meet the wet, the batter should look a little streaky and rough before it turns into a smooth loaf in the oven. If you beat it until it’s perfectly uniform, you’ll tighten the crumb and lose that open bakery texture.
- Low and slow baking — The 325°F oven gives the loaf time to set in the center before the outside overbakes. That’s what creates the dark, even crust instead of a dry shell.
- Butter beaten with sugar — The full 5 minutes of whipping matters here. You’re building air, and that air gives the loaf lift.
- Sour cream — This adds richness and helps the crumb stay soft after day one. Plain yogurt can work in a pinch, but it brings a little more tang and a slightly less plush texture.
- Toasted walnuts — Toasting wakes up the flavor and keeps the nuts from tasting flat inside the bread. Skip the toast and you lose that bakery-style depth.
What Each Ingredient Is Doing in the Loaf
- All-purpose flour — This gives the loaf its structure without making it heavy. Bread flour is too strong here and will make the crumb tougher.
- Butter — Use real unsalted butter at room temperature so it creams smoothly with the sugar. If it’s too cold, it won’t trap air properly; if it’s melted, you’ll lose the lift.
- Sugar — It sweetens the bread, of course, but it also helps the crust caramelize into that deep golden top. Brown sugar would make the loaf a touch moister and more molasses-like, but it would move this away from the original texture.
- Eggs — They bind the batter and add richness. Add them one at a time so the batter stays smooth and doesn’t look curdled.
- Sour cream — This is the ingredient that keeps the loaf from eating dry. Full-fat sour cream gives the best texture, and I wouldn’t swap in low-fat if you want the same plush crumb.
- Very ripe bananas — The darker and softer they are, the better. If they still have a lot of yellow on the peel, the banana flavor will be weaker and the loaf won’t taste as developed.
- Vanilla extract — It rounds out the banana flavor and makes the loaf smell like a real bakery while it bakes.
- Walnuts — Lightly toasted walnuts add crunch and balance the sweetness. If you need to skip them, the bread will still work, but the top won’t have that signature finished look.
Building the Batter Without Losing the Crumb
Cream the Butter and Sugar Until It Turns Pale
Beat the butter and sugar on high speed until the mixture looks noticeably lighter in color and fluffier in texture, about 5 minutes. That step is doing the work of a leavener here, so don’t cut it short. If the mixture still looks grainy and dense, keep going until it looks almost whipped. This is where the loaf gets its height.
Add the Eggs and Bananas in a Smooth Emulsion
Add the eggs one at a time, mixing well after each addition so the batter stays glossy and smooth. When the sour cream, bananas, and vanilla go in, the mixture may look a little loose or slightly broken, and that’s fine. It comes back together once the flour is folded in. The main mistake here is rushing the additions and ending up with a lumpy batter that never fully emulsifies.
Fold the Dry Ingredients Just Until They Disappear
Stir the flour mixture in gently with a spatula until there are no visible dry pockets, then stop. A few streaks are better than overworking the batter. Overmixing develops gluten and gives you a tight loaf instead of the open crumb this bread is known for. Fold in the walnuts at the very end so they stay evenly distributed.
Bake Until the Top Is Deep Brown
Pour the batter into the prepared loaf pan and smooth the top. Bake until the crust is deeply browned and a toothpick inserted in the center comes out clean or with just a few moist crumbs, usually 60 to 70 minutes. If the top browns faster than the middle bakes, tent it loosely with foil for the last part of the bake. Let the loaf cool in the pan briefly before turning it out so it sets cleanly.
How to Adapt This Banana Bread Without Losing the Character
Dairy-Free Version
Use a neutral dairy-free butter and a thick plain dairy-free yogurt in place of the butter and sour cream. The loaf will still be moist, but you’ll lose a little of the buttery richness and the crumb may be slightly less tender.
Nut-Free Banana Bread
Leave out the walnuts entirely for a smooth, classic loaf. If you want a little texture on top, sprinkle the batter with coarse sugar before baking. That won’t replace the crunch, but it does give the crust a pleasant finish.
Gluten-Free Swap
A good 1:1 gluten-free flour blend can work here if it includes xanthan gum. The texture will be a little more delicate and the loaf may not dome quite as high, but the banana flavor and moist crumb still come through.
Storage and Reheating
- Refrigerator: Store tightly wrapped for up to 5 days. The crumb stays moist, but the flavor is best in the first 2 to 3 days.
- Freezer: This loaf freezes well. Wrap slices or the whole cooled loaf tightly in plastic, then foil, and freeze for up to 3 months.
- Reheating: Warm slices in a toaster oven or low oven until just heated through. Don’t microwave too long or the loaf turns rubbery and loses that bakery-style texture.
Answers to the Questions Worth Asking
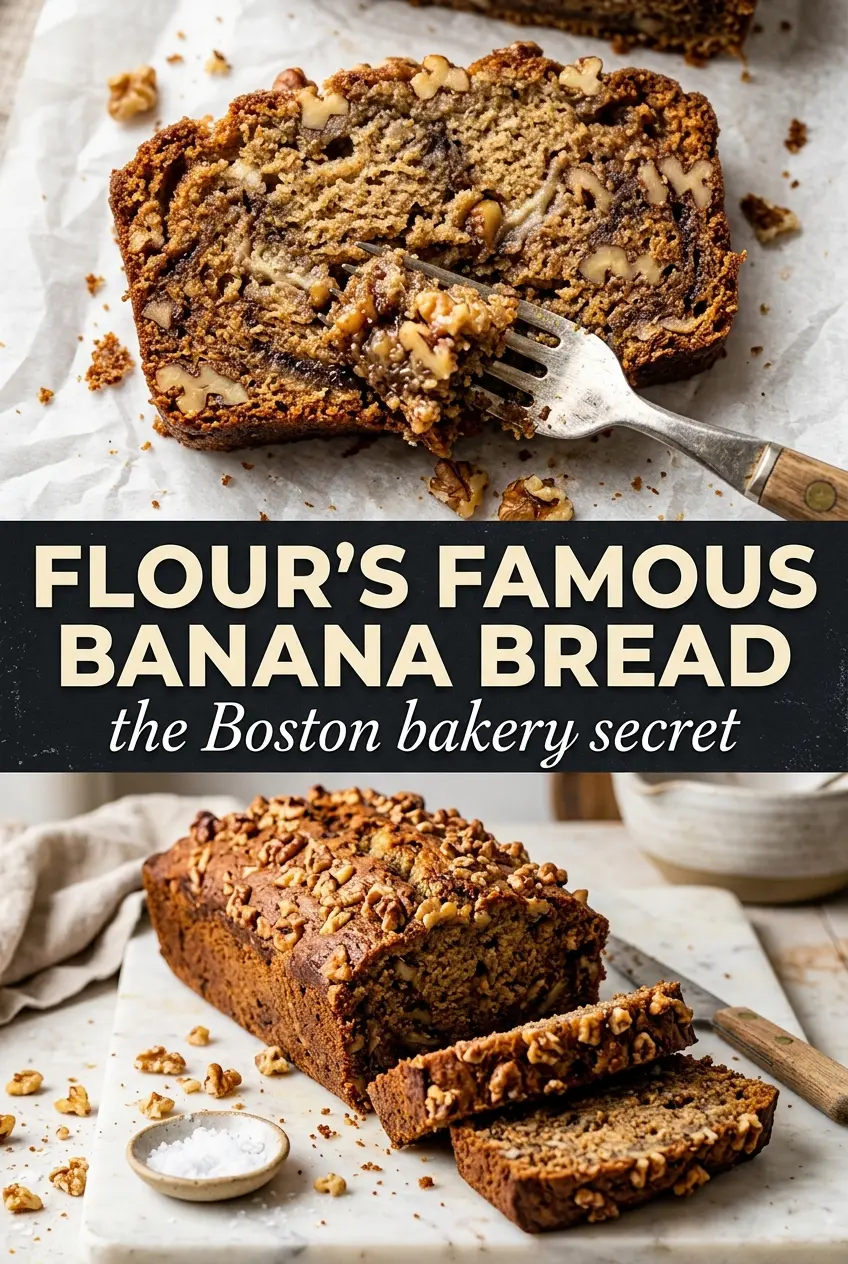
Flour's Famous Banana Bread
Ingredients
Equipment
Method
- Preheat oven to 325°F and grease and flour a 9x5 loaf pan so the loaf releases cleanly after baking.
- Sift together all-purpose flour, baking soda, and salt and set aside to help prevent lumps and keep the crumb tender.
- Beat unsalted butter (room temperature) and sugar on high speed for about 5 minutes until very light and fluffy, with a paler color and airy texture.
- Add large eggs one at a time, beating well after each, until the batter looks smooth and slightly thick.
- Mix in sour cream, mashed bananas, and vanilla extract until evenly combined and no streaks remain.
- Fold in the flour mixture gently until just combined, stopping as soon as you no longer see dry flour for a moist crumb.
- Fold in walnuts, distributing them throughout so every slice gets some crunch.
- Pour batter into the loaf pan and bake for 60–70 minutes at 325°F until the top is deep brown and a toothpick comes out clean.
- Cool in the pan briefly, then lift out to finish cooling so the crumb sets and slices cleanly.