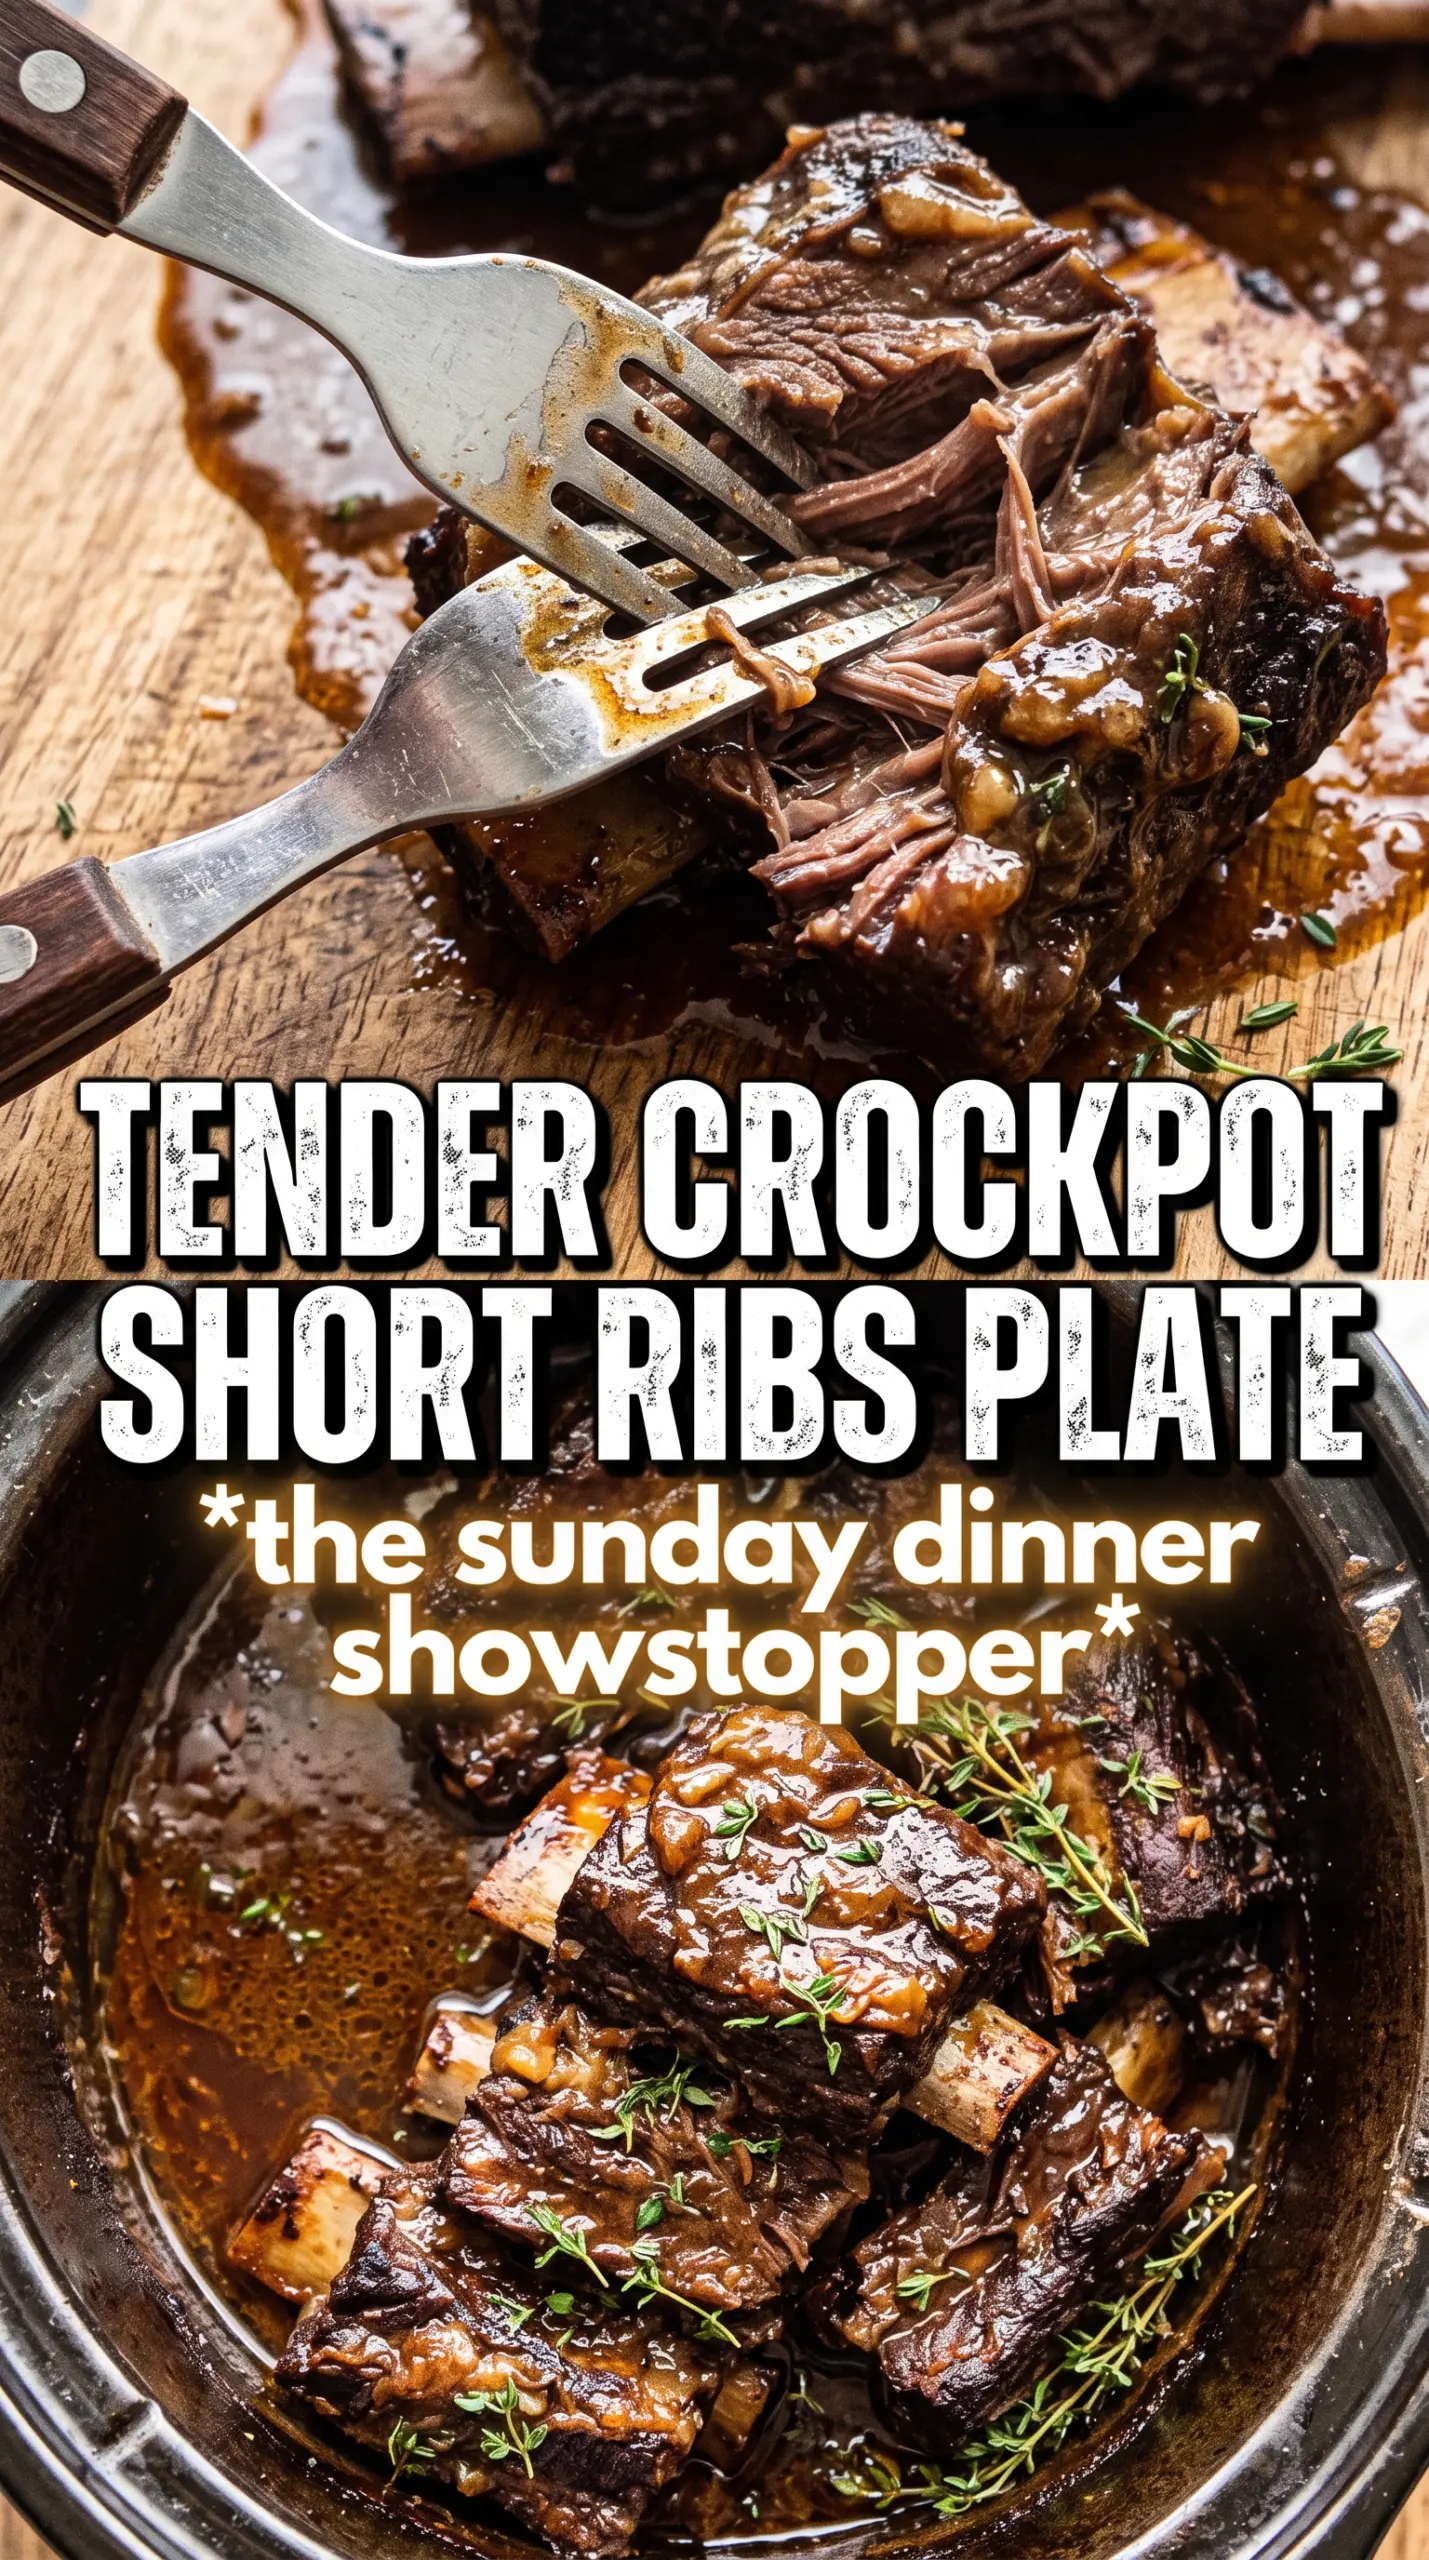
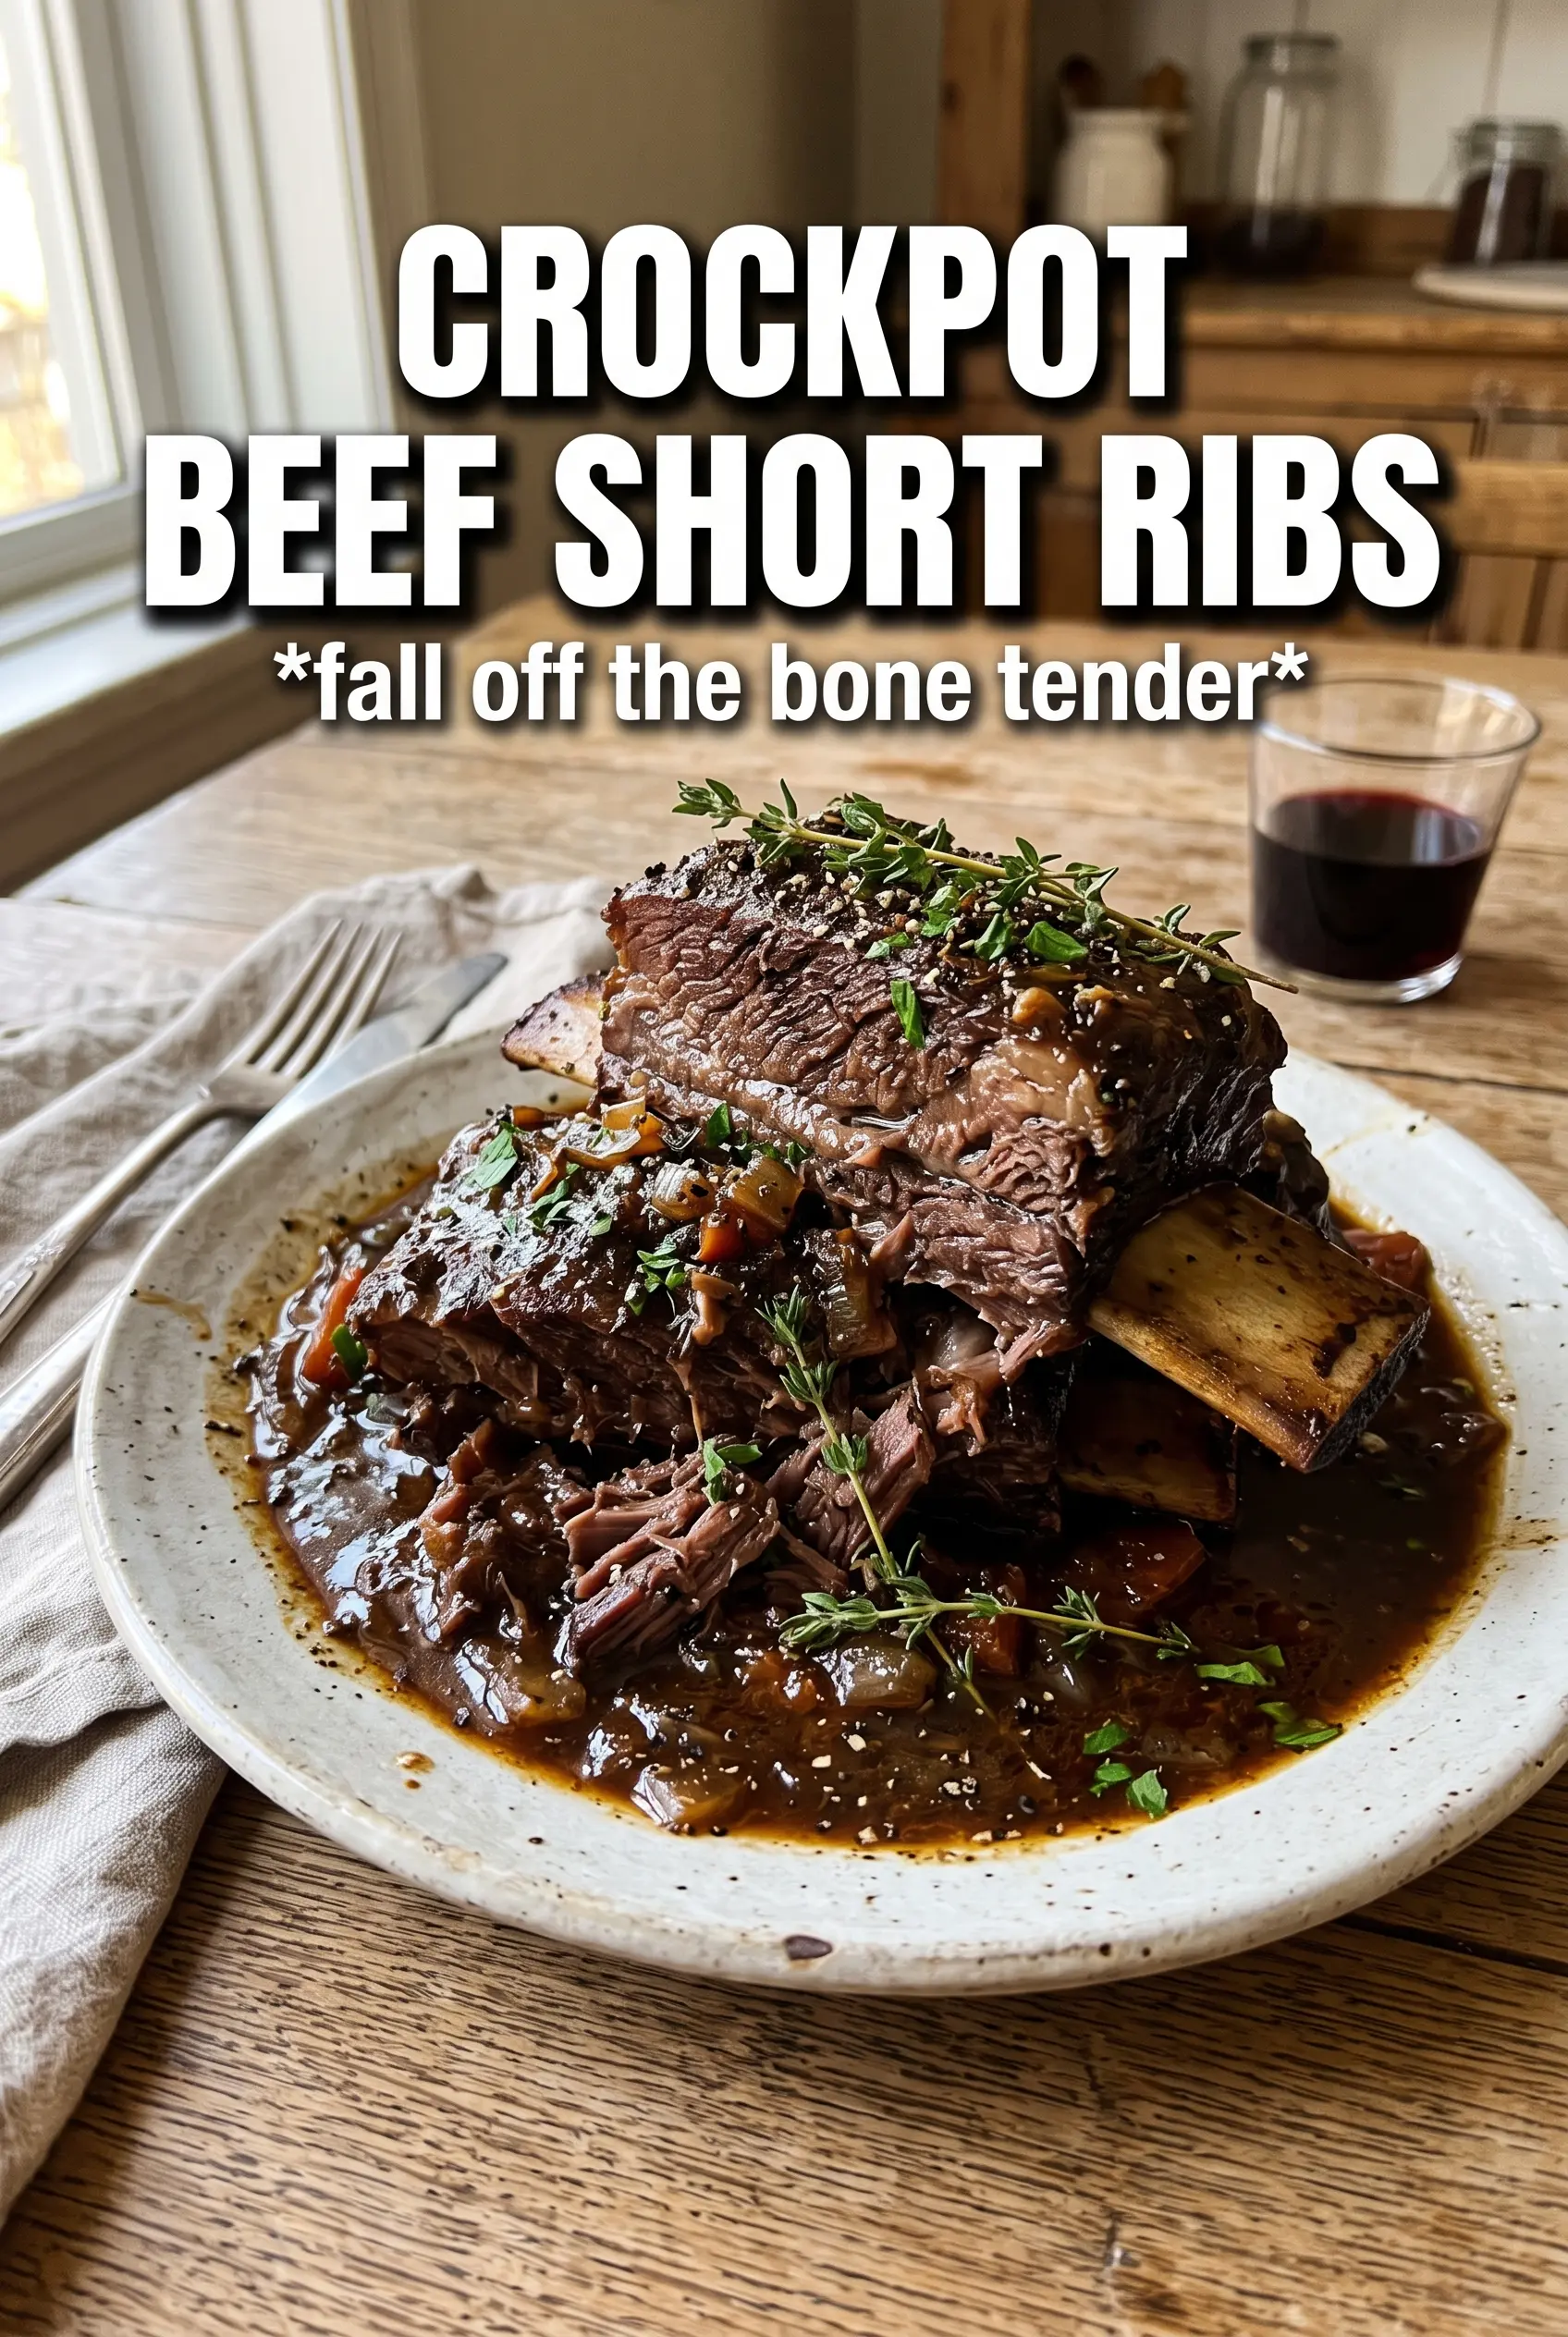
Rich, fall-apart Crockpot beef short ribs turn into the kind of dinner that makes the whole kitchen smell like you’ve been cooking all day, because you have. The meat gets deeply tender without drying out, and the braising liquid turns into a glossy, savory sauce that clings to every bite instead of pooling sadly on the plate.
The trick is taking a few minutes to sear the ribs before they go into the slow cooker. That browning step builds the base flavor the Crockpot can’t create on its own, and it keeps the finished sauce tasting layered instead of flat. Red wine, tomato paste, and Worcestershire do the heavy lifting in the braising liquid, while the carrots, celery, and onion melt down into the sauce and round everything out.
Below, I’ll walk you through the exact order that keeps the ribs tender, how to thicken the sauce without turning it gluey, and what to change if you want to make this without wine.
The ribs were fall-apart tender and the sauce thickened up perfectly after I skimmed the fat and used the cornstarch at the end. Even my picky dad went back for seconds.
Pin these Crockpot beef short ribs for a slow-cooked dinner with deep winey gravy and mashed potatoes built for soaking it up.
The Browning Step That Keeps the Crockpot From Making These Taste Flat
Slow cookers are great at tenderness, but they don’t build flavor from scratch. If the ribs go in raw, you’ll still get soft meat, but the sauce can taste thin and one-note. Searing the short ribs first gives you that dark, savory crust that carries the whole dish.
The other thing that matters here is not overcrowding the pot. Short ribs need to sit over the vegetables in a single, comfortable layer so they braise instead of steaming in their own juices. That, plus a low and slow cook, is what gives you meat that loosens around the bone instead of turning stringy.
- Bone-in beef short ribs — These are the star because the bones and marbling hold up to the long cook. Boneless short ribs can work, but they usually need less time and won’t give you the same deep sauce.
- Red wine — Use a dry wine you’d actually drink. It adds acidity and depth that keeps the braising liquid from tasting heavy. If you need to skip it, add more broth plus a splash of balsamic vinegar for brightness.
- Tomato paste — This is the quiet powerhouse. It brings color, body, and a little sweetness that helps the sauce taste finished after hours in the Crockpot.
- Carrots, celery, onion, and garlic — They melt into the braising liquid and give it body. Dice them evenly so they soften at the same pace and don’t leave you with crunchy bits at the end.
What Each Ingredient Is Actually Doing in This Recipe
- Primary ingredient (the star) — Quality matters most. Choose the best you can find.
- Cooking medium (oil, butter, or broth) — This carries flavors and prevents dryness.
- Seasonings (salt, pepper, spices, herbs) — Layer flavors so nothing overpowers. Build depth gradually.
- Aromatics (garlic, onion, herbs) — Cook with fat to bloom flavors. Become the foundation.
- Supporting ingredients — Complement the main ingredient without overpowering it.
- Sauce or liquid (if applicable) — Brings flavors together. Balance richness with acid.
- Acid (lemon, vinegar, wine, or other) — Brightens and prevents flat-tasting results.
- Final finish (garnish, glaze, or sauce) — Prevents one-dimensional taste and adds visual appeal.
Building the Braise So the Sauce Comes Out Deep, Not Watery
Searing the Ribs First
Season the ribs generously and brown them in hot olive oil until you get a dark crust on more than just one side. You’re not cooking them through here; you’re building flavor and color. If the pan feels crowded, work in batches, because packed ribs steam and never develop that browned edge you want.
Layering the Slow Cooker Base
Scatter the onion, garlic, carrots, and celery in the bottom of the Crockpot, then set the seared ribs on top. That keeps the vegetables from scorching and gives the meat a gentle cushion as it cooks. Pour the broth mixture over everything, but don’t drown the ribs completely — they should braise in the liquid, not disappear under it.
Cooking Until the Meat Relaxes
Cook on Low for 7 to 8 hours, and don’t rush that timeline unless you have to. The ribs are ready when a fork slides in with almost no resistance and the meat pulls back from the bone. If they still feel tight, they need more time, not more heat.
Finishing the Sauce the Right Way
Lift the ribs out gently, then skim the fat from the top of the braising liquid before thickening it. Whisk cornstarch with a little cold water first, then stir it in and cook on High for about 15 minutes until the sauce turns glossy and lightly coats a spoon. If you add dry cornstarch straight in, it clumps, and there’s no fixing that without straining the whole pot.
How to Adapt These Short Ribs for Different Kitchens and Different Plans
Skip the Wine
Replace the red wine with extra beef broth and add 1 tablespoon of balsamic vinegar or a small squeeze of lemon at the end. You’ll lose a little of the wine’s depth, but the sauce will still have enough acidity to stay balanced instead of tasting heavy.
Gluten-Free Serving Style
The ribs themselves are naturally gluten-free if your broth and Worcestershire sauce are certified gluten-free. Serve them over mashed potatoes, polenta, or cauliflower mash, depending on how you want to round out the meal.
Make It Ahead
These reheat beautifully, and the flavor usually gets better after a night in the fridge. If you’re serving them for company, cook them the day before, chill the pot liquid separately, then reheat gently so you can skim the solidified fat before serving.
Use Boneless Short Ribs
Boneless short ribs work, but they cook a little faster and can dry out if you leave them in too long. Start checking around the 6 1/2-hour mark on Low, and pull them as soon as they’re tender enough to shred with a fork.
Storage and Reheating
- Refrigerator: Store leftovers for up to 4 days. The sauce will thicken and the fat will firm up on top, which actually makes it easier to lift off later.
- Freezer: These freeze well for up to 3 months. Freeze the ribs and sauce together in airtight containers, and thaw overnight in the fridge before reheating.
- Reheating: Warm gently on the stovetop or in a covered dish in the oven with a splash of broth. Don’t boil the sauce hard, or the meat can dry out and the texture gets stringy.
Answers to the Questions Worth Asking
Crockpot Beef Short Ribs
Ingredients
Equipment
Method
- Season short ribs generously with salt and pepper, ensuring all sides are coated. Sear in olive oil in a hot skillet until deeply browned on all sides, about 4-6 minutes per side, with a dark, crusted surface visible.
- Place onion, garlic, carrots, and celery in the Crockpot, spreading them into an even layer. Nestle the seared ribs on top so they sit mostly above the vegetables.
- Whisk beef broth, red wine, tomato paste, and Worcestershire sauce until smooth. Pour the braising liquid over the ribs so the meat is well coated.
- Add dried thyme, dried rosemary, and bay leaves to the Crockpot. Cook on Low for 7-8 hours until the meat is falling off the bone, where you can pull a rib apart with gentle pressure.
- Remove ribs and bay leaves from the Crockpot, leaving the braising vegetables behind. Skim fat from the braising liquid until the sauce looks glossy but not greasy.
- Whisk cornstarch with a small amount of braising liquid to make a slurry, then stir it into the pot. Cook on High for 15 minutes, watching the sauce thicken to a spoon-coating consistency.
- Serve the ribs over mashed potatoes and spoon the rich braising sauce on top. Add any remaining herbs from the pot for a visible garnish and serve hot.