Crack green beans come out glossy, savory-sweet, and just tender enough to keep a little bite under all that bacon and caramelized glaze. The brown sugar melts into the butter and soy sauce, turning into a sticky coating that clings to every bean instead of pooling at the bottom of the dish. It’s the kind of side that disappears fast, even from people who usually reach past the vegetables.
The trick is blanching the beans first so they finish with the right texture after their time in the oven. Fresh green beans hold up much better than canned here, and the bacon needs to be cooked until mostly crisp before it goes into the dish, so it stays flavorful instead of soggy. The glaze is simple, but it works because the garlic, soy sauce, and butter give the sweetness some depth.
Below, I’ve included the small details that keep the beans from going limp and the glaze from turning thin. There are also a few easy swaps if you need to work around what’s in your kitchen or want to adjust the richness a little.
The glaze got sticky and caramelized in the oven, and the beans still had a little snap. My husband kept sneaking bites straight from the baking dish.
Crack green beans with bacon and brown sugar make the best sticky side dish for any dinner table.
The Part That Keeps the Beans Tender Instead of Soft
Green beans can go from crisp-tender to tired and mushy fast, especially once they sit under a sweet glaze in the oven. Blanching them for just a few minutes first gives them a head start, so they finish cooking in the oven without losing their shape or bite. If you skip that step, you often end up with beans that are either still too firm in the middle or overcooked by the time the sauce gets sticky.
The other thing that matters here is using a baking dish wide enough to spread the beans out in a mostly even layer. If they’re piled too deeply, the glaze steams instead of reducing and the bacon softens instead of crisping around the edges. A 9×13-inch dish gives the sauce room to bubble and caramelize.
What Each Ingredient Is Actually Doing in the Dish
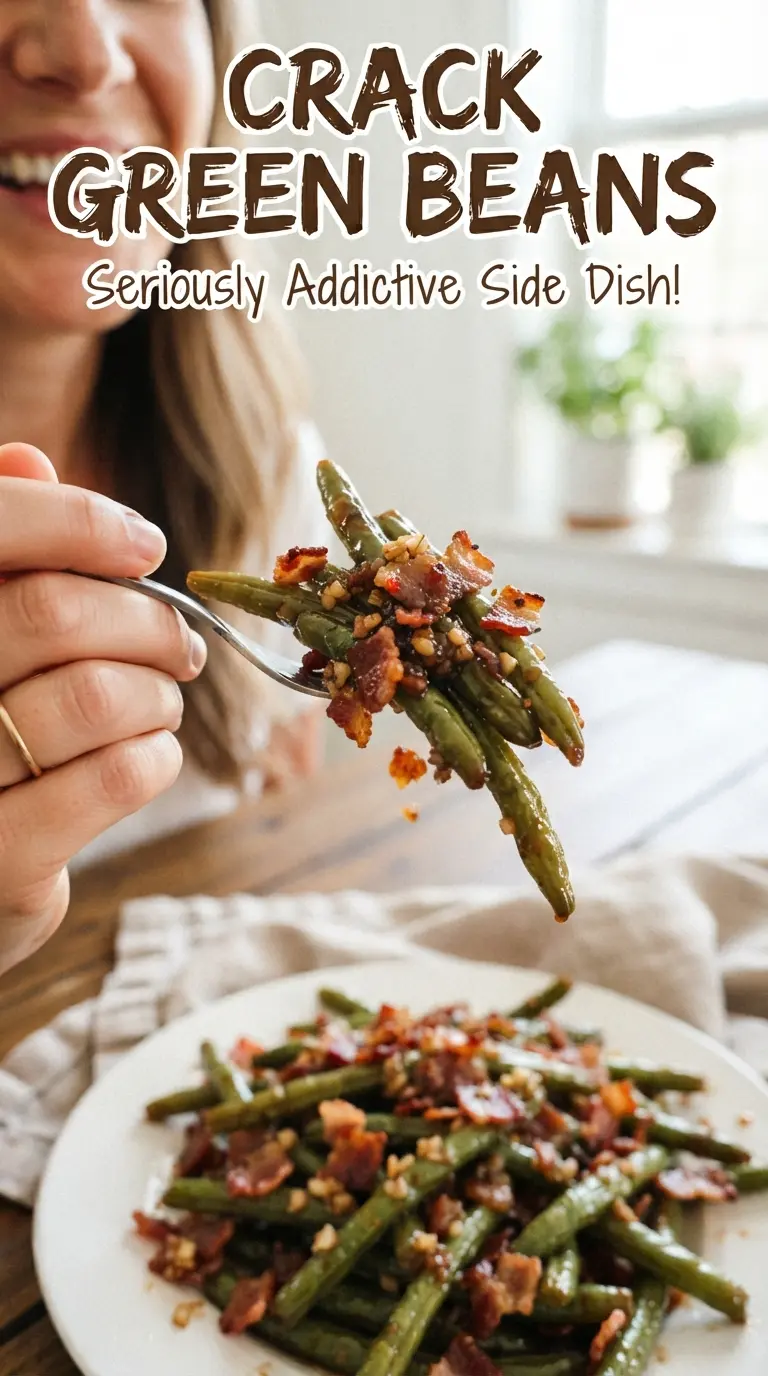
- Fresh green beans — These hold their texture and give the dish a clean snap under the glaze. Frozen beans can work in a pinch, but they’ll soften more and release extra moisture, so the sauce won’t cling as well.
- Bacon — This is more than garnish. It adds salt, smoke, and fat that make the sweet glaze taste deeper and less one-note. Cook it until mostly crisp before baking so it doesn’t turn chewy in the oven.
- Brown sugar — This is what turns the coating sticky and caramelized. Packed brown sugar gives the best body; light or dark both work, with dark brown sugar leaning a little richer and molasses-heavy.
- Soy sauce — This keeps the dish from tasting like straight brown sugar and butter. It brings salt and umami, and it’s what makes the glaze taste balanced instead of dessert-like.
- Butter — Melted butter helps the glaze emulsify enough to coat the beans and carry the garlic evenly through the dish. Don’t swap in a hard fat here unless you want a different texture; the melted butter is part of what makes the sauce silky.
- Garlic — Fresh minced garlic gives the glaze enough bite to stand up to the sugar. Garlic powder won’t taste as sharp or fresh, but it can work if that’s what you have.
Building the Glaze So It Turns Sticky, Not Watery
Blanching and Draining the Beans
Get the beans into boiling water for about 3 minutes, then drain them well. They should still be bright green and a little firm, not soft. If they go straight into the oven soaking wet, the extra water dilutes the glaze and slows down caramelization. A quick drain is fine, but if your sink setup allows it, give them a minute to steam off a little moisture before assembling the dish.
Cooking the Bacon First
Cook the bacon until it’s mostly crisp, not fully brittle. It will finish in the oven, and if you take it too far on the stovetop it can dry out and taste hard once baked. Drain it on paper towels so the glaze isn’t fighting a pool of bacon grease. You want enough fat for flavor, not so much that the beans start frying.
Assembling the Sauce
Whisk the brown sugar, melted butter, soy sauce, garlic, and pepper until the mixture looks smooth and glossy. Pour it evenly over the beans and bacon so the seasoning reaches the bottom of the pan, not just the top. Stir once halfway through baking, when the glaze has started to bubble and thicken, then return it to the oven uncovered so it can reduce into a sticky coating.
Watching for the Caramelized Finish
The dish is done when the sauce clings to the beans and the edges of the pan look syrupy and browned. If the glaze still looks thin, it needs a few more minutes uncovered. Don’t overbake it chasing a darker color, or the sugar can get too hard once it cools. You want sticky and glossy, not burnt.
How to Adapt These Green Beans Without Losing the Glaze
Make It Gluten-Free
Use a gluten-free soy sauce or tamari. The flavor stays nearly the same, and the glaze still gets that salty backbone it needs. Regular soy sauce usually contains wheat, so this swap matters if you’re cooking for someone with gluten sensitivity.
Make It Without Bacon
Leave the bacon out and add a pinch more salt plus a small splash of smoked paprika if you want some of that savory edge back. The dish will be sweeter and cleaner tasting, with less richness, but the glaze still works. It becomes a more straightforward brown sugar soy green bean side instead of a smoky one.
Use Dark Brown Sugar for a Deeper Finish
Dark brown sugar adds a stronger molasses note and a slightly darker glaze. It’s a good choice if you want the dish to taste a little richer and less candy-like. The baking time stays the same, but the sauce will look darker sooner, so judge by stickiness instead of color alone.
Storage and Reheating
- Refrigerator: Store leftovers in an airtight container for up to 4 days. The glaze will thicken as it chills, and the beans will soften a little.
- Freezer: This freezes, but the texture changes enough that I don’t love it. The beans lose some bite and the sauce can separate after thawing.
- Reheating: Warm it in a covered dish at 325F until heated through, then uncover for the last few minutes if you want the glaze to tighten up again. The common mistake is blasting it in the microwave, which makes the beans limp and the bacon chewy.
Questions I Get Asked About This Recipe
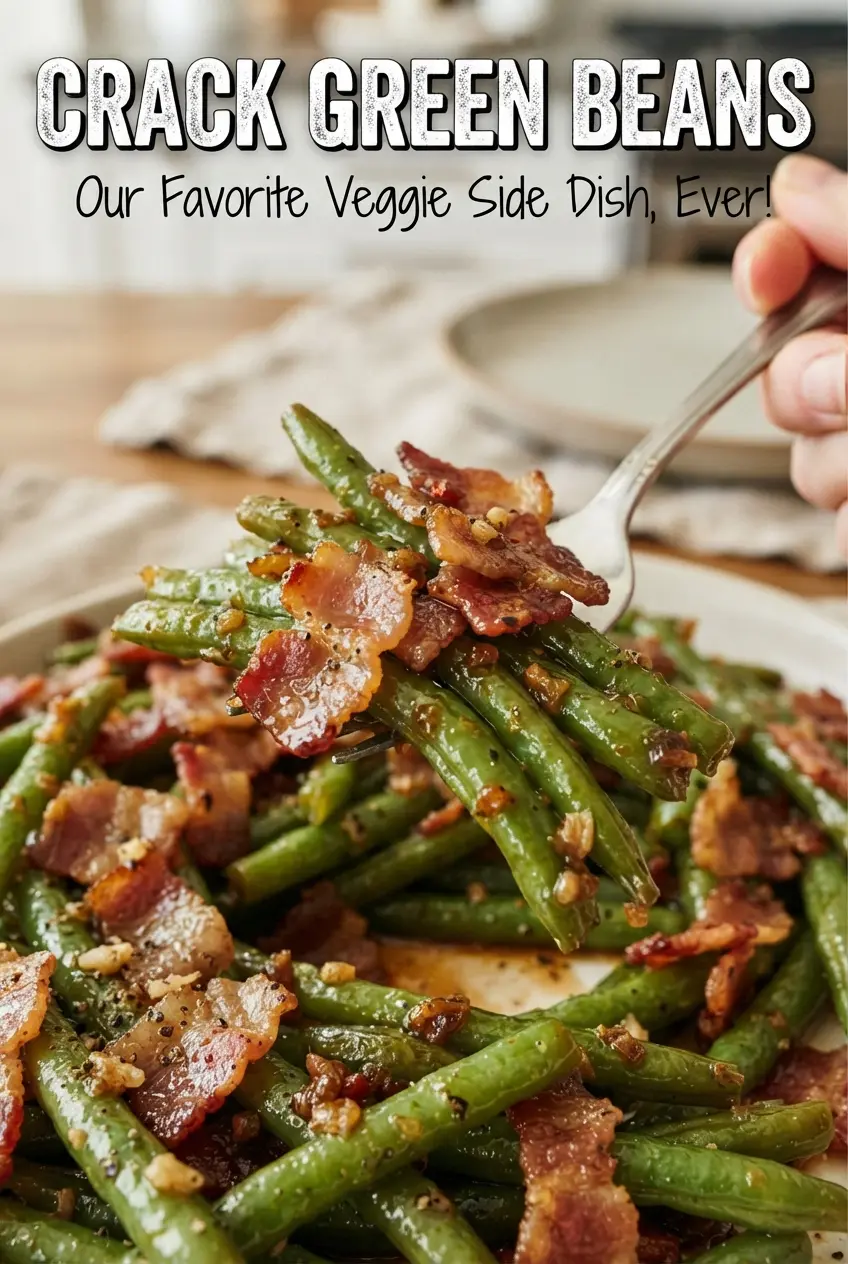
Crack Green Beans
Ingredients
Equipment
Method
- Preheat oven to 350°F. Blanch the trimmed green beans in boiling water for 3 minutes, then drain.
- Cook the chopped bacon until mostly crisp, then drain on paper towels. Keep it ready for layering on the beans.
- Place the drained green beans in a 9x13-inch baking dish and top with the cooked bacon. Spread them into an even layer so they cook uniformly.
- Whisk the brown sugar, melted butter, soy sauce, minced garlic, and black pepper until smooth. Pour the glaze over the beans, coating as much surface area as possible.
- Bake uncovered for 30-35 minutes at 350°F, stirring once midway. Bake until the glaze is sticky and caramelized, with a glossy brown sheen.