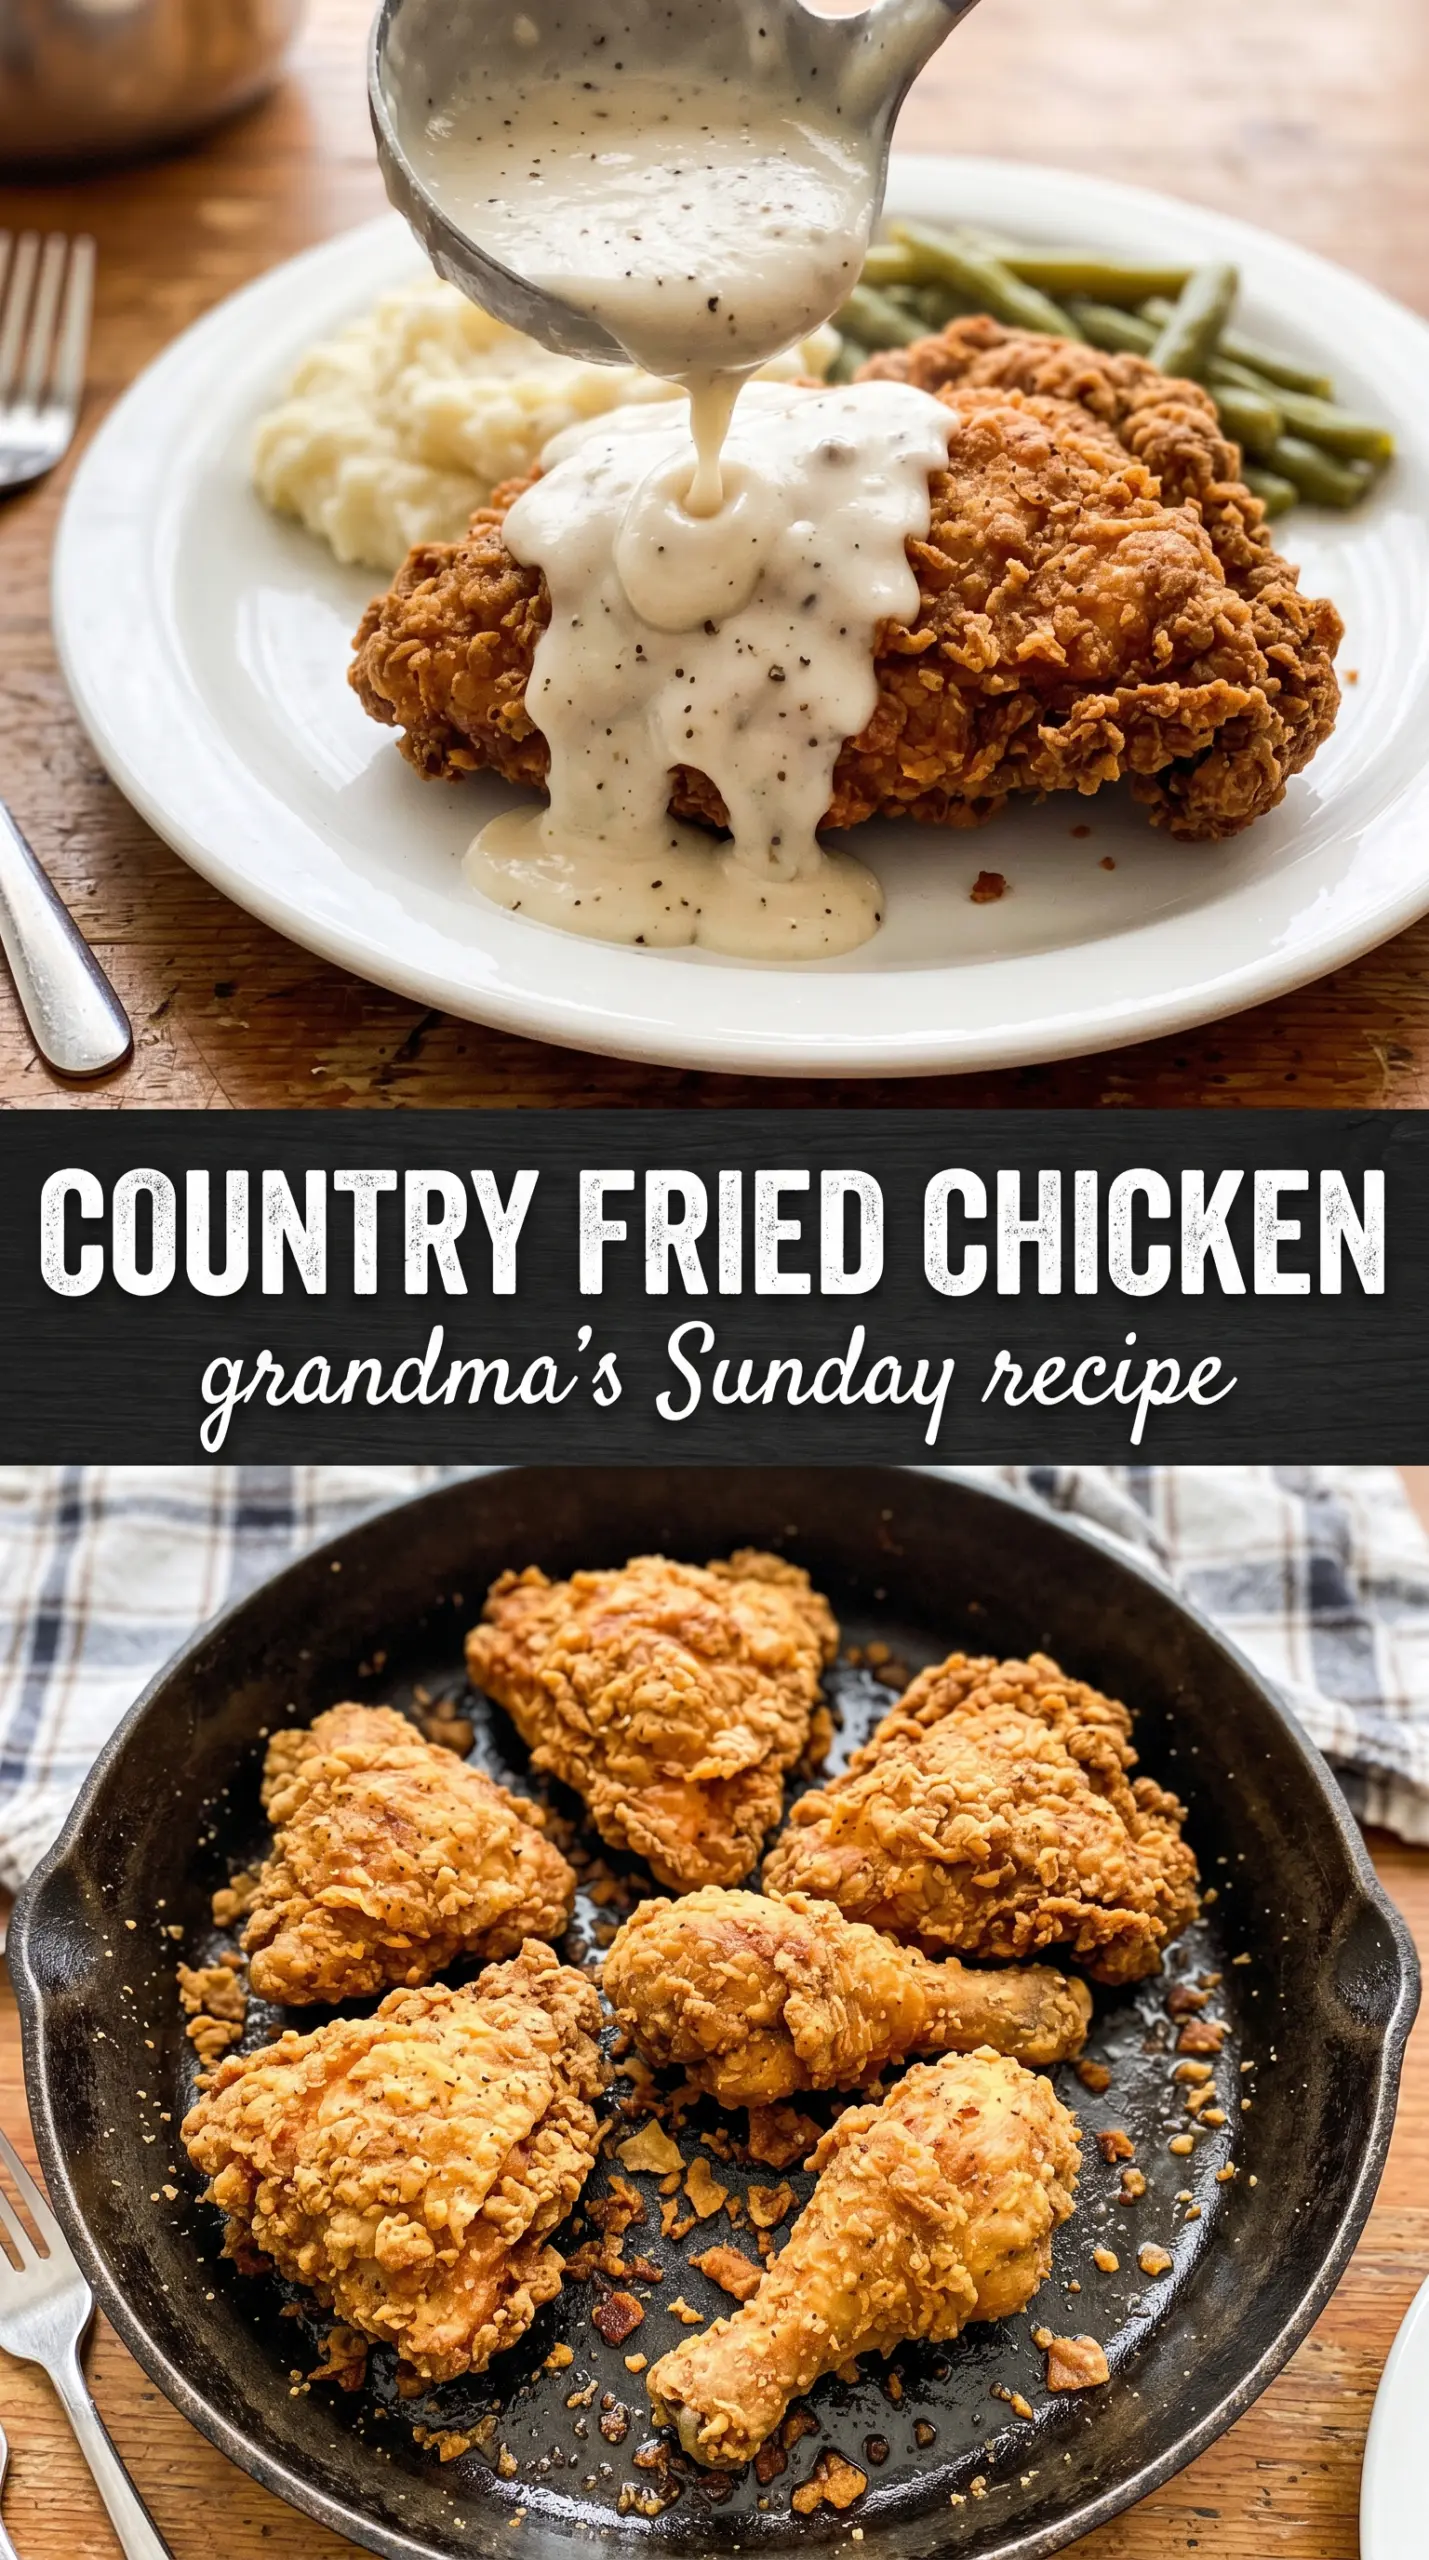
Shatteringly crisp country fried chicken starts with a coating that actually clings, not one that sloughs off the second it hits the oil. The crust turns deep golden and craggy in the skillet, while the chicken underneath stays juicy from the buttermilk soak. Poured with white country gravy, it lands on the plate the way this dish should: rich, salty, and built for a fork-and-bite dinner.
The key is the double dredge and the rest after soaking. Buttermilk tenderizes the chicken and gives the flour something to grab, while the second pass through the seasoned coating builds those rough little ridges that fry up extra crisp. Frying at 350°F matters too. Too cool and the breading turns greasy before it browns; too hot and the crust darkens before the meat cooks through.
Below, you’ll find the specific point where most fried chicken goes wrong, plus the small details that keep the crust crunchy and the gravy smooth. Once you’ve made it this way, the usual soggy version won’t be nearly as tempting.
The crust stayed put all the way through frying, and the gravy picked up just enough of the drippings to taste like the kind my grandma used to make.
Save this country fried chicken for the night you want extra-crispy chicken with white gravy and a plateful of old-fashioned comfort.
The Coating Has to Stick Before It Can Crisp
Country fried chicken falls apart when the flour layer is weak or damp. The buttermilk should leave the chicken tacky, not dripping, and the seasoned flour needs to be pressed on firmly so it forms a real shell. That second dip-and-dredge is what gives you the rough, pebbly surface that fries into crisp ridges instead of a smooth, floury skin.
The other mistake is overcrowding the skillet. When too many pieces go in at once, the oil temperature drops and the crust starts absorbing fat instead of sealing. Give each piece breathing room and let the color develop slowly to a deep golden brown before turning it.
What Each Ingredient Is Doing in the Pan
- Buttermilk — This is what tenderizes the chicken and helps the flour cling. Regular milk won’t give the same tang or thickness, so if you swap, mix 2 cups milk with 2 tablespoons lemon juice or vinegar and let it sit 5 minutes before using.
- Hot sauce — It won’t make the chicken spicy in a loud way. It just adds a little back-note of heat and acidity that keeps the coating from tasting flat.
- Smoked paprika, garlic powder, onion powder, cayenne, black pepper — These season the flour all the way through, so the crust tastes good even before gravy hits it. Freshly cracked pepper gives the best bite here; the rest can be pantry-staple versions.
- Bone-in chicken pieces — Bone-in thighs and breasts stay juicier during frying than boneless pieces. If you use boneless chicken, cut the frying time way down and watch the temperature closely so the coating doesn’t burn before the center cooks.
- Pan drippings — They give the gravy its real fried-chicken flavor. If you don’t have enough, top it up with a little extra oil, but don’t skip the drippings entirely if you want that classic taste.
- Whole milk — It makes a gravy that tastes round and rich. Lower-fat milk will work, but the sauce will be thinner and less velvety.
Frying the Chicken Until the Crust Turns Shattery
Soaking the Chicken
Submerge the chicken in buttermilk mixed with hot sauce and let it sit at least 30 minutes, or overnight if you have time. The surface should look fully coated and a little swollen from the soak. If the pieces go into the flour dry in spots, the breading won’t grip evenly and you’ll get bald patches after frying.
Building the Flour Shell
Whisk the flour with all the seasonings in a shallow dish, then lift each piece from the buttermilk and let the excess drip off for a few seconds. Press the chicken into the flour hard enough to pack on a thick layer, then dip it back into the buttermilk and flour again. The surface should look shaggy and rough; that uneven texture is what gives you extra crunch in the fryer.
Frying at the Right Heat
Heat 2 to 3 inches of oil to 350°F in a cast iron skillet. If you don’t have a thermometer, a pinch of flour should sizzle immediately without smoking hard, but the thermometer is the better move here. Fry the chicken in batches, turning once, until the crust is a deep golden brown and the thickest part reaches 165°F. If the outside is browning too fast, lower the heat a little; if it looks pale and the pan feels quiet, the oil isn’t hot enough.
Turning the Drippings Into Gravy
Pour off most of the oil, leaving 2 tablespoons of drippings in the skillet. Whisk in flour and cook it for a minute to lose the raw taste, then slowly whisk in milk until the gravy looks smooth and begins to thicken. If it turns lumpy, the milk went in too fast or the heat was too high; pull the pan down a notch and whisk steadily until it smooths out.
How to Change the Dish Without Losing the Crunch
Dairy-Free Version
Use unsweetened plant milk mixed with a tablespoon of lemon juice for the soak, then keep the rest of the method the same. You won’t get the same tangy richness as buttermilk, but the acid still helps tenderize the chicken and gives the coating something to hold onto.
Gluten-Free Coating
Swap the all-purpose flour for a good cup-for-cup gluten-free flour blend. You still want the same double dredge and the same frying temperature, because the biggest difference with gluten-free flour is that it can brown a little faster and needs steady heat to stay crisp.
Spicier Southern-Style Chicken
Add another 1/2 teaspoon cayenne and a few extra dashes of hot sauce in the soak. That gives the crust a little more heat without changing the frying method, and the gravy softens the spice instead of fighting it.
Storage and Reheating
- Refrigerator: Store leftovers for up to 3 days. The crust will soften, but it still reheats well if you use dry heat instead of the microwave.
- Freezer: Freeze the fried chicken without gravy for up to 2 months. Wrap pieces well and thaw in the refrigerator before reheating so the coating doesn’t steam.
- Reheating: Warm on a wire rack in a 375°F oven until hot and crisp again, about 15 to 20 minutes. Microwaving makes the breading soggy, which is the fastest way to lose the texture you worked for.
Questions I Get Asked About This Recipe

Country Fried Chicken
Ingredients
Equipment
Method
- Soak the bone-in chicken pieces in buttermilk and hot sauce for at least 30 minutes or overnight, keeping the chicken fully submerged so the coating bonds well.
- While the chicken soaks, refrigerate it if soaking longer than 30 minutes to keep the coating work surface cold and controlled.
- Whisk together all seasoned flour coating ingredients— all-purpose flour, garlic powder, onion powder, smoked paprika, cayenne pepper, salt, and cracked black pepper— in a shallow dish until evenly colored.
- Remove chicken from the buttermilk, letting excess drip off, then dredge firmly in the seasoned flour to form an even crust.
- Repeat the dip-and-dredge for extra crunch by dipping back briefly in the buttermilk mixture and dredging again, pressing so the flour adheres.
- Heat 2–3 inches of vegetable oil to 350°F in a large cast iron skillet so the coating fries quickly and stays crisp.
- Fry the chicken for 10–12 minutes per side at 350°F until deeply golden and the internal temperature reaches 165°F.
- Drain the fried chicken on paper towels briefly so steam escapes and the crust shatters instead of turning soft.
- For the gravy, whisk pan drippings and flour in a skillet over medium heat for 1 minute to cook off raw flour flavor.
- Gradually whisk in whole milk and cook until thickened, stirring to keep the gravy smooth.
- Season the gravy with salt and pepper to taste, then keep it warm while the chicken finishes draining.
- Serve the chicken immediately with white gravy poured over the top so the crunchy coating stays intact while the gravy pools around the base.