Chocolate chip banana bars bake up soft, chewy, and just sturdy enough to slice cleanly once they’ve cooled. The banana keeps the crumb tender without turning the bars cakey, and the chocolate chips melt into little pockets that make each bite taste richer than a basic banana snack cake. The top turns golden and lightly crinkled, which is exactly what you want here.
The trick is keeping the batter in the sweet spot between overmixed and underbaked. Softened butter and brown sugar whip together into a light base that helps the bars stay tender, while the mashed bananas bring moisture and body. A short bake time matters, too. Pull them when the center is set and the edges are just turning golden, then let them cool all the way before cutting so the bars hold their shape.
Below, you’ll find the small details that make these bars work every time, plus a few smart variations if your bananas are extra ripe or you want to adjust them for different diets.
The bars were soft in the middle with crisp edges, and the chocolate stayed melty even after they cooled. I used very ripe bananas and they came out perfectly sweet without tasting heavy.
Save these chocolate chip banana bars for when your bananas are spotted and you want a soft, chewy dessert with melted chocolate in every bite.
The Reason These Banana Bars Stay Soft Instead of Dry
The biggest mistake with banana bars is treating them like cake. They’re meant to be dense enough to cut into squares but still soft and tender, and that balance comes from the way the fat, sugar, and bananas work together. Creaming the butter and brown sugar first traps a little air, which keeps the crumb from turning heavy, but the bananas and chocolate chips add enough moisture that the bars stay plush after baking.
Overbaking is what dries them out fastest. Banana bars look finished before the center is fully set, so the edges should be lightly golden and the middle should spring back when touched without feeling wet. If you wait until the whole pan looks deeply browned, the texture will go past chewy and land in dry.
- Brown sugar brings moisture and a soft, caramel note that plain white sugar can’t match.
- Softened butter gives the bars their rich, tender crumb. Melted butter changes the texture and makes them denser.
- Very ripe bananas matter here. They should be heavily speckled and mash easily; under-ripe bananas taste flat and won’t blend into the batter as smoothly.
- Chocolate chips are divided so some melt into the batter and some stay on top for that glossy finish.
What Each Ingredient Is Doing in These Bars
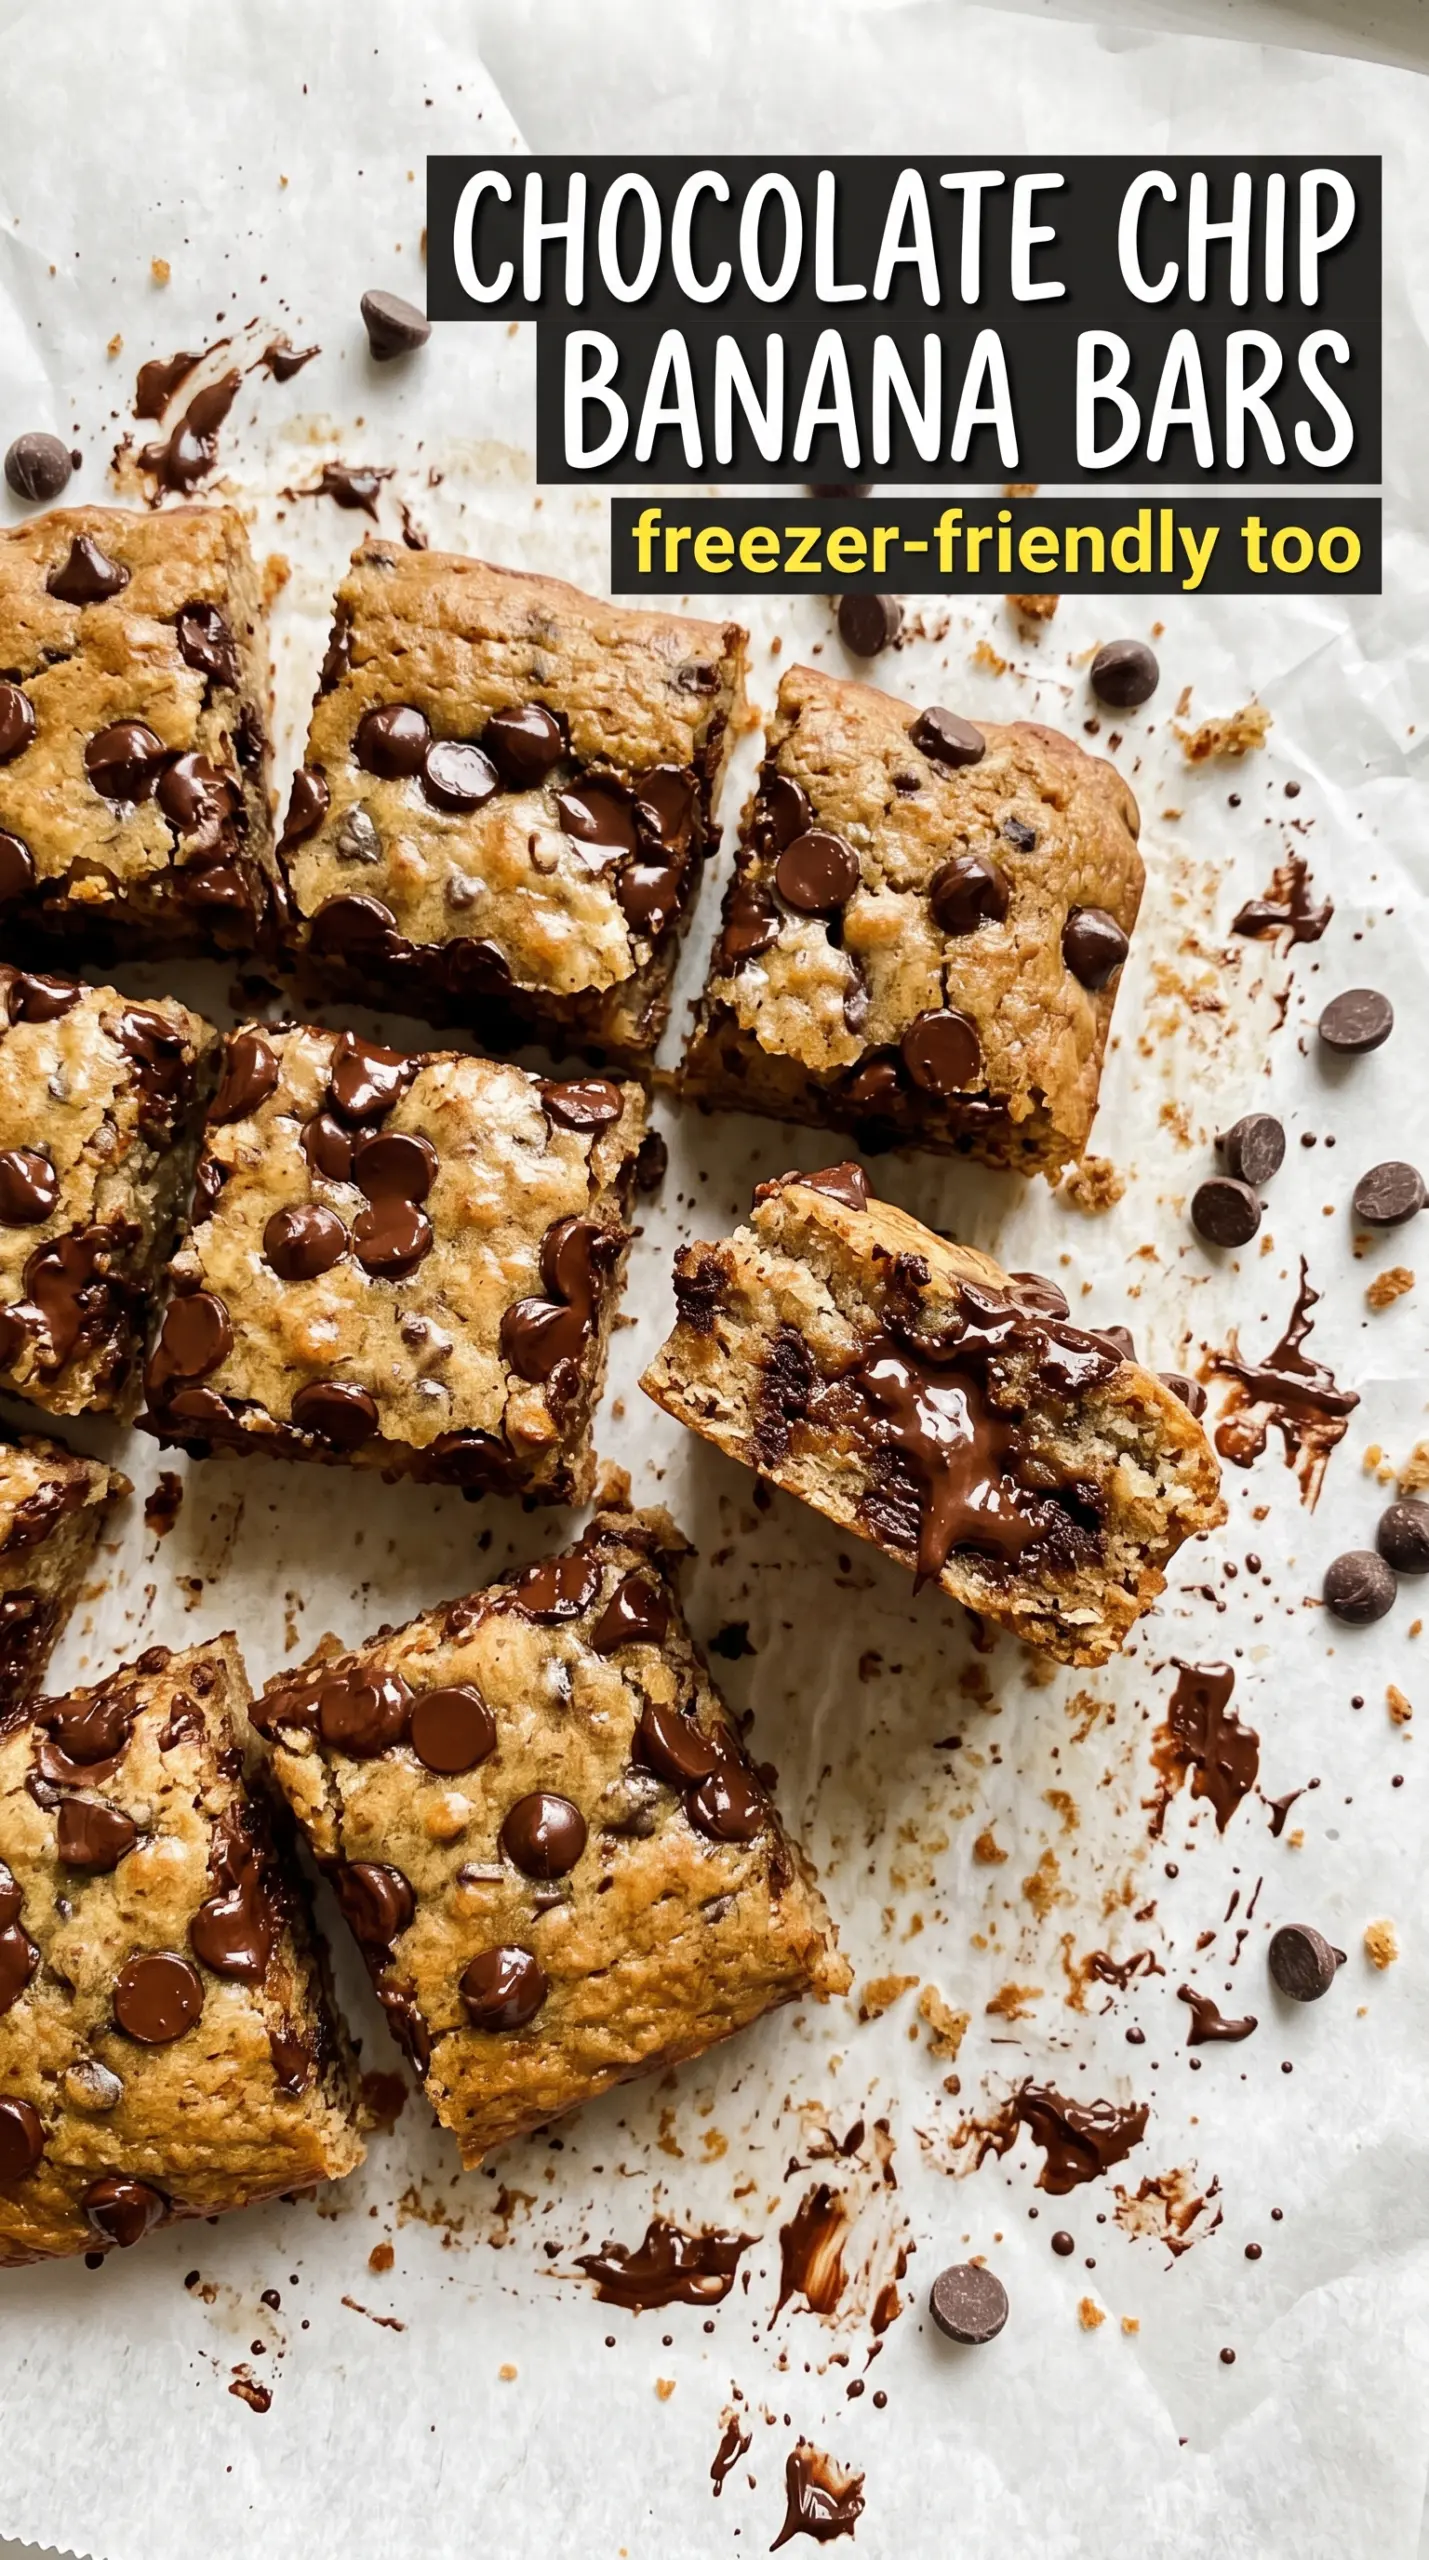
- Bananas do more than flavor the bars. They add moisture, natural sweetness, and that soft, almost fudgy texture in the crumb. If your bananas are on the smaller side, mash them and measure by volume if possible so the batter doesn’t get too dry.
- Butter gives the bars their bakery-style richness. You want it softened, not melted, so it can cream properly with the sugar.
- Brown sugar keeps the crumb tender and deepens the flavor. Dark brown sugar will give you a slightly more molasses-heavy finish if that’s what you have on hand.
- Flour, baking soda, and cinnamon set the structure and round out the banana flavor. The baking soda reacts with the bananas and brown sugar to help the bars rise without becoming cakey, and the cinnamon keeps the sweetness from tasting one-note.
- Semi-sweet chocolate chips work best because they balance the sweet banana base. Milk chocolate makes the bars sweeter, while dark chocolate gives a less sugary finish.
Getting the Batter Into the Pan Without Losing the Texture
Creaming the Butter and Sugar
Beat the softened butter and brown sugar until the mixture looks lighter in color and fluffy around the edges. That takes about 2 to 3 minutes with a hand mixer, and it’s the step that gives the bars a tender bite instead of a heavy, greasy one. If the butter is too cold, the sugar won’t blend properly; if it’s melted, you’ll lose the structure that helps the bars bake up evenly.
Bringing in the Bananas
Stir the mashed bananas into the creamed base until the batter looks loose and evenly speckled. The mixture may look a little curdled at this point, and that’s normal. Don’t keep mixing until it looks smooth again, because the flour will bring everything together later and overworking it here only makes the bars tougher.
Folding the Dry Ingredients
Add the flour, baking soda, salt, and cinnamon, then fold just until the last streaks of flour disappear. A few dry spots around the edge are better than a fully beaten batter, because too much mixing develops gluten and gives you a firmer, breadier bar. Fold in one cup of chocolate chips here so they distribute throughout the batter without sinking.
Finishing and Baking
Spread the batter evenly into a greased or parchment-lined 9×13 pan and scatter the remaining chocolate chips over the top. Bake at 350°F until the top is golden and the center no longer looks wet, usually 18 to 22 minutes. If a toothpick comes out with melted chocolate but no raw batter, that’s the cue to pull the pan; then let it cool completely so the bars slice cleanly.
How to Adapt These Bars for Different Pans and Pantry Swaps
Make Them Gluten-Free
Swap the all-purpose flour for a good 1:1 gluten-free baking blend with xanthan gum already included. The bars will still be soft and chewy, though the crumb may be a touch more fragile when warm, so give them extra time to cool before slicing.
Dairy-Free Version
Use a plant-based butter that behaves like stick butter and check that your chocolate chips are dairy-free. The bars will still bake up tender, but the flavor will be a little less rich than the original, so don’t skimp on the vanilla or the cinnamon.
Turn Them Into Extra-Chocolate Bars
Swap half the semi-sweet chips for chopped chocolate bars. The chopped chocolate melts into bigger puddles, which gives you a gooier bite and a more dramatic top, but the bars will need the full cooling time before cutting.
Storage and Reheating
- Refrigerator: Store in an airtight container for up to 5 days. The bars will firm up a little in the fridge, but they stay soft once they come back to room temperature.
- Freezer: These freeze well. Wrap individual bars tightly and freeze for up to 2 months, then thaw at room temperature.
- Reheating: Warm a bar in the microwave for 10 to 15 seconds if you want the chocolate chips soft again. Don’t overheat it or the crumb turns dry and the chocolate can go from melty to greasy fast.
Answers to the Questions Worth Asking
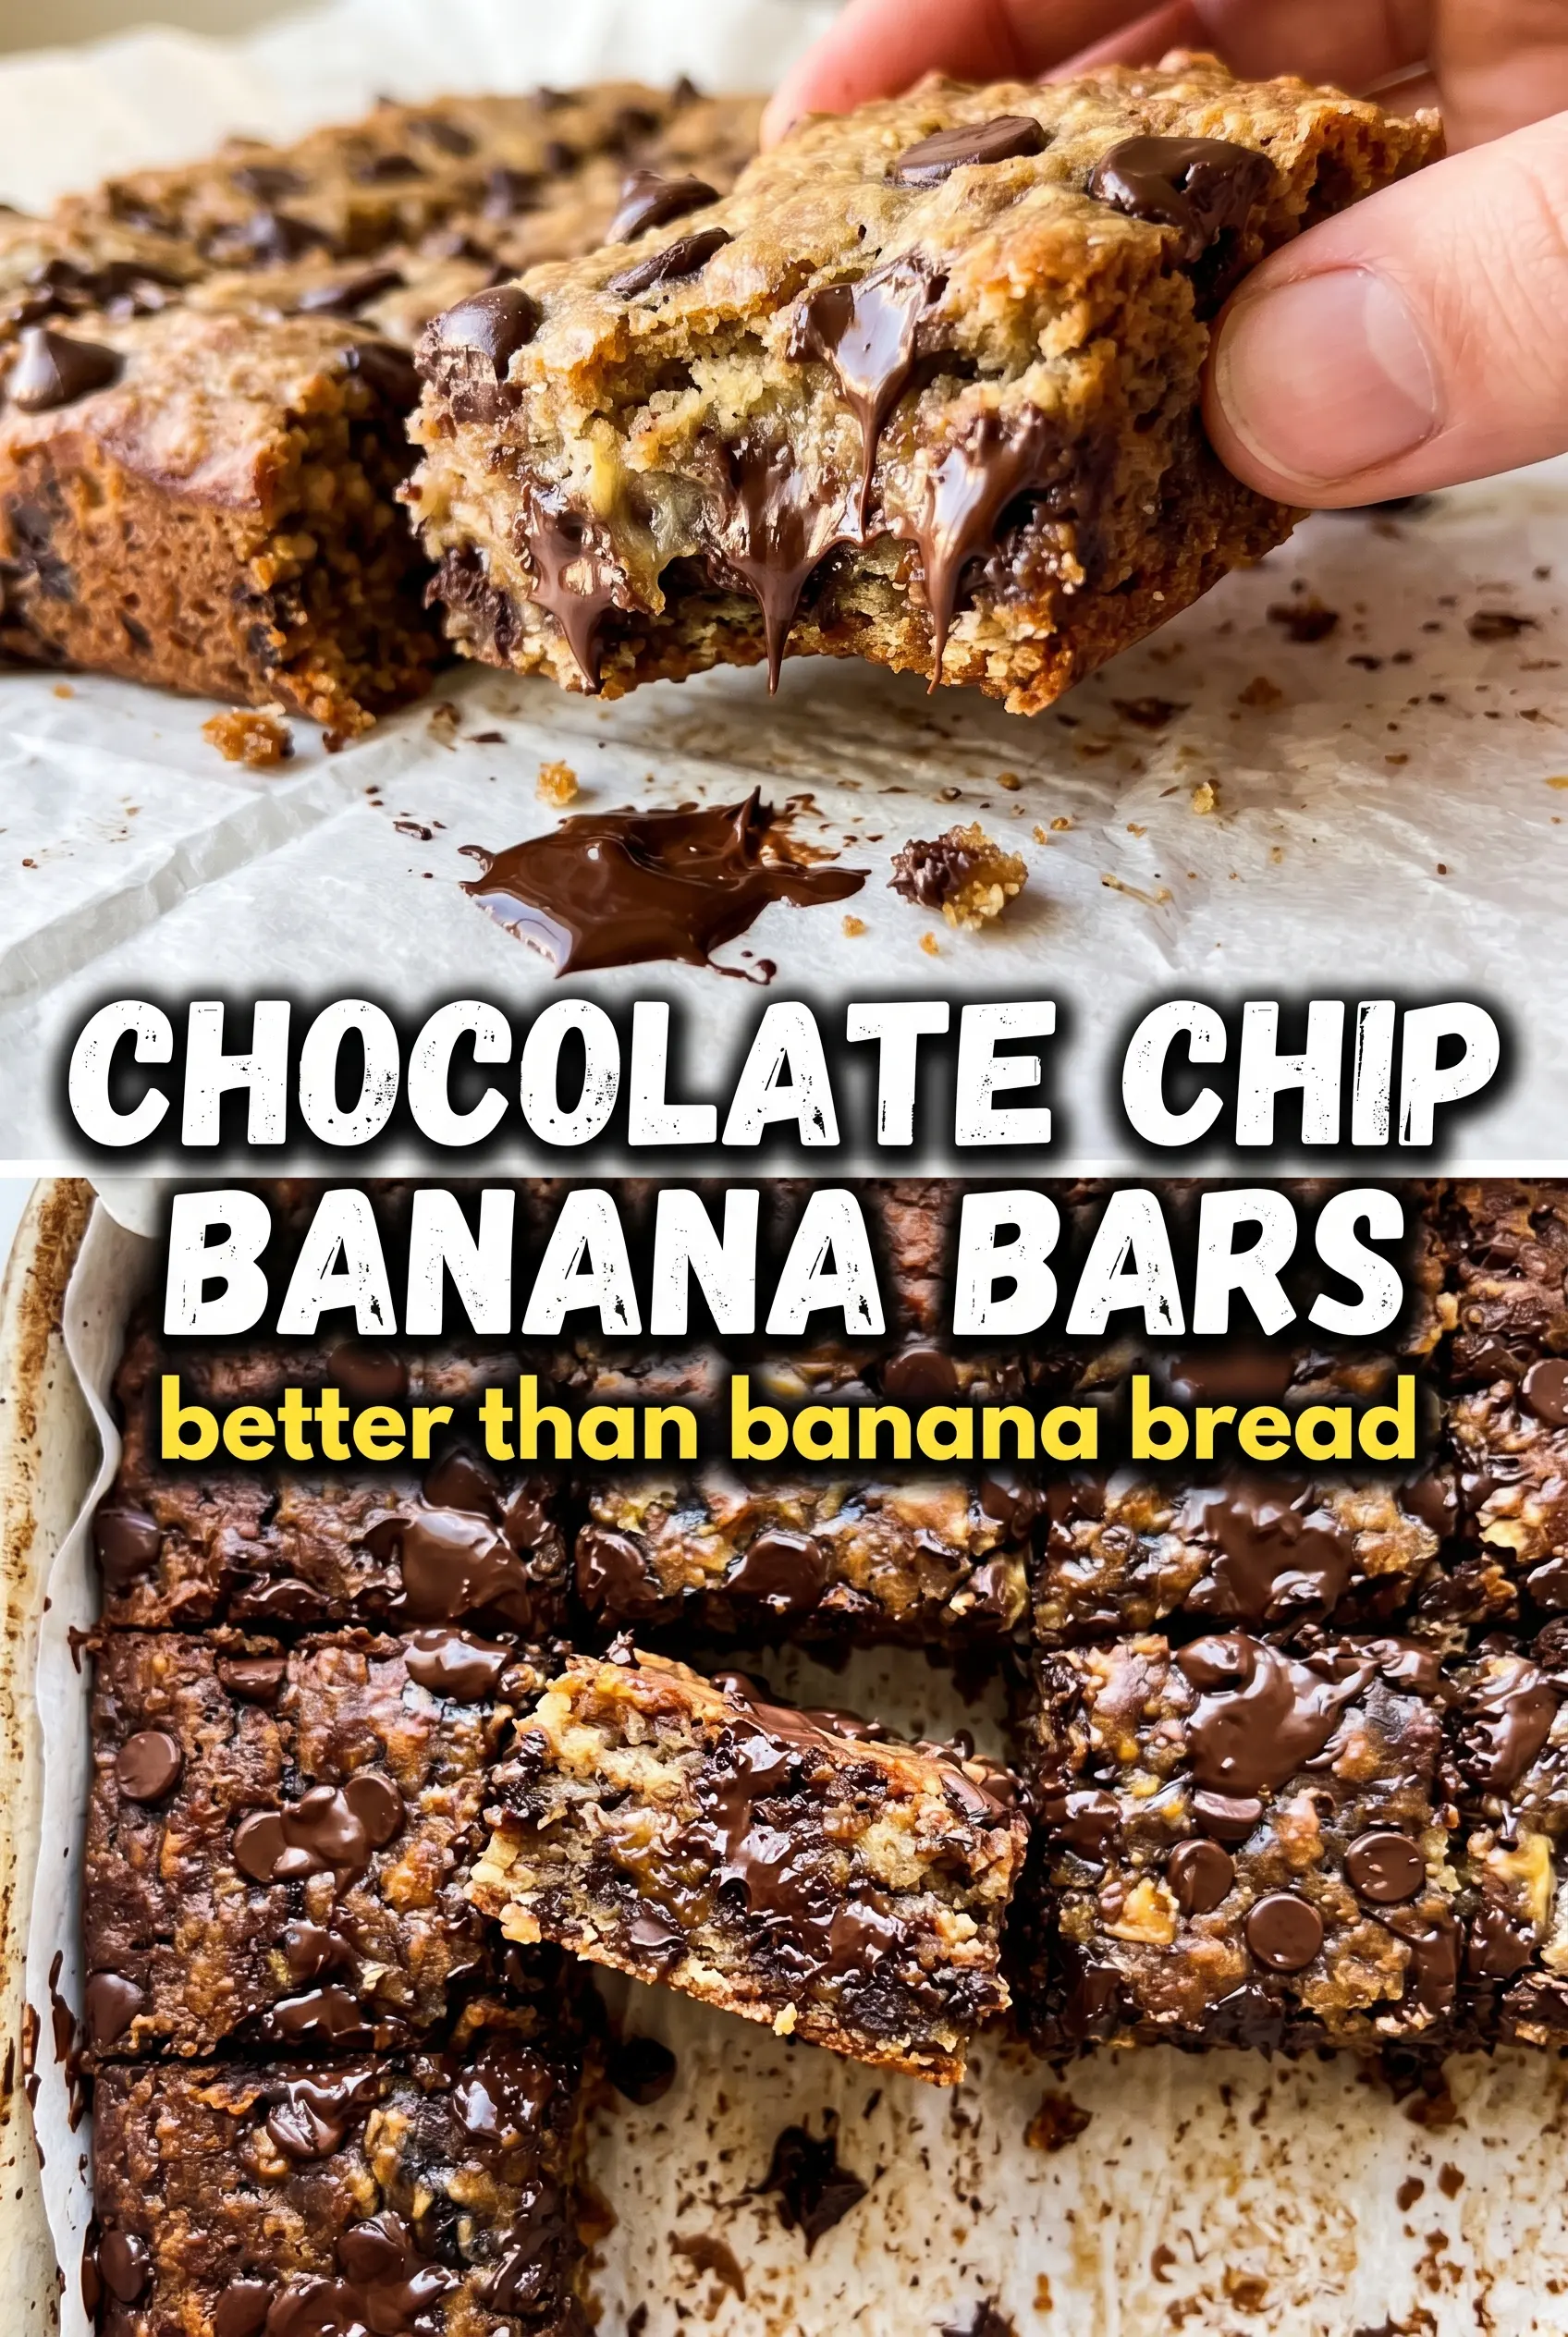
Chocolate Chip Banana Bars
Ingredients
Equipment
Method
- Preheat the oven to 350°F and grease a 9x13 baking pan or line with parchment for easy release.
- Beat the softened butter and brown sugar together until light and fluffy, then beat in the egg and vanilla.
- Stir in the mashed bananas until fully incorporated and the mixture looks smooth and cohesive.
- Fold in the flour, baking soda, salt, and cinnamon until just combined, then fold in 1 cup of chocolate chips.
- Spread the batter evenly into the pan and scatter the remaining chocolate chips across the top so they sit visibly on the surface.
- Bake for 18–22 minutes at 350°F until the top is golden and a toothpick comes out clean.
- Cool completely before cutting into bars so the centers set and the chocolate chips stay intact.