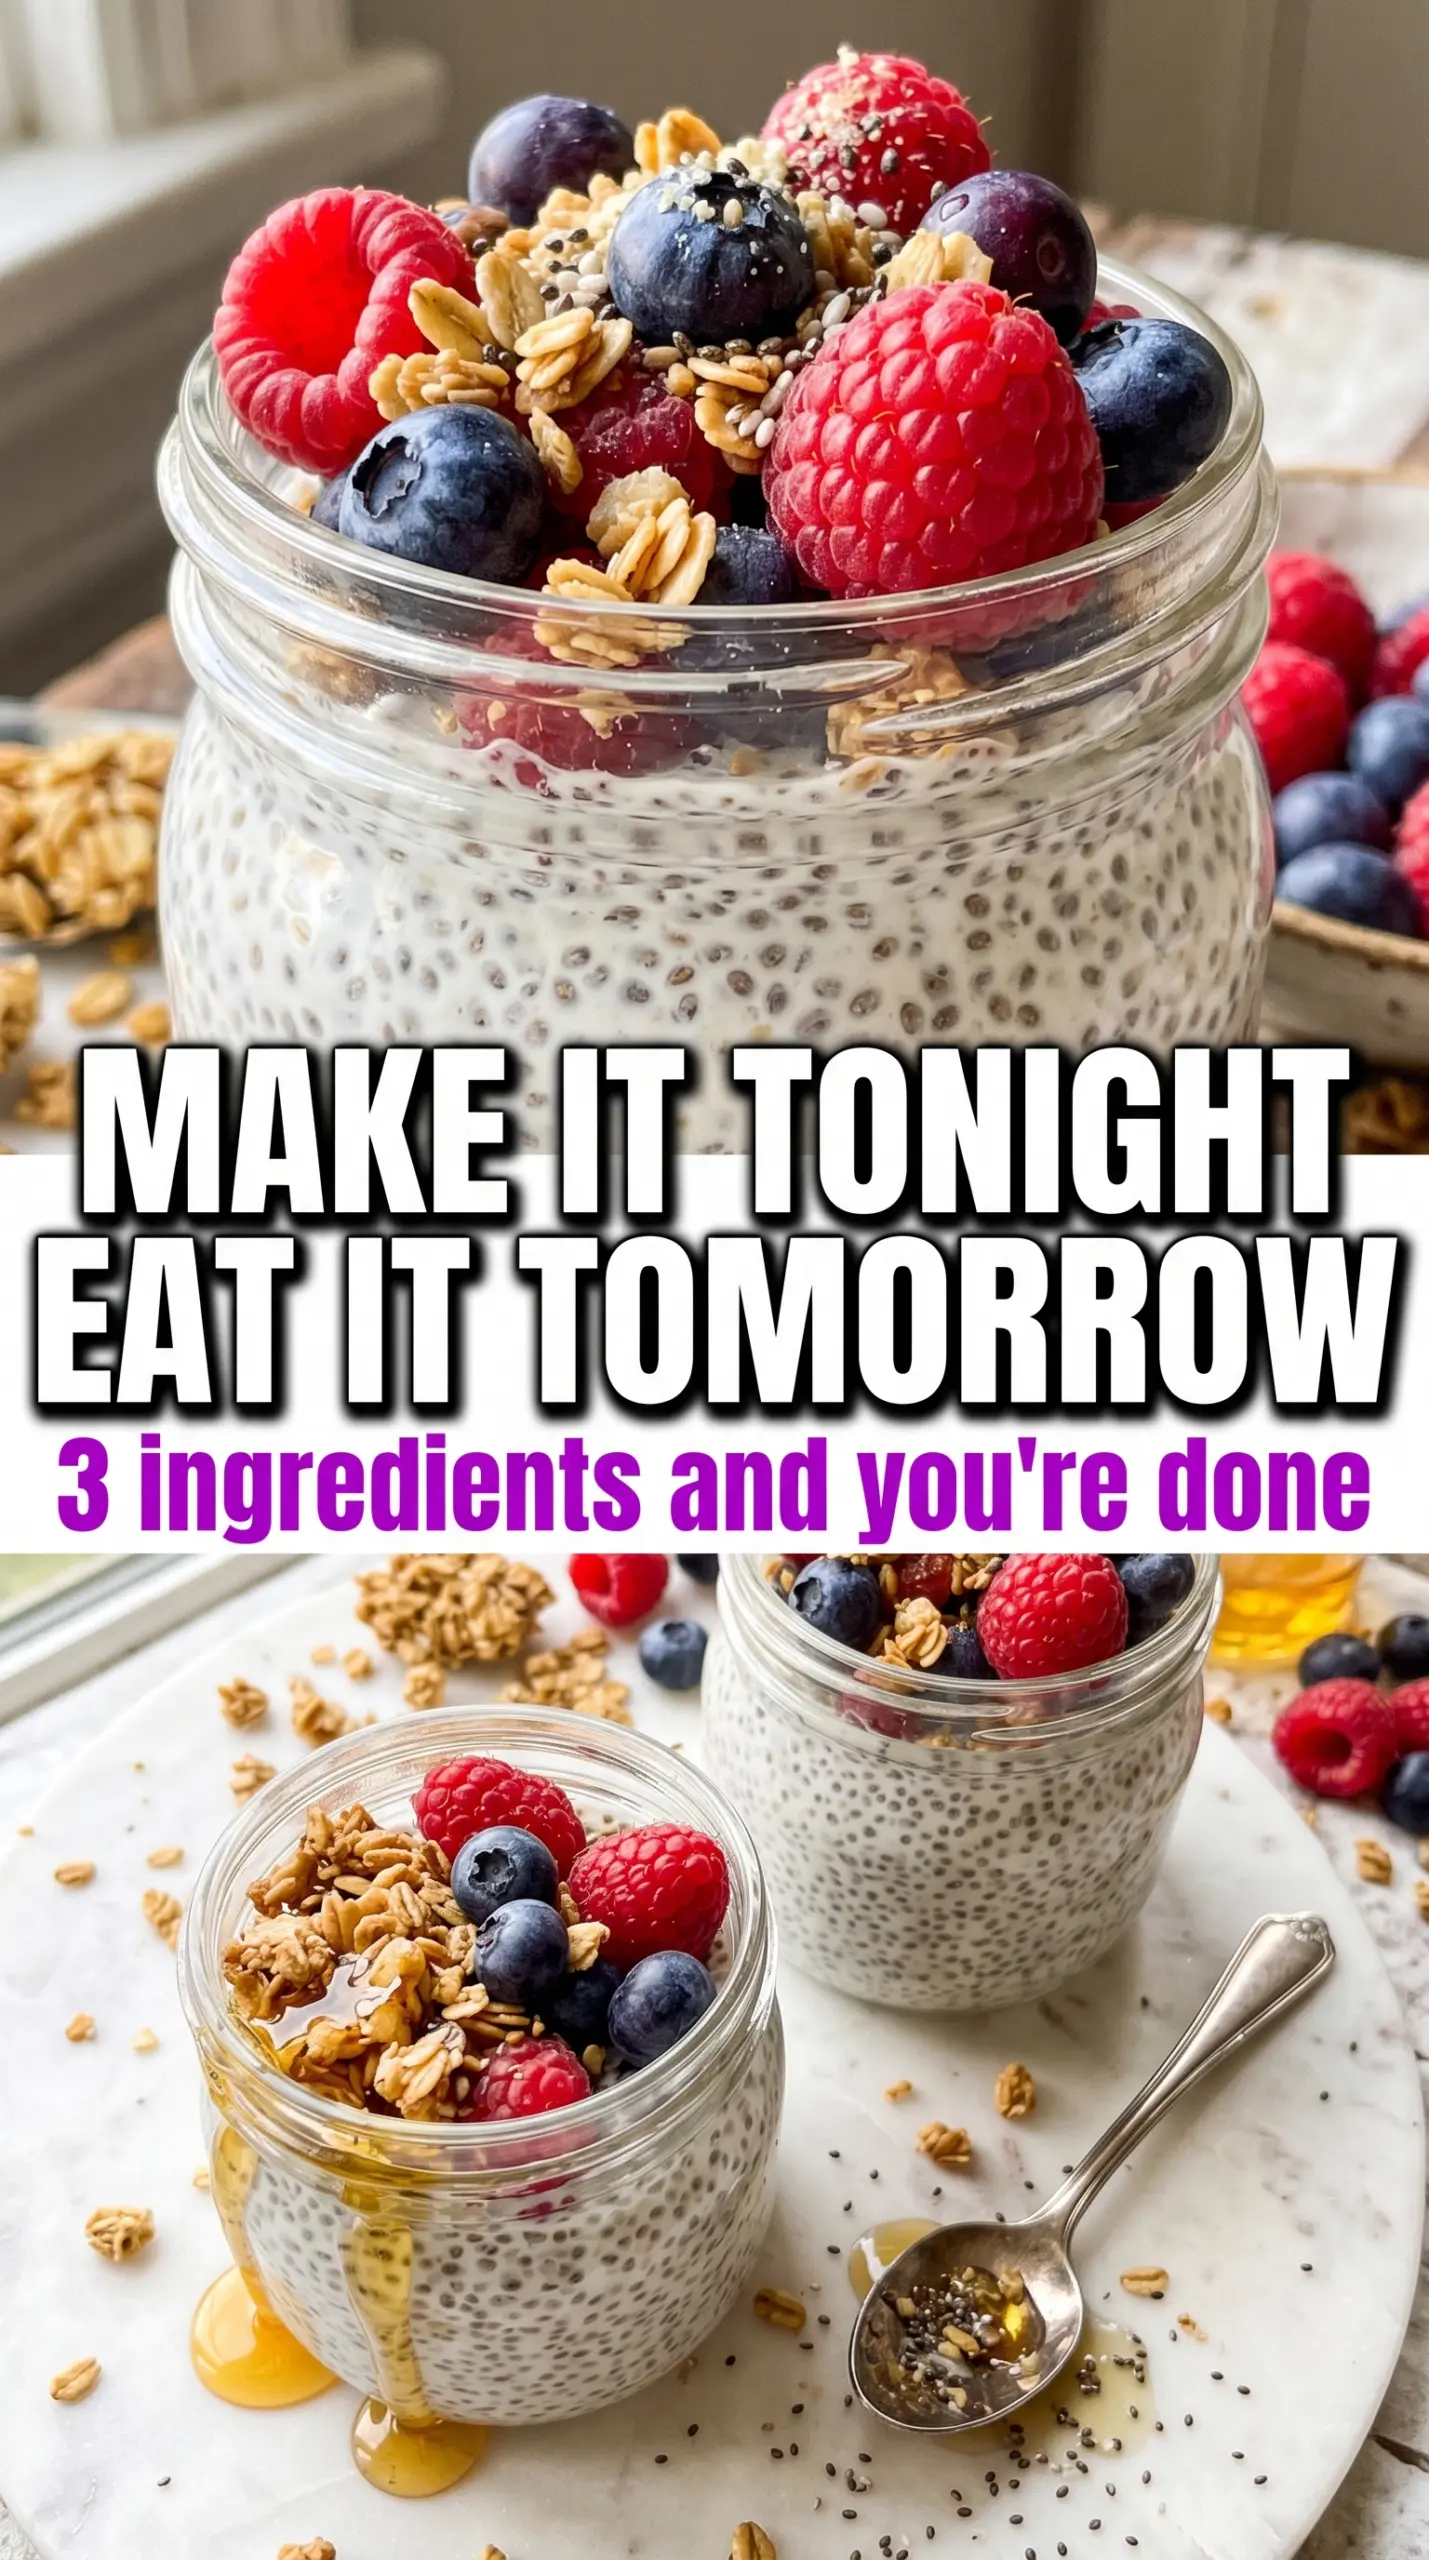
Thick, creamy chia seed pudding earns its spot in the fridge because it turns a handful of pantry ingredients into something that eats like a real breakfast. The texture is the whole point here: soft and spoonable, with tiny chia beads suspended through the milk instead of sinking into a gummy layer at the bottom. When it’s mixed the right way and given enough time, it sets up cleanly and tastes lightly sweet, vanilla-forward, and fresh enough to carry fruit and granola without getting lost.
The trick is not fancy. It’s giving the seeds a chance to hydrate evenly before they clump together, then stirring again after a few minutes when the first round of thickening starts. Coconut milk makes the pudding richer and more dessert-like, while any plant-based milk keeps it lighter and still fully dairy-free. A little maple syrup, vanilla, and salt do more work than people expect; without that pinch of salt, the pudding can taste flat even when it’s sweetened.
Below, I’ve included the small timing detail that keeps the texture smooth, plus the swaps that still set properly when you don’t have coconut milk on hand.
I used coconut milk and the texture was spot on after overnight chilling. The second stir made a big difference — no clumps, just a thick, creamy pudding that held up under strawberries and granola.
Like this vanilla chia seed pudding? Save it to Pinterest for an easy make-ahead breakfast with creamy texture and fresh fruit layers.
The Stir That Keeps Chia Pudding Smooth Instead of Clumpy
Chia seeds start thickening fast, which is exactly why one quick stir at the beginning isn’t enough. If you walk away right after mixing, the seeds on the outside of the bowl can gel before the ones in the middle have a chance to hydrate, and that’s how you end up with a lumpy jar and a watery pocket underneath. The second stir after five minutes breaks that pattern before it sets in.
That rest time also gives you a chance to judge the texture early. If it already looks like wet cement after five minutes, the pudding will be too stiff after chilling and you can add a splash more milk before it goes in the fridge. If it still looks loose, don’t panic; chia pudding always looks thinner than it will eat once it’s had a few hours to set.
What Each Ingredient Is Actually Doing in This Bowl
- Chia seeds — These are the engine of the recipe. They absorb liquid and build the pudding’s body, so old or stale seeds can take longer to thicken and sometimes set less evenly.
- Coconut milk or plant-based milk — Coconut milk gives you a richer, more spoonable pudding with a little more body. Almond, oat, or soy milk all work, but thinner milks give a lighter set and a less creamy finish.
- Maple syrup or honey — This adds just enough sweetness to make the vanilla and fruit taste brighter. Maple syrup keeps the pudding fully vegan; honey works the same way if that’s what you keep on hand.
- Vanilla extract — Vanilla gives the pudding that custard-like aroma people expect from a creamy breakfast bowl. Skip imitation vanilla if you can; the flavor is thin and can taste sharp against the chia.
- Fresh fruit and granola — These aren’t just garnish. Fruit adds juice and brightness, while granola gives the soft pudding something crunchy to contrast with.
How to Build the Pudding So It Sets Thick and Creamy
Mix Everything Before the Seeds Start Setting
Whisk the chia seeds, milk, sweetener, vanilla, and salt together until the seeds are evenly suspended. A jar works fine, but a bowl makes it easier to see whether any chia is sticking to the bottom or sides. The goal here is no dry pockets and no clumps hiding under the surface.
Use the Five-Minute Stir
Let the mixture sit for five minutes, then whisk again. This is the stage people skip, and it’s the reason many chia puddings end up uneven. By then, the seeds that were floating near the top have started to gel, so stirring again redistributes them before the mixture can lock into place.
Chill Until the Texture Turns Spoonable
Cover the bowl or jar and refrigerate for at least four hours, though overnight gives the most reliable set. You’re looking for a texture that mounds on a spoon and jiggles slightly when stirred, not a loose drinkable mixture. If it seems too thick after chilling, stir in a small splash of milk until it loosens.
Layer and Top Right Before Serving
Spoon the pudding into glasses or bowls and top with fruit, granola, and a little honey. If you add the granola too early, it softens and loses the crunch that makes the bowl feel finished. For the cleanest layers in a jar, add fruit first, then pudding, then a final handful of granola on top.
How to Change the Bowl Without Losing the Set
Dairy-Free and Naturally Vegan
Use maple syrup instead of honey and stick with coconut, almond, oat, or soy milk. Coconut milk gives the thickest, most dessert-like result, while almond milk makes a lighter pudding that still sets well.
Thicker, Dessert-Style Pudding
Use full-fat coconut milk for the richest texture and let it chill overnight. The pudding will be denser and creamier, which works especially well if you’re layering it with tart fruit.
Lower-Sugar Version
Cut the sweetener back to 1 to 2 teaspoons and lean on ripe fruit for the rest of the sweetness. The pudding will taste less dessert-like but still set the same way.
Storage and Reheating
- Refrigerator: Store covered for up to 4 days. It thickens a little more as it sits, so you may need to loosen it with a splash of milk before eating.
- Freezer: It doesn’t freeze well as a finished pudding; the texture turns icy and loose after thawing. If you want to prep ahead, mix the dry chia seeds into portioned jars, then add milk later.
- Reheating: Not needed. Chia pudding is best served cold, and heating it can make the texture grainy and uneven.
Answers to the Questions Worth Asking
Chia Seed Pudding
Ingredients
Equipment
Method
- Whisk chia seeds, coconut milk (or plant-based milk), maple syrup (or honey), vanilla extract, and salt together in a bowl or jar until fully combined. Stop when no dry chia spots remain and the mixture looks evenly speckled.
- Let the mixture sit for 5 minutes, then whisk again to prevent clumping. You should see a smooth, pourable texture with chia beads beginning to suspend.
- Cover and refrigerate for at least 4 hours or overnight until thick and pudding-like. The mixture should hold shape when you stir and look creamy rather than watery.
- Stir before serving and thin with a splash of milk if desired. Stop once the texture is thick but spoonable, not runny.
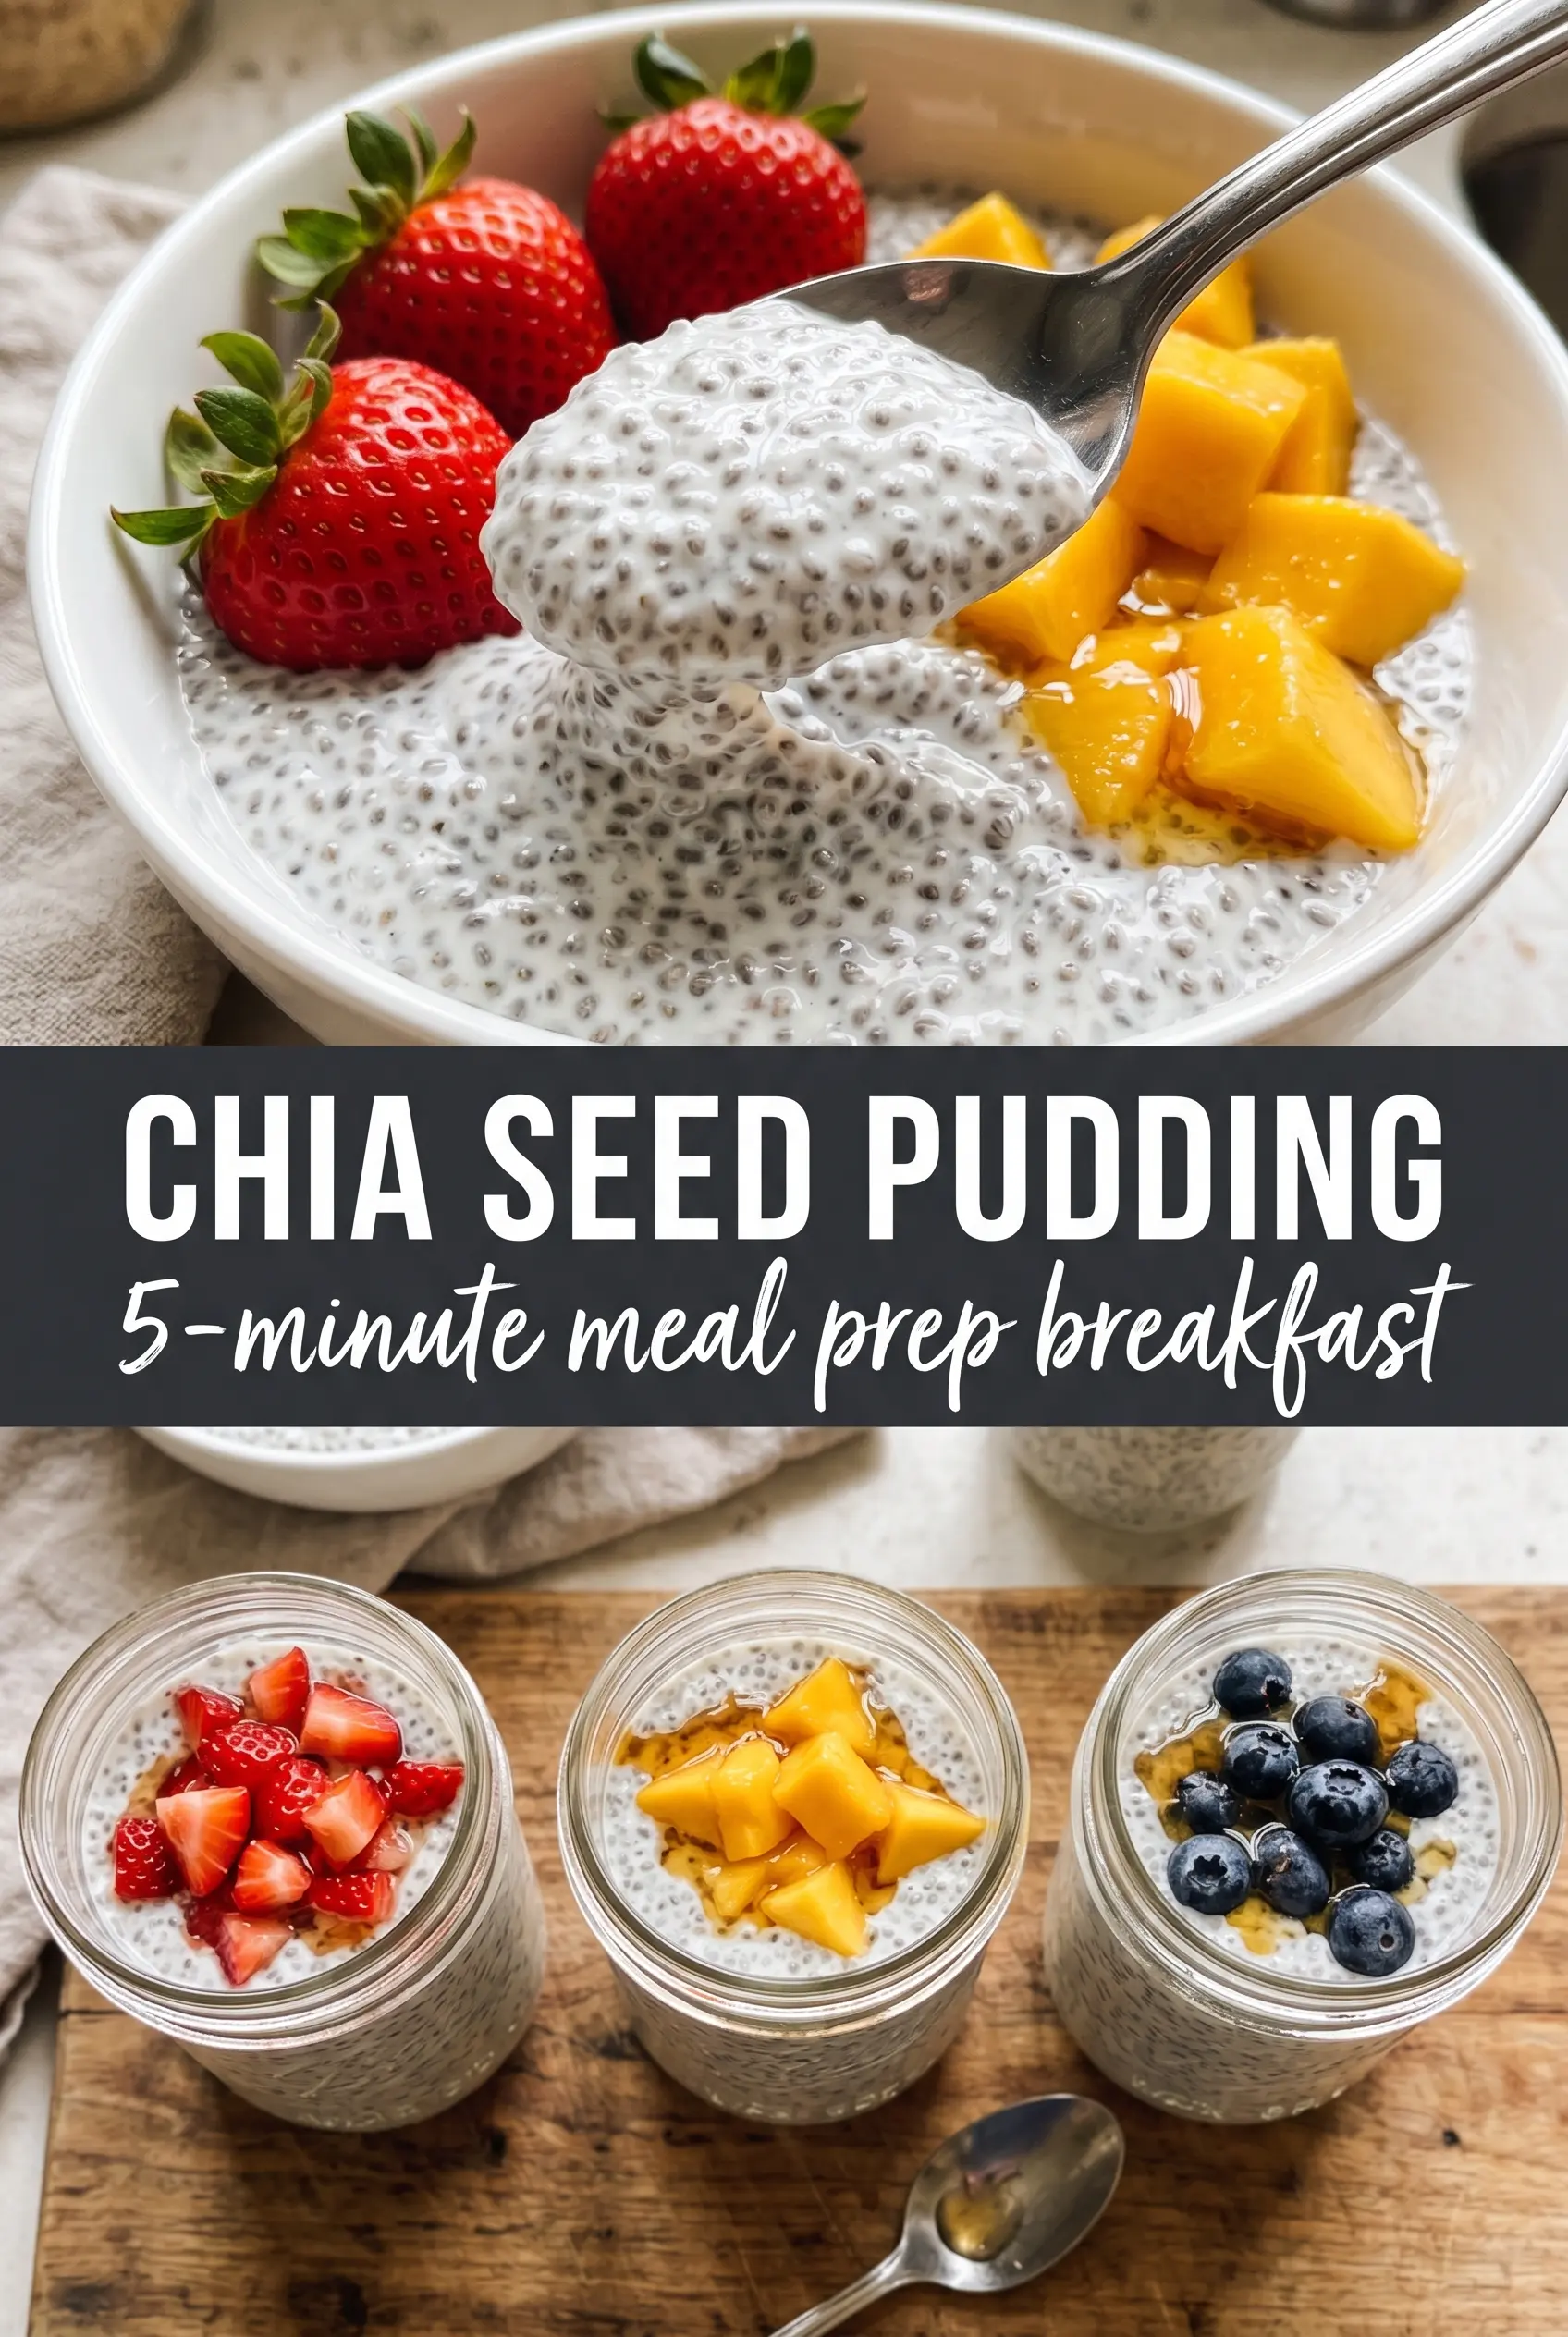
- Spoon the chia pudding into serving glasses or bowls. Keep layers visible so the thick pudding looks set through the glass.
- Top with fresh fruit, granola, and a drizzle of honey. Finish right before eating so the granola stays crisp.