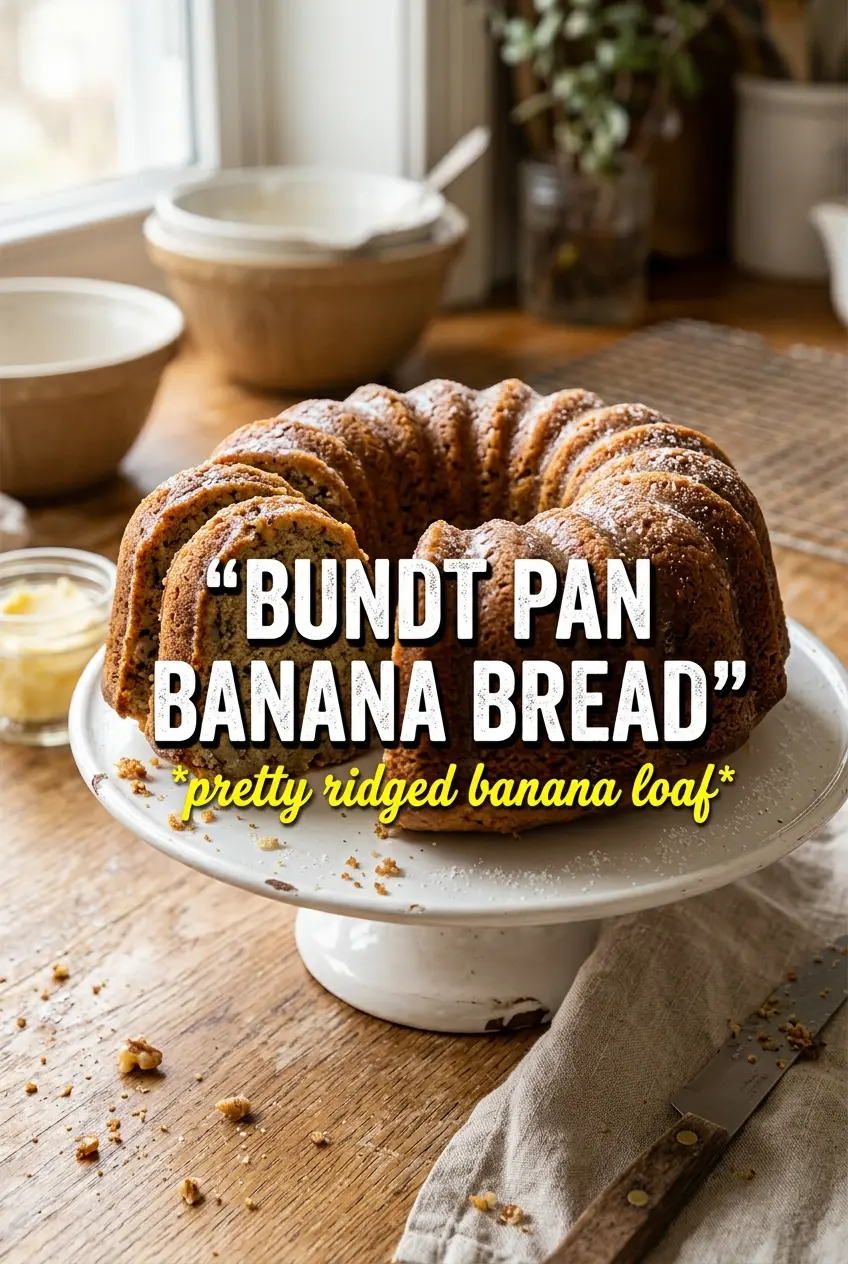
Bundt pan banana bread bakes up with a deeper, more dramatic crust than a standard loaf, and that shape gives every slice a little extra edge and tenderness at the center. The ridges catch the vanilla glaze, so the finished bread looks like something you worked much harder on than you did. It still has all the comfort people want from banana bread, just with a cleaner slice and a prettier finish.
The trick is treating the batter gently and preparing the pan with real care. A bundt pan has more surface area and more detail than a loaf pan, which means every nook needs a solid coat of butter and flour or the bread will cling in the wrong places. Sour cream keeps the crumb soft without making it heavy, and mashed bananas bring enough moisture that you don’t need to overmix to get a smooth batter.
Below, you’ll find the small details that keep the crumb tender, the glaze smooth, and the bundt release intact. The pan is the point here, but the batter still needs the same calm hand that makes any good banana bread worth baking again.
The glaze settled into every ridge and the crumb stayed moist for days. I was worried the bundt pan would be fussy, but it released cleanly after 15 minutes and looked gorgeous on the plate.
Love the dramatic ridges and vanilla glaze on this bundt pan banana bread? Save it to Pinterest for a banana loaf that slices clean and looks bakery-worthy.
The Bundt Pan Trap That Ruins the Shape Before It Starts
A bundt pan banana bread can look finished before it’s even baked, but the shape only pays off if the batter is thick enough to hold the ridges and soft enough to bake through evenly. Too much flour and the cake turns dry before the center sets. Too little prep on the pan and the prettiest loaf in the oven will break apart on the way out.
The other mistake is overmixing after the flour goes in. Banana bread batter should look a little rough when it goes into the pan; that is what keeps the crumb tender instead of tight. Tap the filled pan on the counter once or twice to knock out big air pockets, then leave it alone and let the oven do the work.
What Each Ingredient Is Actually Doing in This Bundt Banana Bread
- Ripe bananas — You want bananas with deep brown speckles, or even mostly black skins, because that softness brings sweetness and moisture. Under-ripe bananas make the bread bland and dry, and no amount of glaze fixes that.
- Butter — Melted butter gives the loaf a richer flavor than oil and helps the crumb stay tender without making it greasy. If you swap in oil, the texture will be softer but a little less flavorful and less fragrant.
- Sour cream — This is the ingredient that keeps the bread plush in a bundt pan, which bakes a little more boldly on the edges than a loaf pan. Plain Greek yogurt works in a pinch, but use full-fat yogurt so you don’t lose the same creamy body.
- Baking soda — It reacts with the bananas and sour cream to lift the batter and give the bread a lighter crumb. If your bananas are under-ripe, the rise can be weaker because there isn’t enough natural acidity and sweetness working together.
- Cinnamon — It doesn’t shout here; it just rounds out the banana and vanilla so the bread tastes fuller. You can leave it out, but the finished loaf will taste flatter.
- Walnuts — Optional, but they add crunch and a little bitterness that keeps each slice from tasting one-note. Toast them first if you want the nut flavor to stand out more.
How to Get a Clean Release and a Tender Crumb at the Same Time
Greasing Every Ridge
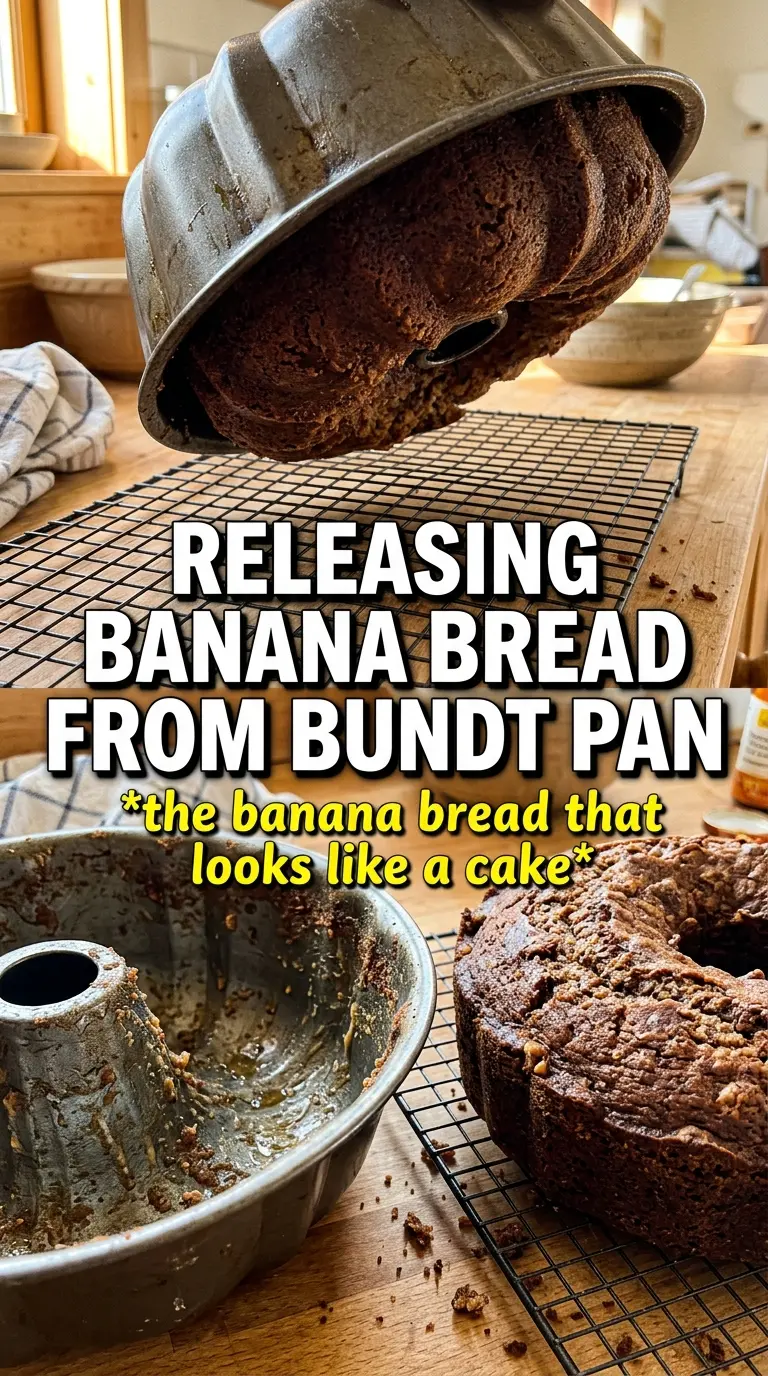
Start by coating the bundt pan thoroughly with butter, then dust it with flour and tap out the excess. Get into the center tube and every curve of the design, because the batter will settle into those spots and cling there if the pan is patchy. If you skip a corner, that’s where the bread will break when you invert it.
Mixing the Wet Ingredients First
Stir the mashed bananas, melted butter, sugar, eggs, vanilla, and sour cream until the mixture looks smooth and glossy. This gives the sugar a chance to dissolve a little and keeps the batter from looking curdled once the flour goes in. If the eggs are cold, the butter may look streaky at first, but it comes together once you keep whisking.
Folding in the Dry Ingredients
Add the flour, baking soda, salt, and cinnamon and fold just until no dry streaks remain. Stop as soon as the batter looks combined; a few lumps are better than a tough loaf. If you’re using walnuts, fold them in at the very end so they stay distributed instead of sinking.
Baking Until the Center Springs Back
Pour the batter into the prepared pan, tap it once, and bake until the top is deep golden and a toothpick comes out clean from the thickest part. The edges should pull slightly from the pan and the surface should spring back when touched lightly. If the top is browning too fast before the center sets, tent it loosely with foil for the last part of baking.
Cooling Before the Invert
Let the bread sit in the pan for 15 minutes, no longer. That window is enough for the structure to settle without letting the sugar glue itself to the pan. Turn it out onto a rack while it’s still warm, then wait until it is fully cooled before drizzling the glaze or it will slide off instead of setting.
Three Small Swaps That Still Bake Up Well
Make It Gluten-Free
Use a 1:1 gluten-free flour blend that contains xanthan gum. The crumb will be a little more delicate, so let the bread cool completely before slicing or it may crumble at the ridges.
Skip the Walnuts Without Losing Texture
Leave them out entirely, or replace them with chocolate chips for a sweeter version. The bread will still bake up well; you just lose the little crunch that breaks up the soft crumb.
Use Greek Yogurt Instead of Sour Cream
Full-fat Greek yogurt works nicely if that’s what you have. The loaf will still stay moist, though the crumb comes out a touch lighter and less rich than it does with sour cream.
Dairy-Free Version
Swap the butter for melted plant-based butter and use an unsweetened dairy-free yogurt in place of sour cream. The glaze can be made with plant milk, but keep it thick so it stays on the ridges instead of running off.
Storage and Reheating
- Refrigerator: Store covered for up to 5 days. The crumb stays moist, though the glaze will soften a bit after the first day.
- Freezer: Freeze slices or the whole loaf, well wrapped, for up to 2 months. If freezing glazed slices, freeze them on a tray first so the topping sets before wrapping.
- Reheating: Warm individual slices in the microwave for 10 to 15 seconds or toast them lightly. Don’t overheat it or the bread turns dry fast, especially around the edges of the bundt shape.
Questions I Get Asked About This Recipe
Bundt Pan Banana Bread
Ingredients
Equipment
Method
- Preheat the oven to 350°F and thoroughly grease and flour a standard bundt pan.
- Position the oven rack so the bundt pan sits in the center for even browning.
- Whisk the melted butter, sugar, eggs, and vanilla extract into the mashed bananas until smooth.
- Stir in the sour cream until the batter looks uniform.
- Fold in the all-purpose flour, baking soda, salt, and cinnamon until just combined.
- Fold in the chopped walnuts if using.
- Pour the batter into the prepared bundt pan and tap it on the counter to remove air bubbles.
- Bake for 45–55 minutes, until a toothpick comes out clean and the top is golden.
- Cool the bread in the pan for 15 minutes before inverting.
- Drizzle vanilla glaze over the cooled bread so it runs down every ridge and pools at the base.