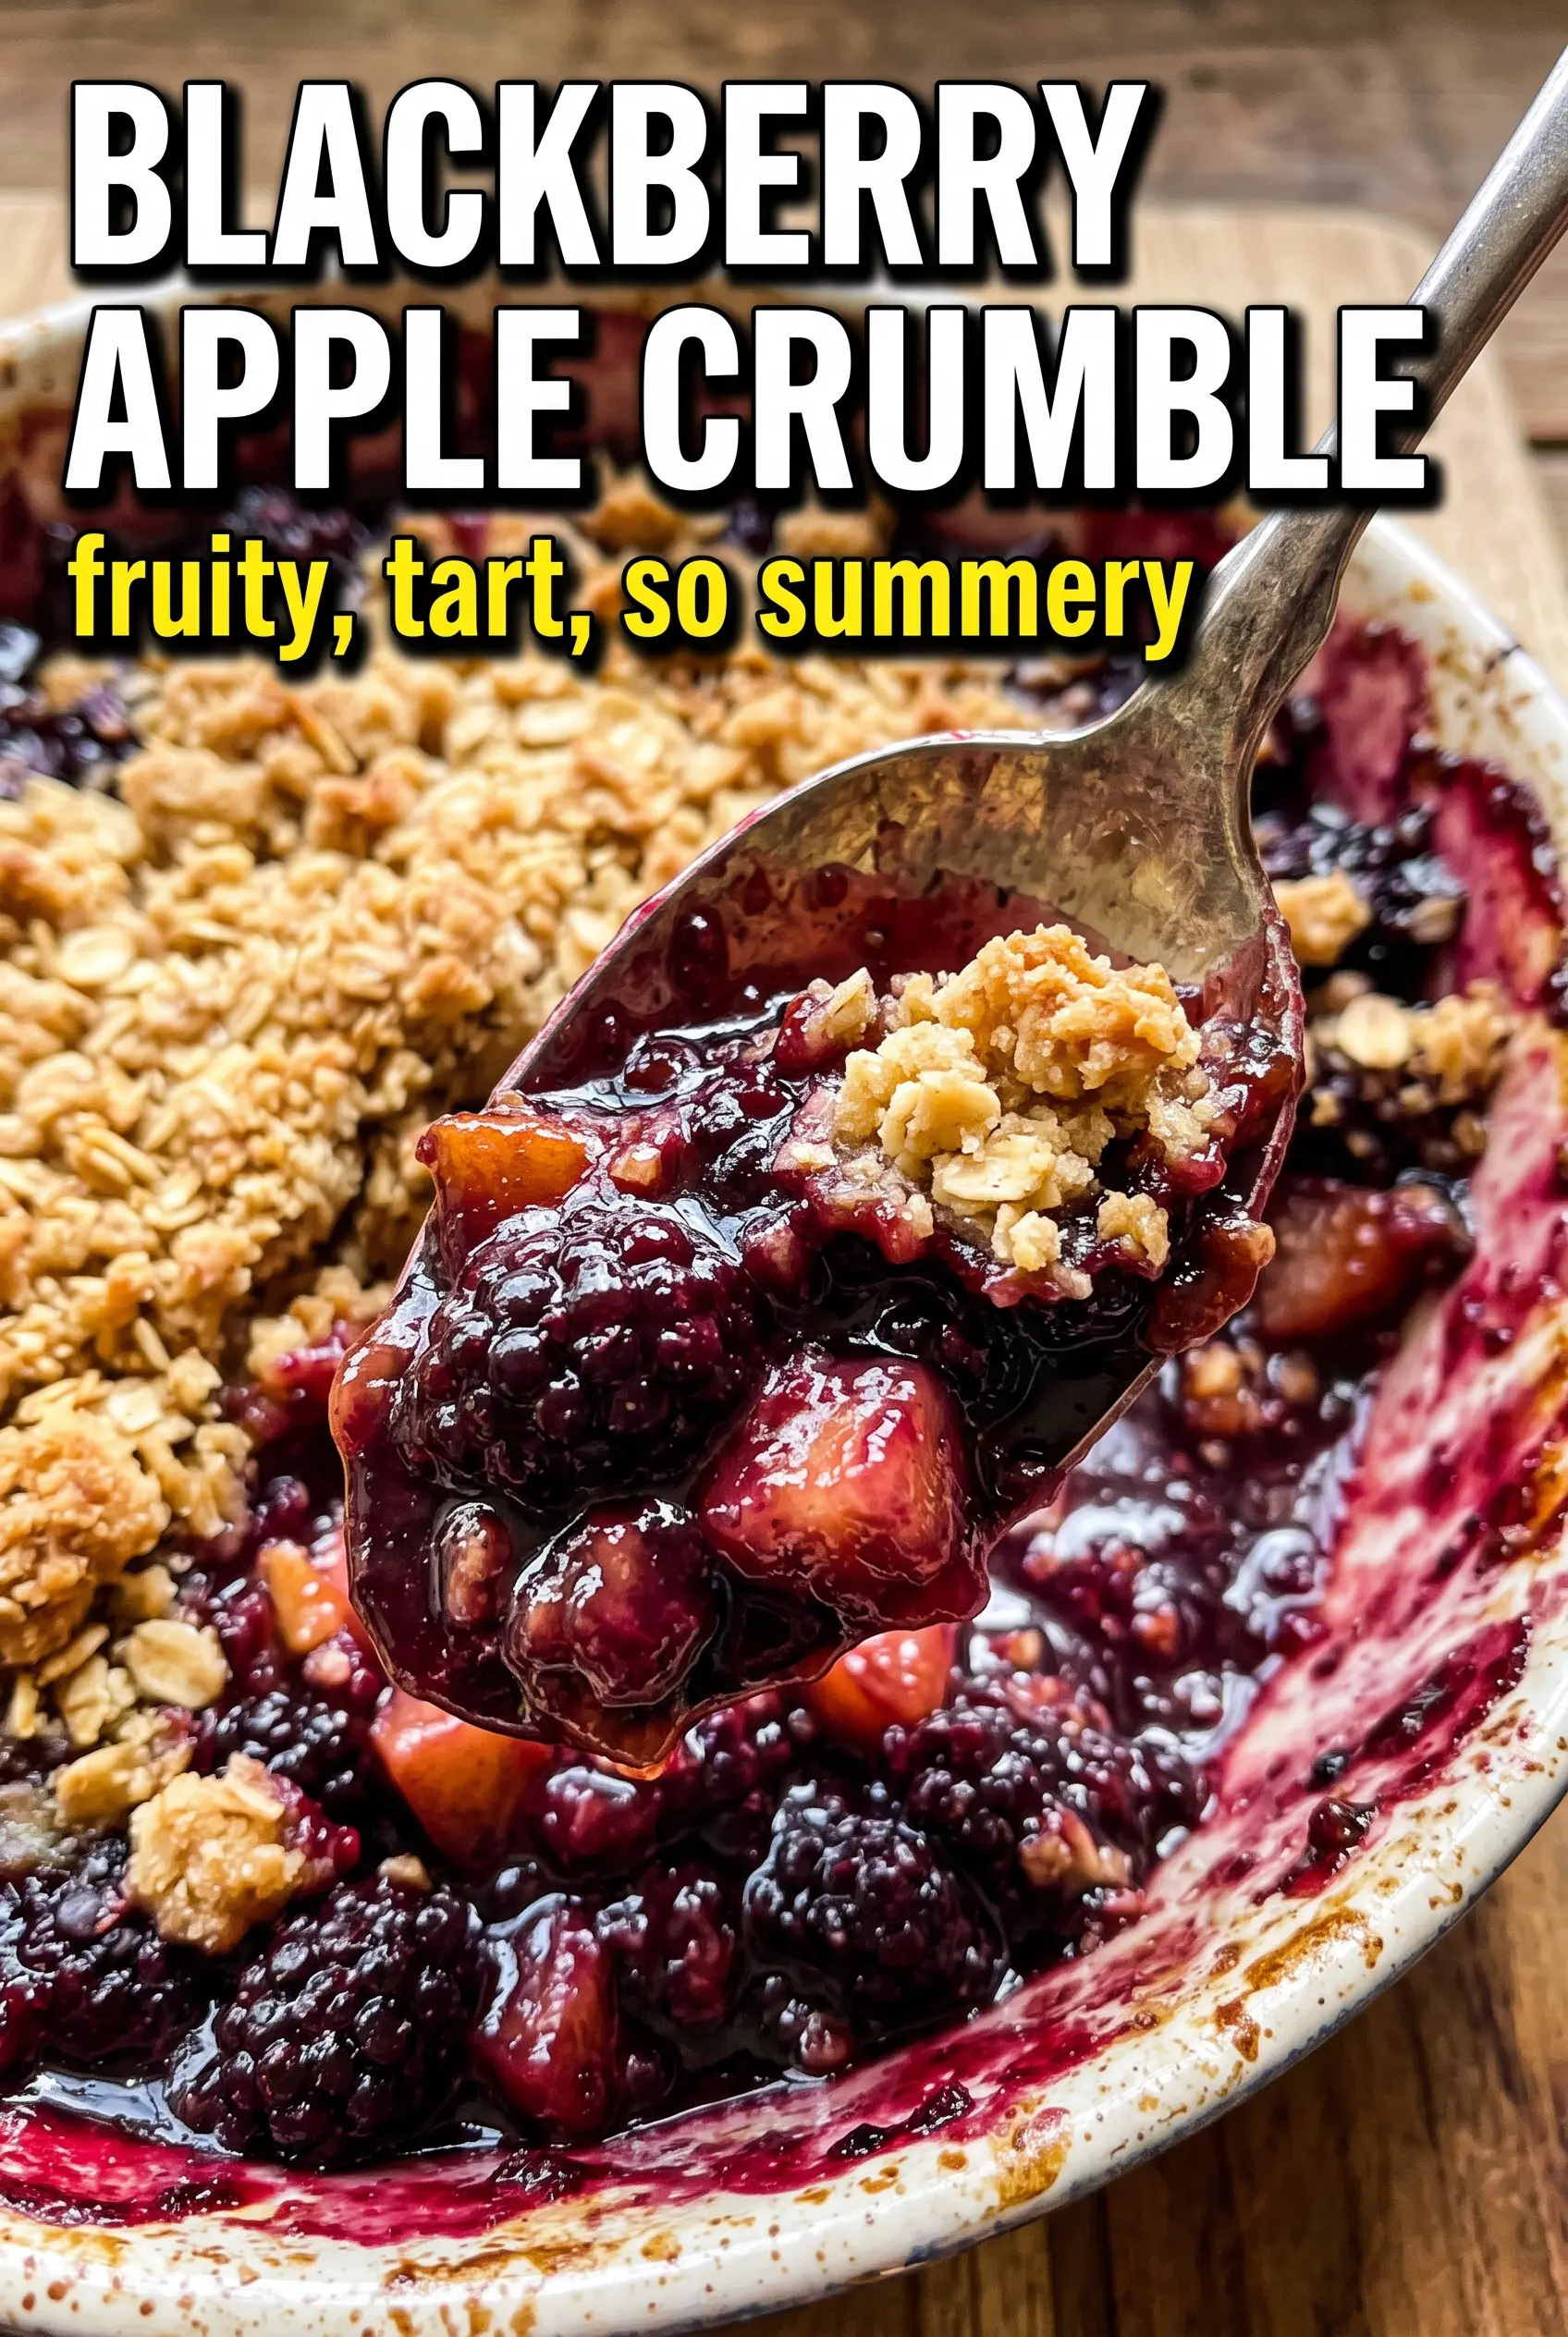
Blackberry apple crumble hits the sweet spot between juicy fruit and a crisp, nubbly topping that stays crunchy at the edges and tender in the middle. The apples soften into the blackberries, the filling turns glossy instead of watery, and every spoonful gets that mix of tart, sweet, and buttery that keeps people going back for one more bite.
What makes this version work is the balance. The apples bring body, the blackberries bring color and sharpness, and a little cornstarch keeps the juices thick enough to coat the fruit instead of pooling around it. Cold butter matters here too. If it melts into the flour too early, you lose the crumbly texture and end up with a sandy lid instead of real crumble.
Below, I’ll show you how to keep the topping crisp, how to avoid a runny filling, and a few simple swaps if you need to work with what’s already in the kitchen.
The filling set up beautifully and the crumble stayed crisp even after sitting for a bit. I used frozen blackberries and it still baked up with that glossy, jammy edge everyone loved.
Love the jammy blackberry apple filling and crisp oat topping? Save this crumble for the next time you want a fruit dessert that bubbles up beautifully in one pan.
The Reason Fruit Crumbles Turn Watery Instead of Jammy
The filling only needs enough starch to catch the juices once the fruit starts collapsing. If you skip that step, blackberries release their liquid into the pan and the apples steam in it, which gives you a loose puddle under the topping instead of a spoonable dessert. Cornstarch works fast here because the fruit bakes hot and the juices thicken as soon as they bubble.
The other trap is overloading the dish with too much fruit or packing the topping down. You want the fruit spread in an even layer so heat can move through it, and you want the crumble scattered loosely so the butter can melt and create those browned, crisp pockets. A dense layer of topping traps steam underneath, which softens the crumbs before they have a chance to color.
What Each Ingredient Is Doing in the Pan
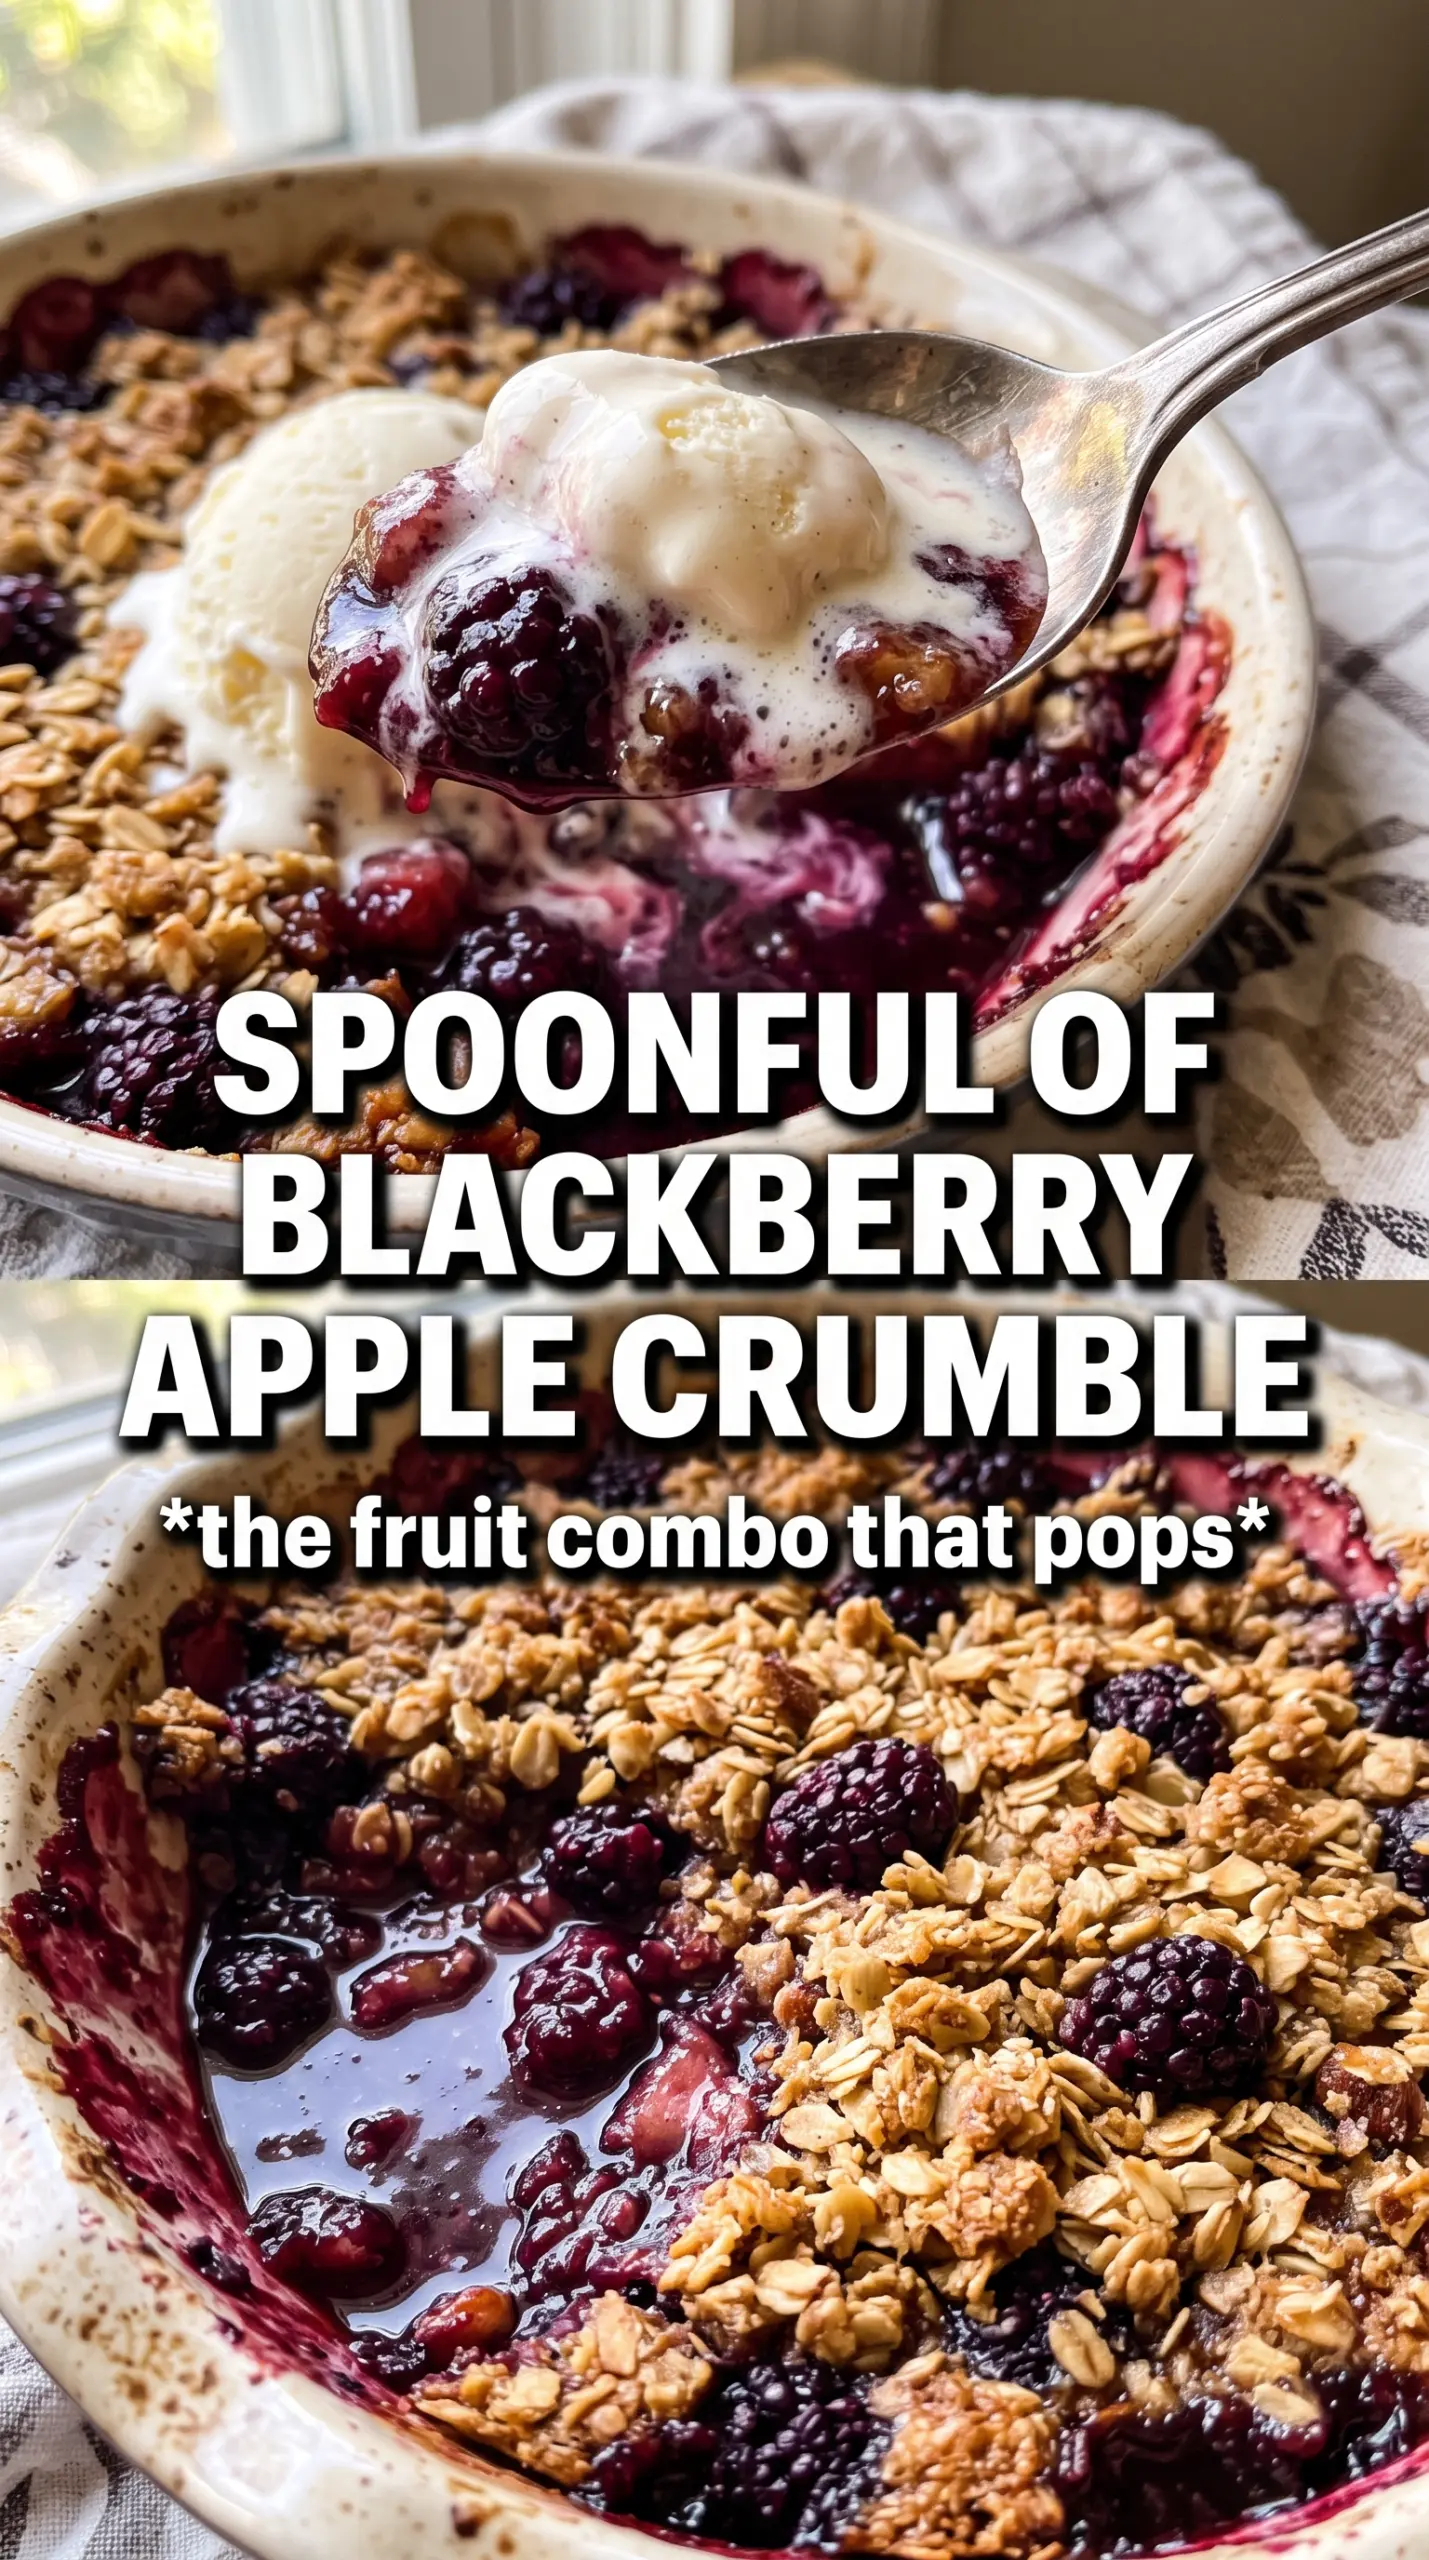
- Apples — These give the crumble structure. Use a firm baking apple if you can, because it holds its shape better than a soft snacking apple and keeps the filling from turning to applesauce.
- Blackberries — Fresh berries hold their shape a little better, but frozen blackberries work well and don’t need to be thawed first. If they’re very tart, the sugar in the filling will balance them as they bake.
- Cornstarch — This is what turns the fruit juices glossy and thick. Flour can work in a pinch, but it takes longer to thicken and can leave the filling a little cloudy.
- Rolled oats — They give the topping that craggy, rustic texture and help it stay crisp instead of reading like plain sweet streusel. Quick oats can work, but the topping will be finer and less substantial.
- Cold butter — This is the difference between crumbs and paste. Keep it cold and cut it in until the mixture looks clumpy with visible bits of butter still in it; those butter pieces melt in the oven and create the crunch.
Building the Fruit Layer and Topping So They Bake at the Same Pace
Coating the Fruit
Toss the apples and blackberries with sugar, cornstarch, lemon juice, and cinnamon until every piece looks lightly coated. The lemon juice brightens the berries and keeps the apples from tasting flat, while the cornstarch should disappear into the fruit instead of sitting in dry patches. If you see clumps of starch at the bottom of the bowl, keep tossing; those clumps can turn chalky in the baked filling.
Mixing the Crumble
Combine the flour, oats, brown sugar, cinnamon, and salt, then cut in the cold butter with your fingers or a pastry cutter. Stop when the mixture looks like damp, rough pebbles with some larger bits still hanging together. If you overwork it, the butter softens and the topping bakes into a tight layer instead of a crumbly one.
Baking Until the Edges Bubble
Scatter the topping over the fruit without pressing it down, then bake until the top is golden and the fruit is bubbling around the edges. Those bubbles matter more than the clock because they tell you the cornstarch has activated and the center is hot enough to finish thickening. If the top browns too fast, lay a loose piece of foil over the dish for the last stretch and let the filling keep cooking underneath.
Letting It Set Before Serving
Give the crumble 10 minutes to rest after it comes out of the oven. That short pause lets the juices settle so the serving spoon lifts a neat scoop instead of a runny spill. The topping stays crisp, and the fruit stays hot enough to melt cream or ice cream on contact.
How to Adapt This Crumble for Different Kitchens and Different Fruit Bins
Frozen Blackberry Crumble
Use the berries straight from the freezer and expect a little extra baking time because they cool the filling down at the start. Don’t thaw them first or you’ll lose a lot of their juice before the crumble even hits the oven.
Gluten-Free Version
Swap the all-purpose flour for a good 1:1 gluten-free baking blend and keep the oats certified gluten-free. The texture stays close to the original, though the topping may be a touch more delicate when you scoop it.
Dairy-Free Crumble
Replace the butter with a firm dairy-free baking block, not soft tub margarine. You need a fat that stays cold and cuts cleanly into the dry ingredients, or the topping will bake up greasy instead of crisp.
Make-Ahead and Leftovers
You can assemble the crumble a few hours ahead and keep it refrigerated until baking time. Once baked, store leftovers in the fridge for up to 3 days; the topping softens a bit, but the flavor stays excellent. Reheat in a 350°F oven until the top crisps back up. The microwave warms the fruit, but it turns the crumble topping soft.
Answers to the Questions Worth Asking
Blackberry Apple Crumble
Ingredients
Equipment
Method
- Preheat the oven to 375F and grease a 9x13 baking dish. Set it up so the fruit can go in right after mixing.
- Toss apple slices and blackberries with granulated sugar, cornstarch, lemon juice, and cinnamon, then spread the mixture in the dish. Make sure every piece is coated.
- Combine flour, rolled oats, brown sugar, cinnamon, and salt, then cut in the cold cubed butter until clumpy. Stop when you see pea-size and sandy bits.
- Scatter the crumble topping over the fruit, covering it evenly. Bake for 35-40 minutes at 375F until the topping is golden and the fruit is bubbling at the edges.
- Rest the crumble for 10 minutes to let the filling thicken slightly. It will be easier to scoop and serve.
- Serve warm with double cream or vanilla ice cream. Add it right before eating for the best contrast.