Banana oatmeal bars bake up soft in the middle, chewy around the edges, and sturdy enough to grab on the way out the door. They taste like a cross between baked oatmeal and a breakfast bar, with enough banana sweetness to keep them from feeling dry or bland. The best part is how forgiving they are: once the bananas are mashed smooth and the oats have had a chance to hydrate, the whole mixture comes together fast and slices neatly after cooling.
This version leans on ripe bananas for moisture and sweetness, then uses a little nut butter to help the bars hold together without turning heavy. I like to press the mixture firmly into the pan so the oats compact and bake into a dense, sliceable bar instead of a crumbly one. A handful of chocolate chips, raisins, or cranberries changes the mood without changing the method.
Below, you’ll find the small details that matter most here: how ripe the bananas should be, why cooling is non-negotiable, and the best way to store these if you’re making them ahead for the week.
The bars held together beautifully once I let them cool all the way, and the almond butter gave them a nice chew without tasting heavy. My kids ate them cold from the fridge all week.
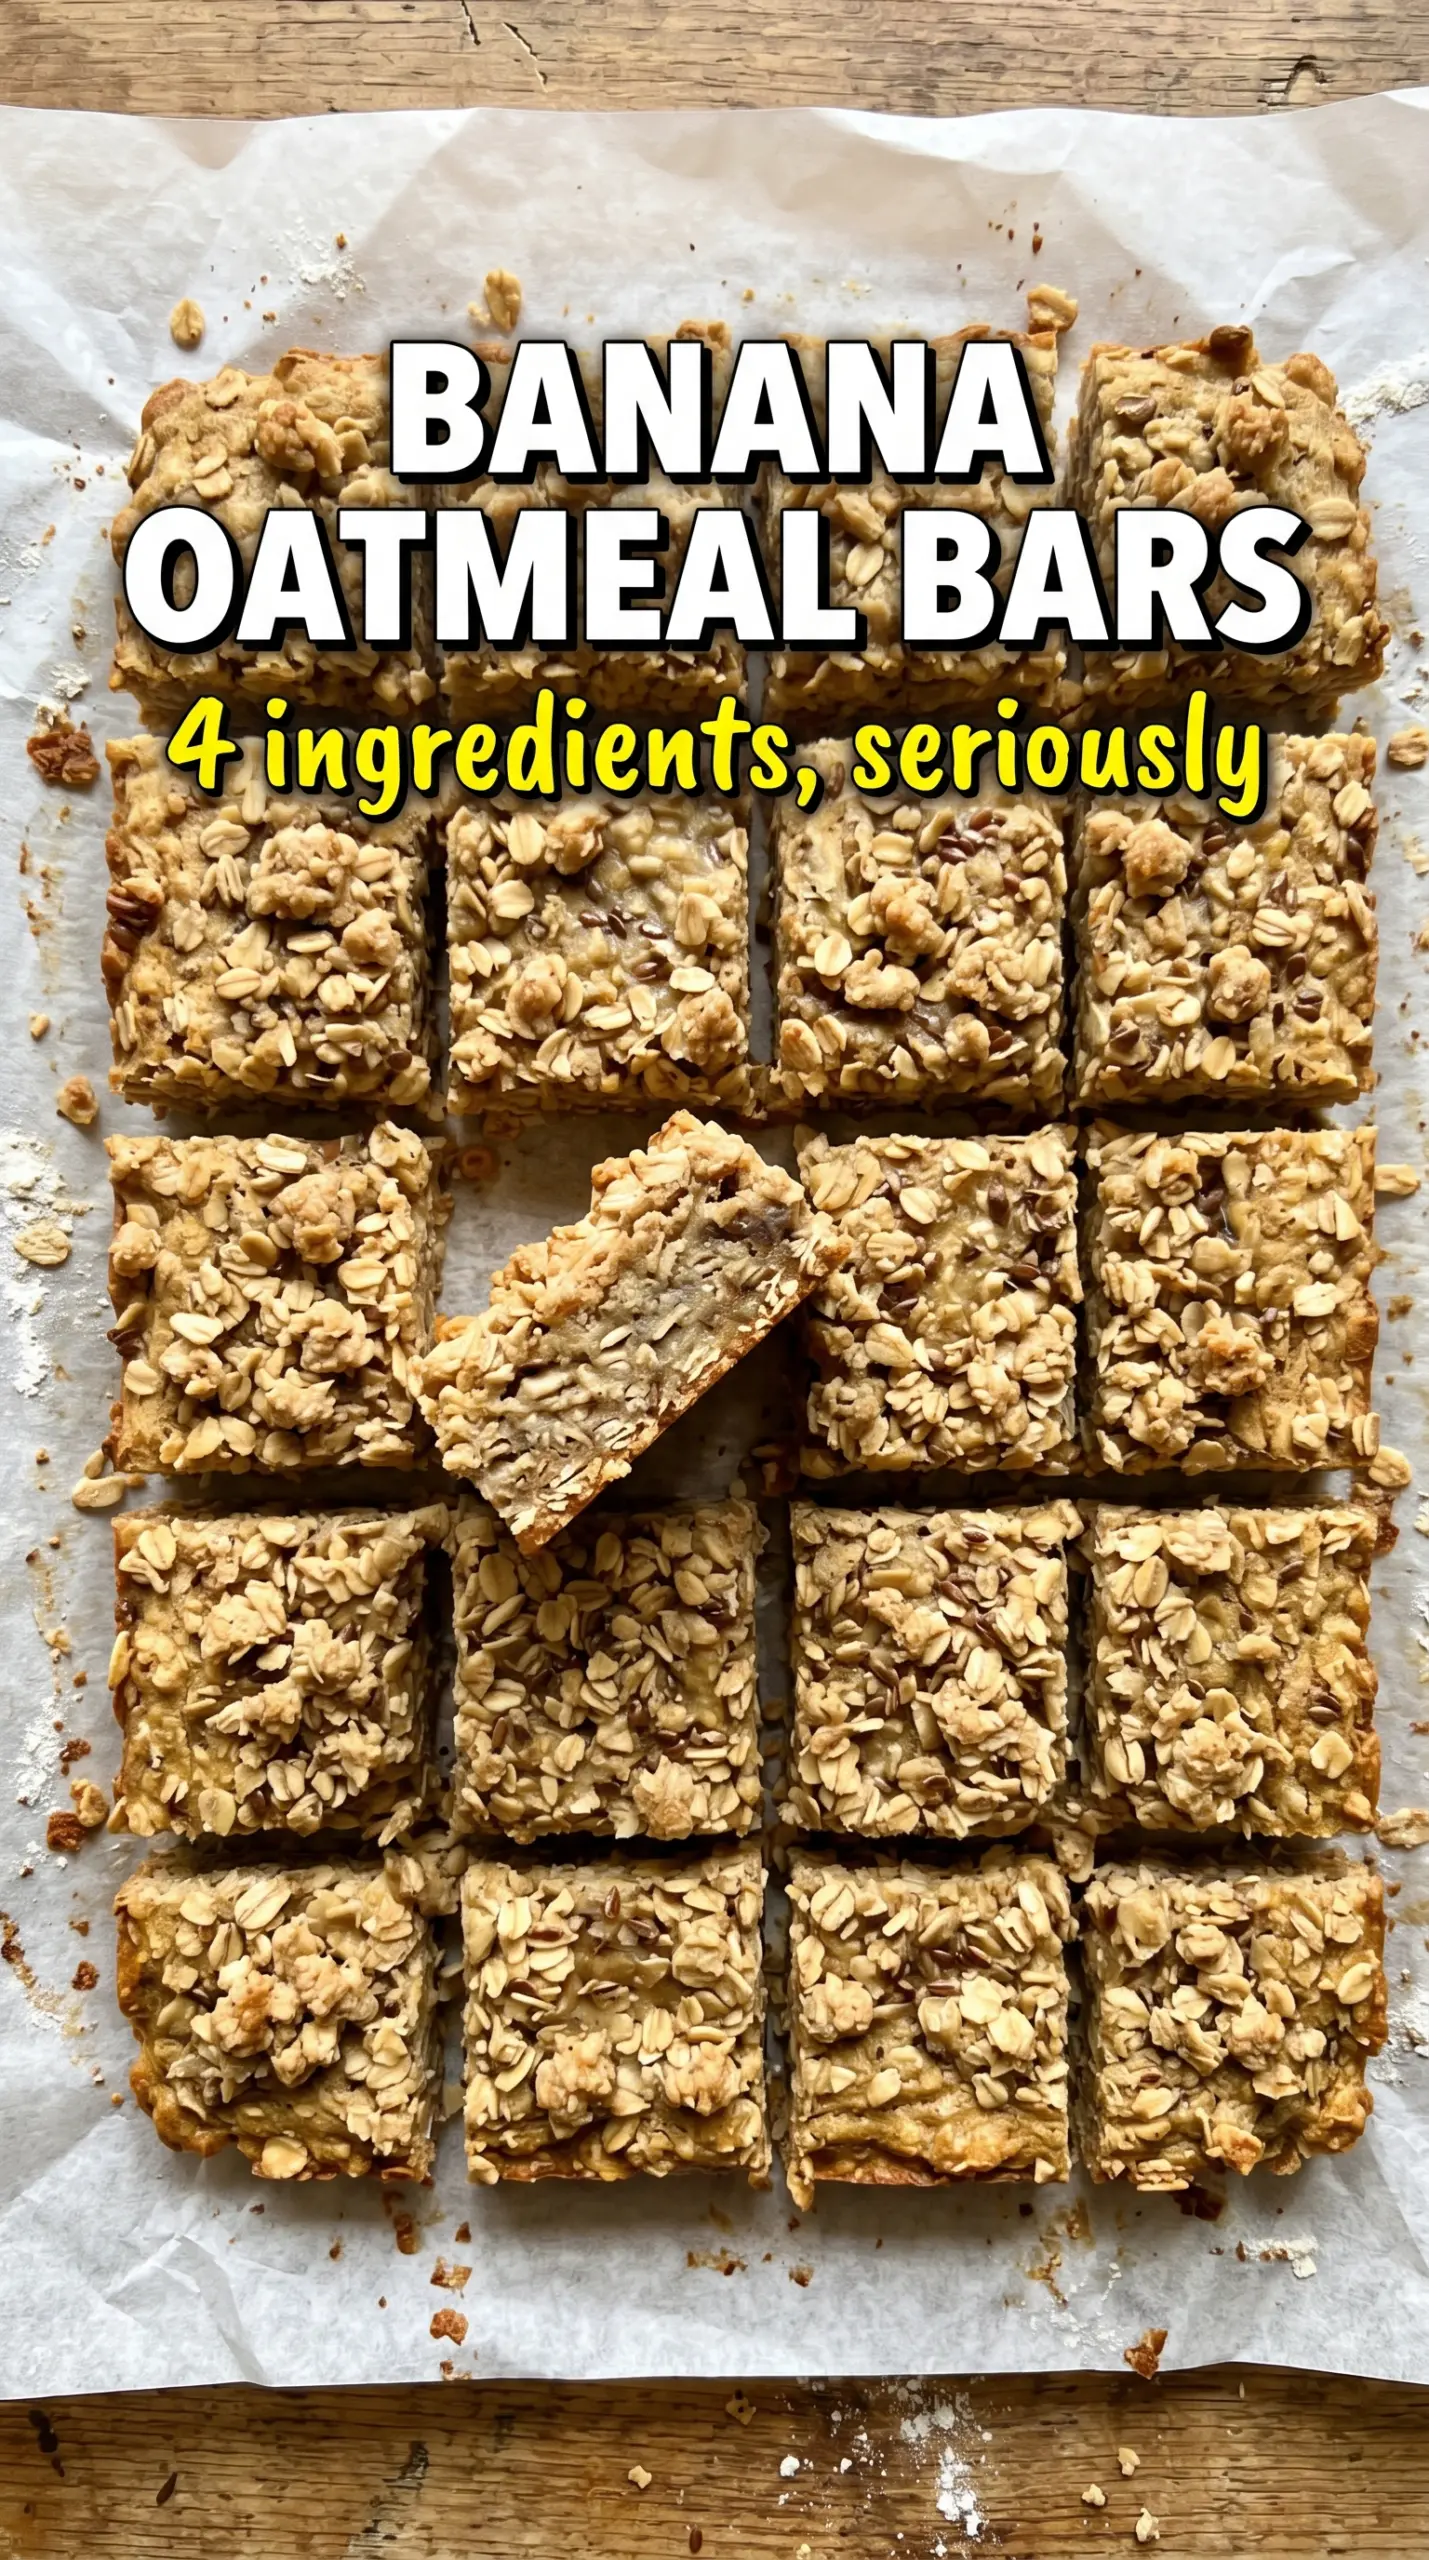
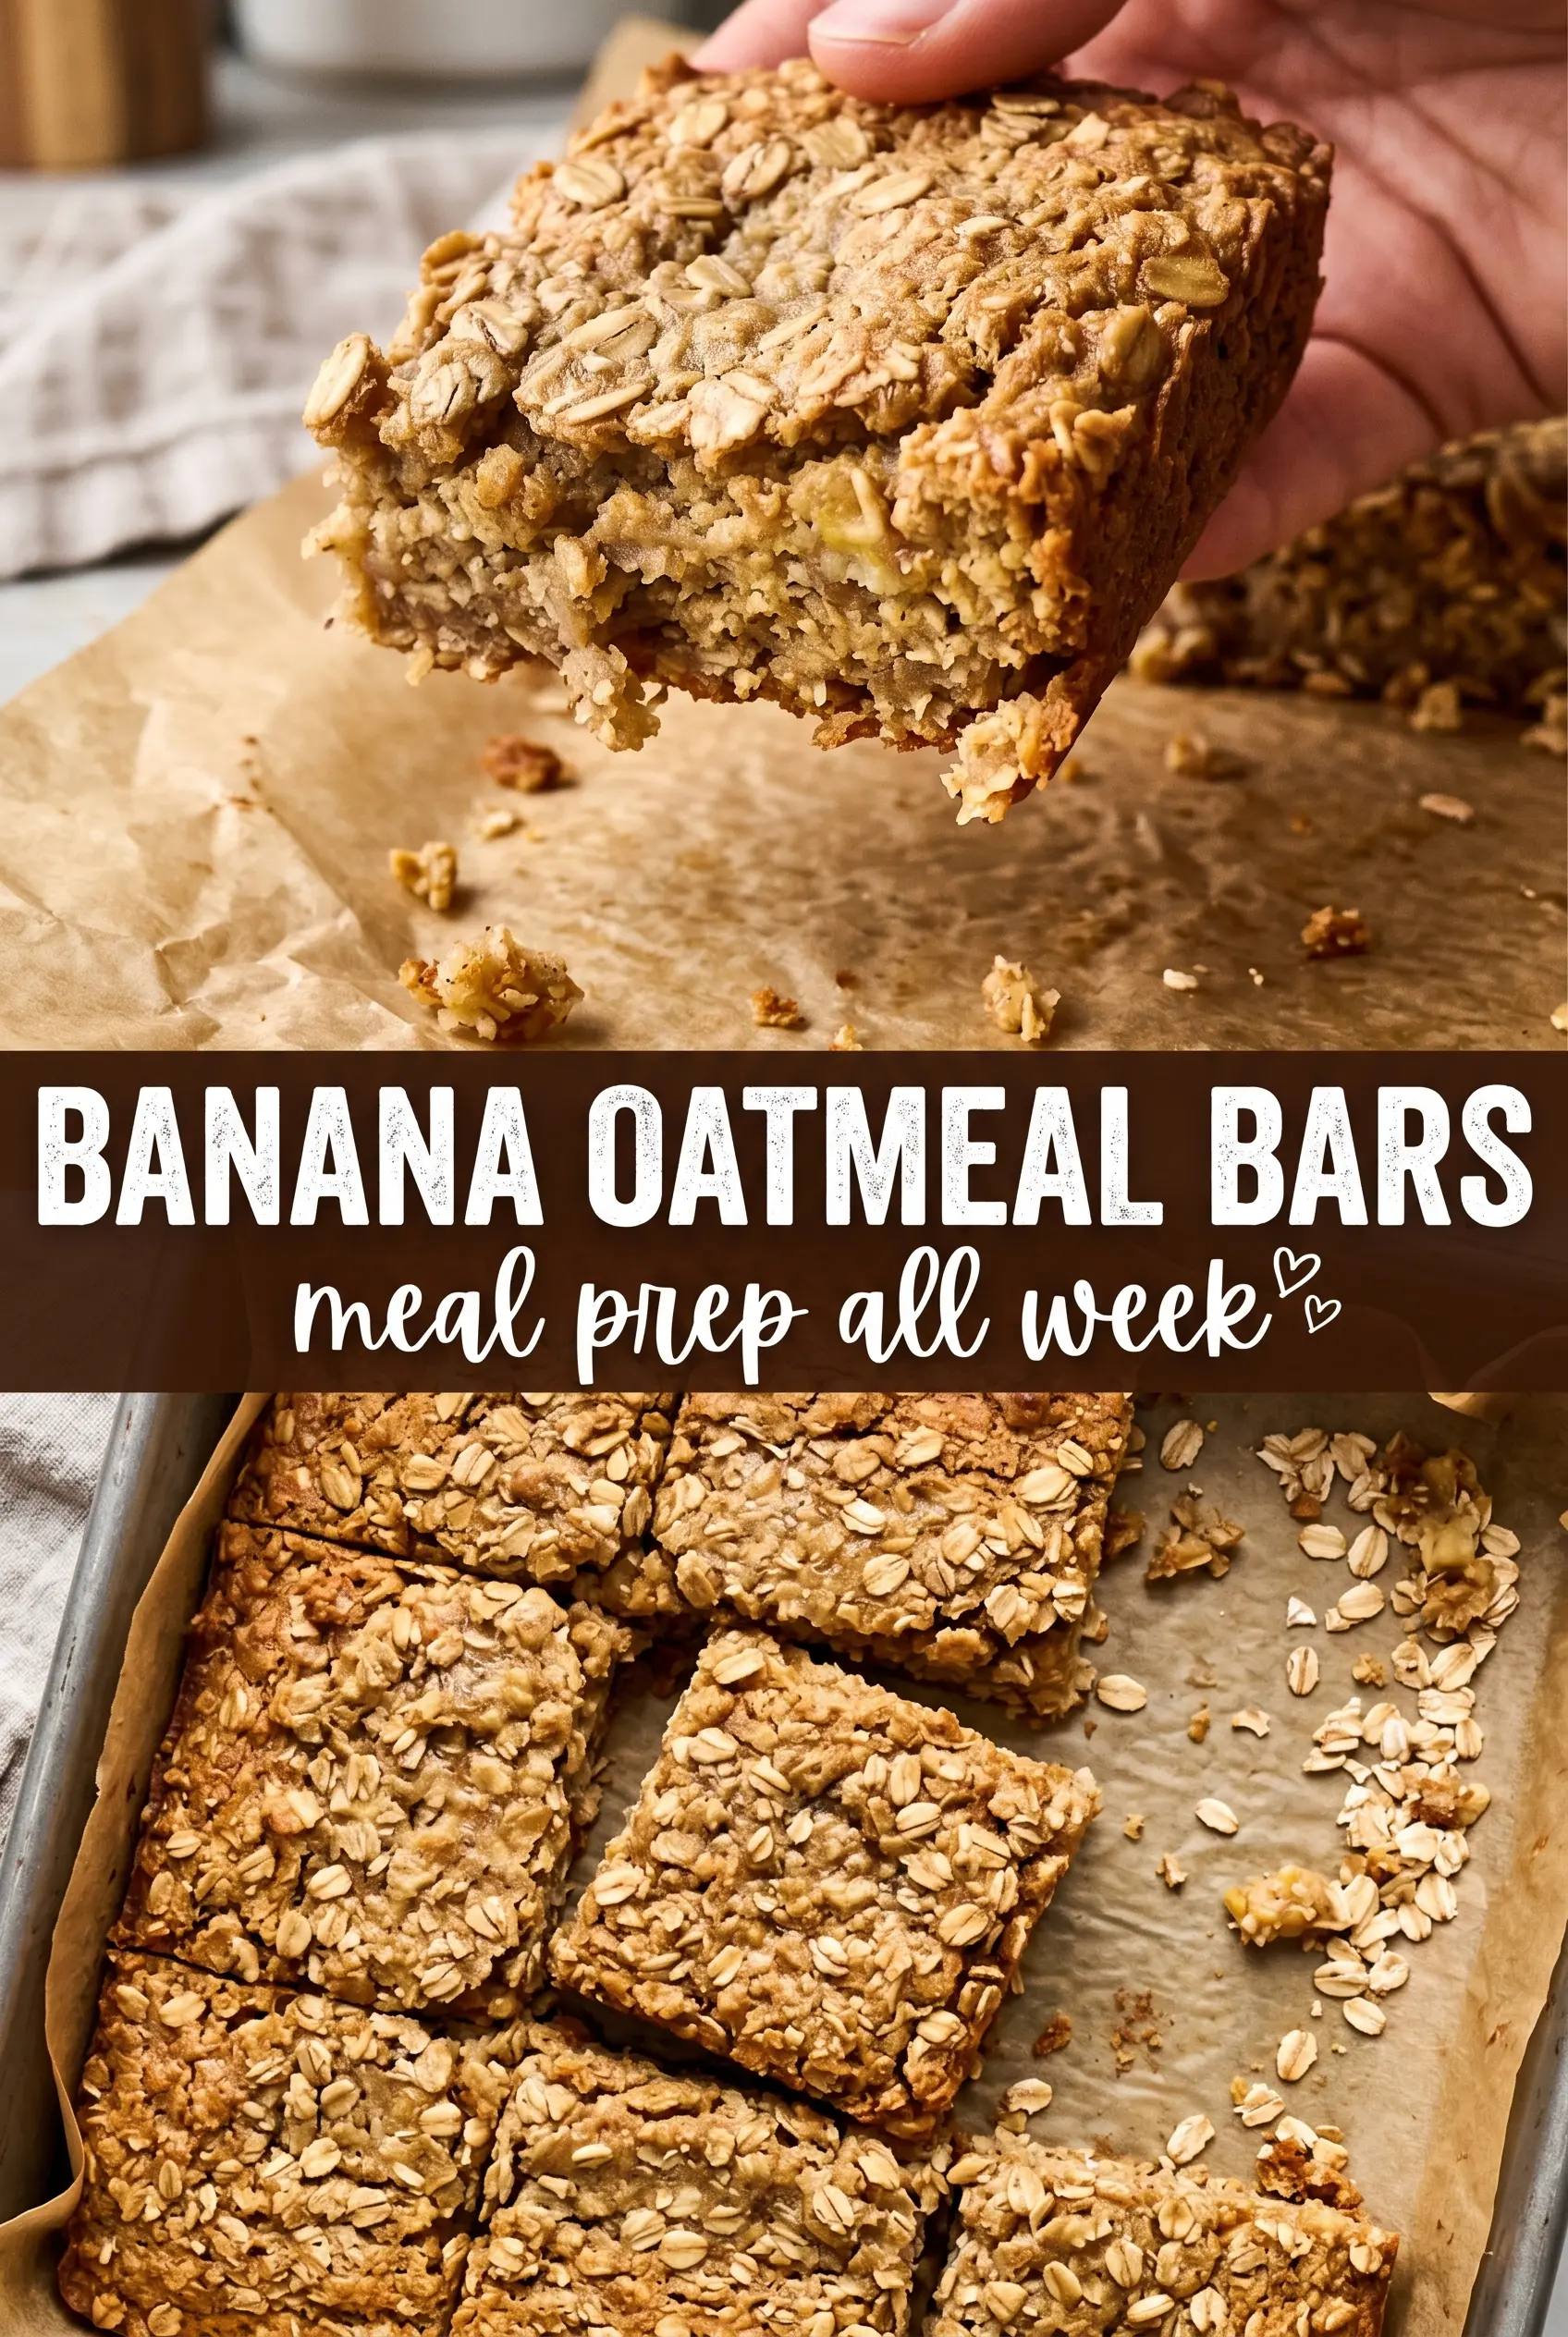
Chewy banana oatmeal bars with crisp edges and a soft center are made for breakfast meal prep and snack time.
The Reason These Bars Hold Together Instead of Crumbling
The biggest mistake with banana oatmeal bars is under-mixing the banana base or under-pressing the pan. Rolled oats need time to soak up moisture, and the nut butter acts like the glue that turns a loose bowl of oats into something sliceable. If the mixture looks a little wet before baking, that’s fine; oats keep absorbing as the bars bake and cool.
The other thing that matters is cooling all the way down. These bars cut like a mess when warm because the starches and nut butter haven’t set yet. Chill them briefly in the fridge if you want sharp edges and clean rectangles. That’s the difference between a breakfast bar and a crumbly traybake.
What Each Ingredient Is Doing in These Banana Oatmeal Bars
- Ripe bananas — These are the main source of sweetness and moisture. Use bananas with plenty of brown spots; underripe fruit won’t mash smoothly and the bars can taste bland. If yours are huge, three may be enough to slightly overfill a cup and a half of mash, which is right where you want them.
- Rolled oats — Old-fashioned oats give the bars their chew and structure. Quick oats can work in a pinch, but the texture comes out softer and a little less hearty. Steel-cut oats won’t soften enough in this short bake.
- Almond butter or peanut butter — This is the ingredient that keeps the bars cohesive and adds richness. Natural nut butter is fine as long as it’s stirred smooth before measuring. If you swap it for a seed butter, the bars stay sturdy, but the flavor shifts a little earthier.
- Honey or maple syrup — Just enough extra sweetener to round out the bananas and help the top brown. Honey gives a slightly deeper finish; maple syrup keeps the bars vegan. Either one works without changing the method.
- Chocolate chips, dried cranberries, or raisins — These are optional, but they add little pockets of flavor and help make the bars feel more like a snack than plain baked oats. Fold them in last so they don’t get smashed into the batter.
Pressing, Baking, and Cooling the Bars the Right Way
Getting the Banana Base Smooth
Mash the bananas until there are no big lumps left. A few tiny bits are fine, but chunky banana leaves wet pockets in the baked bars and makes the texture uneven. Stir in the nut butter, honey or maple syrup, vanilla, cinnamon, and salt until the mixture looks glossy and uniform. If the nut butter is stiff, warm it for a few seconds so it blends without streaks.
Working the Oats in Without Overdoing It
Fold the oats in until every flake is coated. The batter should look thick and scoopable, not pourable. Once the oats go in, don’t keep stirring hard or they’ll break down and the bars can turn pasty. Add the mix-ins at the end so they stay distributed instead of sinking in one corner.
Pressing for a Dense, Sliceable Bar
Spoon the mixture into the parchment-lined pan and press it down firmly with the back of a spatula or your fingers. Pack it into the corners first, then smooth the top so it bakes evenly. A loose pan leads to crumbly bars, while a compact layer bakes into neat rectangles with a soft middle and lightly crisp top. Bake until the edges are golden and the center looks set rather than wet.
The Cool-Down That Gives You Clean Slices
Let the pan cool completely before cutting. Warm bars seem ready too early and fall apart under the knife. For the cleanest edges, refrigerate them after cooling at room temperature, then slice with a sharp knife wiped clean between cuts. That’s the easiest way to get those tidy, bakery-style bars.
How to Adapt These Bars for Different Eaters and Different Mornings
Make Them Vegan
Use maple syrup instead of honey and choose dairy-free chocolate chips if you’re adding them. The texture stays the same, and the bars still set up well because the bananas and nut butter do the binding work.
Go Gluten-Free With the Right Oats
These bars are naturally gluten-free as long as your oats are certified gluten-free. That matters because oats are often processed in facilities that handle wheat, so the label is worth checking if you’re sensitive.
Swap the Nut Butter
Peanut butter gives the strongest, most familiar flavor. Almond butter tastes a little lighter, while sunflower seed butter works well for a nut-free version, though it can tint the bars a bit green over time. The structure still holds as long as the butter is stirred smooth before mixing.
Storage and Reheating
- Refrigerator: Store in an airtight container for up to 5 days. The bars firm up in the fridge, which makes them even easier to pack and slice.
- Freezer: Freeze the cut bars with parchment between layers for up to 2 months. Thaw overnight in the refrigerator or on the counter for about 30 minutes.
- Reheating: Eat them cold, at room temperature, or warm one bar in the microwave for 10 to 15 seconds. Don’t overheat them or the oats dry out and the texture turns crumbly.
Answers to the Questions Worth Asking
Banana Oatmeal Bars
Ingredients
Equipment
Method
- Preheat the oven to 350°F and line an 8x8 pan with parchment paper, leaving overhang for easy lifting later.
- Mash the bananas until completely smooth, then stir in almond butter, honey, vanilla, cinnamon, and salt until glossy and evenly combined.
- Fold in rolled oats until fully combined, then fold in your chosen mix-ins.
- Press the mixture firmly and evenly into the prepared pan so it bakes up dense rather than crumbly.
- Bake for 22–25 minutes at 350°F, until golden at the edges and set in the center.
- Cool completely before slicing into bars, then refrigerate for cleaner cuts.