Banana oatmeal bars bake up soft, chewy, and sturdy enough to grab on the way out the door. The edges turn golden and a little toasty while the center stays tender, which is exactly what you want in a breakfast bar that tastes homemade instead of dry or chalky. A handful of chocolate chips or chopped nuts gives them just enough contrast without turning them into dessert.
The trick is starting with bananas that are fully ripe and mashing them until they’re completely smooth. That keeps the bars moist and evenly sweet, so the oats can soften properly in the oven. The peanut butter or almond butter does more than add flavor; it helps bind everything together and gives the bars that dense, chewy bite that holds up after cooling.
Below you’ll find the simple method, the ingredient swaps that actually work, and a few fixes for the most common problems people run into with oat bars. Once you make them once, they’re the kind of snack you’ll keep coming back to for busy mornings and lunchbox prep.
I was worried these would fall apart, but they sliced cleanly once cooled and the centers stayed soft without turning mushy. I used chocolate chips and my kids ate half the pan before breakfast ended.
Save these chewy banana oatmeal bars for an easy breakfast bar that slices cleanly and keeps its soft center.
The Trick to Bars That Hold Together Instead of Crumbling
Banana oat bars only work when the batter is wet enough to bind but not so loose that it bakes up gummy. The bananas bring a lot of moisture, and the oats need time to absorb it before the pan goes into the oven. If the mixture looks dry and dusty, the bars will break apart. If it looks like loose batter, they’ll stay soft in the wrong way and never slice cleanly.
The pan size matters here too. An 8×8 pan gives you thicker, chewier bars, while a 9×13 pan makes thinner bars that bake a little faster and cool faster. If you want neat squares for meal prep, line the pan with parchment and press the mixture down firmly so there are no air pockets hiding in the middle.
What the Bananas and Nut Butter Are Really Doing Here
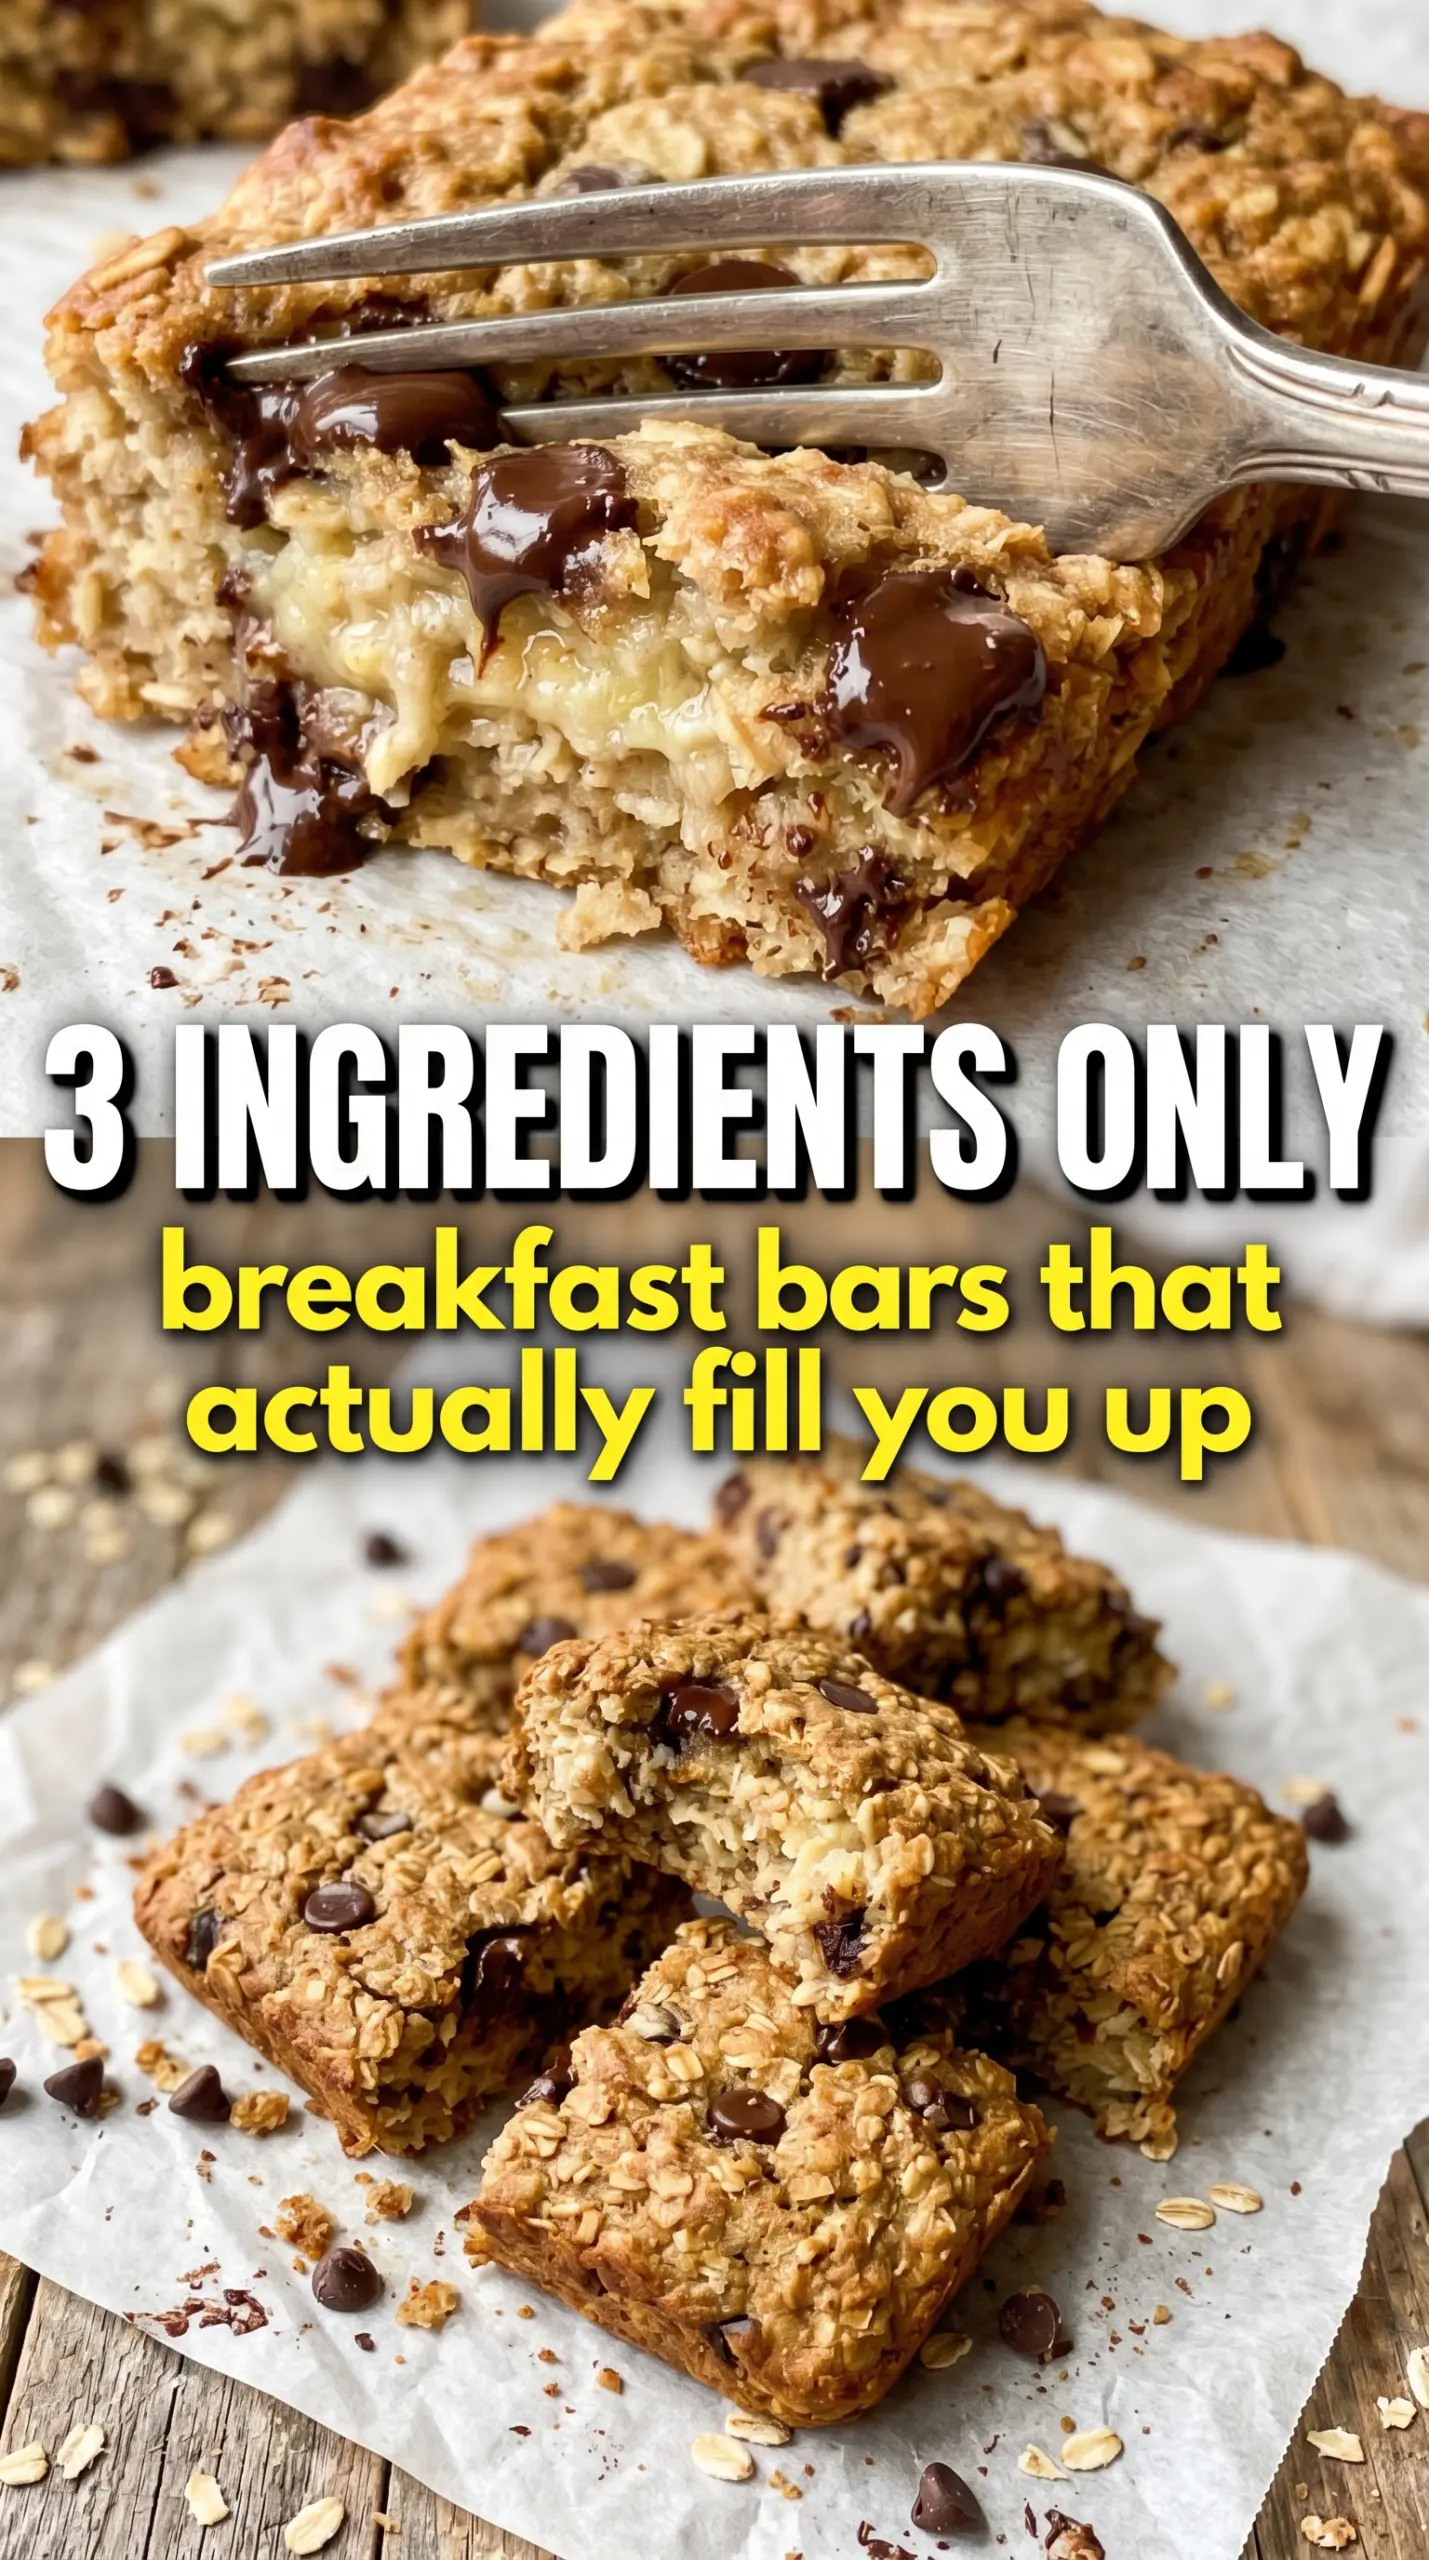
- Ripe bananas — These are the main sweetener and the main source of moisture. Use bananas with plenty of brown spots; under-ripe bananas won’t mash smoothly and the bars will taste flat. Mash them until there are no lumps left, because chunks leave wet pockets in the baked bars.
- Rolled oats — Old-fashioned oats give the bars their chew and structure. Quick oats can work in a pinch, but the texture turns softer and tighter. Steel-cut oats won’t soften enough in this bake, so skip those completely.
- Peanut butter or almond butter — This is the binder that keeps the bars from falling apart. Natural nut butter works fine, but stir it well first so you’re not adding mostly oil from the top of the jar. Almond butter gives a milder flavor; peanut butter makes the bars taste more like a classic snack bar.
- Honey or maple syrup — A little extra sweetness helps balance the oats and brings the mixture together. Honey makes the bars a touch more cohesive, while maple syrup keeps the flavor a little lighter. If your bananas are very ripe, you can lean toward the lower end of the amount.
- Chocolate chips, raisins, or nuts — These are optional, but they add pockets of texture so every bite isn’t the same. Fold them in at the end so they stay distributed instead of sinking into one corner of the pan.
Pressing, Baking, and Cooling the Bars at the Right Moments
Mixing the Base Until It Looks Thick and Sticky
Start by mashing the bananas until the bowl looks almost like puree. Then stir in the oats, nut butter, honey or maple syrup, vanilla, cinnamon, and salt until every oat is coated. The mixture should hold together when you press it between your fingers, not drip like pancake batter. If it still seems loose, let it sit for 3 to 5 minutes so the oats can absorb some moisture before you bake.
Pressing the Mixture into the Pan
Scrape the mixture into the lined pan and press it down in an even layer. Use the back of a spoon or the bottom of a measuring cup to compact it, especially into the corners. Loose packing leaves weak spots that crumble when you slice the bars. A firm, even layer gives you neat edges and a center that bakes at the same rate as the rest.
Baking Until the Edges Turn Golden
Bake until the edges are golden and the center looks set, not wet. The middle may still feel a little soft when you pull the pan from the oven, and that’s fine because it firms up as it cools. If the top looks browned but the center still jiggles like batter, it needs a few more minutes. Watch the edges, not just the timer.
Cooling Before You Cut
Let the pan cool completely before lifting the bars out and slicing them. Warm oat bars always seem too soft and they usually tear when you cut them. If you want the cleanest squares, chill them for 20 to 30 minutes after cooling on the counter. The texture sets up as they cool, and that’s what gives you the soft chew instead of a sticky crumble.
How to Adjust These Bars for Different Diets and Different Pantries
Gluten-Free Banana Oat Bars
Use certified gluten-free oats if you need these bars to be fully gluten-free. Regular oats often work fine for flavor and texture, but certified oats are the safer choice when cross-contamination matters. The baking method stays the same.
Dairy-Free and Naturally Egg-Free
These bars already fit both dairy-free and egg-free eating as written, as long as your chocolate chips are dairy-free. That makes them one of the easiest grab-and-go snacks to keep on hand for mixed households. No other changes are needed.
Nut-Free Version
Swap the peanut butter or almond butter for sunflower seed butter if you need a nut-free option. The bars will taste a little earthier, and the color may deepen slightly as they bake, but the texture stays sturdy. Double-check your mix-ins too, since some chocolate chips are processed with nuts.
Lower-Sugar Banana Bars
If your bananas are deeply ripe, you can reduce the honey or maple syrup a little without hurting the structure. Don’t cut it out completely unless you’re using a very sweet nut butter, because the extra sweetener also helps the bars bake up tender instead of dry. A small reduction is fine; removing it changes the texture more than the flavor.
Storage and Reheating
- Refrigerator: Store in an airtight container for up to 5 days. They stay soft and chewy, and the flavor gets a little deeper after the first day.
- Freezer: These freeze well. Wrap the cut bars individually or separate them with parchment, then freeze for up to 2 months.
- Reheating: Warm a bar in the microwave for 10 to 15 seconds if you want it softer. Don’t overheat them or they turn dry at the edges and lose that pleasant chew.
Answers to the Questions Worth Asking
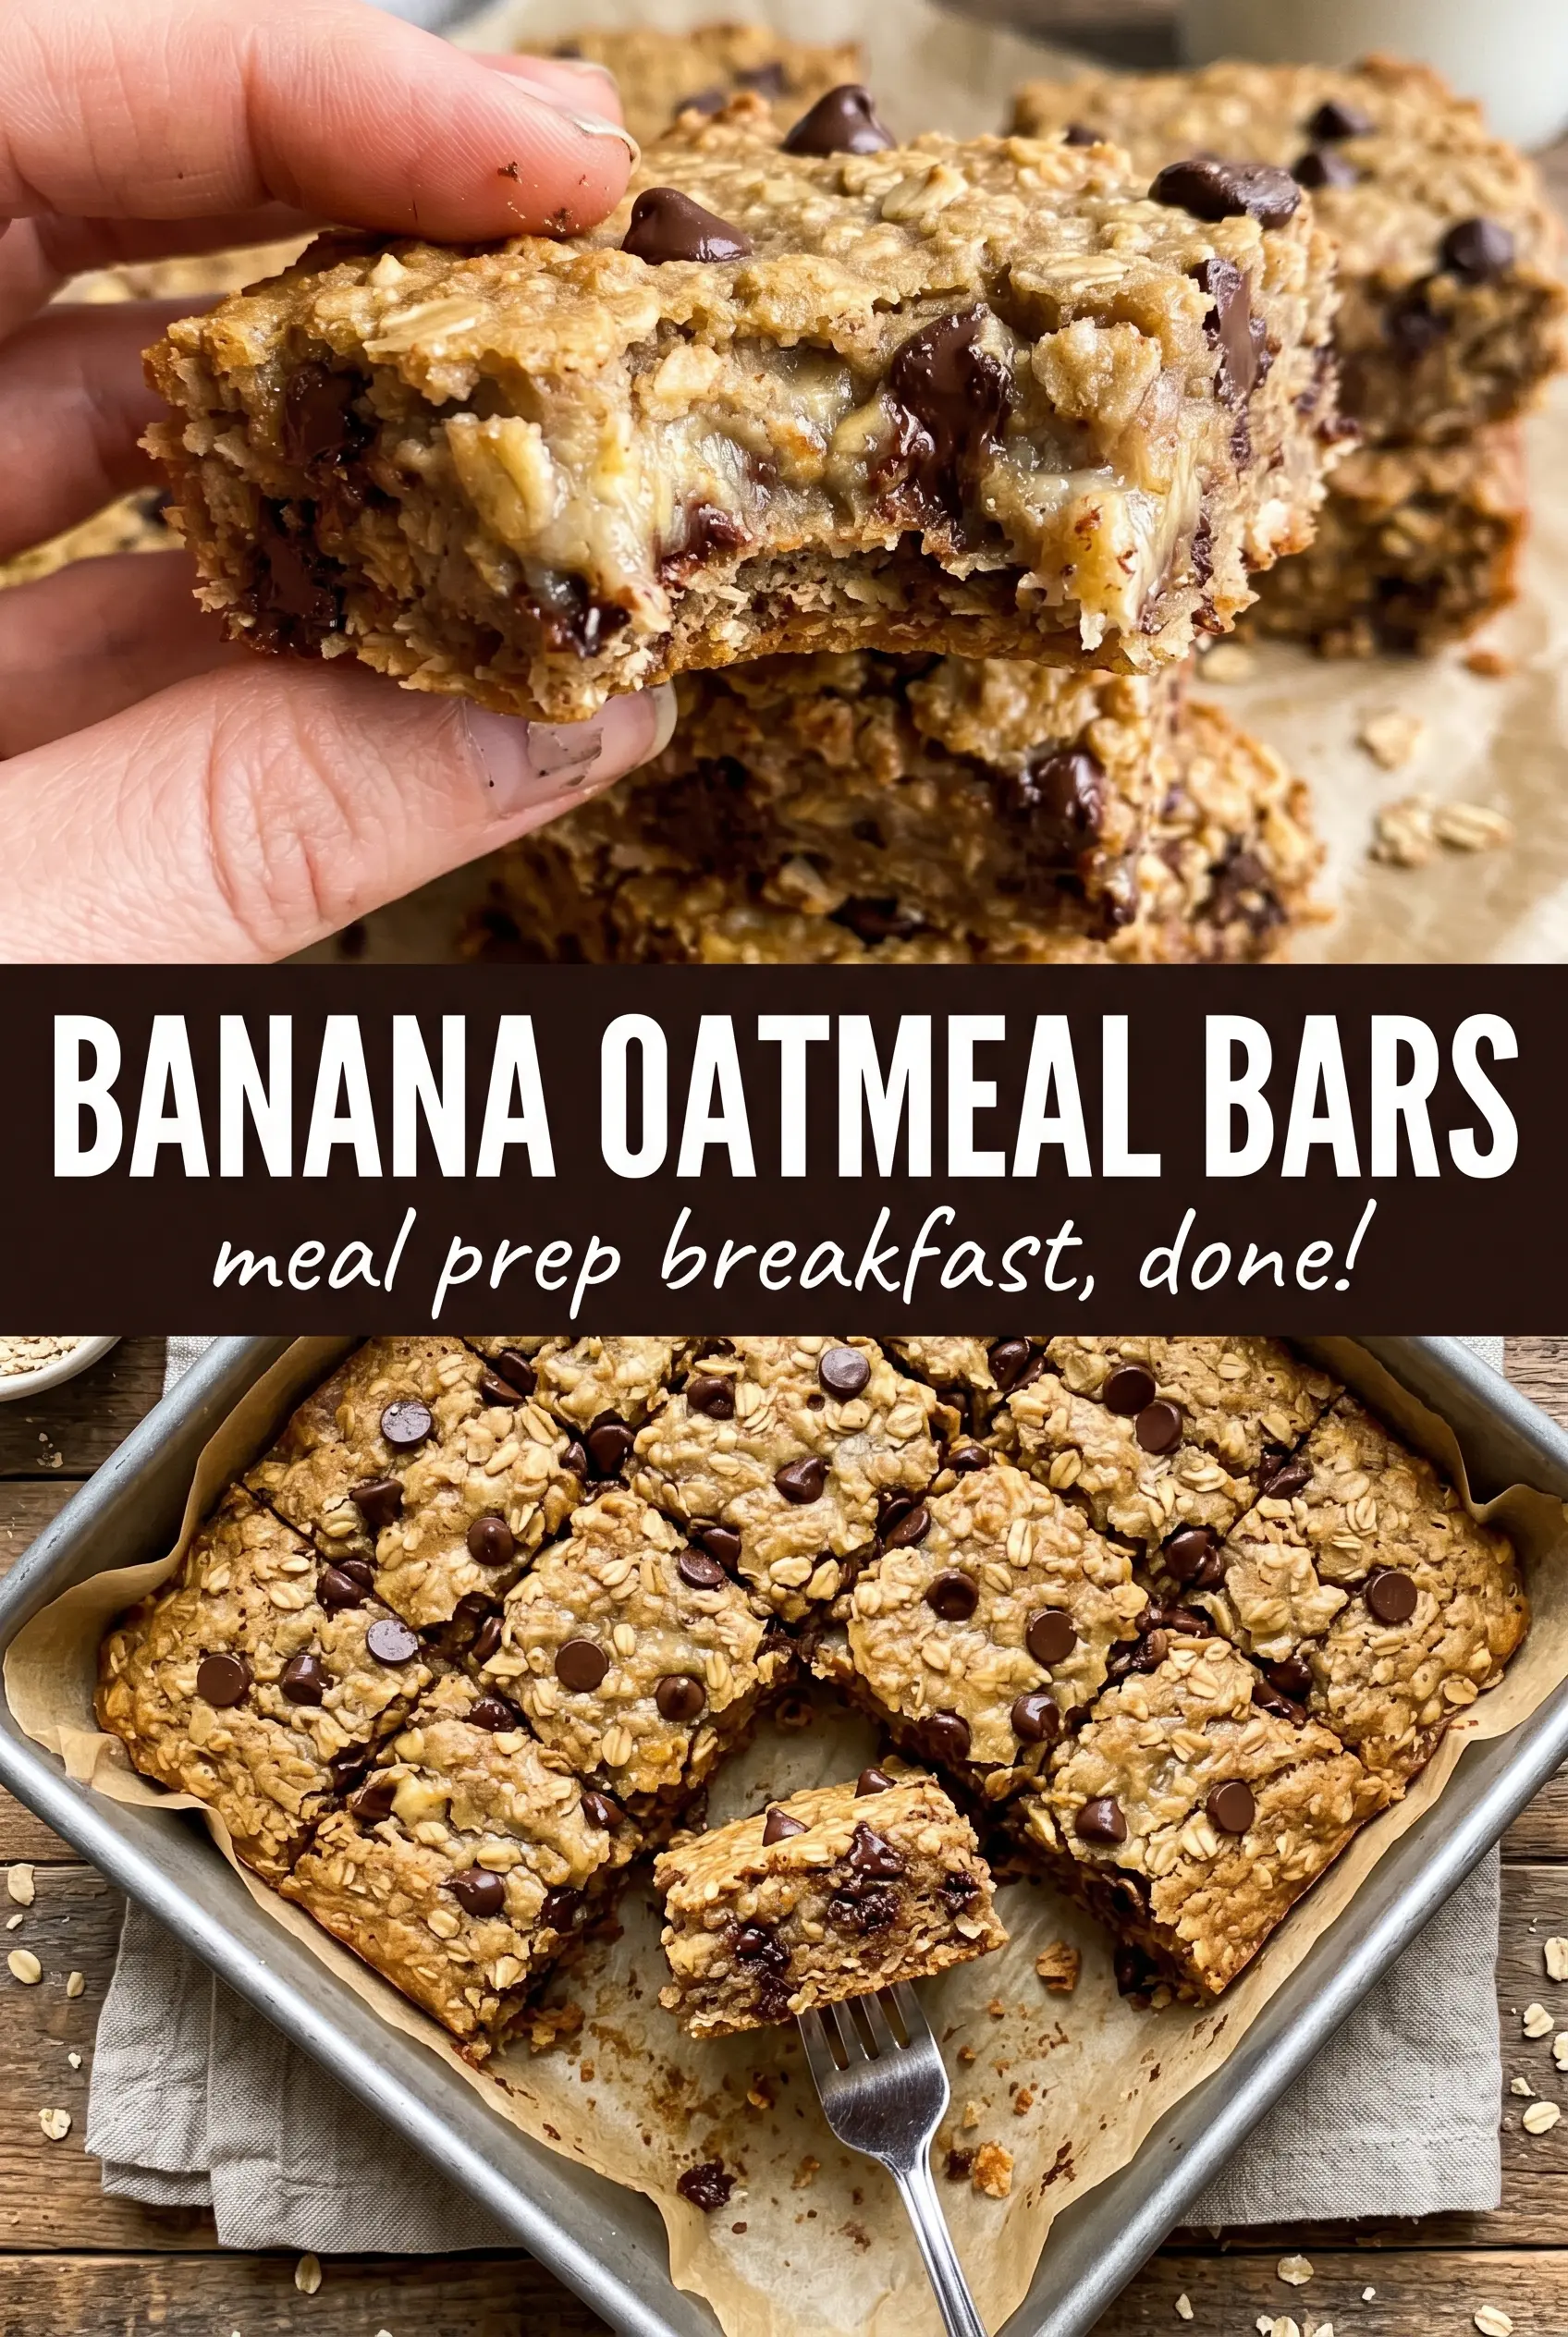
Banana Oatmeal Bars
Ingredients
Equipment
Method
- Preheat oven to 350°F and line an 8x8 or 9x13 pan with parchment paper, leaving overhang for easy lifting.
- Mash ripe bananas until completely smooth in a large bowl, with no banana chunks visible.
- Add rolled oats, honey, peanut butter, vanilla, cinnamon, and salt, then mix until fully combined and thick.
- Fold in chocolate chips or add-ins if using, distributing them evenly through the batter.
- Press the mixture evenly into the pan and smooth the top so it bakes flat.
- Bake for 22–25 minutes at 350°F until edges are golden and the center is set.
- Cool completely before cutting into bars so they firm up into neat squares.