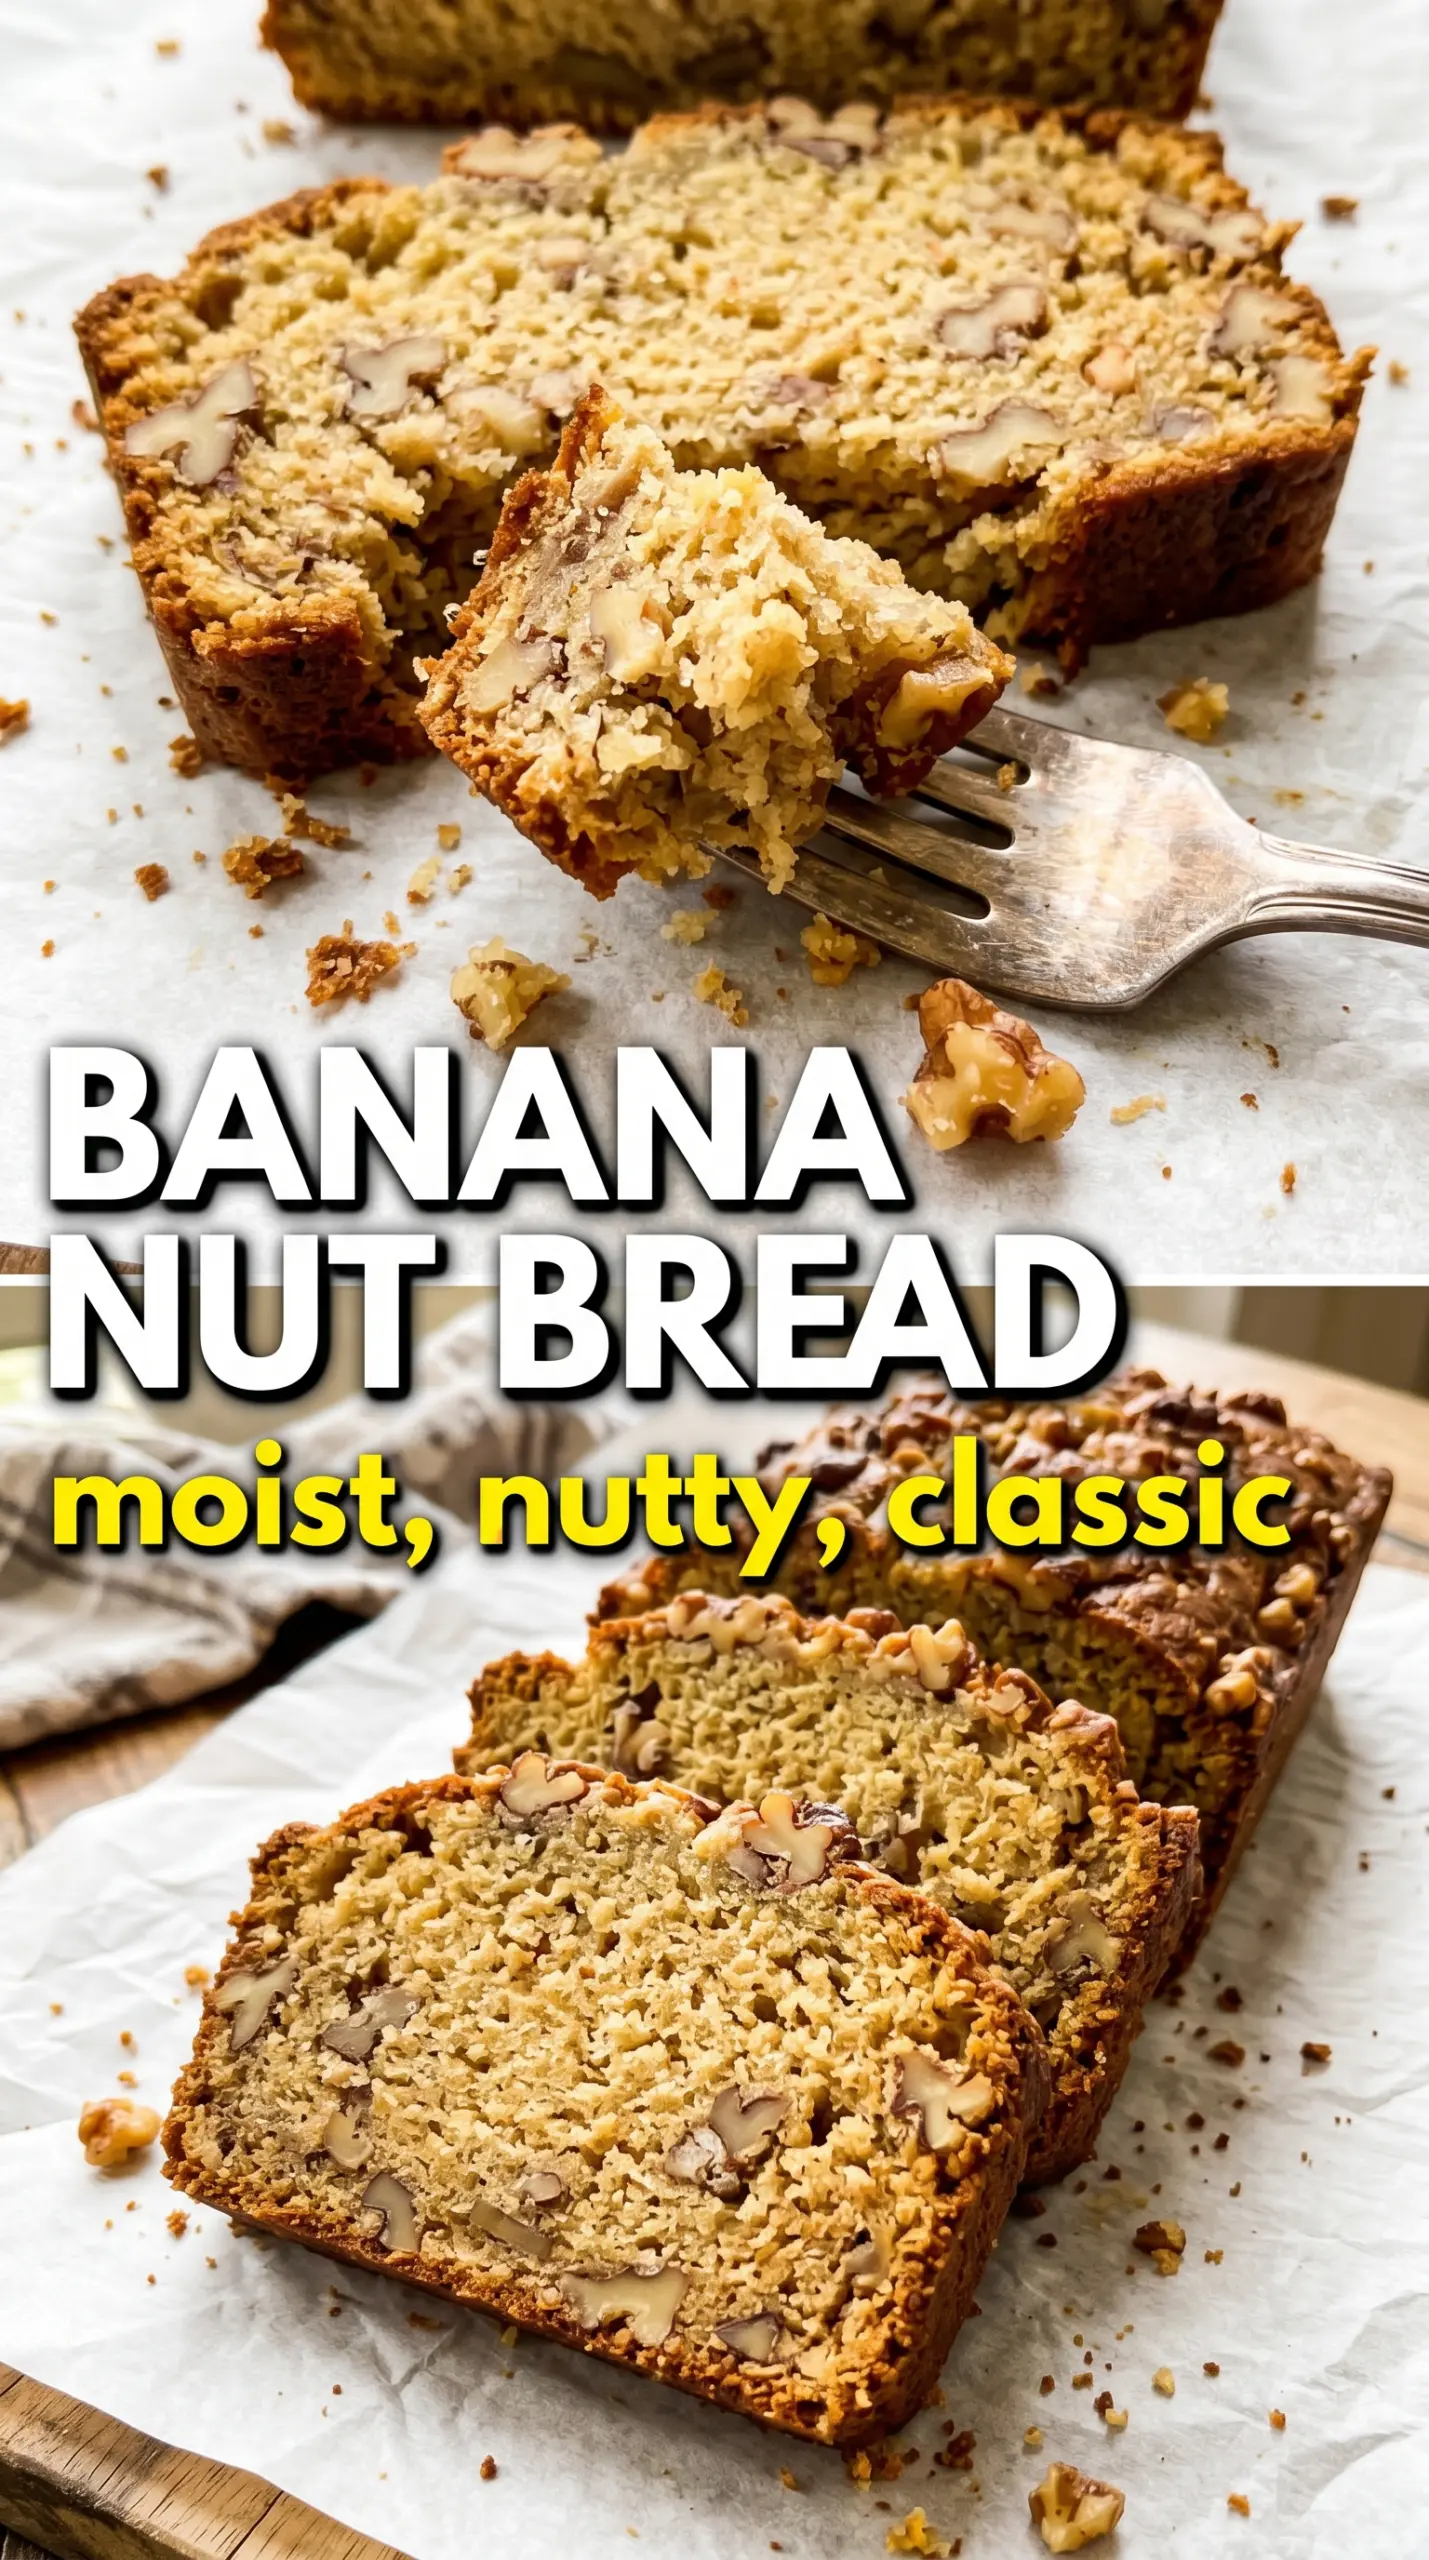
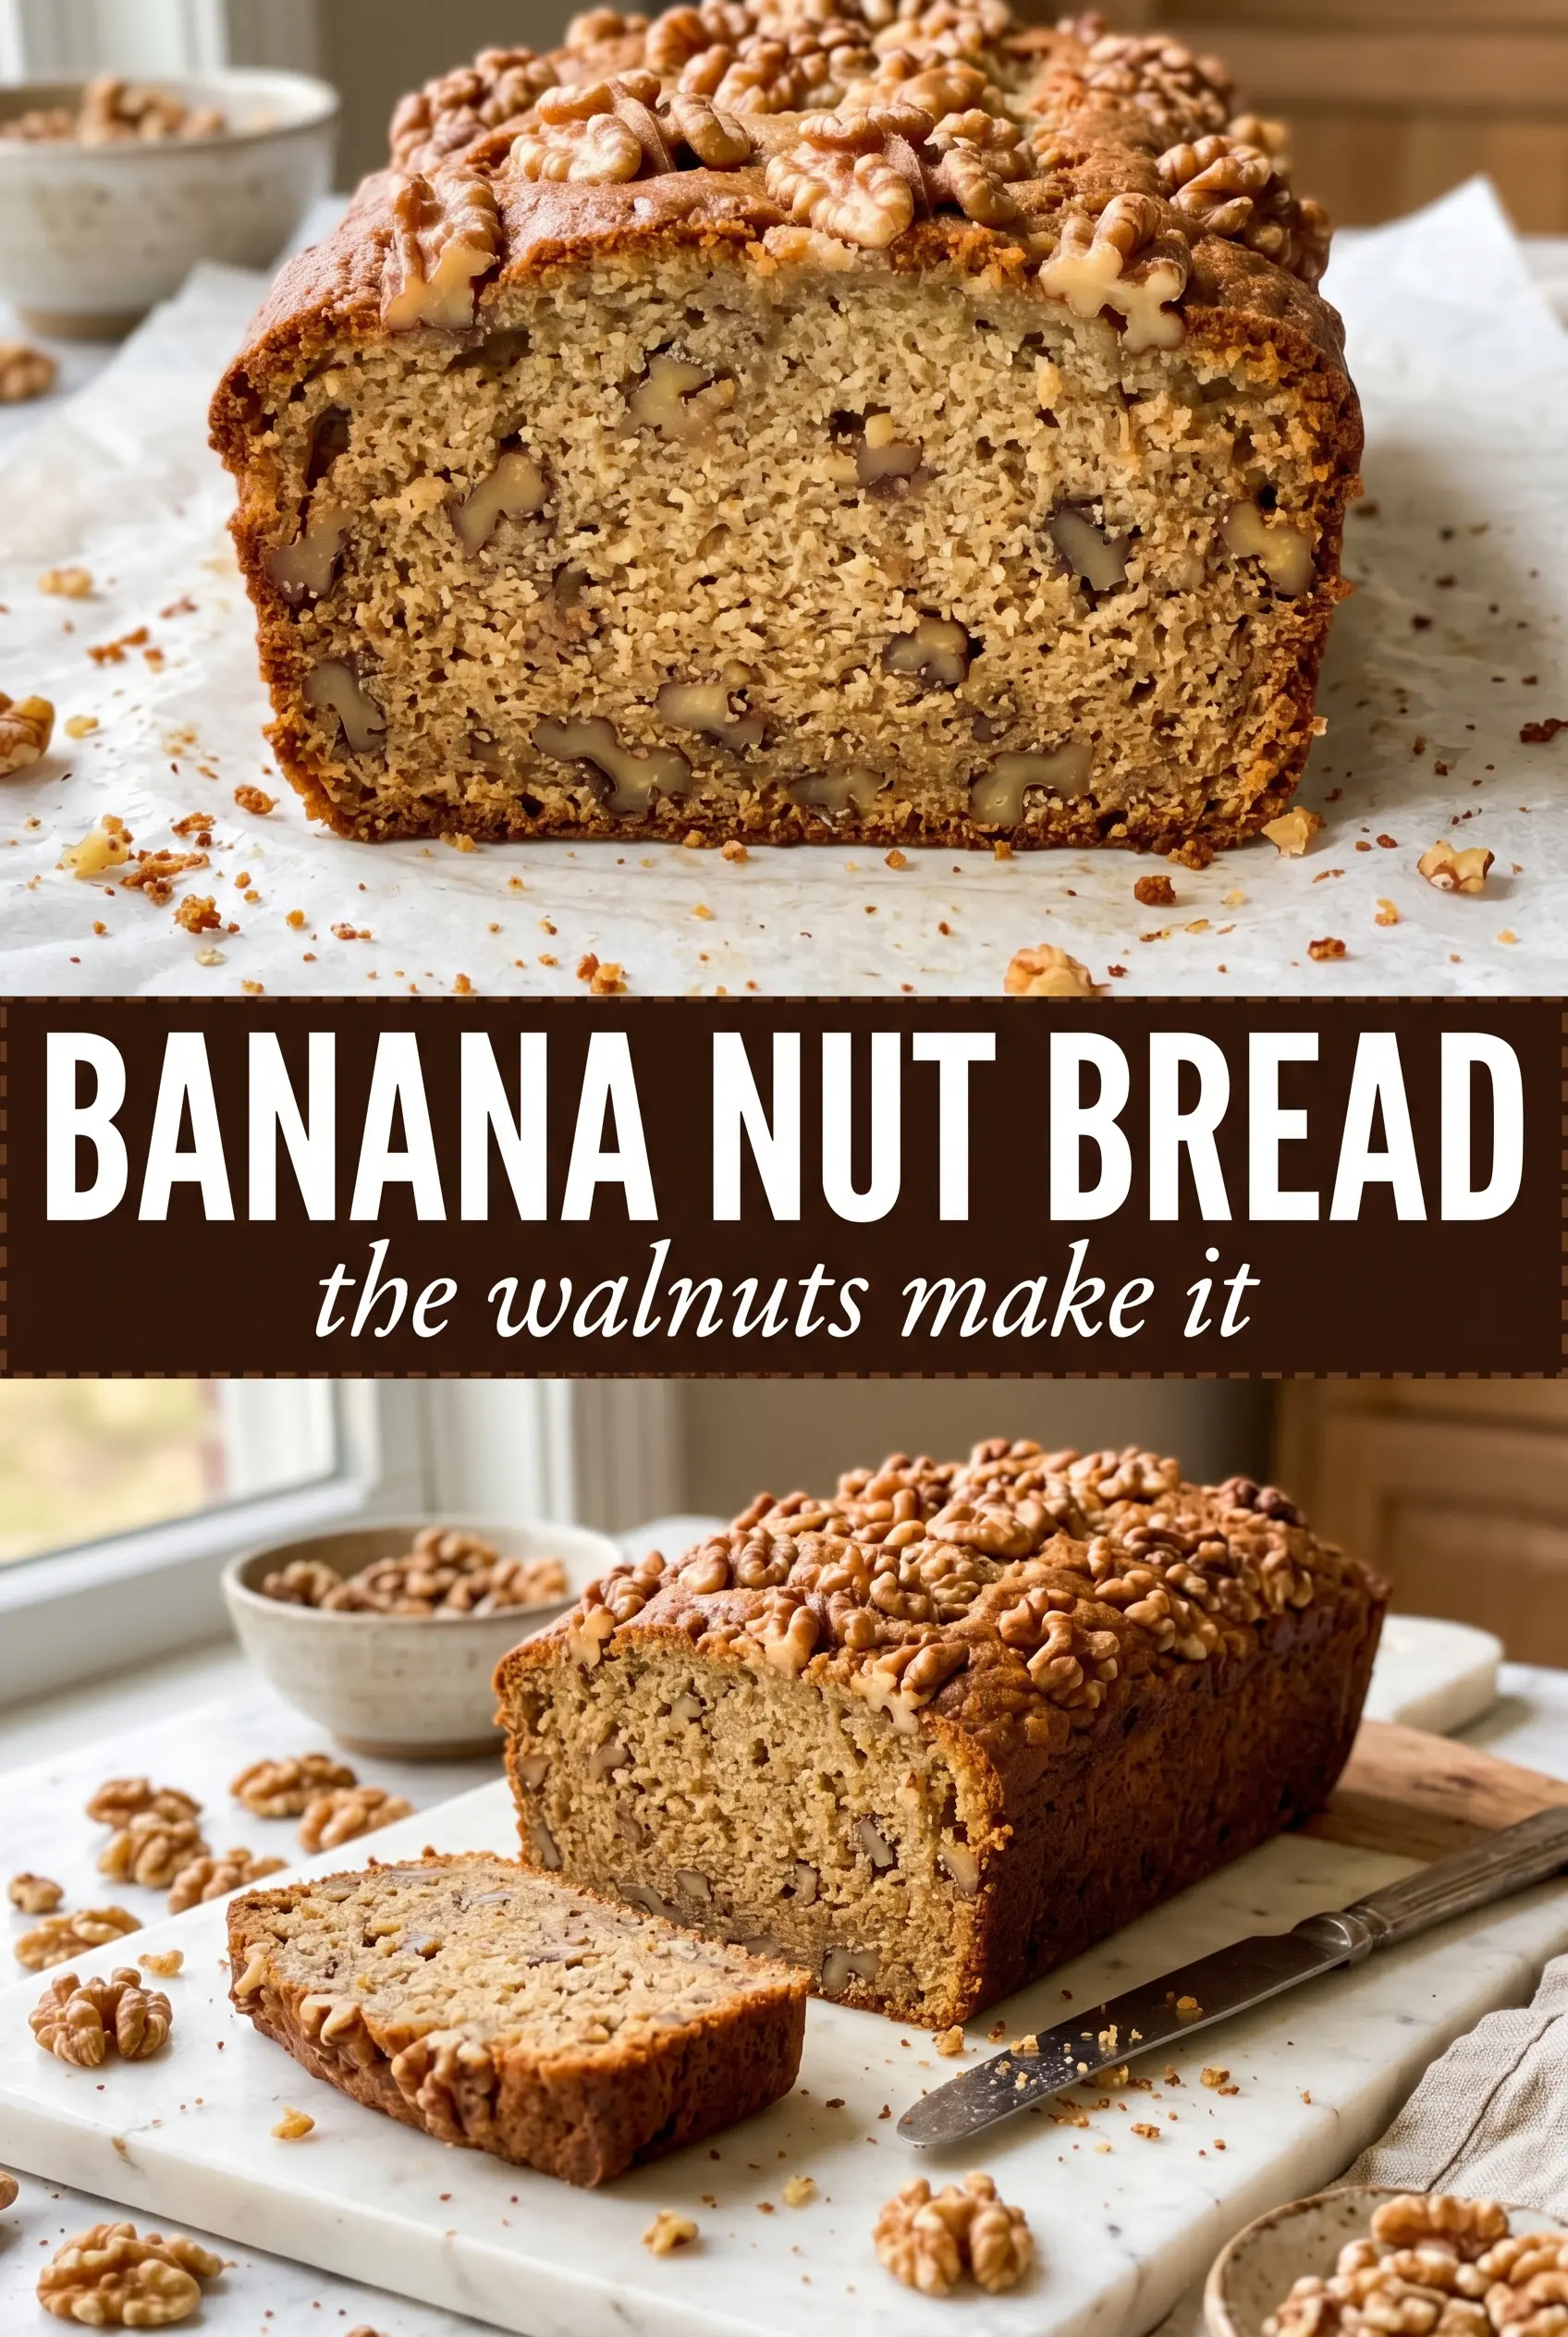
Banana nut bread earns its keep when the loaf comes out dense in the best way: plush and tender inside, caramelized at the edges, and packed with walnuts that stay pleasantly crunchy instead of disappearing into the crumb. The version I reach for most often has a strong banana flavor, a little warmth from cinnamon, and enough structure to slice cleanly after it cools.
The trick is balance. Very ripe bananas bring sweetness and moisture, but the batter still needs just enough flour and egg to hold together without turning gummy. I mix the wet ingredients until smooth, then stop as soon as the flour disappears; overmixing is what turns a good banana loaf tough and bready. A mix of walnuts inside the batter and pressed over the top gives you texture in every bite and a loaf that looks as good as it tastes.
Below, you’ll find the small details that matter most, from keeping the center from sinking to the best way to swap in another nut if walnuts aren’t your thing.
The loaf was moist all the way through and the walnuts on top got perfectly toasted. I baked mine for 64 minutes and it sliced cleanly after cooling, which never happens with banana bread in my house.
Save this walnut-studded banana nut bread for the days when those overripe bananas need to become something warm, moist, and sliceable.
The Difference Between a Moist Loaf and a Gummy One
Banana bread goes wrong when the batter gets too much mixing after the flour goes in. The gluten tightens up, and the loaf bakes up heavy instead of tender. The other common problem is underbaking the center because the top looks done too early; banana bread needs time for the middle to set, especially when you’ve packed in plenty of fruit.
The easiest way to avoid both problems is to treat the batter gently and trust the oven. Once the flour disappears, stop stirring. A few streaks are fine. The crumb finishes smoothing out as it bakes, and that light hand is what keeps the loaf soft instead of tough.
- Bananas — Use bananas with lots of brown freckles or a fully speckled peel. They mash easily and give you the strongest banana flavor, plus the moisture this loaf depends on.
- Melted butter — Butter gives the loaf a rich, rounded taste and helps the crumb stay soft. Melted butter blends easily with the bananas and keeps you from overworking the batter.
- Walnuts — Roughly chopped walnuts give the loaf its signature texture. If you want a cleaner slice, chop them a bit smaller; if you want bigger crunch in each bite, leave some larger pieces in the topping.
- Cinnamon — Just enough cinnamon warms up the banana without taking over. It’s subtle, but it keeps the loaf from tasting flat.
What Each Ingredient Is Actually Doing in This Bread
- Flour (the structure) — All-purpose or bread flour provides the base. Protein content affects texture.
- Leavening (baking powder, baking soda, or yeast) — This creates rise. For quick breads, chemical leavening works. Yeast requires time.
- Wet ingredients (milk, eggs, oil, or applesauce) — These hydrate flour and add richness. Balance moisture so bread isn’t gummy.
- Sugar (sweetness and structure) — Sugar tenderizes and adds flavor. Too much makes dense, gummy bread.
- Salt (the flavor enhancer) — Salt brings out natural flavors and prevents flatness.
- Flavorings (vanilla, spices, or zest) — These define the bread personality. Use quality extracts.
- Mix-ins (nuts, chocolate, fruit) — These add texture and prevent one-dimensional taste. Toast nuts first for better flavor.
- Proper baking temperature (350-375°F) — Moderate heat bakes bread evenly. Higher temps create dark crust before inside bakes.
Building the Batter Without Toughening the Crumb
Mashing the Bananas Properly
Mash the bananas until they’re mostly smooth with a few small lumps left behind. Those little bits melt into the loaf as it bakes and give you pockets of real banana flavor. If the bananas are only partially mashed, you’ll get uneven texture and wet spots in the crumb. The ripe, soft ones blend fastest and need the least coaxing.
Combining the Wet Ingredients
Whisk the melted butter, sugar, eggs, and vanilla into the bananas until the mixture looks glossy and evenly combined. This is where the loaf gets its structure and sweetness, so scrape the bowl well and break up any streaks of egg. If the butter is hot enough to cook the eggs, let it cool for a few minutes first. Warm butter is fine; steaming butter is not.
Folding in the Dry Ingredients and Walnuts
Add the flour, baking soda, salt, and cinnamon, then fold just until the last dry bits disappear. The batter should look thick and a little shaggy. Stir in most of the walnuts at the very end so they stay distributed without sinking. Scatter the remaining walnuts over the top for a toasted, crackly finish that makes every slice look homemade in the best way.
Baking Until the Center Sets
Pour the batter into a greased 9×5 loaf pan and bake until the top is deeply golden and a toothpick in the center comes out clean, usually 60 to 70 minutes. If the top browns too quickly before the middle is done, tent it loosely with foil during the last stretch. The loaf should feel set when you press the center lightly, not jiggly or wet. Let it rest in the pan for 10 minutes before turning it out so it finishes setting without steaming itself soggy.
How to Adapt This Loaf When You’re Out of Walnuts
Pecans Instead of Walnuts
Pecans give the loaf a softer, sweeter nuttiness and a slightly more buttery bite. Swap them 1:1 for the walnuts, and toast them first if you want a deeper flavor and extra crunch on top.
Make It Dairy-Free
Use melted coconut oil or a neutral dairy-free butter in place of the butter. Coconut oil works well, but it adds a faint coconut note and firms up a little more as the loaf cools. The texture stays close to the original.
Gluten-Free Banana Nut Bread
A good 1:1 gluten-free baking flour can work here, but the loaf may need a few extra minutes in the oven. Let it cool fully before slicing, because gluten-free banana bread firms up as it rests and cuts much cleaner once it’s no longer hot.
Storage and Reheating
- Refrigerator: Store covered for up to 5 days. The crumb tightens a little in the fridge, but the flavor stays great.
- Freezer: Banana nut bread freezes well. Wrap individual slices or the whole loaf tightly in plastic and then foil, and freeze for up to 3 months.
- Reheating: Warm slices in the microwave for 10 to 20 seconds or in a low oven. Don’t overheat it or the bread will dry out fast, especially once it’s been chilled.
Answers to the Questions Worth Asking
Banana Nut Bread
Ingredients
Equipment
Method
- Preheat oven to 350°F and grease a 9x5 loaf pan with a thin coating to prevent sticking.
- Whisk melted butter, sugar, eggs, and vanilla into the mashed bananas until well combined and smooth.
- Fold in all-purpose flour, baking soda, salt, and cinnamon until just combined, stopping as soon as no dry streaks remain.
- Fold in 3/4 cup of the walnuts so they are evenly distributed through the batter.
- Pour batter into the prepared loaf pan and scatter the remaining walnuts across the top.
- Bake for 60–70 minutes at 350°F until deeply golden and a toothpick inserted in the center comes out clean.
- Cool in the pan 10 minutes, then turn out onto a wire rack to finish setting before slicing.