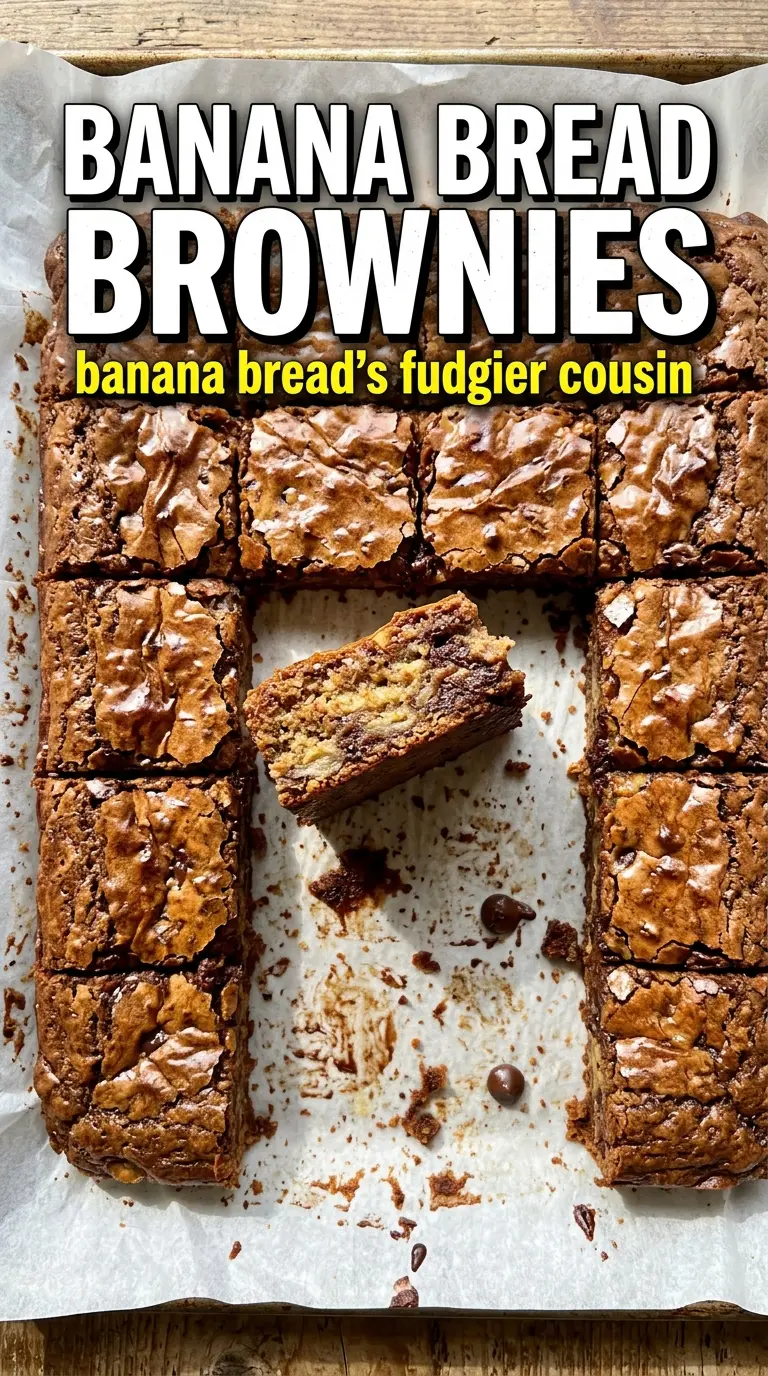
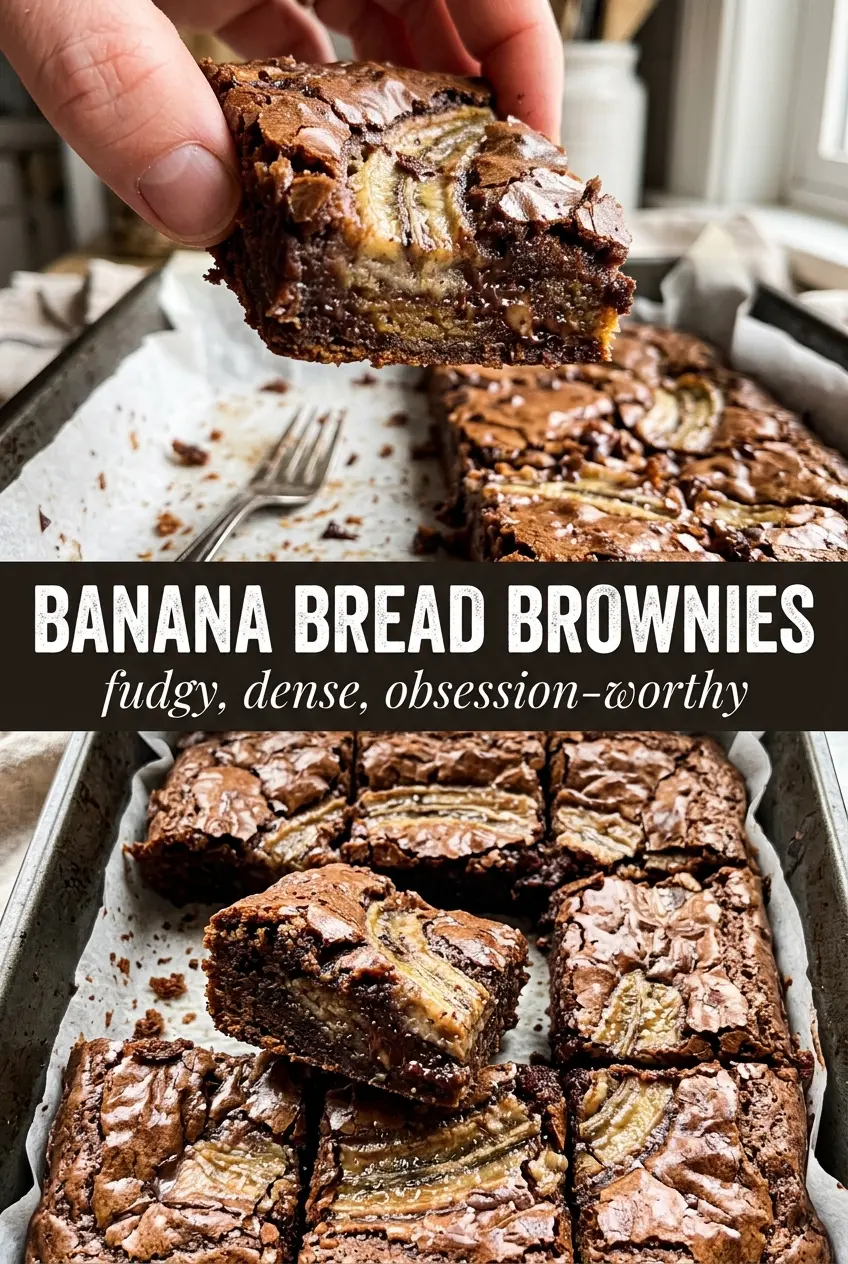
Banana Bread Brownies land in that sweet spot between a bakery-style bar and the banana bread people keep meaning to toast for breakfast. They bake up dense and fudgy with a crackly top, soft banana perfume, and just enough structure to slice cleanly once they cool. The brown butter pushes the flavor past plain banana bars and gives the whole pan a toasted, nutty depth that makes every bite taste finished.
What makes this version work is the balance of moisture and restraint. The bananas bring tenderness, but the flour stays low enough that the bars never turn cakey. Browned butter shows up twice, once in the batter and again in the glaze, so you get that deep, caramelized note in the bars themselves and then a warm, glossy finish that soaks into the top without turning soggy. Chocolate chips melt into little pockets instead of taking over.
Below, I walk through the one place people usually go wrong with banana bars, plus how to swap in different mix-ins without losing that fudgy texture.
The brown butter made these taste like banana bread and caramel had a baby, and the glaze sank into the top just enough without making the bars wet. I baked mine at 28 minutes and they came out perfectly fudgy in the middle.
Save these brown butter Banana Bread Brownies for the day you want a fudgy banana bar with a crackly top and a warm glaze.
The Part That Keeps These Bars Fudgy Instead of Cake-Like
Banana bars usually go one of two ways: they’re underbaked and gummy, or they bake up tall and airy like cake. The difference here is that the batter stays intentionally dense. Brown butter adds flavor, but it also cuts the wateriness you can get from a very ripe banana batter, which helps the bars hold that chewy, brownie-adjacent bite.
The other thing that matters is the mixing order. Once the flour goes in, stop stirring as soon as the last streak disappears. Overmixing wakes up the gluten and tightens the crumb, and that’s how you lose the soft, fudgy center. You want a batter that spreads easily in the pan but still looks thick when you smooth it out.
- Very ripe bananas — Use bananas with lots of brown spots and a soft peel. They mash smoothly and bring the strongest flavor. Underripe bananas stay starchy and won’t give you the same sweetness or moisture.
- Brown butter — This is the flavor engine. Browning it gives you a nutty edge that makes the bars taste deeper and less one-note. Let it cool for a few minutes before mixing so you don’t scramble the eggs.
- Brown sugar — The molasses in brown sugar helps the bars stay soft and chewy. White sugar will work in a pinch, but the flavor will be flatter and the texture a little drier.
- Chocolate chips — These are optional, but they work because they break up the banana flavor with small pockets of melted chocolate. Stir them in at the end so they stay suspended instead of sinking to the bottom.
What Each Ingredient Is Actually Doing in This Bread
- Flour (the structure) — All-purpose or bread flour provides the base. Protein content affects texture.
- Leavening (baking powder, baking soda, or yeast) — This creates rise. For quick breads, chemical leavening works. Yeast requires time.
- Wet ingredients (milk, eggs, oil, or applesauce) — These hydrate flour and add richness. Balance moisture so bread isn’t gummy.
- Sugar (sweetness and structure) — Sugar tenderizes and adds flavor. Too much makes dense, gummy bread.
- Salt (the flavor enhancer) — Salt brings out natural flavors and prevents flatness.
- Flavorings (vanilla, spices, or zest) — These define the bread personality. Use quality extracts.
- Mix-ins (nuts, chocolate, fruit) — These add texture and prevent one-dimensional taste. Toast nuts first for better flavor.
- Proper baking temperature (350-375°F) — Moderate heat bakes bread evenly. Higher temps create dark crust before inside bakes.
Building the Batter and Knowing Exactly When to Stop
Browning the Butter First
Set the butter in a light-colored saucepan so you can see the color change as it cooks. It will foam, then quiet down, then start to smell like toasted nuts and turn amber with little brown specks at the bottom. Pull it off the heat as soon as it reaches that point. If you wait until it looks deeply dark in the pan, it can cross into burnt territory fast.
Making the Banana Base
Whisk the cooled browned butter with the mashed bananas, brown sugar, eggs, and vanilla until the mixture looks smooth and glossy. A few banana lumps are fine, but the eggs need to disappear completely so the bars bake evenly. If the butter is still hot, it can cook the eggs on contact, which gives you little shreds instead of a smooth batter.
Finishing the Batter Without Overworking It
Add the flour, baking soda, cinnamon, and salt all at once, then stir just until the dry streaks are gone. The batter should be thick, not pourable, and the chocolate chips should go in last. Spread it into the pan in an even layer; if the top looks rough, that’s fine, because it will settle and form that crinkled surface as it bakes.
Knowing When the Pan Is Done
Bake until the edges are set and the center gives only slightly when you tap the pan. A toothpick should come out with a few moist crumbs, not wet batter. If you bake until the center is completely clean, the bars will lose their fudgy texture by the time they cool. Pull them while they still look a touch soft in the middle.
What to Change When You Want a Different Finish
Make Them Dairy-Free
Swap in a plant-based butter that browns well, or use melted coconut oil if that’s what you have. You’ll lose a little of the classic browned-butter depth, but the bars will still stay moist and sliceable. Skip the milk in the glaze and thin it with a little dairy-free milk instead.
Leave Out the Chocolate Chips
The bars still work without them and taste more like classic banana bread in blondie form. If you want extra texture, replace the chips with chopped toasted walnuts or pecans. Those add crunch and keep the bars from feeling too soft.
Bake It as Mini Bars
Use a lined 8×8 pan for thicker bars and add a few extra minutes of bake time. The center will need longer to set, so watch the edges and the toothpick test instead of the clock alone. This gives you a more brownie-like square with a higher ratio of glaze to crumb.
Storage and Reheating
- Refrigerator: Store covered for up to 5 days. The glaze will firm up and the bars get a little denser, which is nice if you like a chewy bite.
- Freezer: These freeze well. Wrap individual bars tightly and freeze for up to 2 months; thaw at room temperature before serving so the glaze doesn’t sweat.
- Reheating: Warm a bar for 10 to 15 seconds in the microwave if you want the chocolate soft and the glaze slightly melty. Don’t overheat them or the crumb turns rubbery fast.
Answers to the Questions Worth Asking
Banana Bread Brownies
Ingredients
Equipment
Method
- Preheat the oven to 350°F and grease a 9x13 pan so the bars release cleanly after baking.
- Brown the unsalted butter in a saucepan until golden and nutty smelling, then remove from heat and cool slightly for smoother mixing.
- Whisk the browned butter, brown sugar, eggs, and vanilla extract into the mashed ripe bananas until smooth and glossy.
- Fold in all-purpose flour, baking soda, cinnamon, and salt until just combined, then stir in the chocolate chips to keep the batter thick.
- Spread the batter evenly in the prepared pan and bake for 25–30 minutes until a toothpick comes out with just a few moist crumbs.
- Brown the 3 tablespoons butter for the glaze in a saucepan, then whisk with powdered sugar, milk, and vanilla until smooth.
- Pour the brown butter glaze over the warm bars so it soaks in, then slice when set.