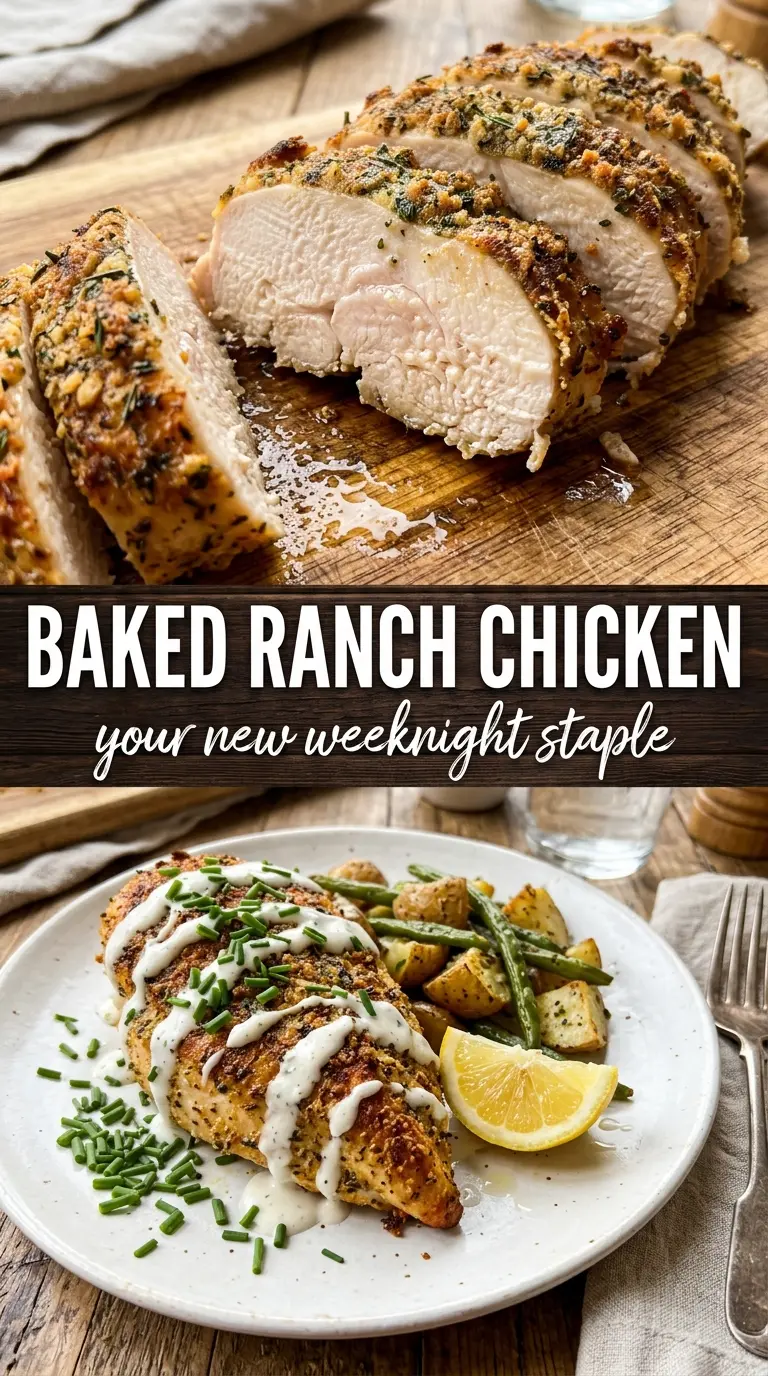
Baked ranch chicken turns into one of those dinners people keep asking for because the topping does more than just sit on the chicken. It bakes into a bronzed, crunchy crust with a salty Parmesan edge, while the chicken underneath stays juicy instead of drying out in the oven. The contrast is the whole point: crisp on top, tender in the middle, and seasoned all the way through.
The trick here is the mayonnaise. It looks simple, but it does two jobs at once: it helps the ranch seasoning cling to the chicken and it protects the meat so the topping can brown without the breast turning stringy. Panko adds the crackle, Parmesan adds sharpness and helps the crust set, and a little smoked paprika gives the top a deeper color and a subtle savory note that keeps the flavor from tasting flat.
Below, I’ve included the part that matters most if you want that crust to stay crisp instead of going soft, plus a few swaps that still hold up when you’re short on an ingredient or cooking for different diets.
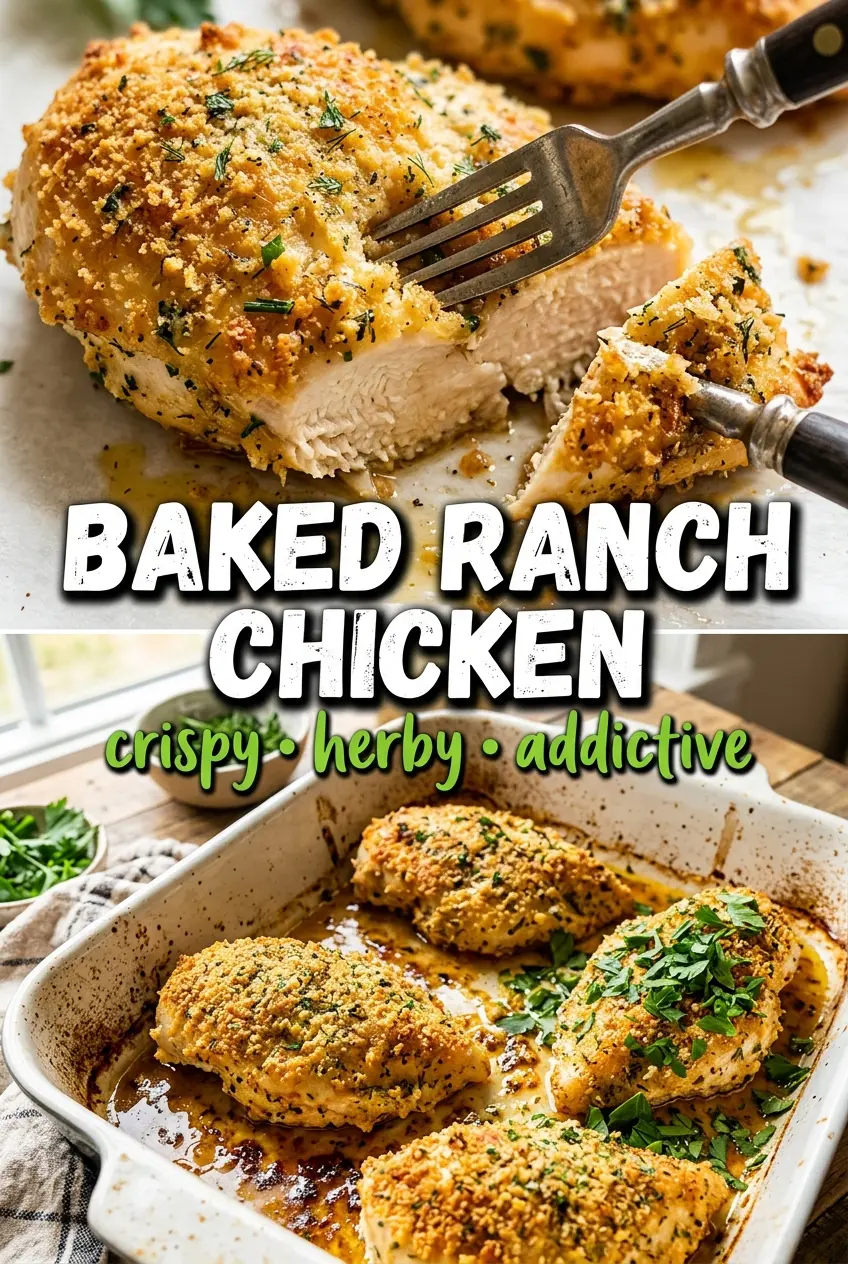
The crust got golden and crisp in the oven, and the chicken stayed juicy all the way through. I used a meat thermometer and pulled it right at 165, and the topping didn’t go soggy like some baked chicken recipes do.
Pin this baked ranch chicken for a crisp Parmesan crust and juicy chicken dinner that’s weeknight-simple but still feels like a real meal.
The Part That Keeps the Crust Crisp Instead of Soggy
The biggest mistake with baked ranch chicken is treating the topping like a breading and the mayonnaise like a nuisance. It’s the opposite. The mayo layer is what locks the crumbs and cheese onto the chicken, and it also keeps the surface from drying out before the crust has time to brown. If you skip that barrier or spread it too thin, the panko never fully adheres and the top can bake up patchy instead of evenly crisp.
Another thing that matters here is the order of the topping. The Parmesan and panko need to be mixed together before they go on the chicken so the salt and fat from the cheese are distributed through the crumbs. Press it on lightly but firmly. If you mound it loosely, it tends to slide off as the chicken cooks and releases a little moisture.
- Mayonnaise — This is the binder and moisture guard. Greek yogurt can work in a pinch, but it browns a little faster and brings a tangier finish.
- Freshly grated Parmesan — Pre-grated Parmesan is drier and less flavorful, but it will still work. Freshly grated melts and browns better, which is why the crust tastes fuller.
- Panko breadcrumbs — Regular breadcrumbs won’t give you the same airy crunch. If that’s what you have, use them, but expect a tighter, less crackly top.
- Ranch seasoning — This is where the chicken gets its core flavor. A homemade ranch blend can replace the packet if you keep the salt level balanced.
What Each Ingredient Is Actually Doing in This Recipe
- Primary ingredient (the star) — Quality matters most. Choose the best you can find.
- Cooking medium (oil, butter, or broth) — This carries flavors and prevents dryness.
- Seasonings (salt, pepper, spices, herbs) — Layer flavors so nothing overpowers. Build depth gradually.
- Aromatics (garlic, onion, herbs) — Cook with fat to bloom flavors. Become the foundation.
- Supporting ingredients — Complement the main ingredient without overpowering it.
- Sauce or liquid (if applicable) — Brings flavors together. Balance richness with acid.
- Acid (lemon, vinegar, wine, or other) — Brightens and prevents flat-tasting results.
- Final finish (garnish, glaze, or sauce) — Prevents one-dimensional taste and adds visual appeal.
Building the Topping So It Bakes, Browns, and Stays Put
Season the Chicken First
Light salt and pepper on the chicken before anything else gives the meat flavor under the crust, not just on top of it. Put the breasts in a greased baking dish with a little space around each one so the edges can roast instead of steam. If the pieces are very thick on one end, press them gently so they’re closer to even; that helps them cook at the same rate.
Mix the Ranch Layer Until It’s Smooth
Stir the mayonnaise and ranch seasoning until the mixture looks uniform and pale green-beige with no dry pockets. Spread it over the chicken in a thick, even layer. Don’t drag it around too much once it’s on, or you’ll pull the seasoning back off the surface.
Press on the Crumb Mixture
Combine the Parmesan, panko, garlic powder, and smoked paprika before sprinkling it over the mayo. Press the topping on with your fingertips so it sticks in a solid layer rather than a loose pile. The goal is a shell that clings; if it looks fluffy and tall, it’s more likely to fall apart in the oven.
Bake Until the Center Hits Temperature
Bake at 400°F until the crust is deeply golden and the chicken reaches 165°F in the thickest part. Pulling it at the right temperature matters more than the clock, because chicken breasts vary a lot in size. If the crust is getting dark before the center is done, loosely cover the dish with foil for the last few minutes so the top doesn’t over-brown.
Greek Yogurt Ranch Chicken
Swap the mayonnaise for full-fat Greek yogurt and the chicken still bakes up tender, with a tangier finish and a slightly softer crust. It works best if you spread it in a thicker layer and watch the oven near the end, since yogurt can brown faster than mayo.
Gluten-Free Crunchy Topping
Use certified gluten-free panko or crushed gluten-free crackers in place of regular panko. Crackers give a slightly denser, saltier crust, while gluten-free panko keeps the lighter crunch closest to the original.
Lower-Sodium Version
Use a reduced-sodium ranch packet, then season the chicken lightly and hold back on extra salt until you taste the finished dish. Parmesan still brings plenty of salt, so this version keeps the same savory bite without becoming too heavy-handed.
Make It Ahead for a Busy Night
You can coat the chicken a few hours ahead and keep it covered in the fridge until baking time. Wait to add the panko-Parmesan topping until just before it goes into the oven if you want the crunchiest result, since the crumbs soften as they sit on the mayo layer.
Storage and Reheating
- Refrigerator: Store leftovers in an airtight container for up to 3 days. The crust softens, but the flavor holds up well.
- Freezer: It freezes, though the topping loses some crunch. Freeze cooled portions tightly wrapped, then thaw in the fridge before reheating.
- Reheating: Warm in a 375°F oven or air fryer until hot through. The microwave works in a pinch, but it turns the crust soft, which is the main thing this recipe is trying to avoid.
Answers to the Questions Worth Asking
Baked Ranch Chicken
Ingredients
Equipment
Method
- Preheat the oven to 400°F and grease a baking dish so the crust can brown without sticking.
- Season the chicken breasts lightly with salt and pepper, then place them in the prepared dish in an even layer.
- Mix the mayonnaise with the ranch seasoning mix until smooth and fully combined.
- Spread the mayonnaise-ranch mixture generously over the top of each chicken breast so it covers the surface.
- Combine Parmesan cheese, panko breadcrumbs, garlic powder, and smoked paprika, then press the mixture over the mayonnaise-coated chicken to create an even crust.
- Bake at 400°F for 22-25 minutes until the crust is golden and the chicken reaches an internal temperature of 165°F.
- Garnish with fresh chives or parsley and serve immediately for the best crackled crunch.