Golden, puffed, and crisp at the edges, this baked pancake comes out of the oven looking like something far fancier than the effort it takes. The pears soften just enough to turn silky and jammy underneath the batter, while cardamom gives the whole pan a warm, fragrant lift that makes the first bite taste special without tipping into dessert territory.
The batter stays intentionally simple: eggs, milk, flour, a little sugar, and a small amount of spice blended until smooth. That smoothness matters. Any lumps stay visible in a Dutch baby and bake up unevenly, while a fully blended batter rises in a cleaner, taller puff. The hot skillet does the heavy lifting too, setting the bottom fast so the center can climb before the edges get too firm.
Below you’ll find the small timing details that matter most, plus a few smart swaps if your pears are extra ripe or your pantry is missing cardamom. The method is short, but the order of each step is what gives this pancake its dramatic rise and tender middle.
The pancake puffed up beautifully and the pears turned soft and caramelized without getting mushy. I loved the cardamom with the lemon at the end — it tasted like a brunch I’d order out, but it was easy enough to make before coffee was even finished.
Like this pear and cardamom Dutch baby? Save it to Pinterest for the mornings when you want a puffed, dramatic breakfast with almost no hands-on work.
The Reason This Pancake Puffs Instead of Sinking
A baked pancake rises best when the pan is already hot enough to start cooking the batter the moment it lands. That quick hit of heat sets the bottom and edges before the steam escapes, which is what gives you the tall, craggy puff instead of a flat, eggy skillet cake.
The other thing that matters is speed. Once the skillet comes out of the oven, the butter should melt and swirl immediately, the pears should already be waiting, and the batter should go in right away. If the pan sits on the counter too long, the batter loses its jump start and the rise drops noticeably.
- Hot skillet: This is what creates the lift. A room-temperature pan gives you a softer pancake with less dramatic rise.
- Blended batter: Smooth batter bakes more evenly and puffs more cleanly. Lumps can leave little floury pockets in the finished pancake.
- Thin pear slices: They soften before the top overbakes. Thick slices stay firm and can pull the batter apart.
- Immediate baking: Once the batter is poured in, it needs to go straight back into the oven so the structure starts setting at once.
What the Pears and Cardamom Are Really Doing Here
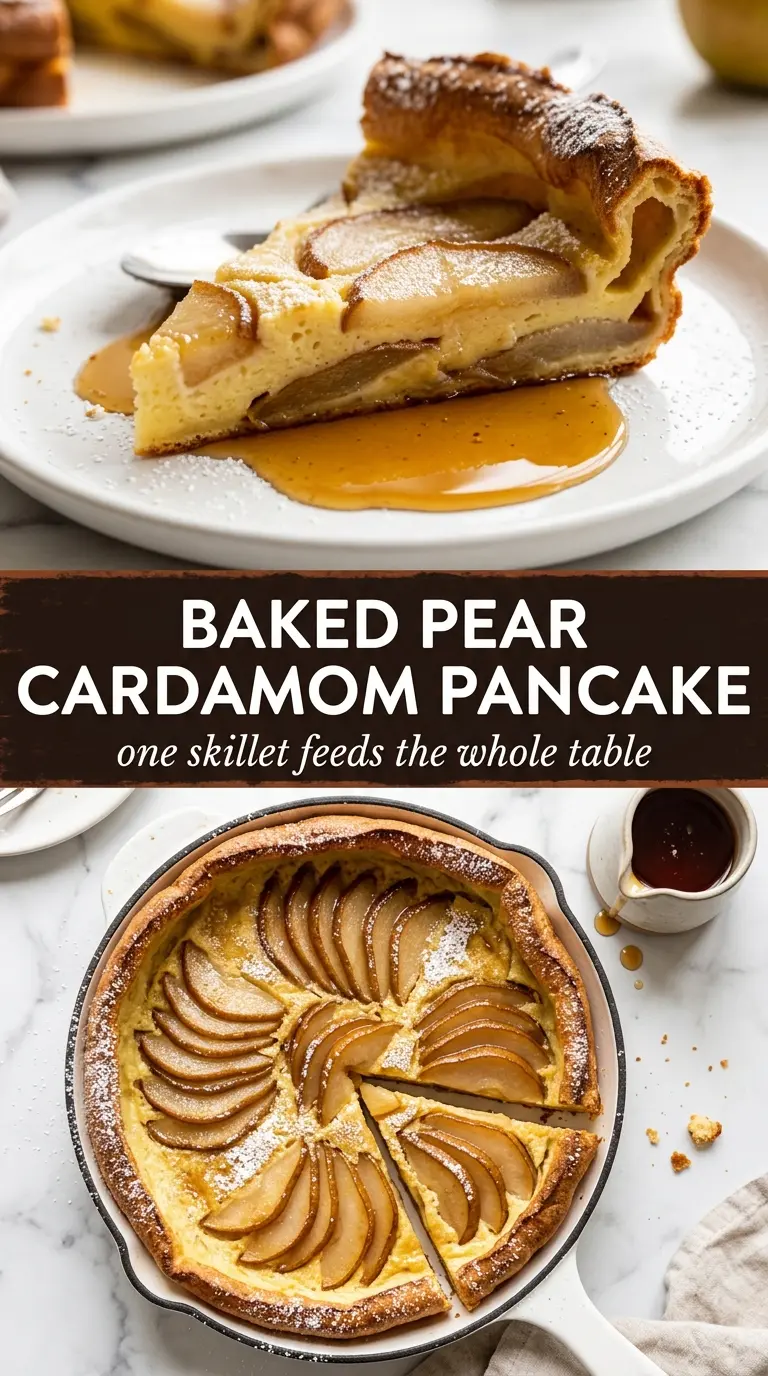
The pears are not just a topping. They bring moisture, sweetness, and a soft texture that settles into the pancake as it bakes, so every bite has a little contrast between the crisp edges and the tender fruit underneath. Use pears that are ripe but still firm; very soft pears can turn watery and disappear into the batter.
Cardamom is the spice that makes this taste like more than a standard sweet breakfast. It’s floral, warm, and a little citrusy, and it works especially well with pear and lemon. If you only have pre-ground cardamom, that’s fine. Freshly ground pods will be stronger and brighter, but the recipe still works beautifully with the pantry version.
- Pears: Bartlett, Bosc, or Anjou all work. Choose fruit that slices cleanly and holds its shape in the oven.
- Cardamom: The spice carries the whole pan. If yours is old and dusty, use a fresh jar because stale cardamom tastes flat fast.
- Brown sugar: Just a tablespoon helps the pears start to caramelize in the skillet. It’s a small amount, but it deepens the fruit flavor.
- Lemon wedges: The squeeze of acid at the table cuts the richness and wakes up the cardamom.
Building the Batter and Letting the Oven Do the Rest
Heat the Pan Until It’s Unmistakably Hot
Put the cast iron skillet in the oven while it preheats to 425°F. The pan needs the full heat-up time, not just a few minutes, because that heat is what gives the pancake its dramatic rise. If the skillet is only warm, the batter will start setting too slowly and the center won’t balloon the same way.
Blend Until the Batter Looks Smooth and Loose
Combine the eggs, milk, flour, sugar, cardamom, cinnamon, vanilla, and salt until the mixture looks completely smooth, with no visible flour streaks. The batter should pour like heavy cream. Letting it sit for a minute or two while the pears are prepped is fine, but don’t let it linger too long or the flour starts to thicken it before it hits the pan.
Move Fast Once the Butter Hits the Skillet
Carefully remove the hot skillet, add the butter, and swirl until it melts and coats the bottom. Add the pears in a single layer, then pour the batter over them immediately. The pan should go straight back into the oven without any pause; that timing is what locks in the puff and keeps the pears from sinking unevenly.
Bake Until Tall, Golden, and Set at the Edges
Bake for 20 to 25 minutes until the pancake is deeply puffed and the top is golden with a few darker ridges around the edges. The center should still have a little softness when you take it out, because it continues to finish as it cools. If you wait until it looks fully firm in the oven, it usually ends up dry.
Three Ways to Adapt This Baked Pancake Without Losing the Puff
Make it dairy-free
Use an unsweetened almond milk or oat milk and swap the butter for a neutral dairy-free butter or refined coconut oil. The pancake will still puff, but the flavor will be a little less rich and the edges may brown a touch differently. Refined coconut oil works best if you want the least noticeable flavor change.
Make it gluten-free
A good 1:1 gluten-free flour blend usually works here, especially one that already contains xanthan gum. The batter may rise a little less dramatically, but the texture stays tender if the blend is designed for baking. Don’t use almond flour alone; it won’t set with the same structure.
Swap the pears for apples
Thinly sliced apples work if that’s what you have, especially a firm tart variety like Honeycrisp or Granny Smith. Apples stay a little more structured than pears and bring a sharper bite, so the pancake tastes less soft and perfumed. Add an extra pinch of cinnamon if you want the fruit to read warmer.
Storage and Reheating
- Refrigerator: Store leftovers covered for up to 2 days. The pancake will deflate and the edges soften, but the flavor still holds up well.
- Freezer: I don’t recommend freezing it. The texture turns rubbery and the pears get watery after thawing.
- Reheating: Warm slices in a 325°F oven until heated through. The microwave makes the eggs chewy and kills what little crispness is left, so the oven is the better choice.
Questions I Get Asked About This Recipe
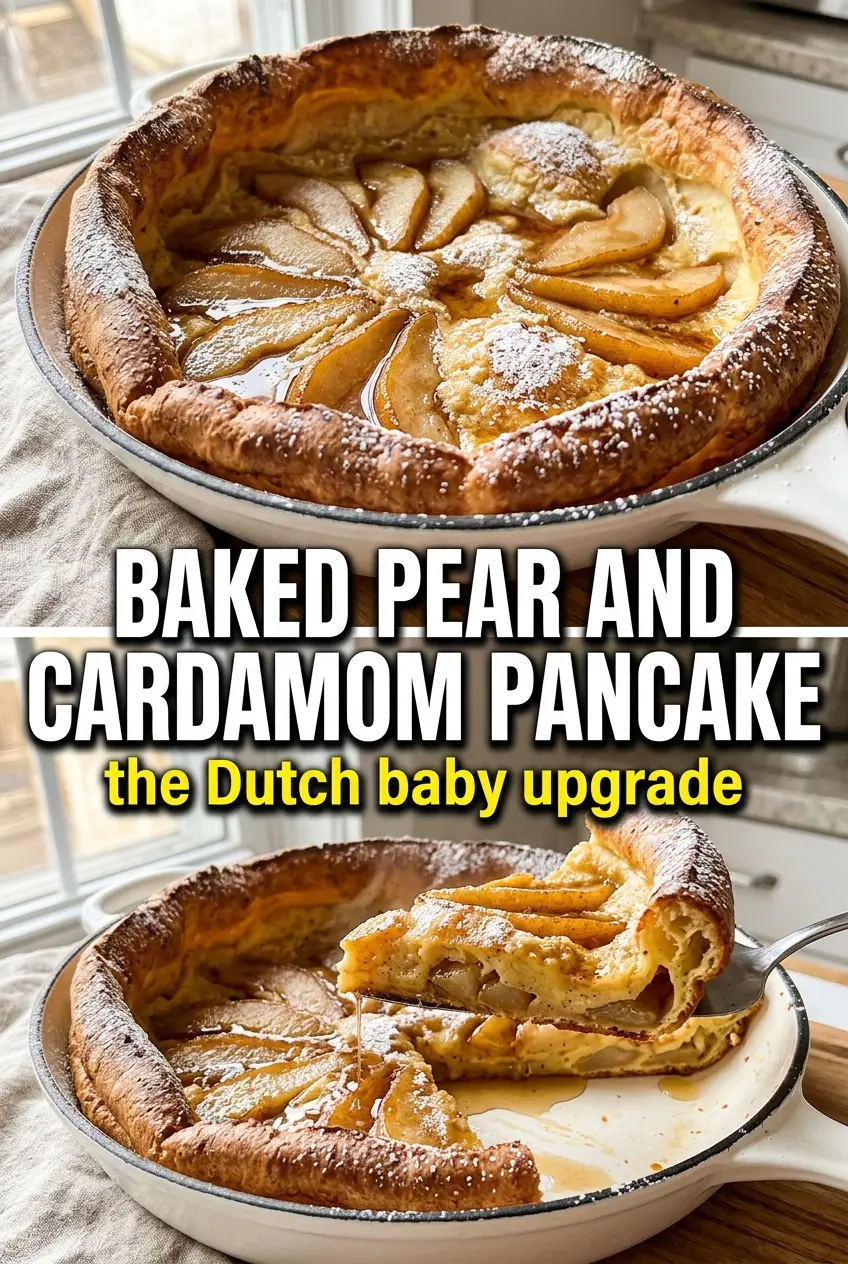
Baked Pancake with Pear and Cardamom
Ingredients
Equipment
Method
- Preheat the oven to 425°F and place a 10-inch cast iron skillet inside to heat through.
- While the oven heats, peel and thinly slice the pears, then toss them with the brown sugar until coated.
- Blend the eggs, whole milk, all-purpose flour, sugar, cardamom, cinnamon, vanilla extract, and salt until completely smooth.
- When the oven is hot, carefully remove the skillet and swirl in the butter so the bottom is evenly coated.
- Arrange the pear slices in the skillet in a single layer, then immediately pour the batter over the pears.
- Return the skillet to the oven and bake for 20–25 minutes, until dramatically puffed and golden.
- Dust the hot baked pancake with powdered sugar and serve immediately with lemon wedges.