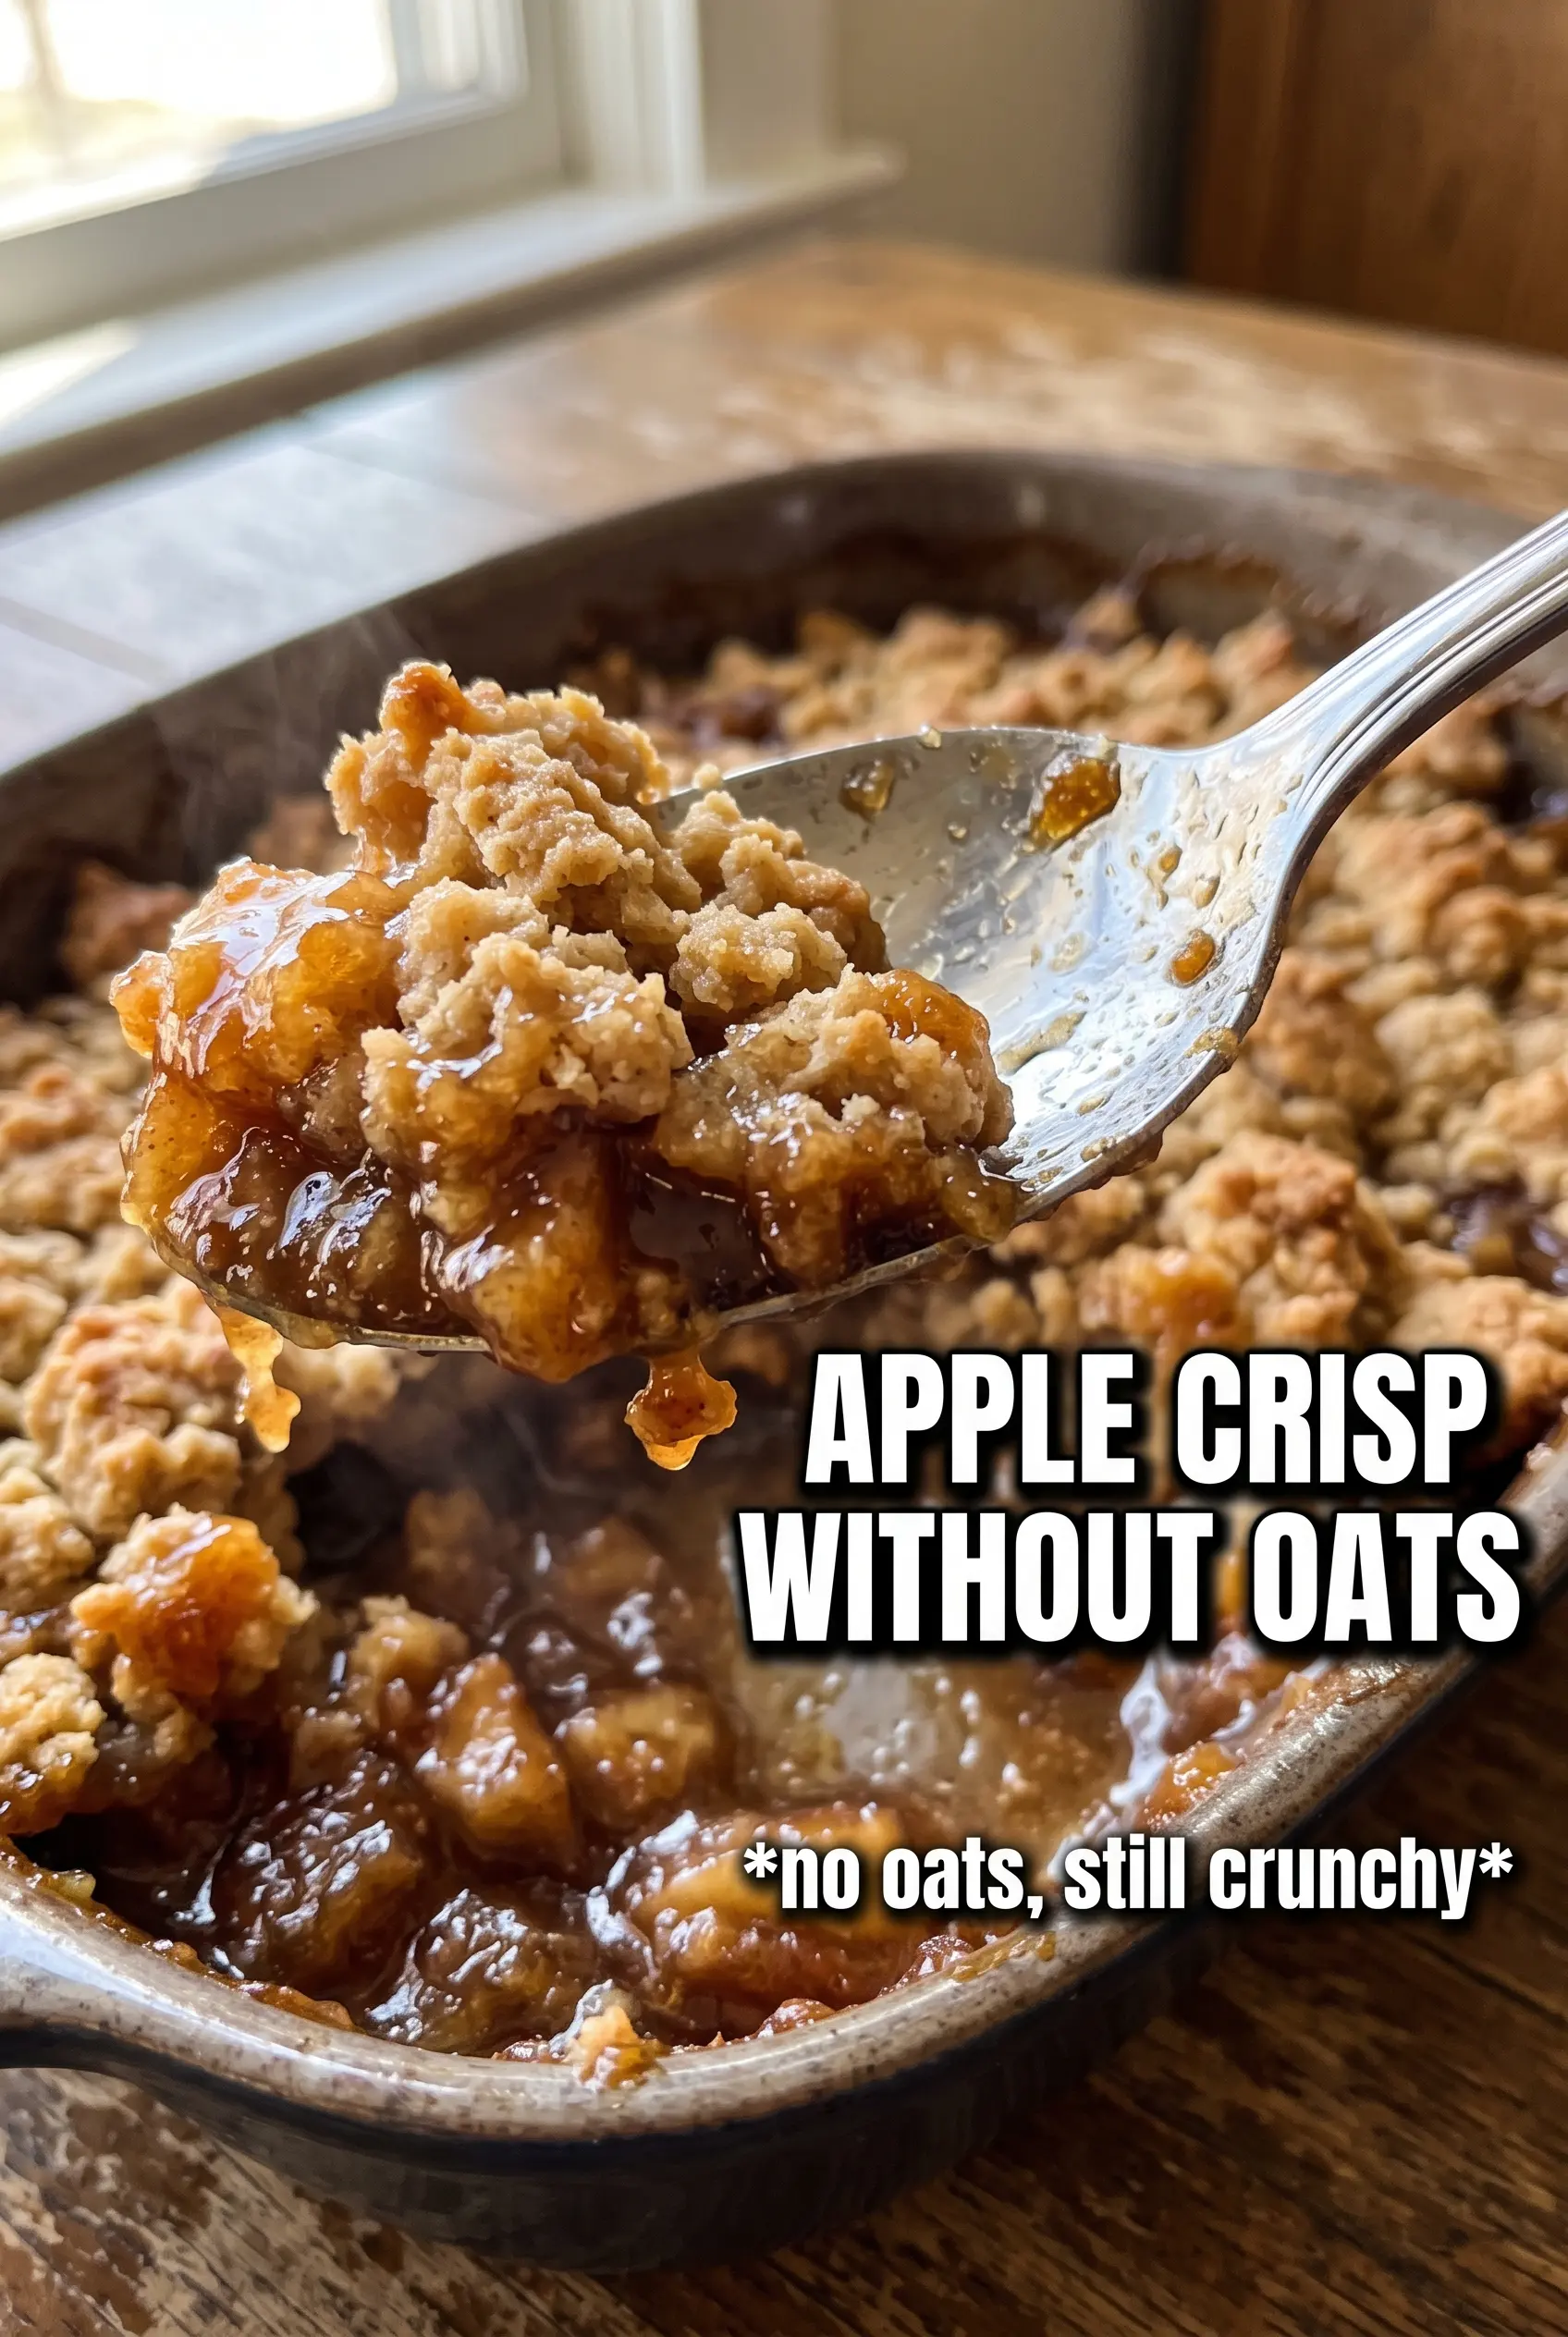
Apple crisp without oats lands with the kind of topping that cracks under your spoon and stays sandy, buttery, and crisp instead of turning chewy. The filling underneath gets soft and glossy, with cinnamon and nutmeg folded into the apples and just enough juice thickened around the edges to keep every bite spoonable. It’s the kind of dessert that disappears fast because it tastes familiar, but the texture has more structure than most fruit crisps.
The trick is treating the topping like a pie dough in loose pieces: cold butter, enough flour to build those craggy clumps, and enough sugar to brown deeply without melting into a paste. The apples also need a little cornstarch, especially if you want clean slices instead of a puddle in the pan. That small bit of starch is what keeps the filling from running all over the plate when you serve it warm.
Below, I’ve added the small choices that matter most, from which apples hold up best to how to keep the crumble from baking into a hard lid. If you’ve been hoping for an oat-free version that still gives you that deep, bakery-style crunch, this one does the job.
The topping baked up sandy and crisp all the way through, and the apples held their shape instead of turning mushy. I loved that it wasn’t soggy at the bottom, even after sitting for a bit.
Save this oat-free apple crisp for the nights when you want a crunchy brown sugar topping and soft cinnamon apples in one pan.
The Oat-Free Topping Needs Cold Butter, Not Just More Flour
Most oatless crisps go wrong because the topping turns powdery, then bakes into a dense sheet. This version stays craggy because the butter is cut in cold and left in visible pieces, so it melts in the oven and creates tiny pockets of steam. That’s what gives you the sandy, crisp texture instead of a dry, cookie-like lid.
The other piece that matters is sugar balance. Brown sugar brings deeper flavor and a little chew, while granulated sugar helps the topping crisp and brown more evenly. If you pack the mixture too tightly over the fruit, it steams instead of browning, so scatter it loosely and let those uneven bits do their work.
What Each Ingredient Is Actually Doing In This Apple Crisp
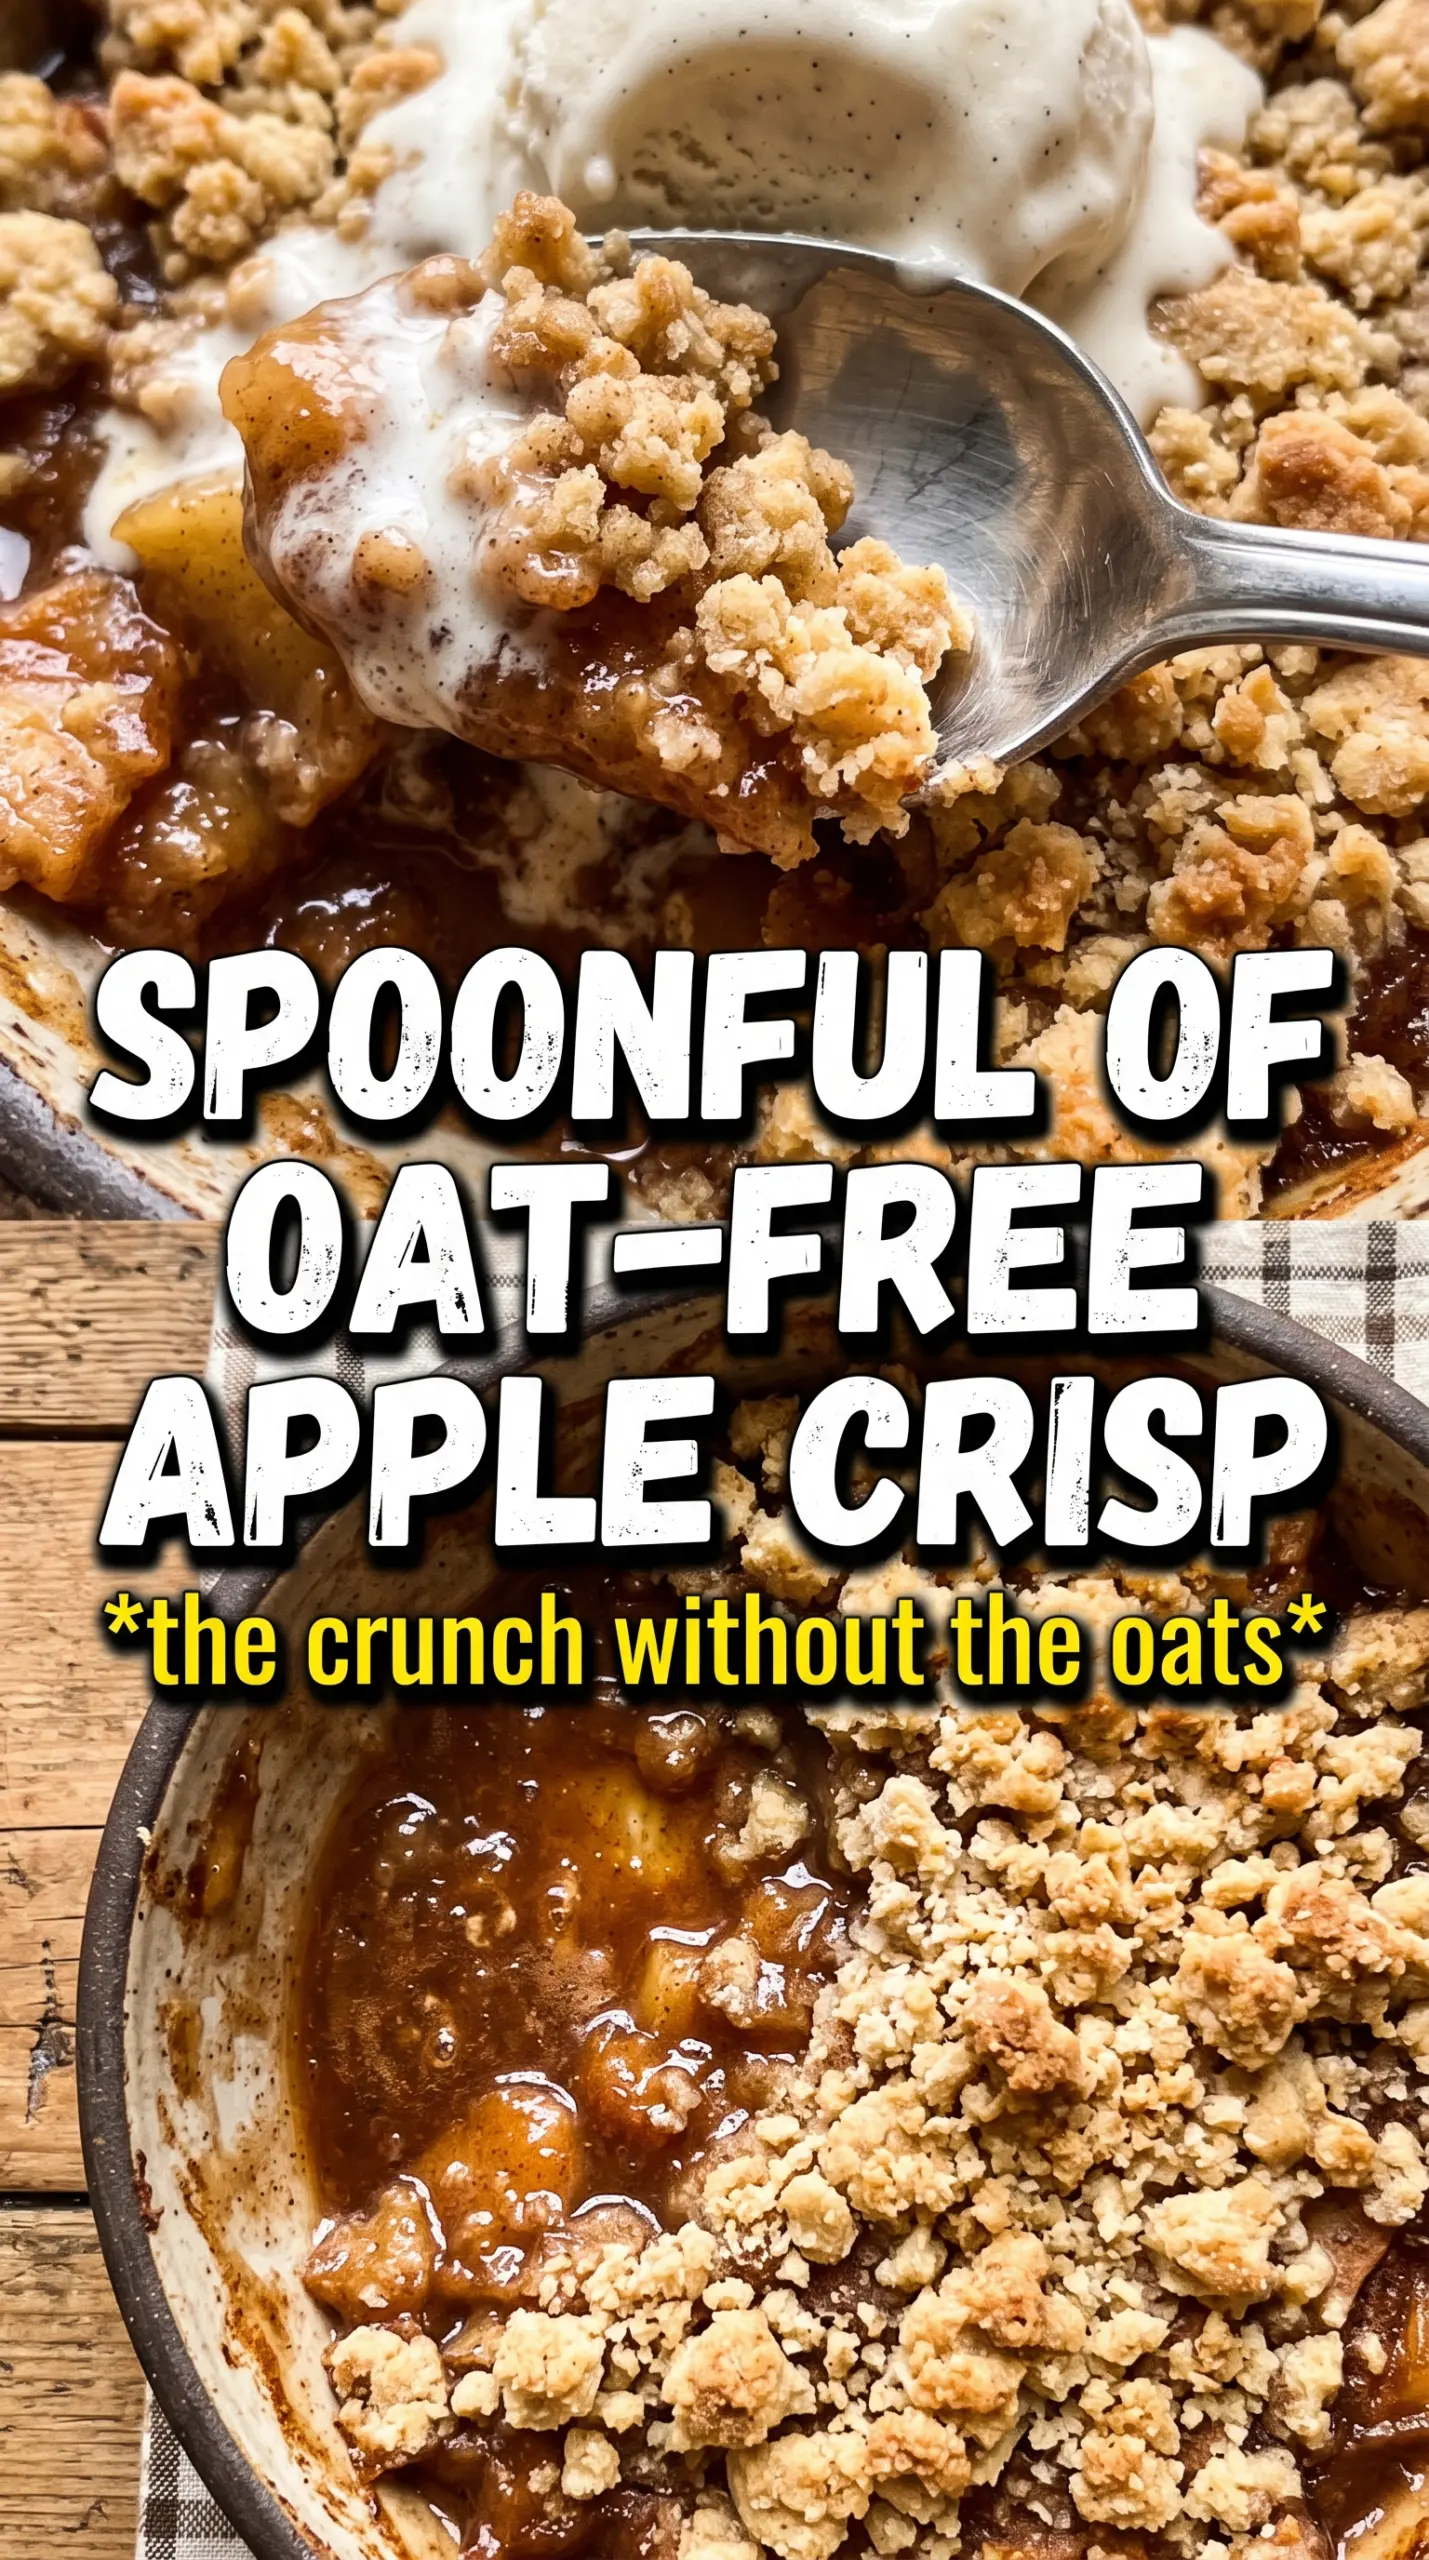
- Apples — A mix of firm, baking-friendly apples gives the best texture. Granny Smith, Honeycrisp, Pink Lady, or Braeburn all hold up well. If you use very soft apples, the filling will collapse before the topping gets a chance to crisp.
- Cornstarch — This thickens the apple juices as the crisp bakes, which keeps the filling glossy instead of watery. Flour can thicken too, but it makes the fruit layer heavier and a little cloudy. Cornstarch stays cleaner and gives you a better spoonable fill.
- All-purpose flour — This is what gives the topping its crumbly structure in place of oats. It needs enough butter and sugar to clump into sandy chunks, so don’t overmix it into a paste.
- Cold butter — This is non-negotiable. Soft butter melts too fast and turns the topping greasy. Cubed cold butter creates pockets that bake into crisp, tender crumbles.
- Pecans or walnuts — Optional, but they add a nice toasty bite and help break up the sweetness. Chop them roughly so they blend into the crumble instead of disappearing.
Building the Filling Before the Topping Takes Over
Coating the Apples Evenly
Toss the sliced apples with sugar, cinnamon, nutmeg, cornstarch, and lemon juice until every piece looks lightly coated. You want the cornstarch dispersed before the fruit hits the pan, or it can clump and leave you with patches that don’t thicken properly. The lemon juice keeps the apples brighter and cuts through the sweetness so the filling tastes like apples, not just sugar and spice.
Making the Crumble in True Clumps
Mix the flour, both sugars, spices, and salt first, then cut in the cold butter until the texture looks like damp sand with bigger pebbly pieces mixed in. Stop before it looks smooth. If the topping is too fine, it bakes into a hard crust instead of a crisp crumble. Stir in the nuts at the end so they stay distributed without getting chopped up by the butter.
Baking Until the Center Bubbles
Spread the crumble over the apples in an even layer, but don’t press it down. Bake until the top is deep golden and the filling is visibly bubbling around the edges and in the center. That bubbling matters — it tells you the cornstarch has activated and the fruit juices have thickened enough to hold together once the crisp cools. Let it rest for about 10 minutes before serving so the filling settles instead of pouring out.
Three Ways to Adjust This Crisp Without Losing the Crunch
Make it dairy-free
Use a solid dairy-free butter substitute in place of the unsalted butter, not a soft tub spread. You need something that chills firm and melts in pockets, or the crumble won’t hold its sandy texture. The flavor will be a little less rich, but the crisp structure stays intact.
Skip the nuts without changing the bake
The nuts are optional, so leaving them out won’t affect the bake time or texture much. If you want a little more crunch without nuts, add a few tablespoons of extra flour and a small handful more brown sugar, but don’t overdo it or the topping starts to get heavy.
Use a gluten-free flour blend
A 1:1 gluten-free baking blend works here, but pick one that includes xanthan gum or a similar binder. The topping may be a touch more delicate when scooped, yet it still bakes into crisp clusters. Avoid almond flour as the main swap; it browns fast and can turn greasy before the apples finish cooking.
Storage and Reheating
- Refrigerator: Store covered for up to 4 days. The topping softens as it sits, but the flavor holds.
- Freezer: Freeze baked crisp in a tightly wrapped dish for up to 2 months. Thaw in the fridge before reheating so the center doesn’t stay icy while the top overbakes.
- Reheating: Warm uncovered in a 325F oven until the edges are hot and the topping firms back up, about 15 to 20 minutes. The mistake to avoid is microwaving it for too long, which turns the crumble soft and the apples loose.