Apple crisp with oats is the kind of dessert that disappears fast because it gets both textures right: tender, cinnamon-heavy apples underneath a thick oat crumble that bakes up crisp on top and a little chewy where the fruit steam hits it. The contrast matters. A crisp with a sandy topping turns plain; one with cold butter worked into big clumps gives you those golden pockets that crack under a spoon and hold up under melting ice cream.
This version uses cornstarch to keep the apple juices from running thin, and the apple mix matters more than people think. Tart apples bring structure, sweeter apples round out the filling, and lemon juice keeps everything bright instead of flat. The crumble also leans on old-fashioned oats, which stay distinct in the oven instead of disappearing into the flour like quick oats can.
Below, I’ve laid out the small details that make the difference between a crisp topping that stays crumbly and one that bakes into a dense blanket. If you’ve ever pulled a fruit crisp from the oven and found watery filling underneath, the notes here will help with that too.
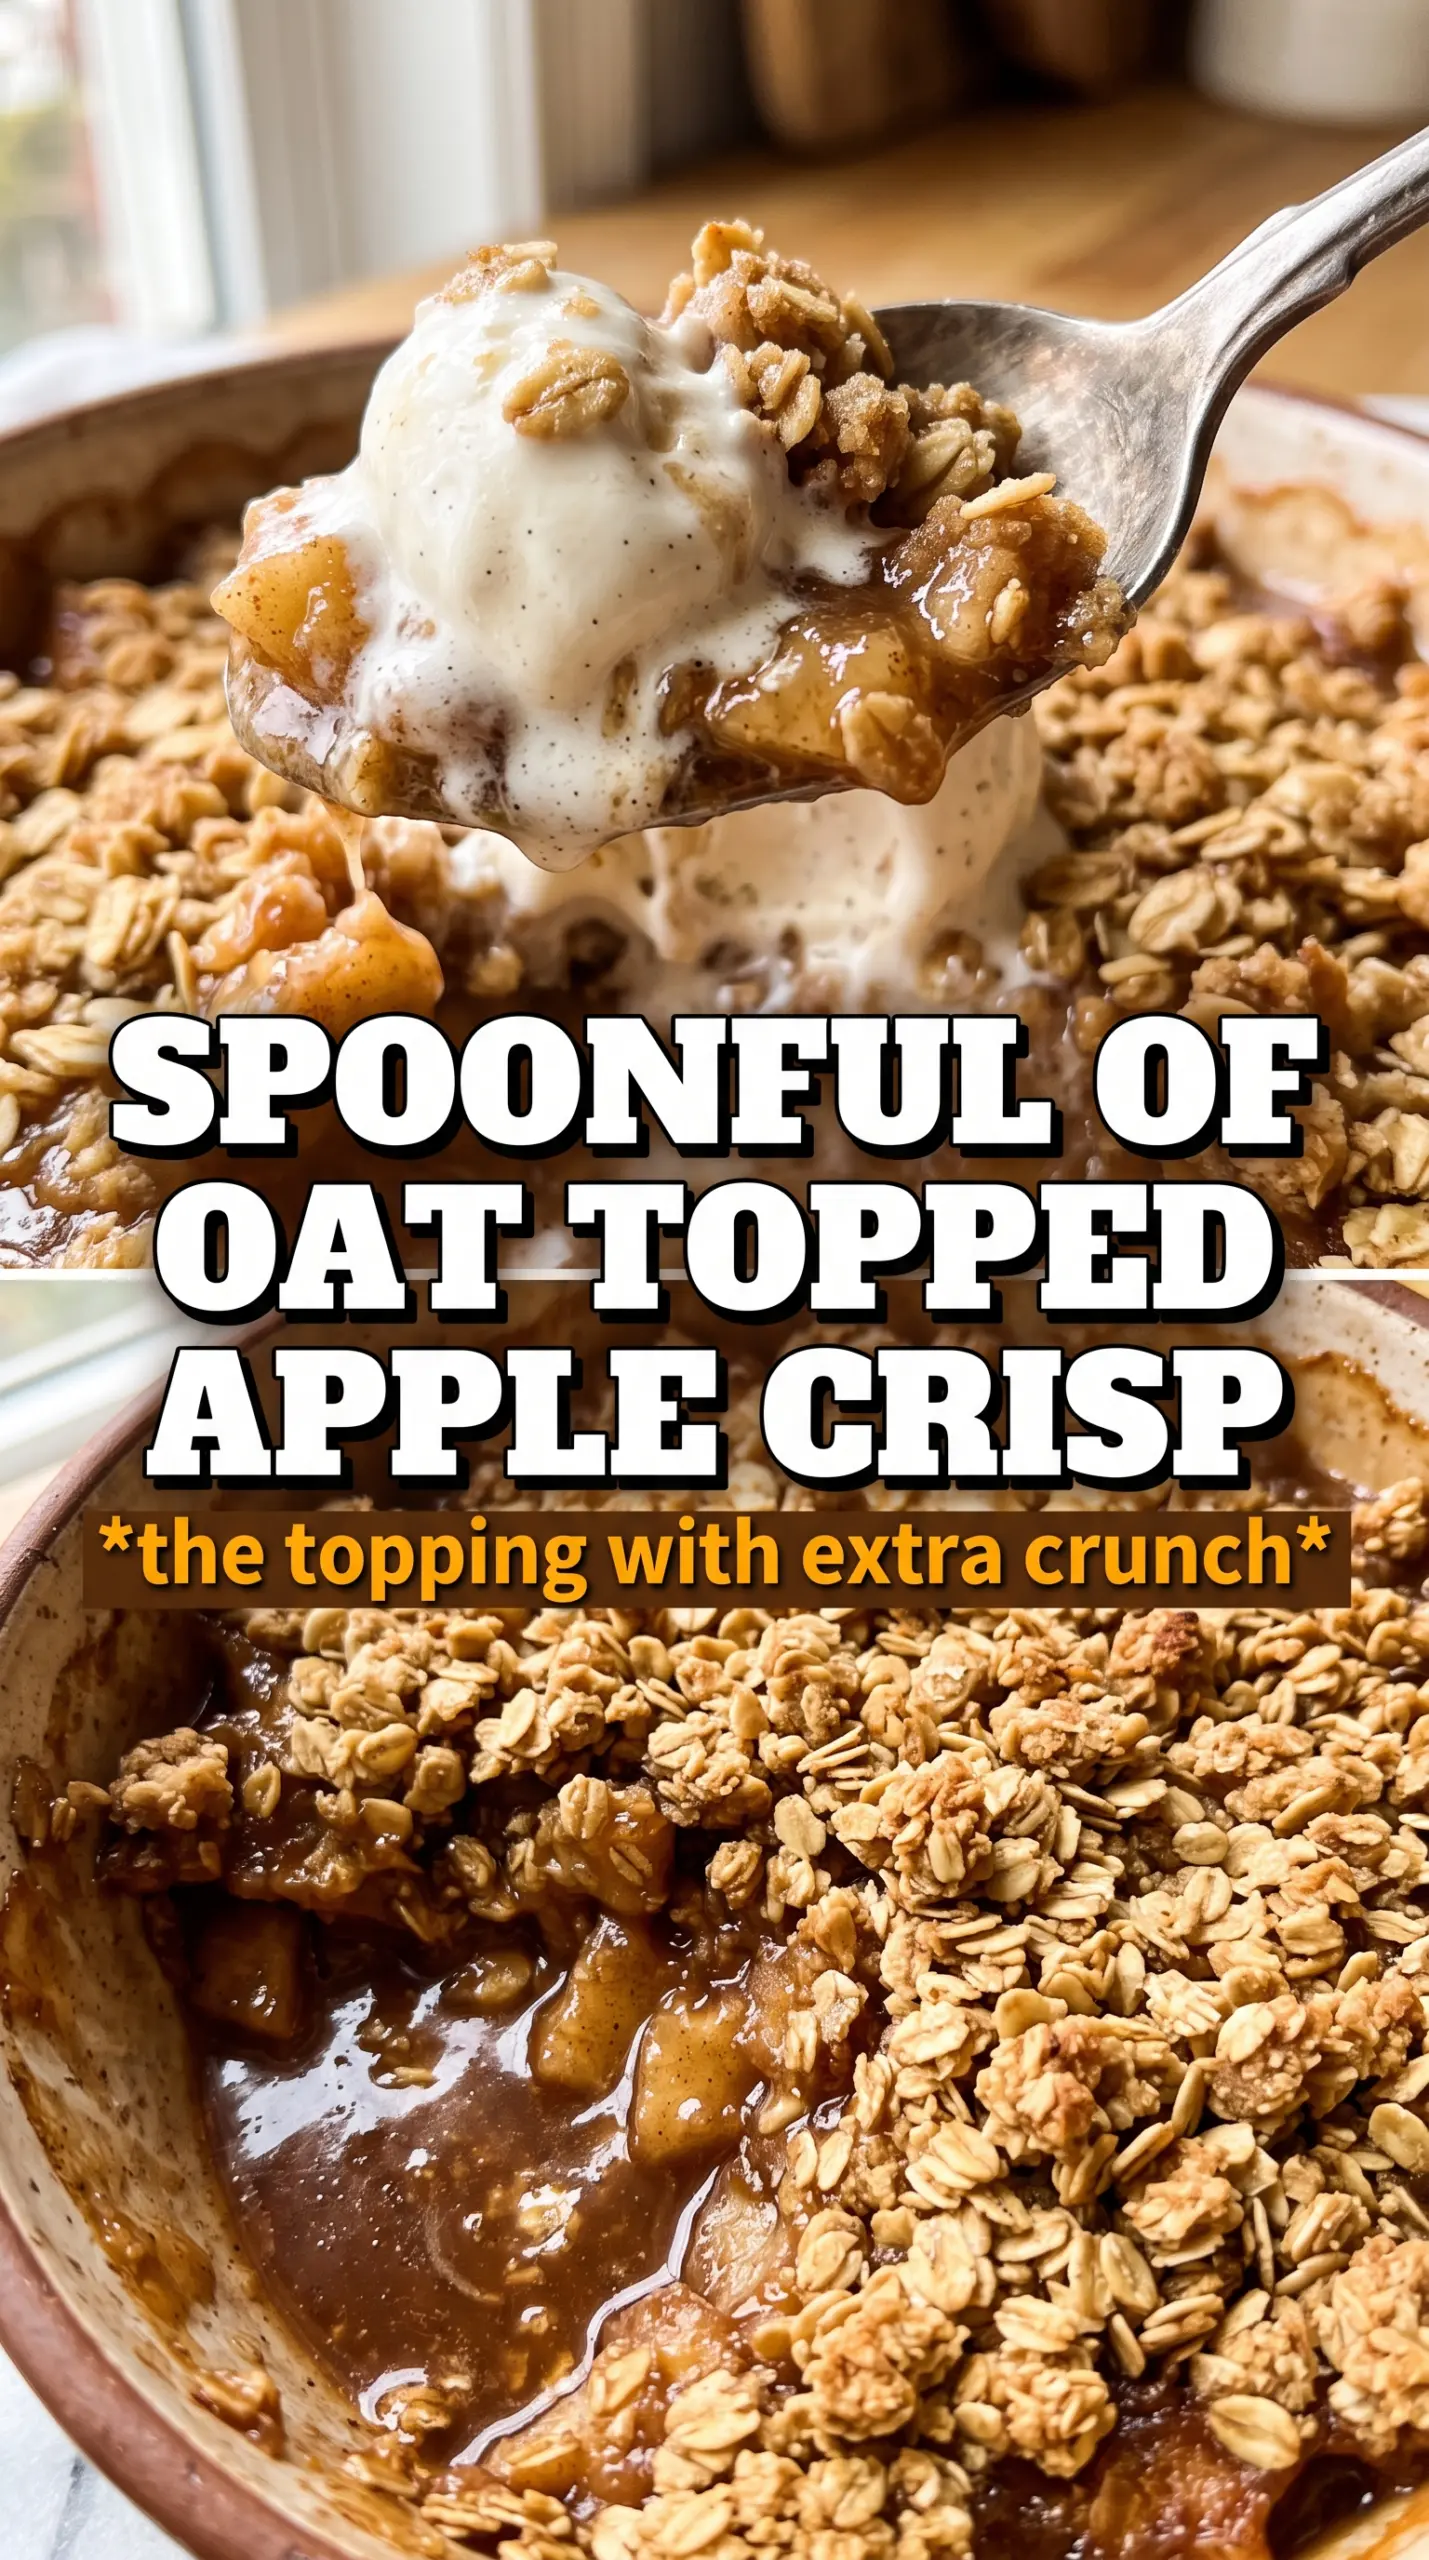
The oat topping baked up with these big crunchy clusters instead of turning sandy, and the filling thickened right at the edges without getting runny. I served it warm with vanilla ice cream and there wasn’t a spoonful left.
Love that caramelized oat topping and bubbling apple filling? Save this apple crisp with oats for the next time you want a warm dessert with a crisp, chunky crumble.
The Topping Fails When the Butter Warms Too Soon
The biggest mistake with apple crisp isn’t the fruit. It’s the topping. If the butter softens before the dish goes into the oven, you lose those clumps that bake into a crisp shell and end up with a paste-like layer instead. Cold butter cut into the oat mixture keeps the topping uneven in the best way, with some sandy bits and some bigger nuggets that brown deeply.
The other thing that matters is how the crumble gets scattered. Don’t press it down. A loose, even layer lets steam escape from the apples while the top stays bronzed and crunchy. If the topping looks pale at the end, give it a few more minutes; the color is what tells you the oats have toasted through.
What Each Ingredient Is Doing in the Pan
- Apples — Use a mix of tart and sweet so the filling tastes layered instead of one-note. Firmer apples hold their shape better, while softer sweet apples melt a little and help the juices turn syrupy.
- Cornstarch — This is what thickens the apple juices into a glossy filling. Flour can work in a pinch, but it won’t set as cleanly and can taste a little cloudy.
- Lemon juice — It keeps the apples from browning too quickly while you prep and gives the filling enough brightness to balance the brown sugar.
- Old-fashioned rolled oats — These stay distinct and chewy-crisp in the oven. Quick oats break down too much and give you a tighter, less textured topping.
- Cold butter — The butter has to stay cold until baking if you want those crisp clusters. Soft butter blends in too smoothly and the topping bakes up dense instead of craggy.
Building the Layers So the Crisp Bakes Evenly
Coating the Apples
Toss the sliced apples with the sugars, spices, cornstarch, and lemon juice until every slice looks lightly coated. The mixture should look a little sandy at first, then turn glossy as the juices start to pull out. Spread it in the baking dish in an even layer so the fruit cooks at the same pace. If the apples pile too high in the center, the middle can turn soft before the top gets the color you want.
Making the Oat Crumble
Mix the oats, flour, brown sugar, cinnamon, and salt first, then cut in the cold butter with your fingertips until you get large clumps. You want some fine crumbs, but you also want chunks that hold together when you squeeze them. That uneven texture is what gives the finished crisp its best bite. If the butter starts to melt while you work, stop and chill the bowl for a few minutes before continuing.
Baking Until the Filling Bubbles
Scatter the crumble evenly over the apples, covering the whole surface without packing it down. Bake until the top is deeply golden and the filling is bubbling at the edges and through a few spots in the center. That bubbling matters; it means the cornstarch has cooked enough to thicken the juices. If you pull it out too early, the filling can taste loose and watery once it cools.
Letting It Set Before Serving
Give the crisp about 10 minutes on the counter before serving. That short rest lets the filling settle so it doesn’t run everywhere when you scoop in. It’s still best warm, with the topping crisp and the apples soft underneath. A scoop of vanilla ice cream melts into the crumbs and turns the whole pan into a spoonable mess in the best way.
How to Adjust the Crisp for Different Apples and Diets
For a gluten-free version
Swap the all-purpose flour for a 1:1 gluten-free baking blend that includes xanthan gum. The topping will still clump and brown well, though it may be a touch more delicate when you scoop it. Don’t replace the flour with almond flour alone or the crumble turns greasy and soft.
For a dairy-free crisp
Use a plant-based butter that bakes well and stays solid when cold. The flavor will be a little less rich, but the texture can still be crisp if the substitute starts cold and is cut in the same way. Avoid soft tubs or spreads, which melt too fast and give you a greasy topping.
If your apples are very tart
Lean into the extra granulated sugar in the filling and use a sweeter ice cream at serving. Tart apples hold their shape beautifully, but they need a little more sugar to keep the dessert balanced. If you like a sharper filling, keep the sugar as written and let the cinnamon lead.
Storage and Reheating
- Refrigerator: Store covered for up to 4 days. The topping softens a bit in the fridge, but the flavor holds up well.
- Freezer: Freeze baked crisp in individual portions or the whole dish, tightly wrapped, for up to 2 months. Thaw in the refrigerator before reheating so the topping doesn’t get soggy from a fast temperature shift.
- Reheating: Warm in a 325F oven until the filling is hot and the top re-crisps, about 15 to 20 minutes for a small portion or longer for a full dish. The microwave will soften the crumble, so use it only if you don’t mind losing that crunchy top.
Answers to the Questions Worth Asking
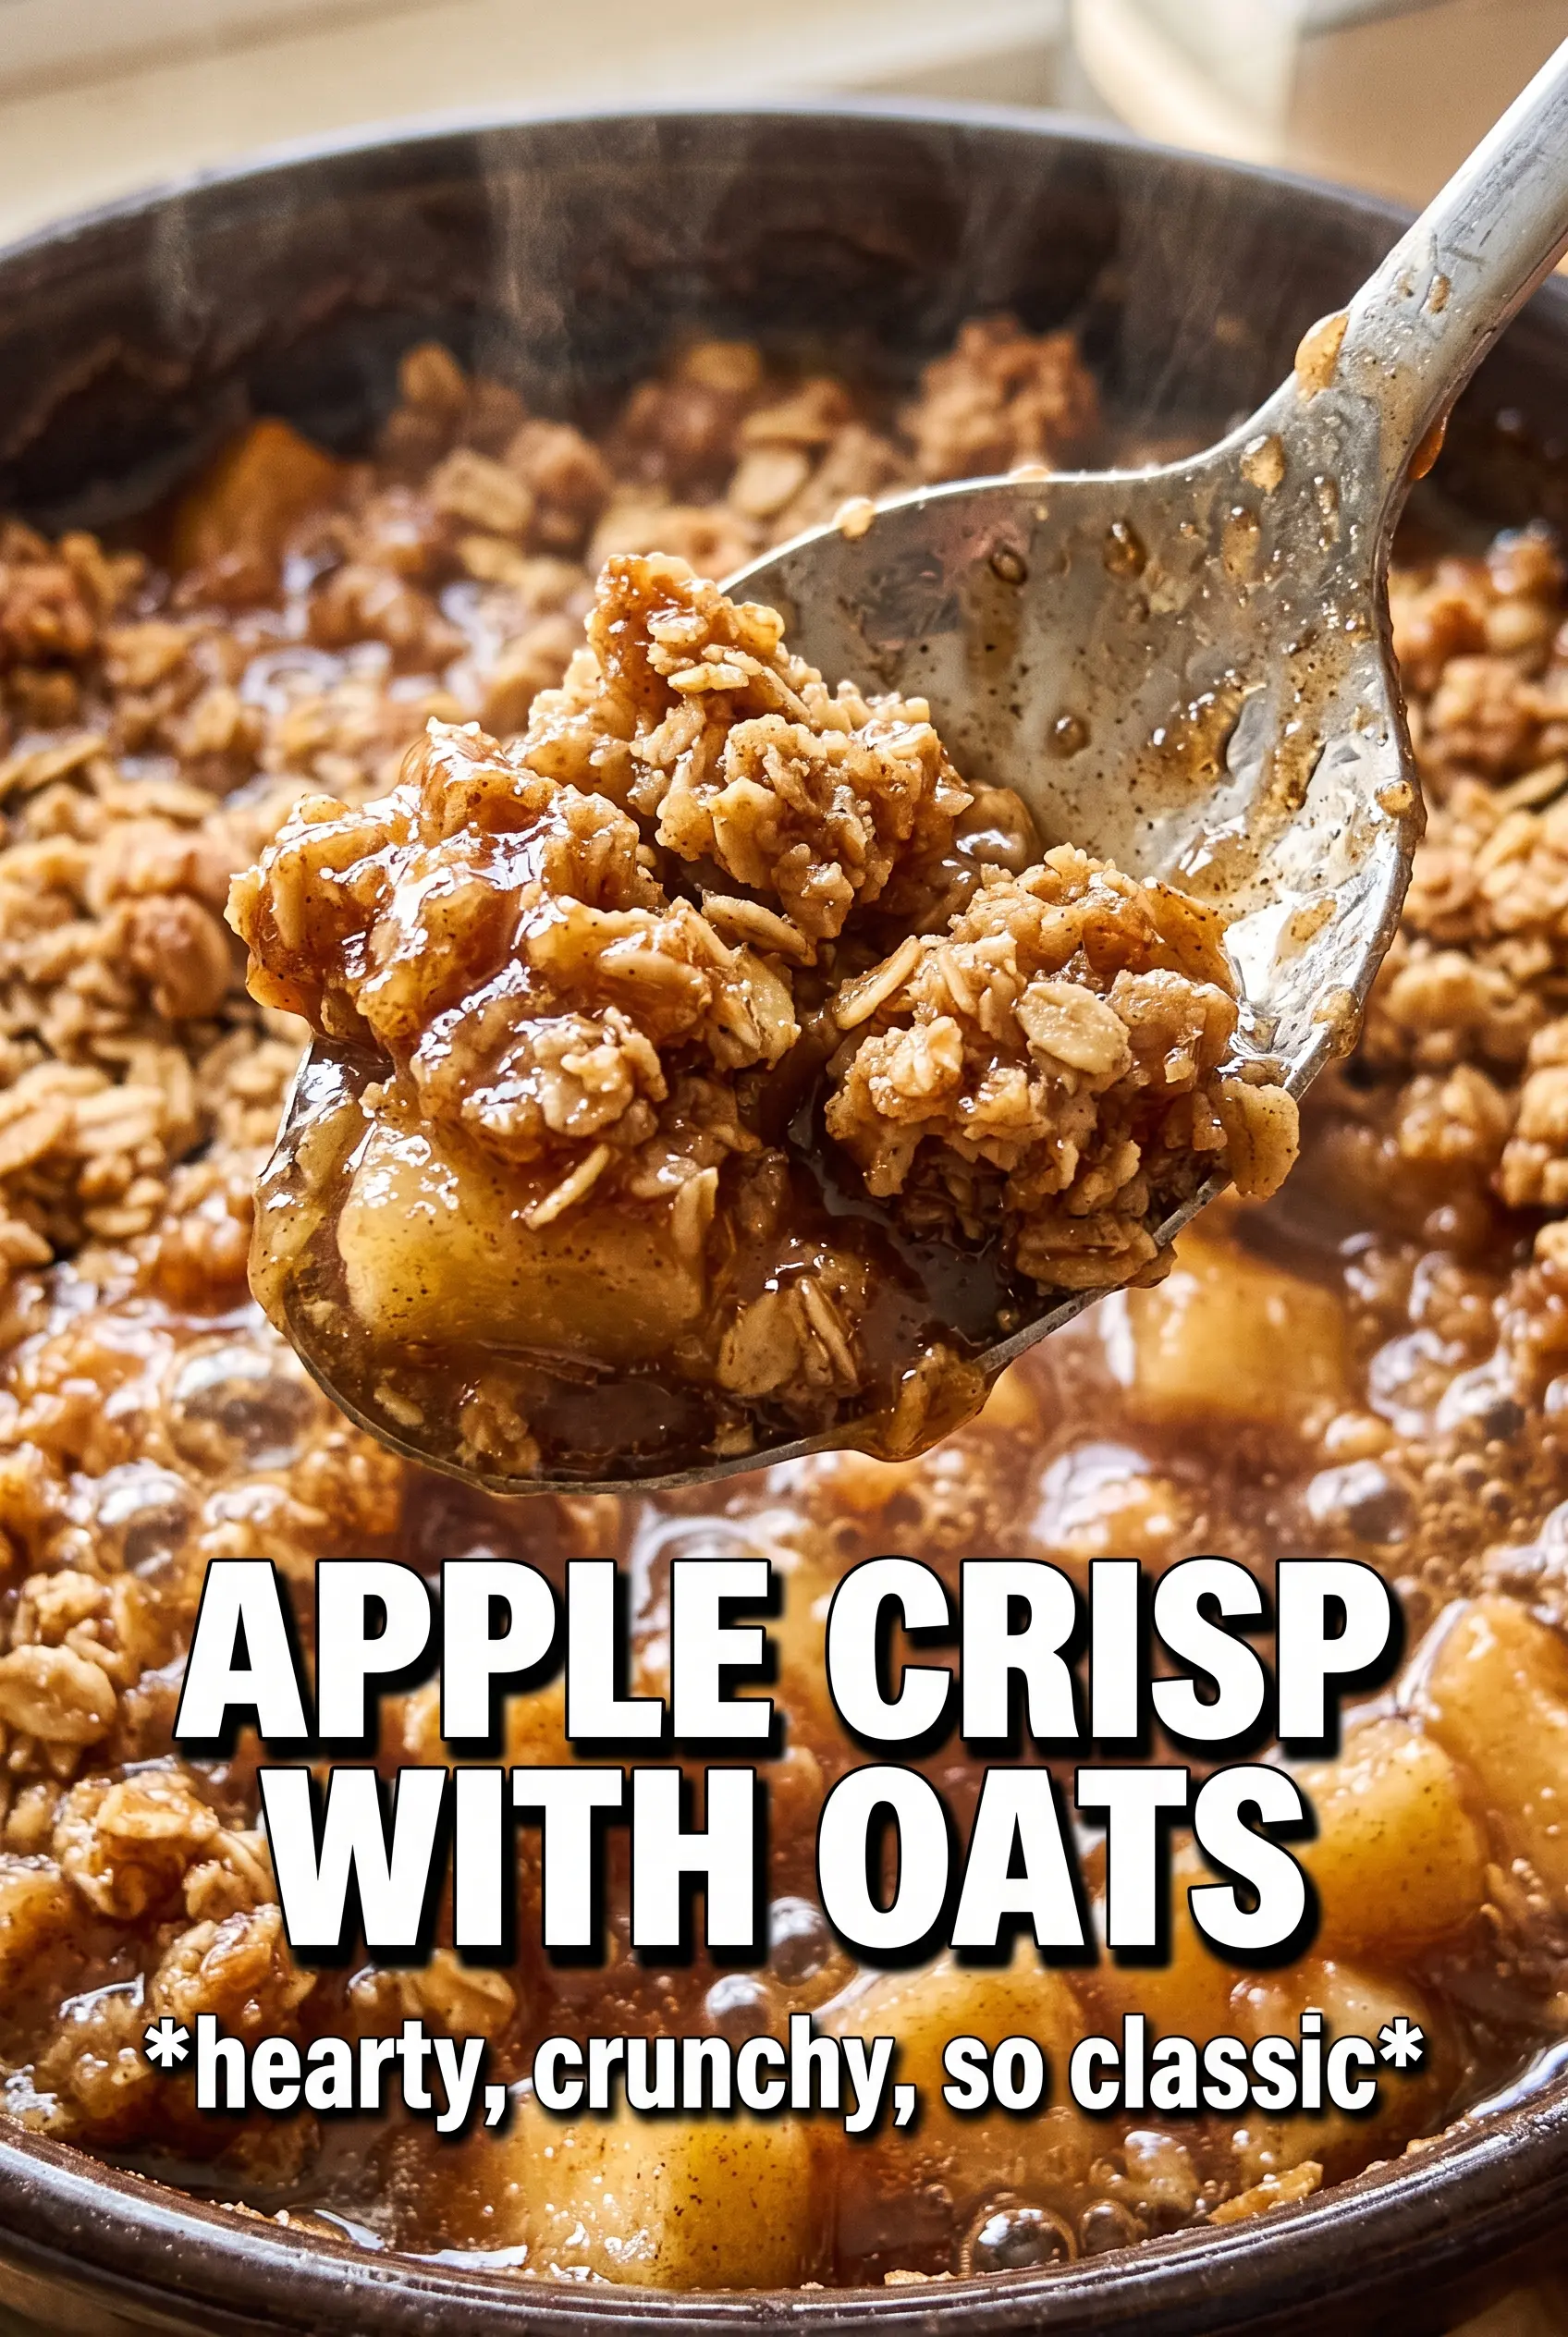
Apple Crisp With Oats
Ingredients
Equipment
Method
- Preheat the oven to 375F and grease a 9x13 baking dish, so the crisp releases easily after baking. Set the dish aside while you prepare the filling.
- Toss the apple slices with granulated sugar, brown sugar, cinnamon, nutmeg, allspice, cornstarch, and lemon juice until evenly coated. Spread the apples in the prepared dish in an even layer.
- Make the rolled oat crumble by combining the rolled oats, flour, packed brown sugar, cinnamon, and salt. Cut in the cold butter with your fingertips until the mixture forms large chunks and clumps.
- Scatter the crumble evenly over the apples, covering every surface for a consistent golden topping. Lightly press to help the clumps adhere.
- Bake for 40-45 minutes at 375F until the oat topping is deeply golden and the apple filling is bubbling at the corners. Rotate the dish once if your oven browns unevenly.
- Cool the apple crisp for 10 minutes so the filling thickens slightly before serving. Serve warm with vanilla ice cream.