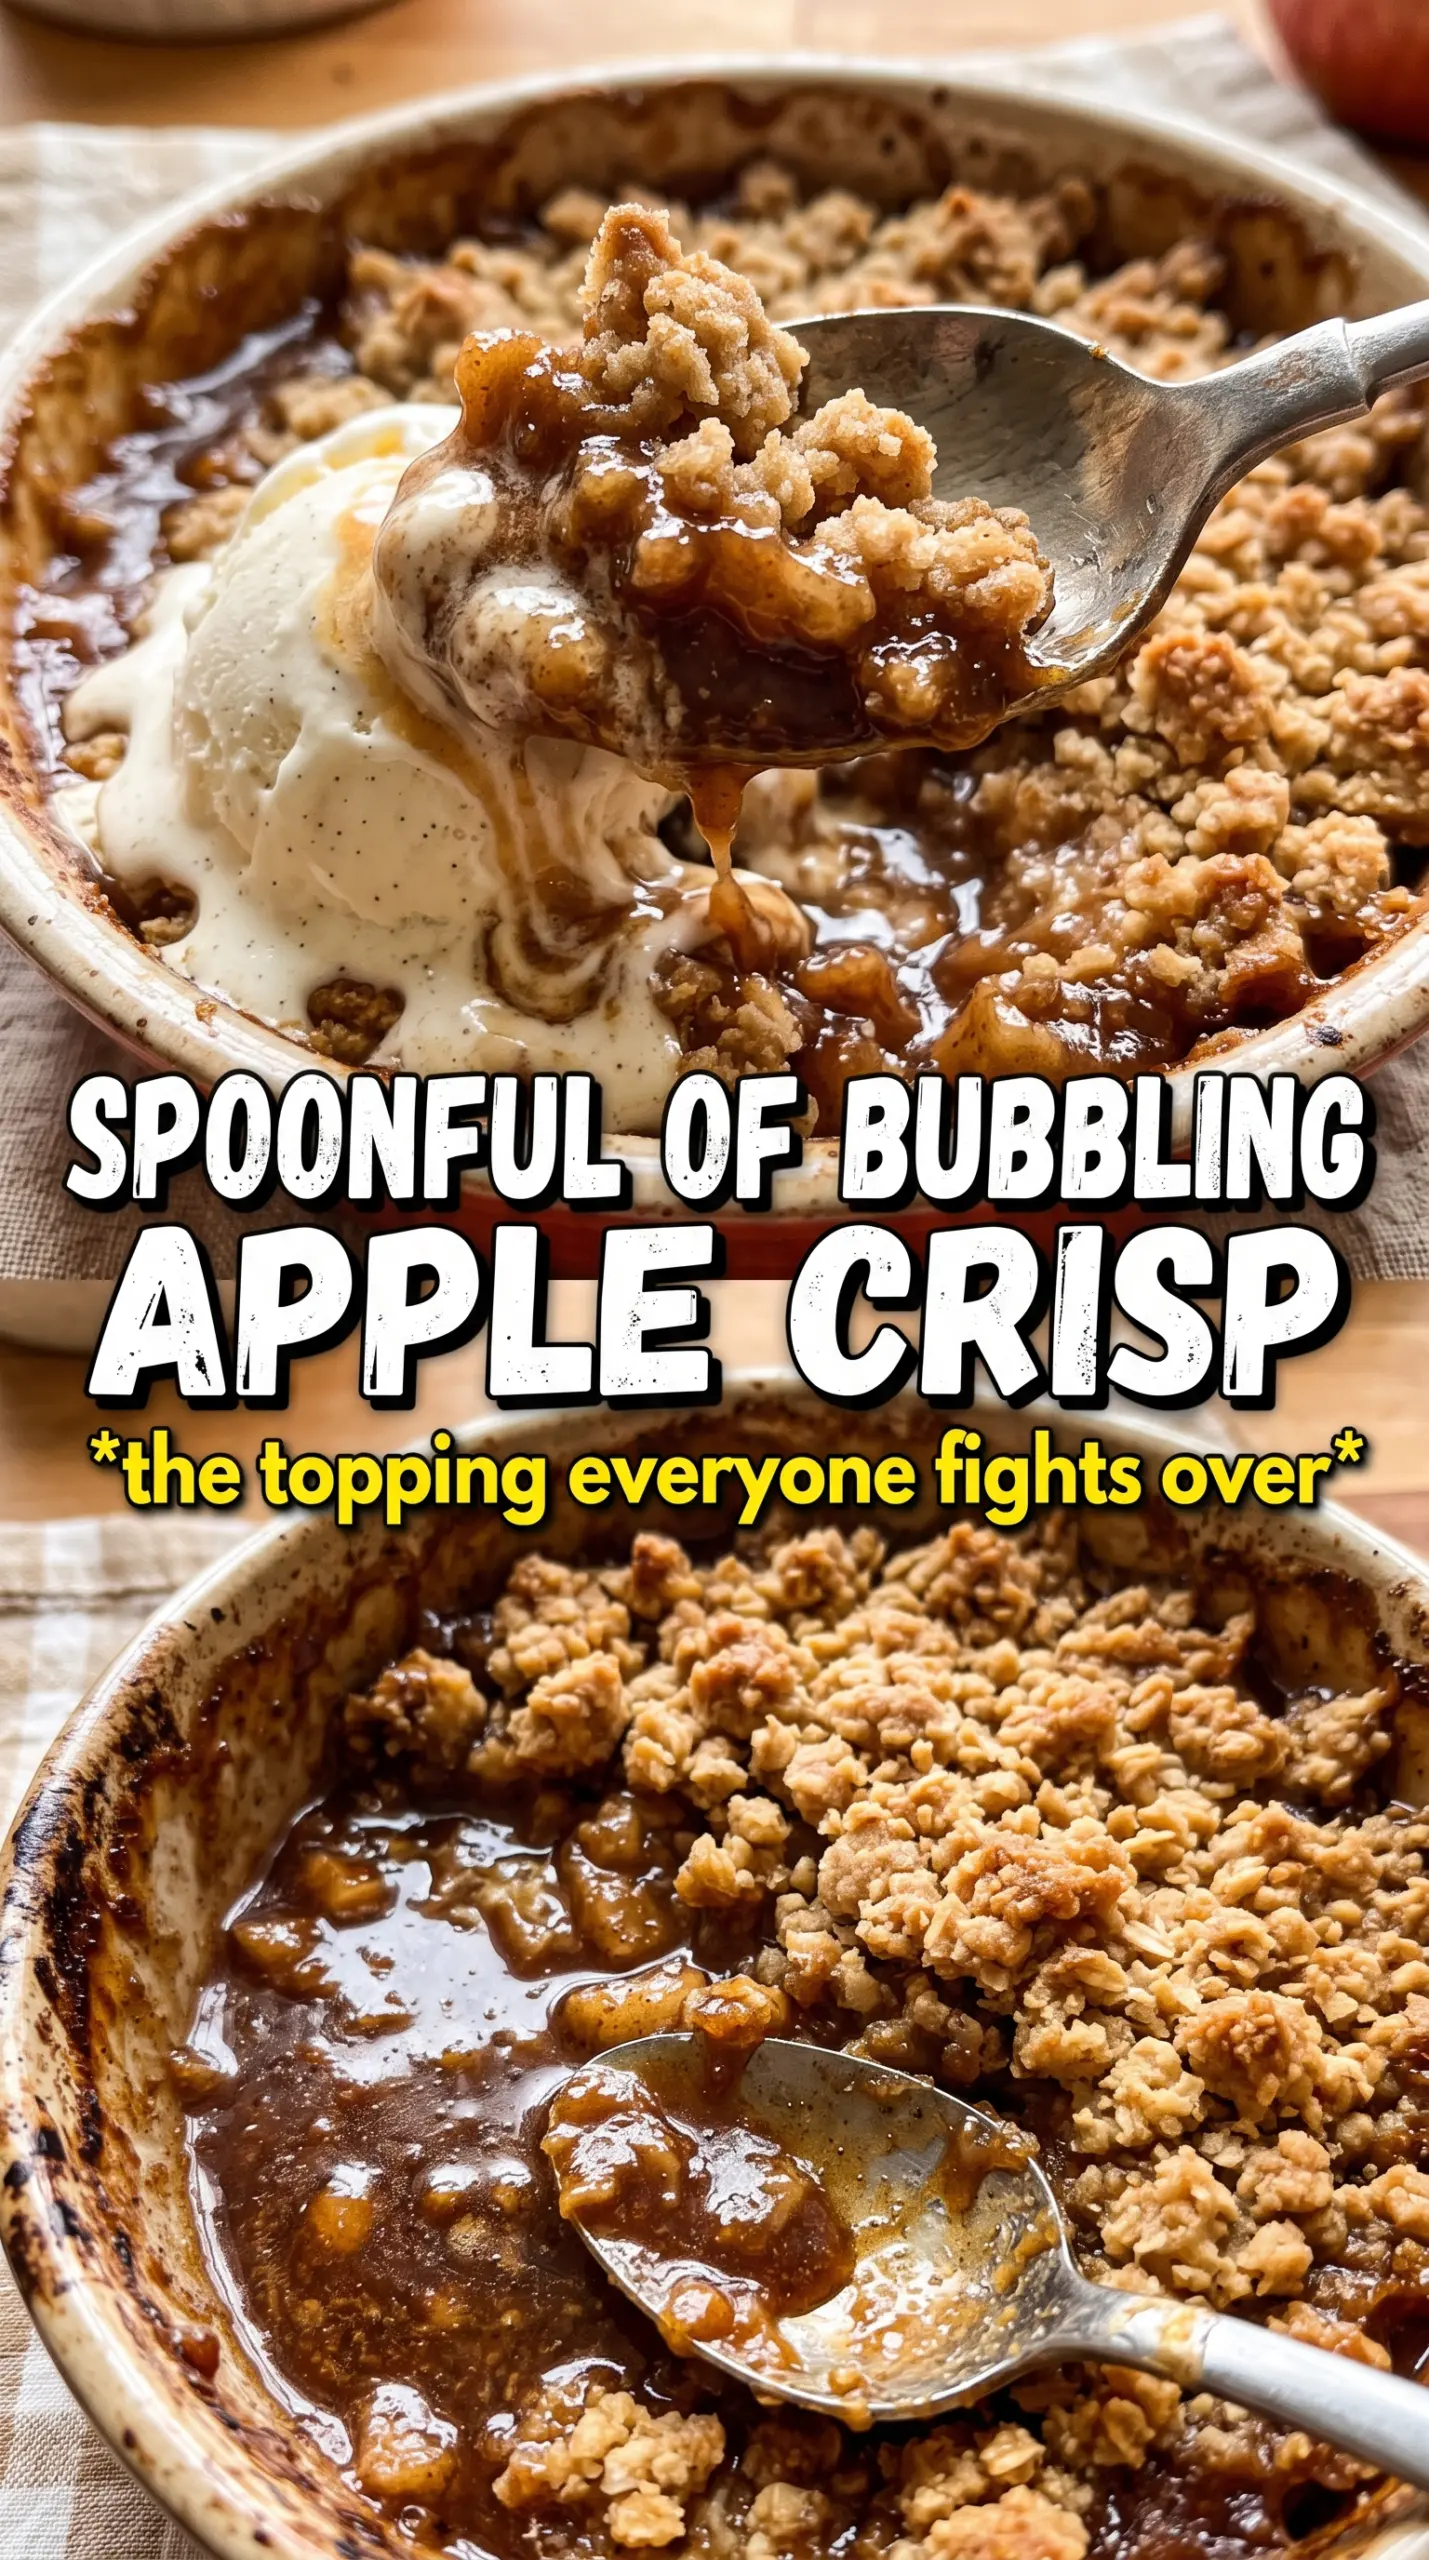
Warm apple crisp earns its place because it gives you two textures in one pan: soft, cinnamon-scented apples underneath and a golden oat topping that stays crisp at the edges. When it comes out of the oven bubbling and fragrant, there’s no mistaking it for a cobbler or a pie. It’s the kind of dessert people keep sneaking spoonfuls of before it even reaches the table.
The part that makes this version work is the balance between the apples and the topping. Granny Smith brings structure and tartness, while Honeycrisp softens into a sweeter, juicier fill. A little cornstarch thickens the fruit juices into a glossy layer instead of letting them pool into the dish, and the topping stays chunky because the butter is cold and never pressed down before baking.
Below, I’ll show you the one step that keeps the crumble from turning sandy, plus the apple swap I use when I want a firmer or softer bake. There’s also storage advice for keeping that topping from losing its crunch overnight.
The filling bubbled up just enough to thicken the juices, and the topping stayed crisp on top instead of getting soggy. I used a mix of Granny Smith and Honeycrisp like you suggested, and the flavor was perfect with vanilla ice cream.
Save this apple crisp for the nights when you want bubbling cinnamon apples and a chunky oat crumble with just enough crunch.
The Trick to Keeping the Filling Thick, Not Soupy
The most common apple crisp problem is a pan full of thin juice under a browned topping. That happens when the apples release liquid faster than the starch can catch it, or when the crisp gets pulled too soon. Cornstarch needs heat and time to activate, which is why the filling should be visibly bubbling around the edges before you take it out of the oven.
The other piece is the apple mix. All-tart apples can taste sharp and dry, while all-sweet apples turn soft and muddy. Using two kinds gives you better texture and a filling that tastes like apples instead of just sugar and spice.
- Granny Smith apples — These hold their shape and keep the filling from turning to applesauce. They’re the backbone of the dish.
- Honeycrisp apples — These bring sweetness and juice, which helps the filling feel round instead of one-note. If you can’t find them, Fuji or Braeburn are solid backups.
- Cornstarch — This thickens the fruit juices into a glossy filling. Flour works in a pinch, but it can look a little cloudy and needs more time to lose its raw taste.
- Cold butter — Cold butter is what gives the topping those nubby, crisp clumps. If it softens too much before baking, the crumble turns dense instead of sandy and chunky.
What Each Ingredient Is Doing in the Pan
- Apples — Slice them evenly so they bake at the same rate. Thick wedges stay firmer; thinner slices collapse faster and make the filling softer.
- Lemon juice — This keeps the apples from tasting flat and helps the fruit stay bright after baking. You don’t taste lemon in the finished dessert.
- Brown sugar — In both the filling and topping, brown sugar adds a deeper caramel note than white sugar alone. It also helps the topping brown more richly.
- Rolled oats — These give the topping its structure and that classic crisp texture. Quick oats work if that’s what you have, but the crumble will be finer and less rustic.
- All-purpose flour — This binds the topping so it bakes into clusters instead of loose crumbs.
- Cinnamon and nutmeg — Cinnamon does the heavy lifting; nutmeg adds a little warmth underneath. Don’t overdo the nutmeg or it takes over.
Building the Crisp So the Topping Stays Crunchy
Mix the Fruit Until Every Slice Is Coated
Toss the apples with the sugars, spices, cornstarch, and lemon juice until every slice looks lightly coated and the cornstarch disappears. If you leave dry pockets, those spots won’t thicken properly in the oven. Spread the apples in an even layer in the baking dish so the center doesn’t stay undercooked while the edges overbake.
Cut the Butter In Until You Get Chunky Clumps
Work the cold butter into the oat mixture until it looks like a mix of damp sand and irregular nuggets. Those larger clumps are what turn into crisp, craggy bits in the oven. If the mixture feels paste-like, the butter got too warm, and the topping will bake up flat and dense.
Bake Until the Filling Is Actively Bubbling
Scatter the topping over the apples without pressing it down. Pressing packs out the air and kills the crispness. Bake until the topping is deeply golden and you can see thick bubbles breaking around the edges of the dish; that bubbling is your sign that the cornstarch has done its job and the filling will set as it cools.
Let It Rest Before Scooping
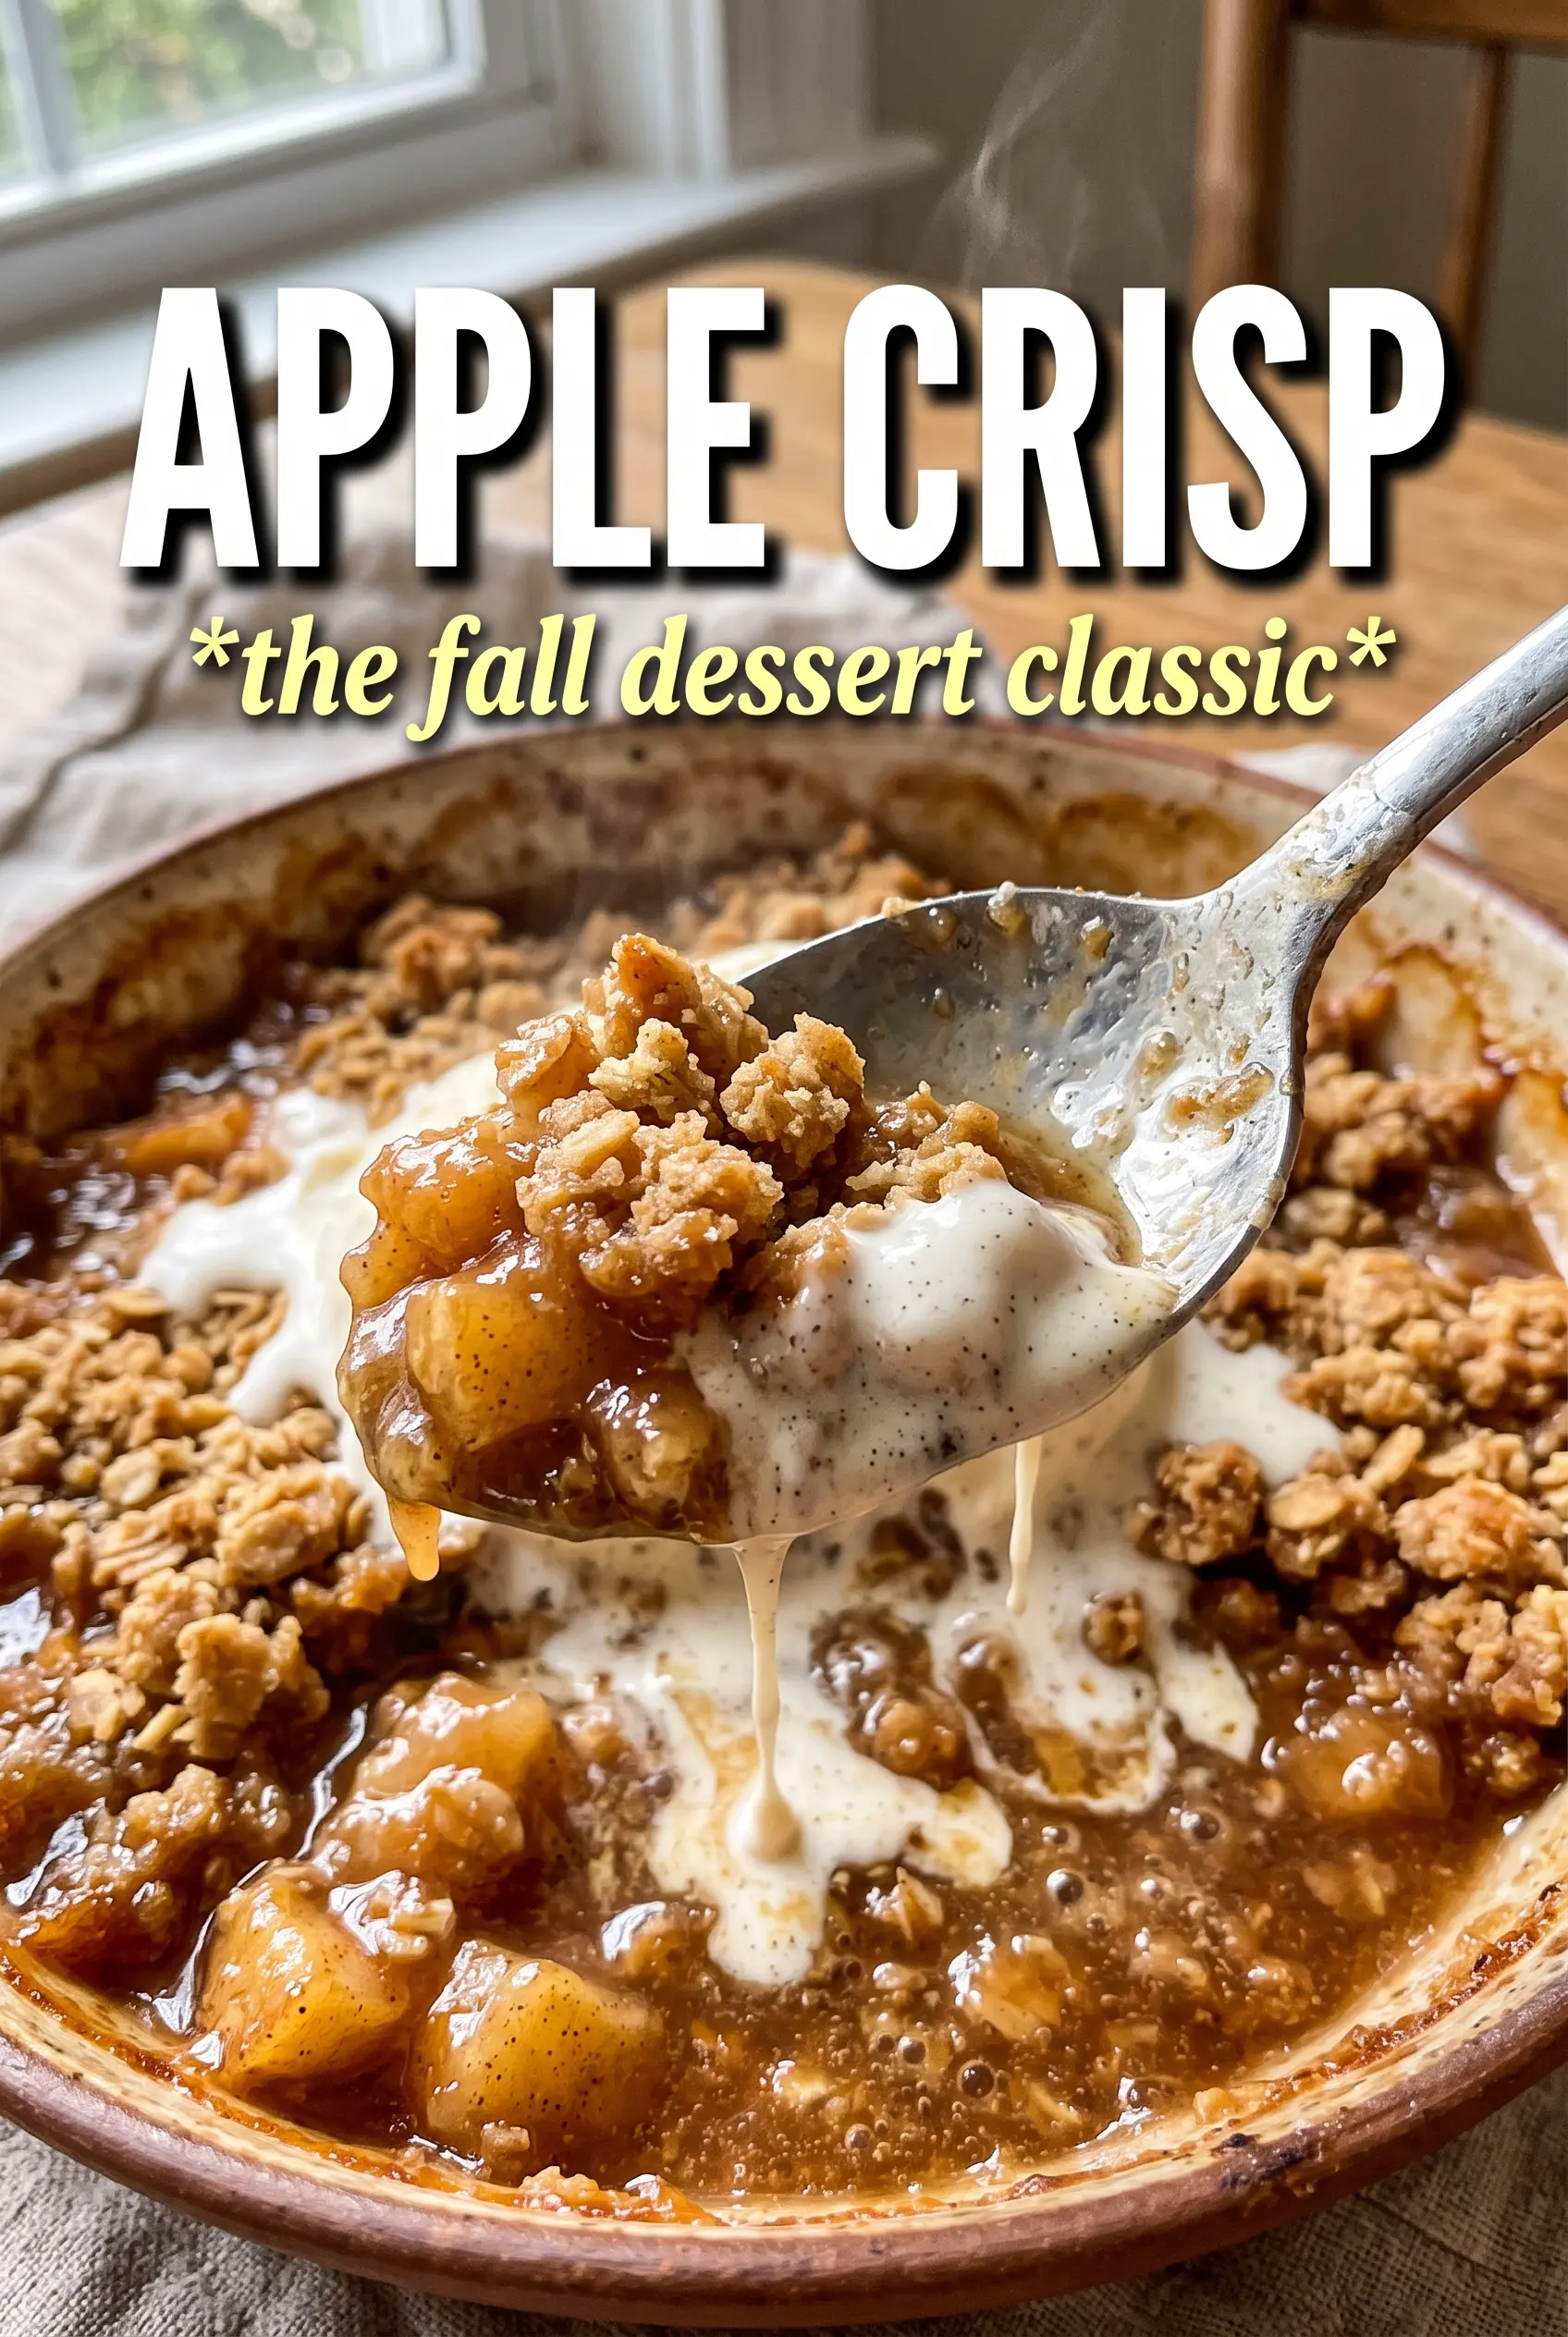
Give the crisp about 10 minutes out of the oven before serving. The filling tightens as it rests, and if you scoop it immediately, the juices run thin. It’s still best warm, especially with vanilla ice cream melting into the topping.
Three Ways to Work With What You Have
Gluten-Free Apple Crisp
Swap the all-purpose flour for a 1:1 gluten-free baking blend. The topping will still clump and crisp, though it may be a touch more delicate when scooped. Use certified gluten-free oats if cross-contamination matters.
Dairy-Free Version
Use a solid plant-based butter that bakes like regular butter. The topping won’t taste exactly the same, but you’ll still get browning and crunch. Avoid soft tub-style spreads, which can melt out before the crumble sets.
Extra-Spiced Filling
Add a pinch of ground ginger or cardamom to the apple mixture if you want the spice to read a little warmer and more complex. Keep the amount small so the apples still taste like apples. Too much spice pushes the dessert into pie-filling territory.
Make It Ahead
Assemble the filling and topping separately, then keep them chilled until you’re ready to bake. If you combine everything too far in advance, the topping starts to soften and the apples leak extra juice. Bake from cold and add a few extra minutes if needed.
Storage and Reheating
- Refrigerator: Store covered for up to 4 days. The topping softens in the fridge, but the flavor stays great.
- Freezer: Freeze baked crisp tightly wrapped for up to 2 months. Thaw overnight in the fridge before reheating.
- Reheating: Warm in a 350°F oven until the filling is hot and the topping re-crisps, about 15 to 20 minutes. The microwave makes the topping soft, which is the main mistake people make with leftovers.
Answers to the Questions Worth Asking
Apple Crisp
Ingredients
Equipment
Method
- Preheat the oven to 375F, then grease a 9x13 baking dish for easy release. Make sure the oven is fully heated before baking.
- Toss the sliced apples with granulated sugar, brown sugar, cinnamon, nutmeg, cornstarch, and lemon juice until evenly coated. Spread the mixture in the prepared dish in an even layer.
- Combine rolled oats, all-purpose flour, brown sugar, cinnamon, and salt in a bowl. Cut in the cold butter with a pastry cutter or your fingers until you get large, chunky clumps.
- Scatter the crumble topping evenly over the apples, taking care not to press it down. Leave some texture so the topping can crisp and caramelize.
- Bake for 40-45 minutes at 375F until the topping is deeply golden and the apple filling is bubbling around the edges. Watch the edges for active bubbling to confirm doneness.
- Rest the apple crisp for 10 minutes before serving warm. This helps the filling thicken slightly so it scoops cleanly.
- Serve each portion with vanilla ice cream while the crisp is warm. The ice cream should begin melting into the bubbling apples.