Buttery shortbread, tender cinnamon apples, and a crisp oat crumble turn these bars into the kind of dessert people reach for before they even finish clearing dinner plates. The base bakes up sturdy enough to hold clean slices, but it still tastes rich and sandy in the best way, and the apple layer stays soft without going mushy. A final drizzle of caramel ties everything together without making the bars overly sweet.
What makes this version work is the shared crumb mixture. You make one dough and use it two ways: pressed into the pan for the base, then scattered over the top for the crumble. That keeps the texture consistent from bottom to top and saves you from mixing separate layers. Cold butter matters here. It creates those little pockets that bake into a crisp, nubbly topping instead of a dense, paste-like lid.
Below, I’ve included the part that matters most: how to keep the bottom from getting soggy and how to slice these bars cleanly once they’ve cooled. Both make a bigger difference than most people expect.
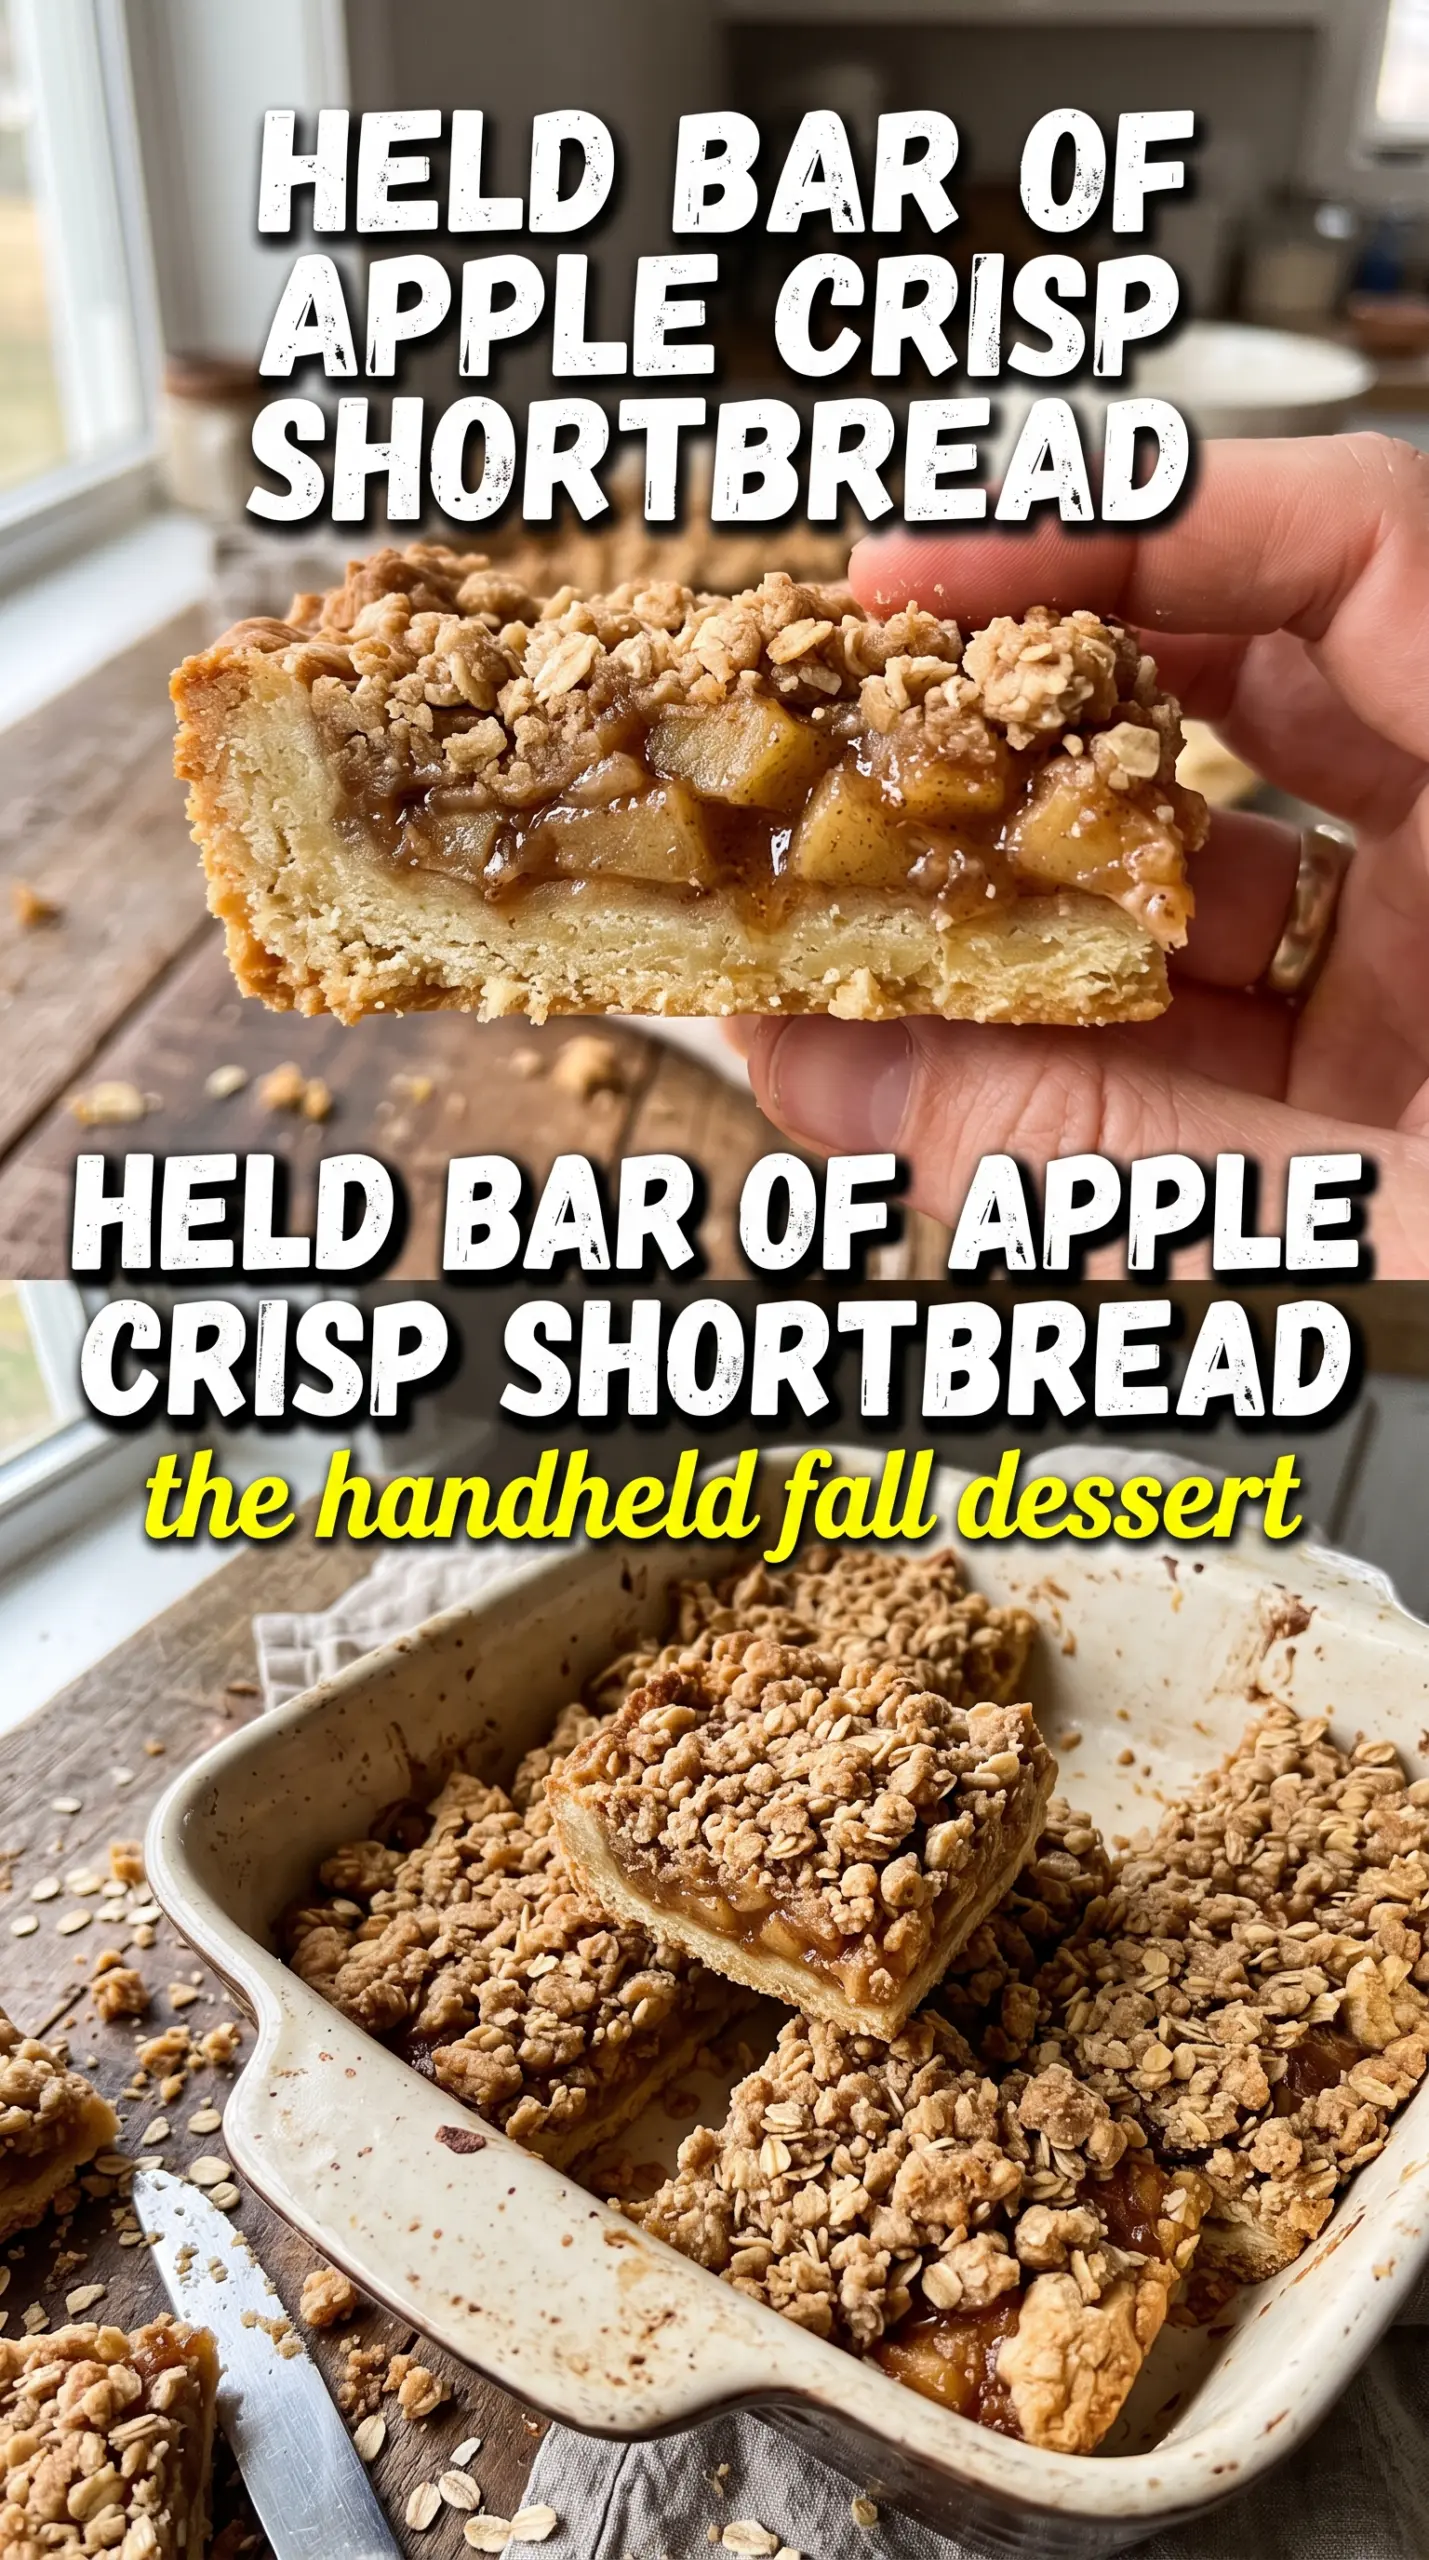
The shortbread base stayed crisp under the apples and the crumble on top browned evenly. I cooled them all the way and the slices came out neat, which never happens with apple bars at my house.
Like these apple crisp shortbread bars? Save them to Pinterest for the buttery crumble, soft spiced apple layer, and caramel drizzle.
The Secret to a Crisp Base Under Soft Apples
The biggest problem with apple bars is a soggy bottom. Apples release juice as they bake, and if the base hasn’t had a head start, that juice soaks straight in before the crust has a chance to set. Prebaking the shortbread layer for 12 minutes gives it enough structure to hold the filling without turning soft and mealy.
Press the base mixture firmly into the pan. Loose crumbs look rustic, but they bake into an uneven layer that falls apart when sliced. You want a packed surface that feels almost like damp sand before it goes into the oven. That short bake also helps the butter set the flour and oats so the apple juices can’t run through as easily.
What Each Ingredient Is Doing in These Bars
- All-purpose flour — This is the backbone of both the base and the crumble. It gives the bars enough structure to slice cleanly, and there isn’t a great substitute if you want the same tender-but-sturdy texture.
- Rolled oats — Oats keep the topping from feeling like plain cookie crumbs. Use old-fashioned oats for the best texture; quick oats soften more and make the crumble a little tighter.
- Brown sugar — This adds moisture, depth, and that warm caramel note that works so well with apples. Light or dark brown sugar both work, but dark brown sugar gives a deeper molasses flavor.
- Cold unsalted butter — Cold butter is nonnegotiable here. It melts in the oven and leaves behind little pockets that make the topping crisp instead of dense. If all you have is salted butter, use it and reduce the added salt a bit.
- Apples — Firm baking apples hold their shape and give you distinct slices instead of apple sauce. If your apples are very sweet, use the lower end of the sugar in the filling. If they’re tart, the full amount balances them nicely.
- Cornstarch — This thickens the juices from the apples so the filling sets instead of pooling under the crumble. Flour can work in a pinch, but cornstarch gives a cleaner finish and less cloudy filling.
- Lemon juice — It keeps the apples from tasting flat and helps them stay bright as they bake. Don’t skip it, even though the amount is small.
Building the Layers So the Bars Slice Cleanly
Mixing the Crumble Without Overworking It
Start by mixing the dry ingredients, then cut in the cold butter until the mixture looks like coarse crumbs with some pea-sized bits still visible. Those bigger pieces are what bake into the best texture. If you keep going until it looks sandy and uniform, the topping loses its crunch and turns compact. Reserve one cup of the mixture before pressing the rest into the pan.
Pressing and Prebaking the Base
Press the remaining mixture into a parchment-lined 9×13 pan and flatten it into an even layer. Use the bottom of a measuring cup to pack the surface so there aren’t thin spots that brown too fast or collapse under the filling. Bake just until the edges start to set and the surface looks dry, not deeply browned. You’re aiming for a head start, not a finished crust.
Spicing the Apples and Managing the Juices
Toss the sliced apples with sugar, cinnamon, nutmeg, cornstarch, and lemon juice until every piece is lightly coated. Thin slices cook evenly and tuck into the pan without leaving big gaps. If you slice them too thick, the filling stays firm in the middle and the bars won’t hold together as neatly. Layer the apples over the hot base so they start softening right away.
Finishing With the Crumble and the Bake
Scatter the reserved crumble over the apples, leaving a few small gaps so steam can escape. Bake until the top is golden and the filling is bubbling around the edges, which is the sign the cornstarch has thickened the juices. If the top is getting dark before the filling bubbles, tent loosely with foil for the last part of the bake. Let the bars cool completely before slicing or the filling will run.
How to Adapt These Bars for Different Pans, Apples, and Diets
Use a different apple mix
A mix of tart and sweet apples gives the filling more depth than using one variety alone. Granny Smith plus Honeycrisp is a strong combo, but any firm baking apples will work. Avoid very soft apples because they collapse and turn the filling muddy.
Make them gluten-free
Swap the all-purpose flour for a 1:1 gluten-free baking blend and use certified gluten-free oats. The texture will be slightly more delicate, but the bars still hold together well once fully cooled. Don’t use almond flour alone here; it won’t give the same sturdy crust.
Use a smaller square pan
An 8×8 or 9×9 pan works if you want thicker bars, but you’ll need a longer bake time and the center may take extra time to bubble. Keep the layers even and watch the edges closely so the top doesn’t overbrown before the filling thickens.
Skip the caramel for a lighter finish
The bars are rich enough to stand on their own if you want a less sweet dessert. A light dusting of powdered sugar or a small spoonful of whipped cream works too, but caramel gives the strongest dessert-shop finish.
Storage and Reheating
- Refrigerator: Store covered for up to 4 days. The crumble softens a little, but the bars stay sliceable.
- Freezer: These freeze well. Wrap individual bars tightly and freeze for up to 2 months, then thaw in the fridge overnight.
- Reheating: Warm a bar in the microwave for 10 to 15 seconds if you want the filling soft, but don’t overheat or the crust turns tough. For a crisper top, use a low oven for a few minutes instead.
Questions I Get Asked About This Recipe
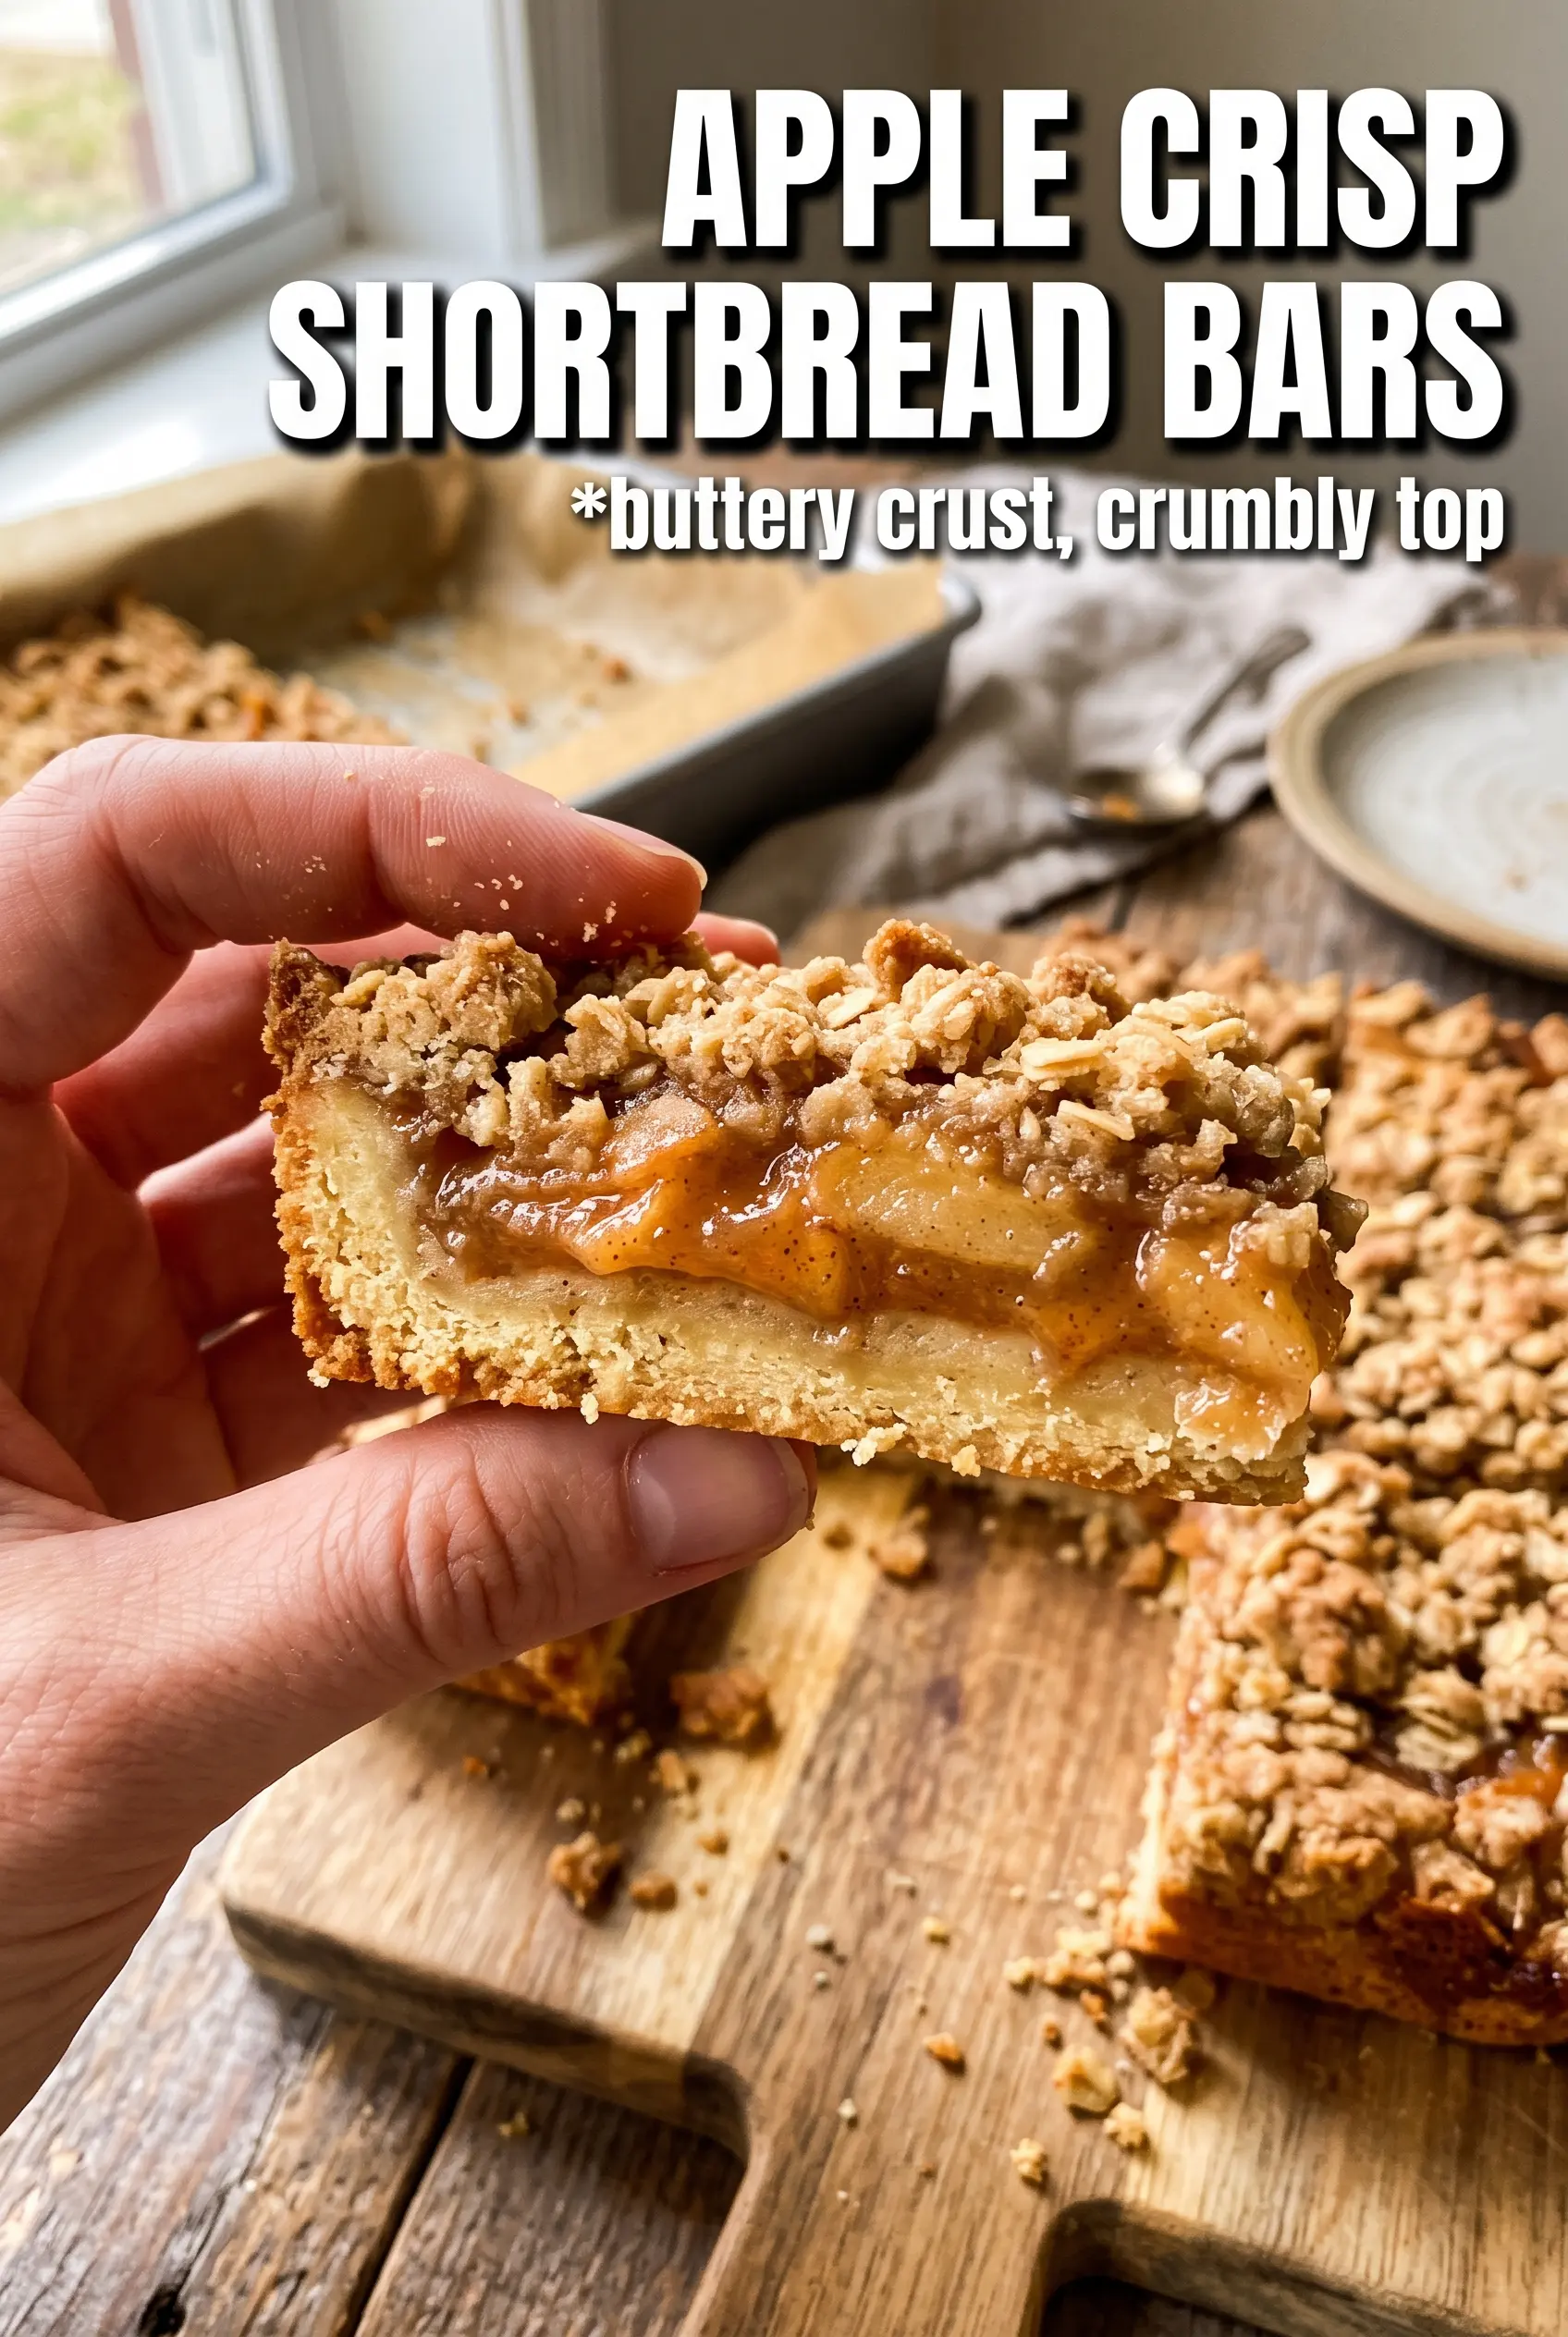
Apple Crisp Shortbread Bars
Ingredients
Equipment
Method
- Preheat oven to 375F. Line a 9x13 pan with parchment so the bars lift out cleanly.
- Mix flour, rolled oats, brown sugar, cinnamon, and salt until evenly combined. Break up any brown sugar clumps so the crumble bakes uniformly.
- Cut in cold unsalted butter until the mixture looks like coarse crumbs. Keep the butter cold so the base stays tender after baking.
- Reserve 1 cup of the crumb mixture for the topping. Set it aside so it’s ready to scatter on the apples.
- Press the remaining mixture firmly into the prepared pan. Pack it down with even pressure for a solid shortbread layer.
- Bake for 12 minutes at 375F until the edges look set. The base should stay pale but firm to support the apples.
- Toss the apple slices with granulated sugar, cinnamon, nutmeg, cornstarch, and lemon juice. Coat thoroughly so the juices thicken into a glossy filling.
- Layer the apple mixture over the hot base. Distribute evenly so every bar gets apples from edge to edge.
- Scatter the reserved crumble over the apples. Cover the surface in an even layer so it bakes into a crisp top.
- Bake 30-35 minutes at 375F until the topping is golden and apples are bubbling. Look for visible bubbling at the edges and set crumble browning.
- Cool completely before slicing. Slice only after cooling so the layers hold and don’t smear.
- Drizzle with caramel sauce to serve. Finish with a zigzag for the caramel look in the cross-section.