Apple crisp mini cheesecakes deliver the best parts of two desserts in one tidy little bite: a buttery graham cracker crust, a smooth cheesecake center, warm cinnamon apples, and a golden oat crumble on top. The texture is what makes them worth repeating. You get creamy, crisp, soft, and crunchy all in the same mouthful, and because they bake as minis, the edges set before the filling has a chance to overbake.
The trick is handling each layer separately before they meet in the oven. The apples get a short cook on the stove so they soften and release some juice before topping the filling, which keeps the cheesecake from turning watery. The crumble is made with cold butter so it bakes up nubbly instead of melting into the topping, and a brief chill after baking gives the centers the clean slice and creamy texture you want.
Below, you’ll find the timing that keeps the filling smooth, plus a few smart swaps for different crusts and dietary needs. Once you make these once, the method starts to feel easy.
The cheesecake stayed silky and the apple layer didn’t leak into the crust, which is usually where mini cheesecakes go wrong for me. The oat topping baked up crisp even after chilling overnight.
Save these apple crisp mini cheesecakes for the kind of dessert that gives you creamy centers, spiced apples, and a crunchy oat topping in one neat little cupcake liner.
The Small Cheesecake Mistake That Ruins the Texture
Mini cheesecakes can look forgiving, but they punish rushed mixing and overbaking. If you beat too much air into the filling, the centers puff high in the oven and sink as they cool, leaving a pitted top instead of a smooth one. If you bake them until they look fully firm in the oven, they set up dry by the time they chill.
The goal here is a filling that looks just barely set at the edges and still has a slight wobble in the middle. That carryover heat finishes the job as the pans cool. The apple topping also needs a short pre-cook, not because raw apples are wrong, but because diced fruit releases moisture fast and that moisture can seep into the crust if you skip that step.
What Each Layer Is Actually Doing in the Pan
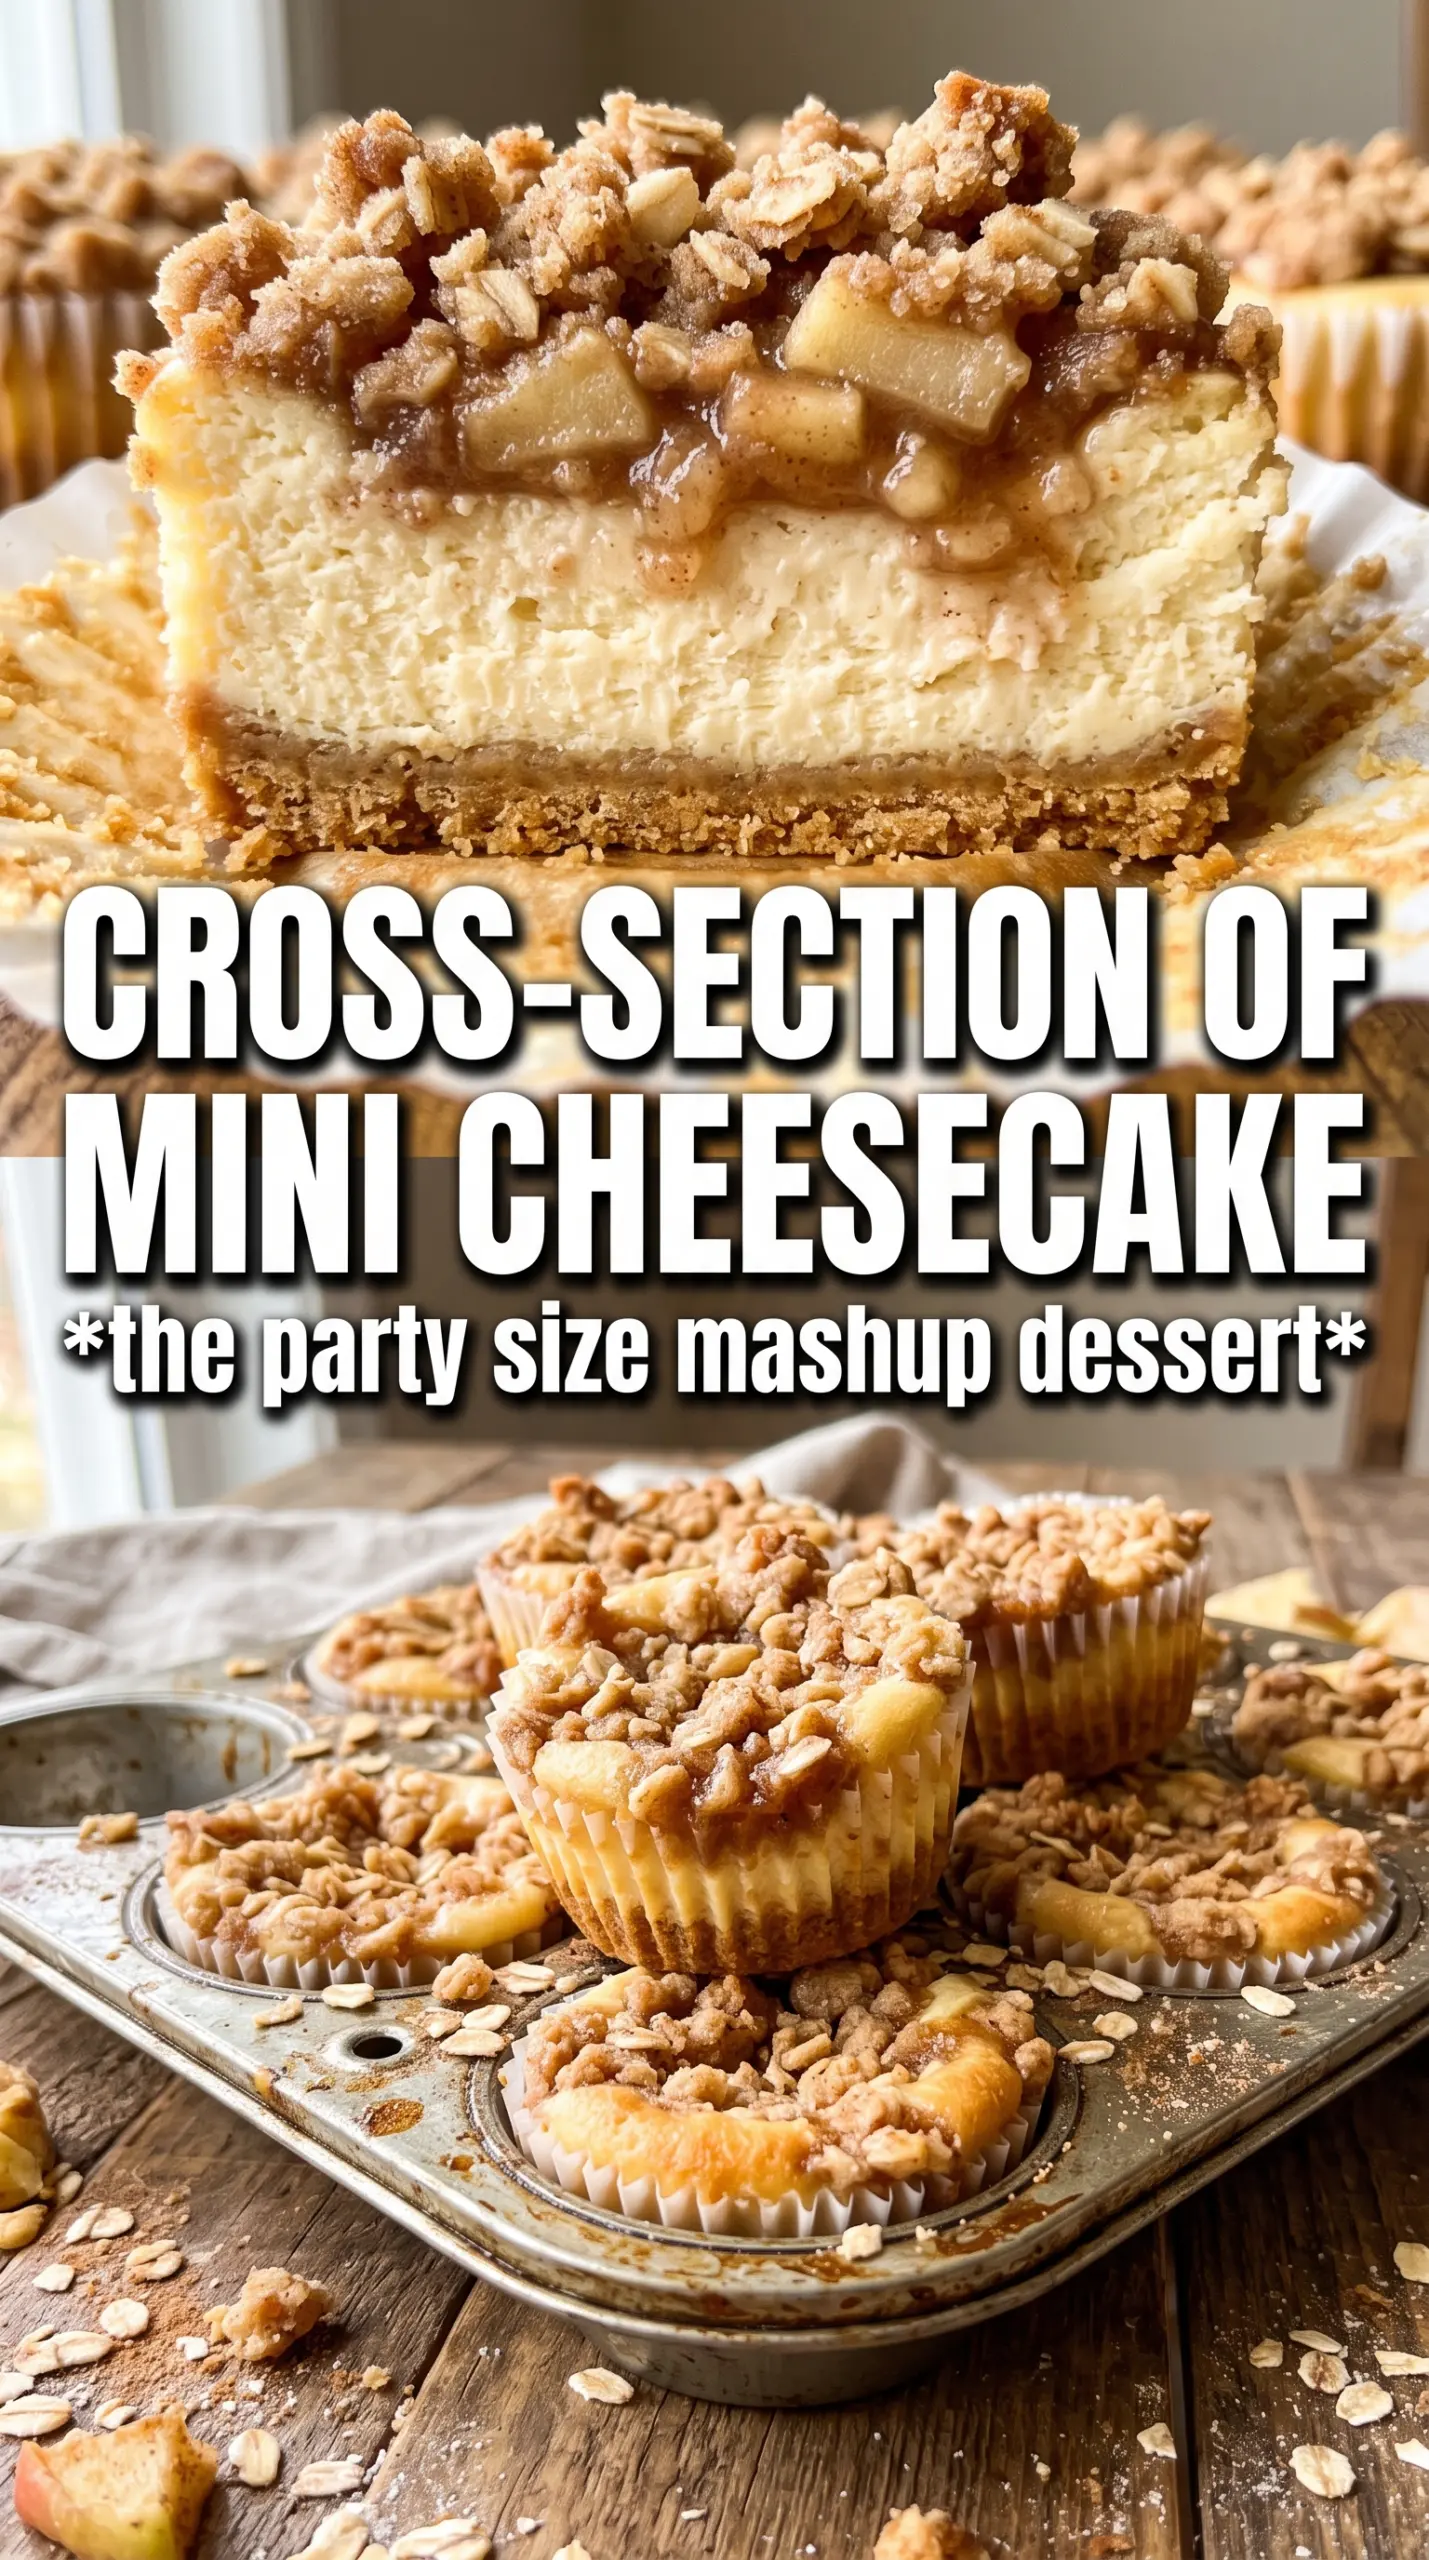
- Graham cracker crumbs — These make a sturdy, familiar base that holds up under the cheesecake filling. Pack them firmly or the crust will crumble when you peel off the liner.
- Cream cheese — Full-fat cream cheese matters here. Lower-fat versions can turn loose and a little gummy after baking, which is the opposite of what you want in a mini cheesecake.
- Sour cream — This loosens the filling just enough for a silky bite and adds a slight tang that keeps the dessert from tasting flat. Plain Greek yogurt can work in a pinch, but the filling will be a touch less rich.
- Apples — Peel and dice them small so they soften quickly and sit neatly on top of the filling. Firmer apples like Granny Smith or Honeycrisp give the best balance of texture and flavor.
- Cold butter for the crumble — Cold butter is what gives the oat topping its crisp, sandy chunks. If it melts into the flour too soon, the topping turns pasty instead of crisp.
Building the Layers Without Soggy Centers
Pressing and Pre-Baking the Crust
Mix the graham crumbs, melted butter, and sugar until every crumb looks evenly damp, then press the mixture firmly into the liners. A flat-bottomed glass works well for this, but the back of a spoon is fine if you pack the edges tight. Bake the crusts for just 5 minutes so they set before the filling goes in. If you skip this, the bottom can soften under the cheesecake and lose that clean, cookie-like bite.
Cooking the Apples First
Cook the diced apples with butter, brown sugar, and cinnamon until they soften slightly and the pan smells like warm pie filling. You don’t want applesauce; you want tender little pieces that still hold their shape. Let them cool before topping the filling, because hot apples can start loosening the cheesecake mixture before it even reaches the oven.
Mixing the Filling Gently
Beat the cream cheese and sugar until smooth before adding the eggs, sour cream, vanilla, and cinnamon. Stop mixing as soon as the batter turns uniform. If you keep going after the eggs go in, you whip in air and the cheesecakes are more likely to rise and collapse. Scrape the bowl well so there aren’t any hidden streaks of cream cheese at the bottom.
Baking Until Just Set
Fill each crust, top with the cooled apples, and scatter the crumble over everything. Bake until the edges are set and the centers still have a slight jiggle when you tap the pan. They will finish setting as they cool on the counter and then in the fridge. Pull them too late and the texture goes from creamy to dense fast.
How to Adapt These Mini Cheesecakes Without Losing the Crumble
Gluten-Free Crust Swap
Use gluten-free graham-style crumbs for the base and swap the flour in the crumble for a 1:1 gluten-free baking blend. The filling and apple topping already fit naturally, so this swap mainly changes the crust texture. Keep the crust pressed firmly, since gluten-free crumbs can be a little more fragile once baked.
Dairy-Free Version
Use dairy-free cream cheese, plant-based butter, and a thick coconut or almond-based sour cream substitute. The texture will be slightly softer and less tangy, but the apple-cinnamon layers still carry the dessert nicely. Chill them fully before serving so the filling has time to firm up.
Make Them in a Mini Muffin Pan
For bite-size portions, use a mini muffin pan and cut the crust and topping amounts accordingly. Bake time drops a few minutes, so watch for the same visual cue: set edges with a slight wobble in the center. The smaller size makes them a little more delicate, but they’re great for a party tray.
Storage and Reheating
- Refrigerator: Store covered for up to 4 days. The crumble softens a little after the first day, but the flavor holds well.
- Freezer: Freeze the cooled cheesecakes without the crumble if you want the best texture. Wrap tightly and freeze for up to 2 months, then thaw in the refrigerator overnight before adding fresh topping.
- Reheating: These are best served chilled or at cool room temperature, not reheated. If they sit out too long, the filling softens and the topping loses its crunch.
Questions I Get Asked About This Recipe
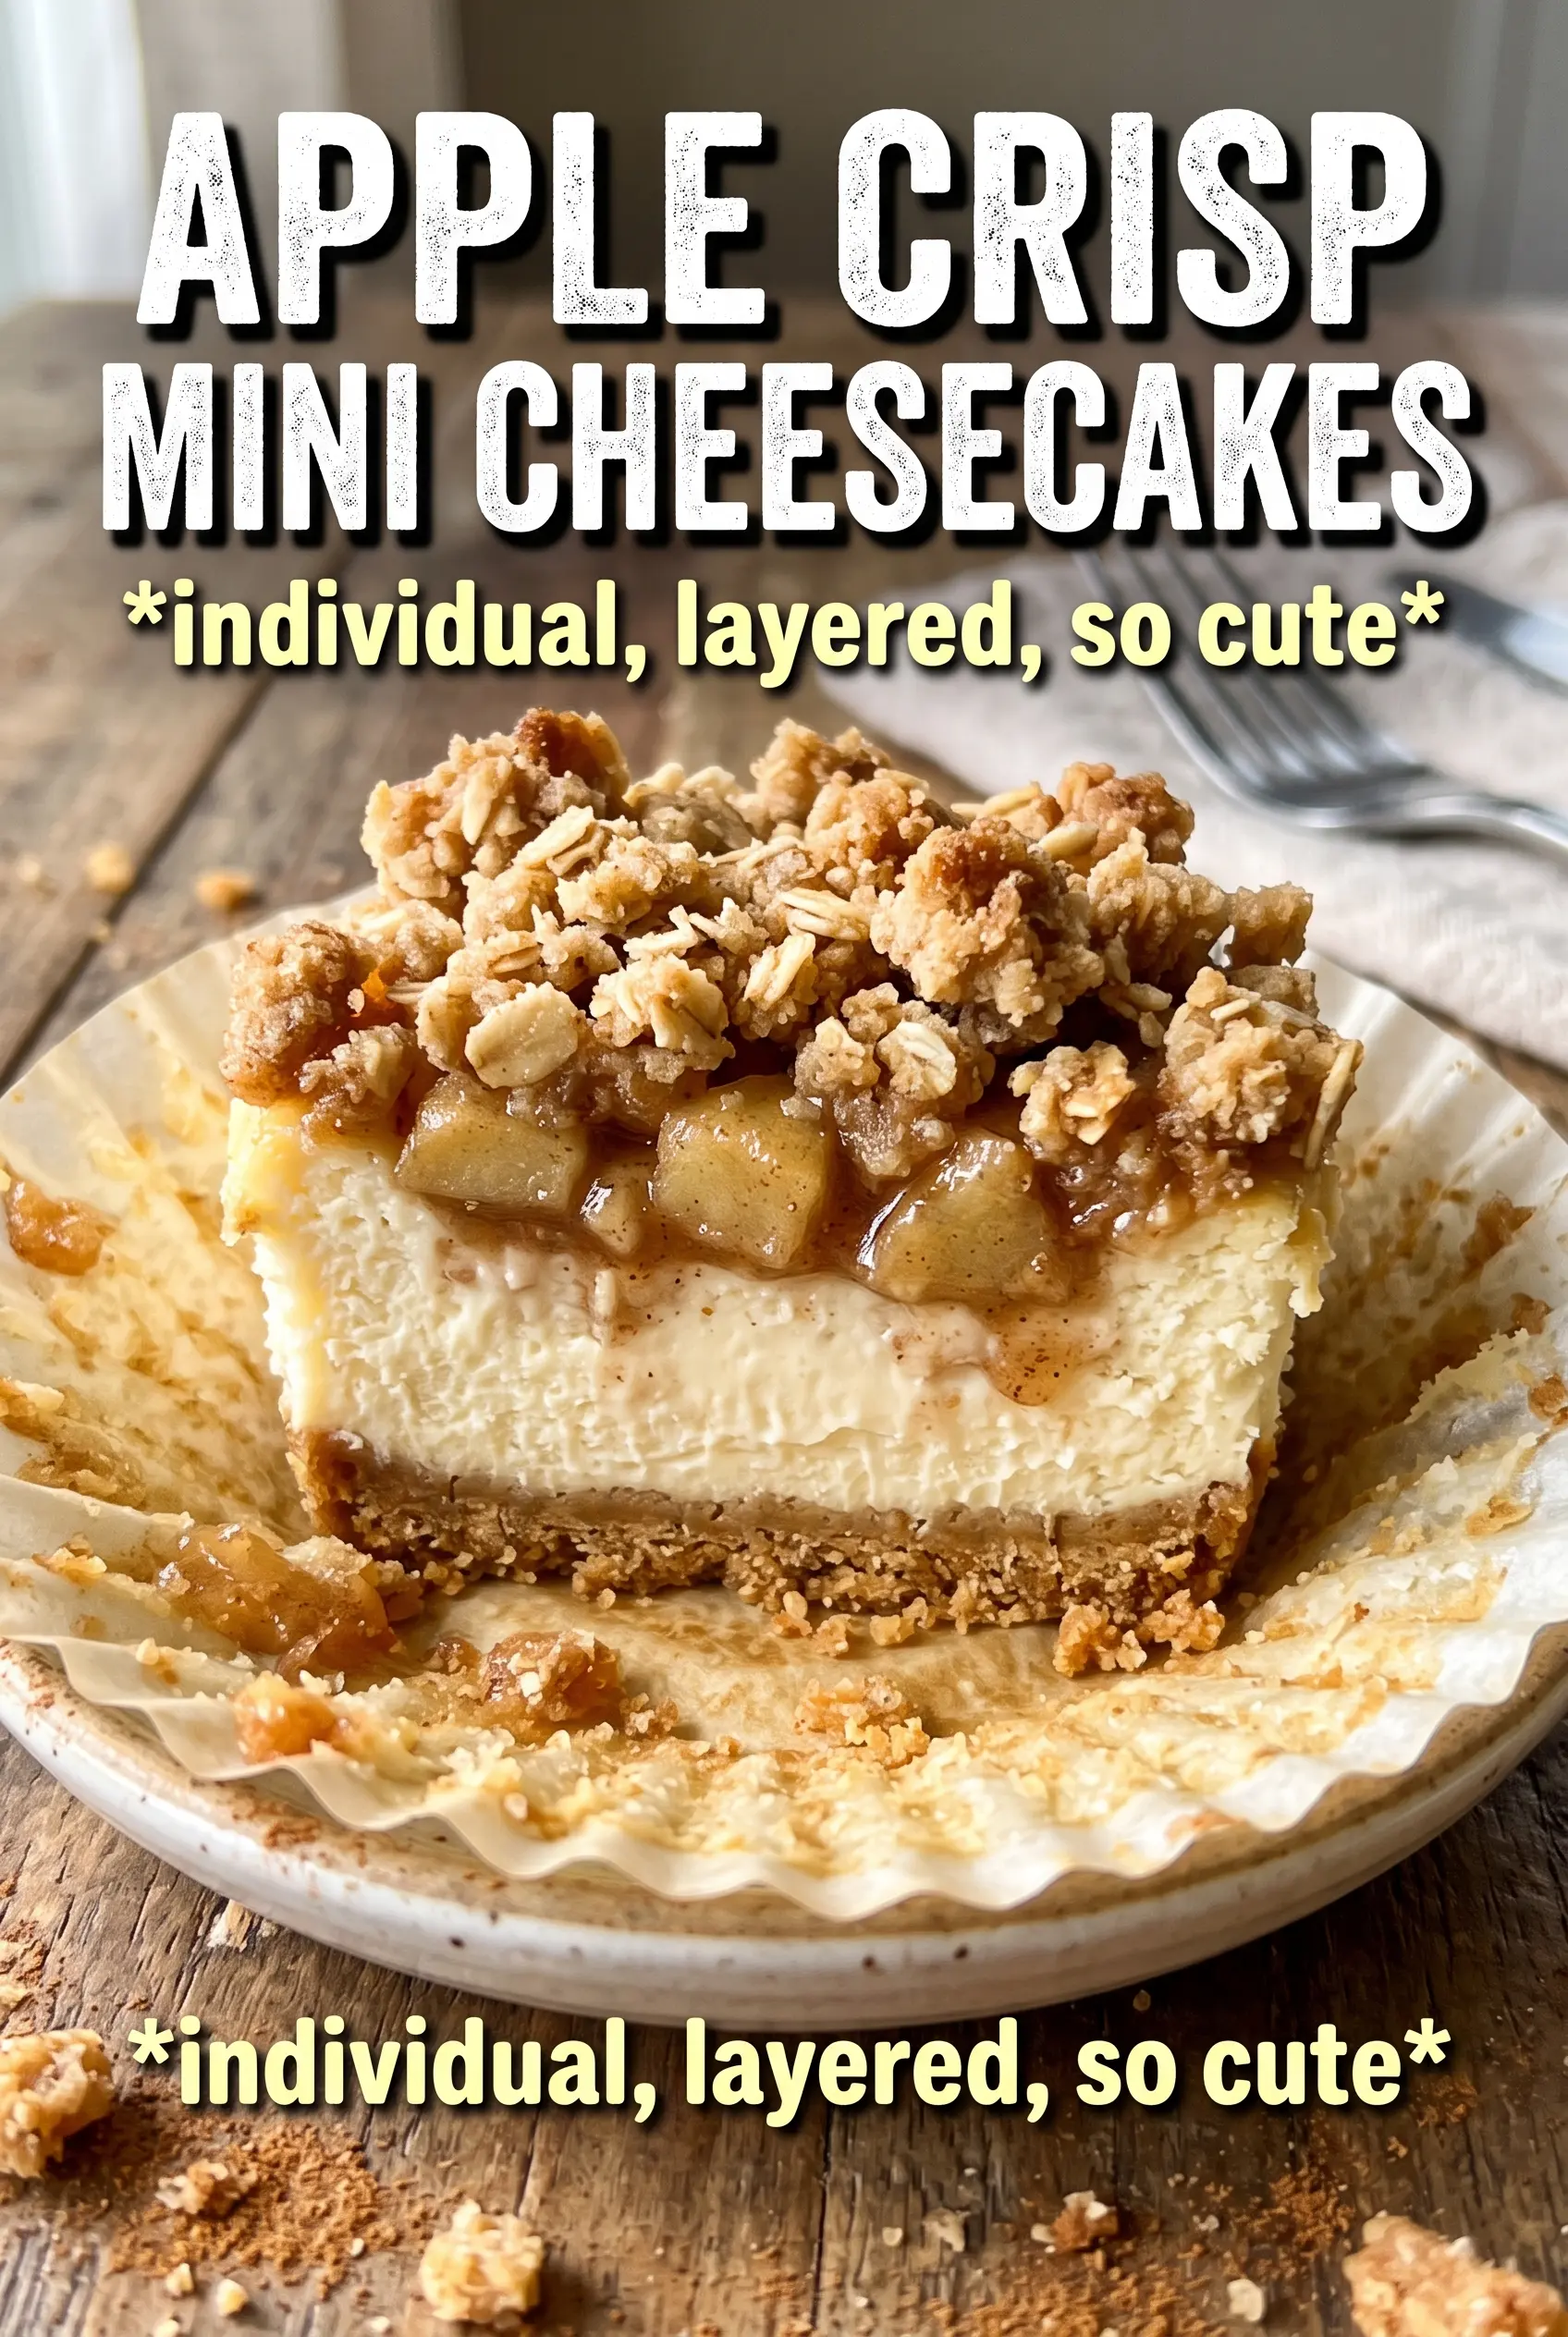
Apple Crisp Mini Cheesecakes
Ingredients
Equipment
Method
- Preheat the oven to 325F and line a 12-cup muffin tin with cupcake liners.
- Arrange the muffin tin on a sheet pan so it can be moved easily in and out of the oven.
- Combine graham cracker crumbs, melted unsalted butter, and sugar, then press the mixture firmly into each liner.
- Bake the crusts for 5 minutes at 325F, then remove and cool while you prepare the filling.
- Cook the diced apples with butter, brown sugar, and cinnamon for 5 minutes until softened.
- Cool the cooked apples completely before assembling the cheesecakes.
- Beat the cream cheese and granulated sugar until smooth, then add eggs one at a time.
- Mix in sour cream, vanilla, and cinnamon until fully incorporated and glossy.
- Fill each crust with cheesecake mixture, leaving a small gap at the top for the topping.
- Top each cheesecake with the cooked apples, distributing them evenly across the cups.
- Make the oat crumble by mixing oats, flour, brown sugar, cinnamon, and cutting in cold butter until crumbly.
- Scatter the crumble over each cheesecake for a thick, golden topping.
- Bake at 325F for 20 to 22 minutes until the centers are just set with a slight wobble.
- Refrigerate the mini cheesecakes for 3 hours until firm before serving.