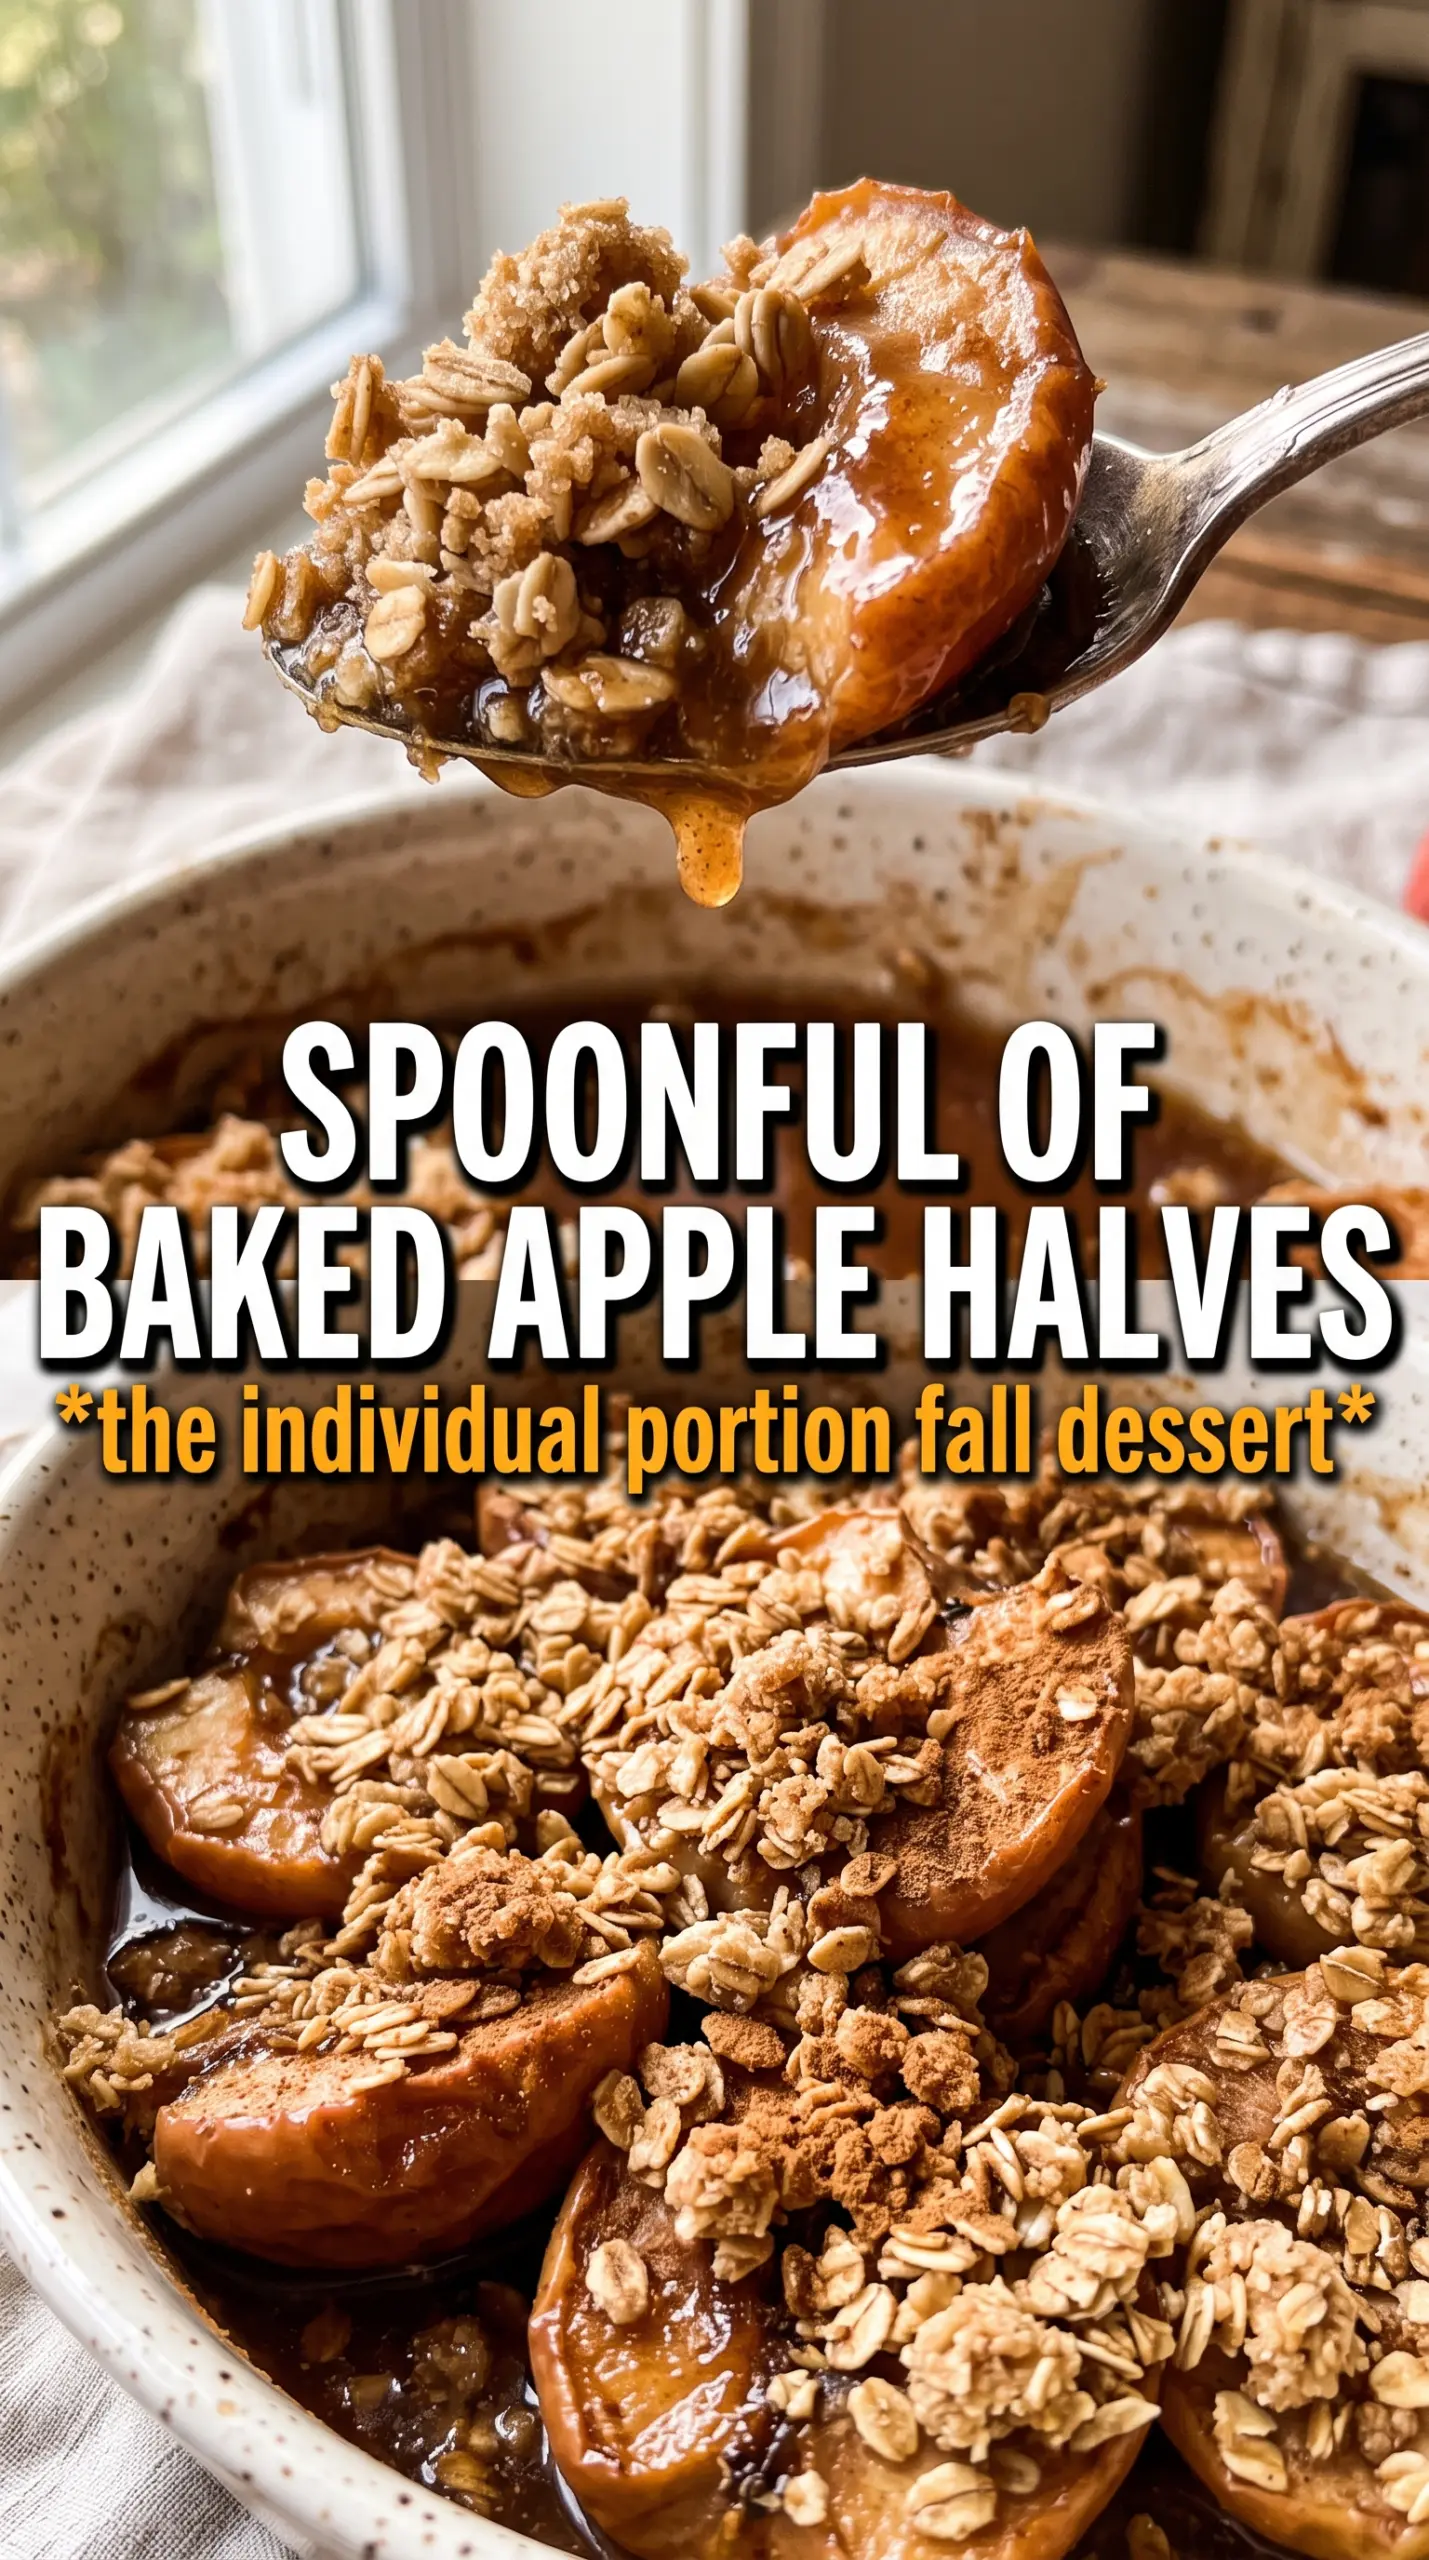
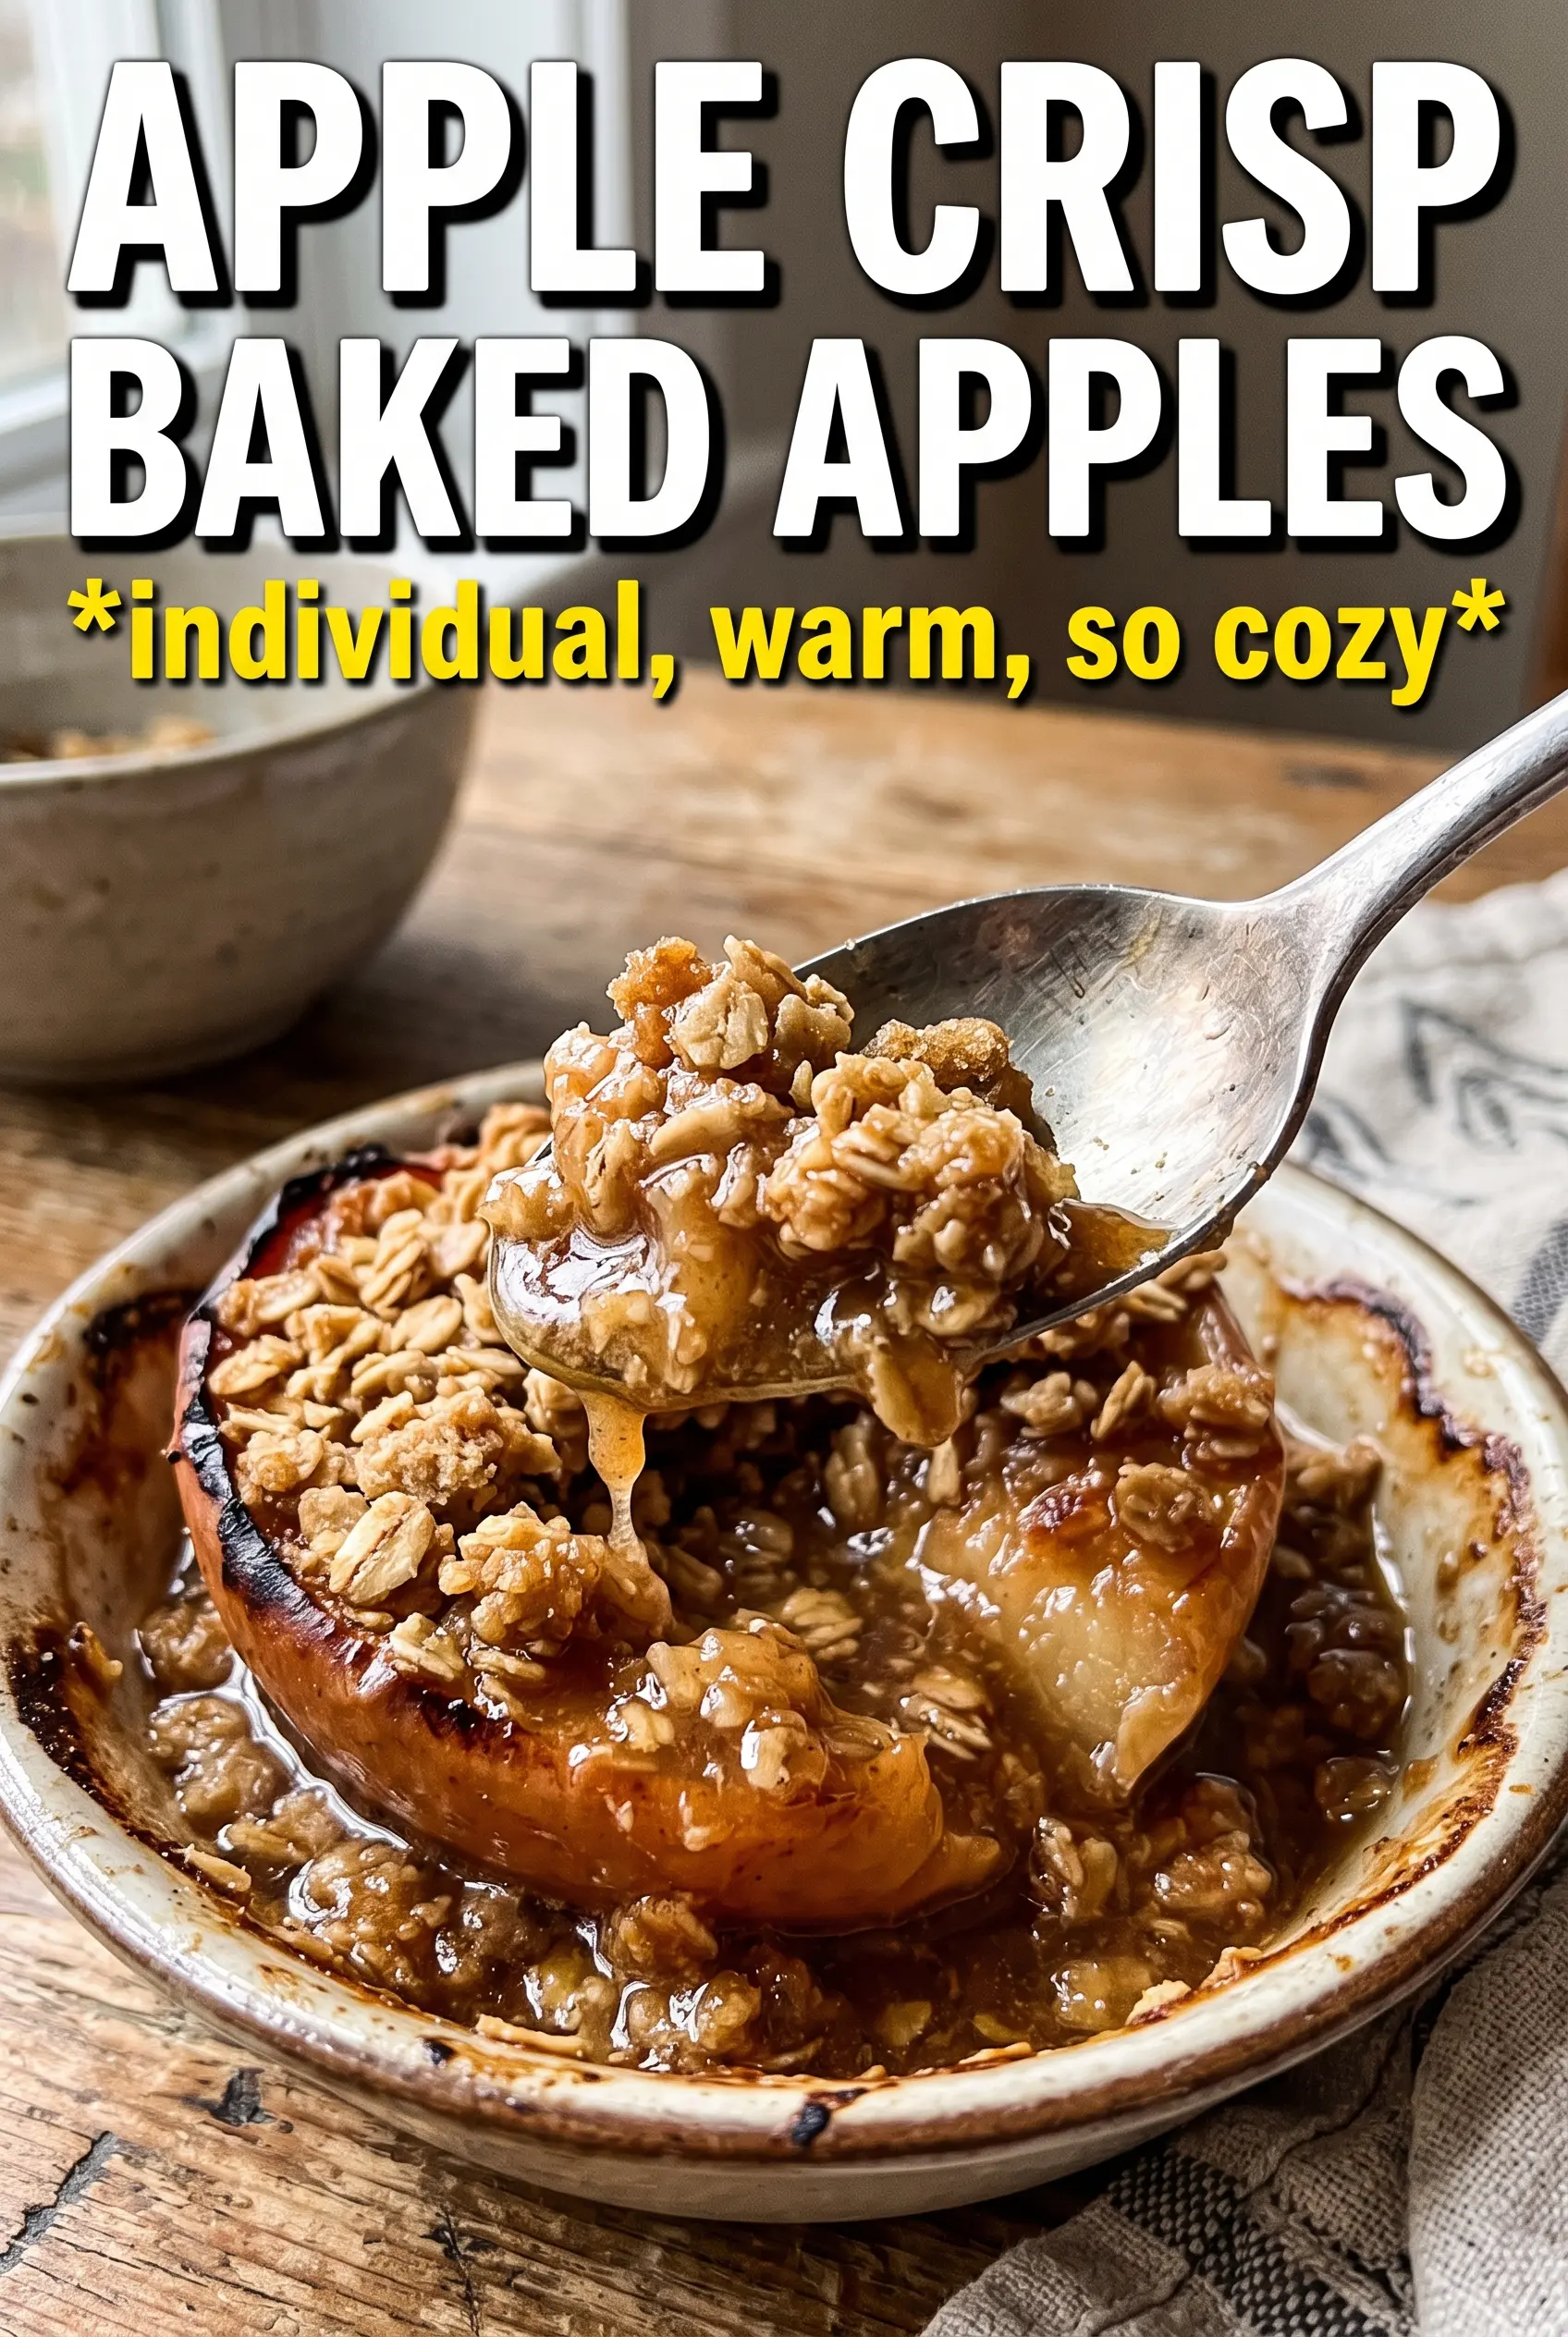
Apple Crisp Baked Apples come out with tender, cinnamon-scented fruit under a buttery oat crumble that stays crisp around the edges and softens just enough where it meets the juices. It’s the kind of dessert that lands on the table looking rustic and old-fashioned, then disappears fast because every bite gives you warm apple, brown sugar, and that toasted oat texture all at once.
The trick here is keeping the apple intact at the bottom so it holds its shape while the center turns soft and jammy. A little cider in the baking dish keeps the bottom from drying out, and cold butter in the topping matters more than people think — it gives you those clumpy crumbles instead of a sandy layer that melts flat in the oven. I like Honeycrisp for a sweeter finish or Braeburn if you want a little more tartness.
Below, I’ll show you how to keep the apples from collapsing, how to get the topping to bake up crisp instead of soggy, and the small finishing touches that make these feel special even though they’re easy to pull together.
The crumble stayed crisp on top, and the apples were soft without falling apart. I served them with vanilla ice cream and the caramel sauce pooled into the filling just like a baked apple pie.
Like these Apple Crisp Baked Apples? Save them for the nights when you want warm apples, oat crumble, and melty ice cream in one pan.
The Reason Baked Apples Stay Crisp Instead of Turning Mushy
The biggest mistake with baked apples is treating them like a dump-and-bake dessert. If the cavity is too wide, the apples collapse before the topping has time to brown, and if the pan is dry, the bottoms can turn mealy before the centers go tender. Leaving the bottom intact gives you a built-in bowl that holds the filling and keeps the apple from leaking out early.
That little pour of cider in the baking dish matters, too. It steams the apples gently from below without drowning them, which means you get softness without the sad, waterlogged texture that shows up when the dish is overloaded with liquid. The topping bakes best when it’s packed loosely on top rather than pressed flat, because the craggy bits are what toast and give you that crisp finish.
What Each Ingredient Is Actually Doing in These Apples
- Honeycrisp or Braeburn apples — These hold their shape better than softer apples like McIntosh, which can turn mushy before the topping is done. Honeycrisp leans sweeter and juicier; Braeburn gives you a firmer bite and a little more tart balance.
- Rolled oats — Old-fashioned oats are what give the topping that crisp, nubby texture. Quick oats soften too much and lose the crumble effect, so skip them unless that’s the only thing you have.
- All-purpose flour — This binds the topping just enough so it bakes into clusters instead of sand. A 1:1 gluten-free flour blend works if you need a gluten-free version, but the crumb will be a touch more delicate.
- Cold unsalted butter — Cold butter is what keeps the topping clumpy. If it melts before the apples go into the oven, the mixture turns pasty and bakes into a flat layer instead of a crisp crumble.
- Brown sugar — Brown sugar brings moisture and that caramel note that belongs with baked apples. The little bit tucked into each apple cavity melts with the butter and makes the center taste like the best part of apple pie filling.
- Apple cider or water — Cider adds extra apple flavor, but water still does the job if that’s what you have. The key is keeping a thin layer of liquid in the pan so the bottoms don’t dry out.
Building the Crumble and Baking the Apples Through
Make the topping first, while the butter stays cold
Stir the oats, flour, brown sugar, cinnamon, nutmeg, and salt together before cutting in the butter. Work the butter in until the mixture looks clumpy and holds together when you squeeze it, with some dry bits still visible. If you overmix, the topping turns dense and bakes up like a cookie sheet instead of a crisp crumble.
Core the apples without breaking the base
Use a paring knife or apple corer to remove the center from the top, but stop before you cut through the bottom. You want a cavity wide enough for the sugar and butter, usually about 1 1/2 inches across, with enough apple left underneath to hold the filling. If the hole goes all the way through, the melted sugar runs out and the apple dries out faster.
Pack, mound, and bake until the fruit gives way
Fill each apple with a pinch of the brown sugar-cinnamon mixture and a piece of butter, then spoon the crumble into and over the top. Set them in the baking dish with the cider around them, and bake until the skins are slightly wrinkled, the topping is deep golden, and a knife slides into the apple with just a little resistance. If the topping browns before the fruit softens, tent loosely with foil for the last few minutes so the crumble doesn’t burn.
Serve while the topping is still crisp
These are at their best straight from the oven, when the crumble is still crunchy and the filling is hot enough to melt ice cream on contact. Let them sit for a couple of minutes so the juices settle, then spoon caramel sauce over the top if you want the dessert to feel extra rich. Wait too long and the crumble starts to soften from the steam, which is still good, just not as satisfying.
Three Ways to Make These Baked Apples Work for Your Kitchen
Dairy-Free Version
Swap the butter for a plant-based baking butter that stays firm when cold. The topping won’t taste exactly the same, but it still browns well and gives you a crisp crumble if you keep the fat cold and don’t overwork it.
Gluten-Free Crumble
Use a good 1:1 gluten-free flour blend in place of the all-purpose flour. The topping will be a little more delicate, but the oats still give enough structure that you won’t lose the crisp texture.
Lower-Sugar Approach
Cut the brown sugar in the crumble by a few tablespoons and lean on the cinnamon and nutmeg for flavor. You’ll get a less candy-like topping with more toasted oat character, but the apples themselves still bring plenty of natural sweetness.
How to Make Them Ahead
You can core the apples and mix the dry topping a few hours ahead, then assemble right before baking so the crumble stays cold. If you assemble the whole dish too early, the topping starts absorbing moisture from the apples and loses its crunch.
Storage and Reheating
- Refrigerator: Store leftovers covered for up to 3 days. The crumble softens in the fridge, but the flavor stays good.
- Freezer: Freezing isn’t ideal. The apples turn softer after thawing and the topping loses its crisp texture.
- Reheating: Reheat in a 350F oven until the apples are warmed through and the topping crisps back up, about 10 to 15 minutes. The microwave works in a pinch, but it makes the crumble soft and steamy.
Answers to the Questions Worth Asking
Apple Crisp Baked Apples
Ingredients
Equipment
Method
- Preheat the oven to 375F. Pour the apple cider into the bottom of a baking dish.
- Core the apples from the top, leaving the bottom intact, creating a cavity about 1-1/2 inches wide. Keep the apple walls thick so the filling stays inside while baking.
- Mix the brown sugar and cinnamon for the cavity filling. Place a pinch into each apple, followed by a piece of butter.
- Make oat crumble by combining the rolled oats, flour, packed brown sugar, cinnamon, nutmeg, and salt. Cut in the cold butter until clumpy.
- Pack the crumble into and over the top of each apple. Press gently so the topping adheres and browns evenly.
- Bake for 35-40 minutes at 375F until the apples are tender and the crumble is golden. Rotate the dish halfway through if your oven browns unevenly.
- Serve immediately with vanilla ice cream and caramel sauce. The first spoonful should show tender apple with a crisp, browned oat topping.